10 Beginner Mistakes to Avoid When Mixing Music
Are you new to mixing music? Learn about these common audio mixing mistakes and how to avoid them in your sessions.
If you’re a beginner looking to avoid making mistakes while mixing, you’ve come to the right place! Read on to find out which common missteps you may be making. But first, a word of encouragement.
If you find yourself guilty of any of these common mix mistakes, fear not, I’ve been guilty of them too! So have we all. Read on and learn from our mistakes—or jump to a section below to learn what you're doing wrong in a certain area and how to avoid beginner mix mistakes in your next track.
Follow along with this guide using the plug-ins included in iZotope


Music Production Suite 7
1. Employing too much processing on a track
Plug-ins are great, especially the ones iZotope offers in


Music Production Suite 7
We’ve all fallen victim to this, and it’s hard, because we see our idols do it.
But our idols have a method to their madness. When proven engineers display a seven-instance plug-in chain, each one of those processors has a distinct purpose. Pros know why one EQ might be right for the high pass on a track, why the next is appropriate for boosting the high mids, why such-and-such compressor has the perfect complementary tone, and most importantly, how all the plug-ins are going to work together.
Yes, it’s important to experiment, but experimentation in crunchtime can be detrimental when you don’t have an idea of what you’re looking for—when you’re haphazardly mucking about.
An example in the iZotope universe: the Music Production Suite offers a ton of options for harmonic excitement.


Neutron


Ozone Advanced


Nectar 3 Plus
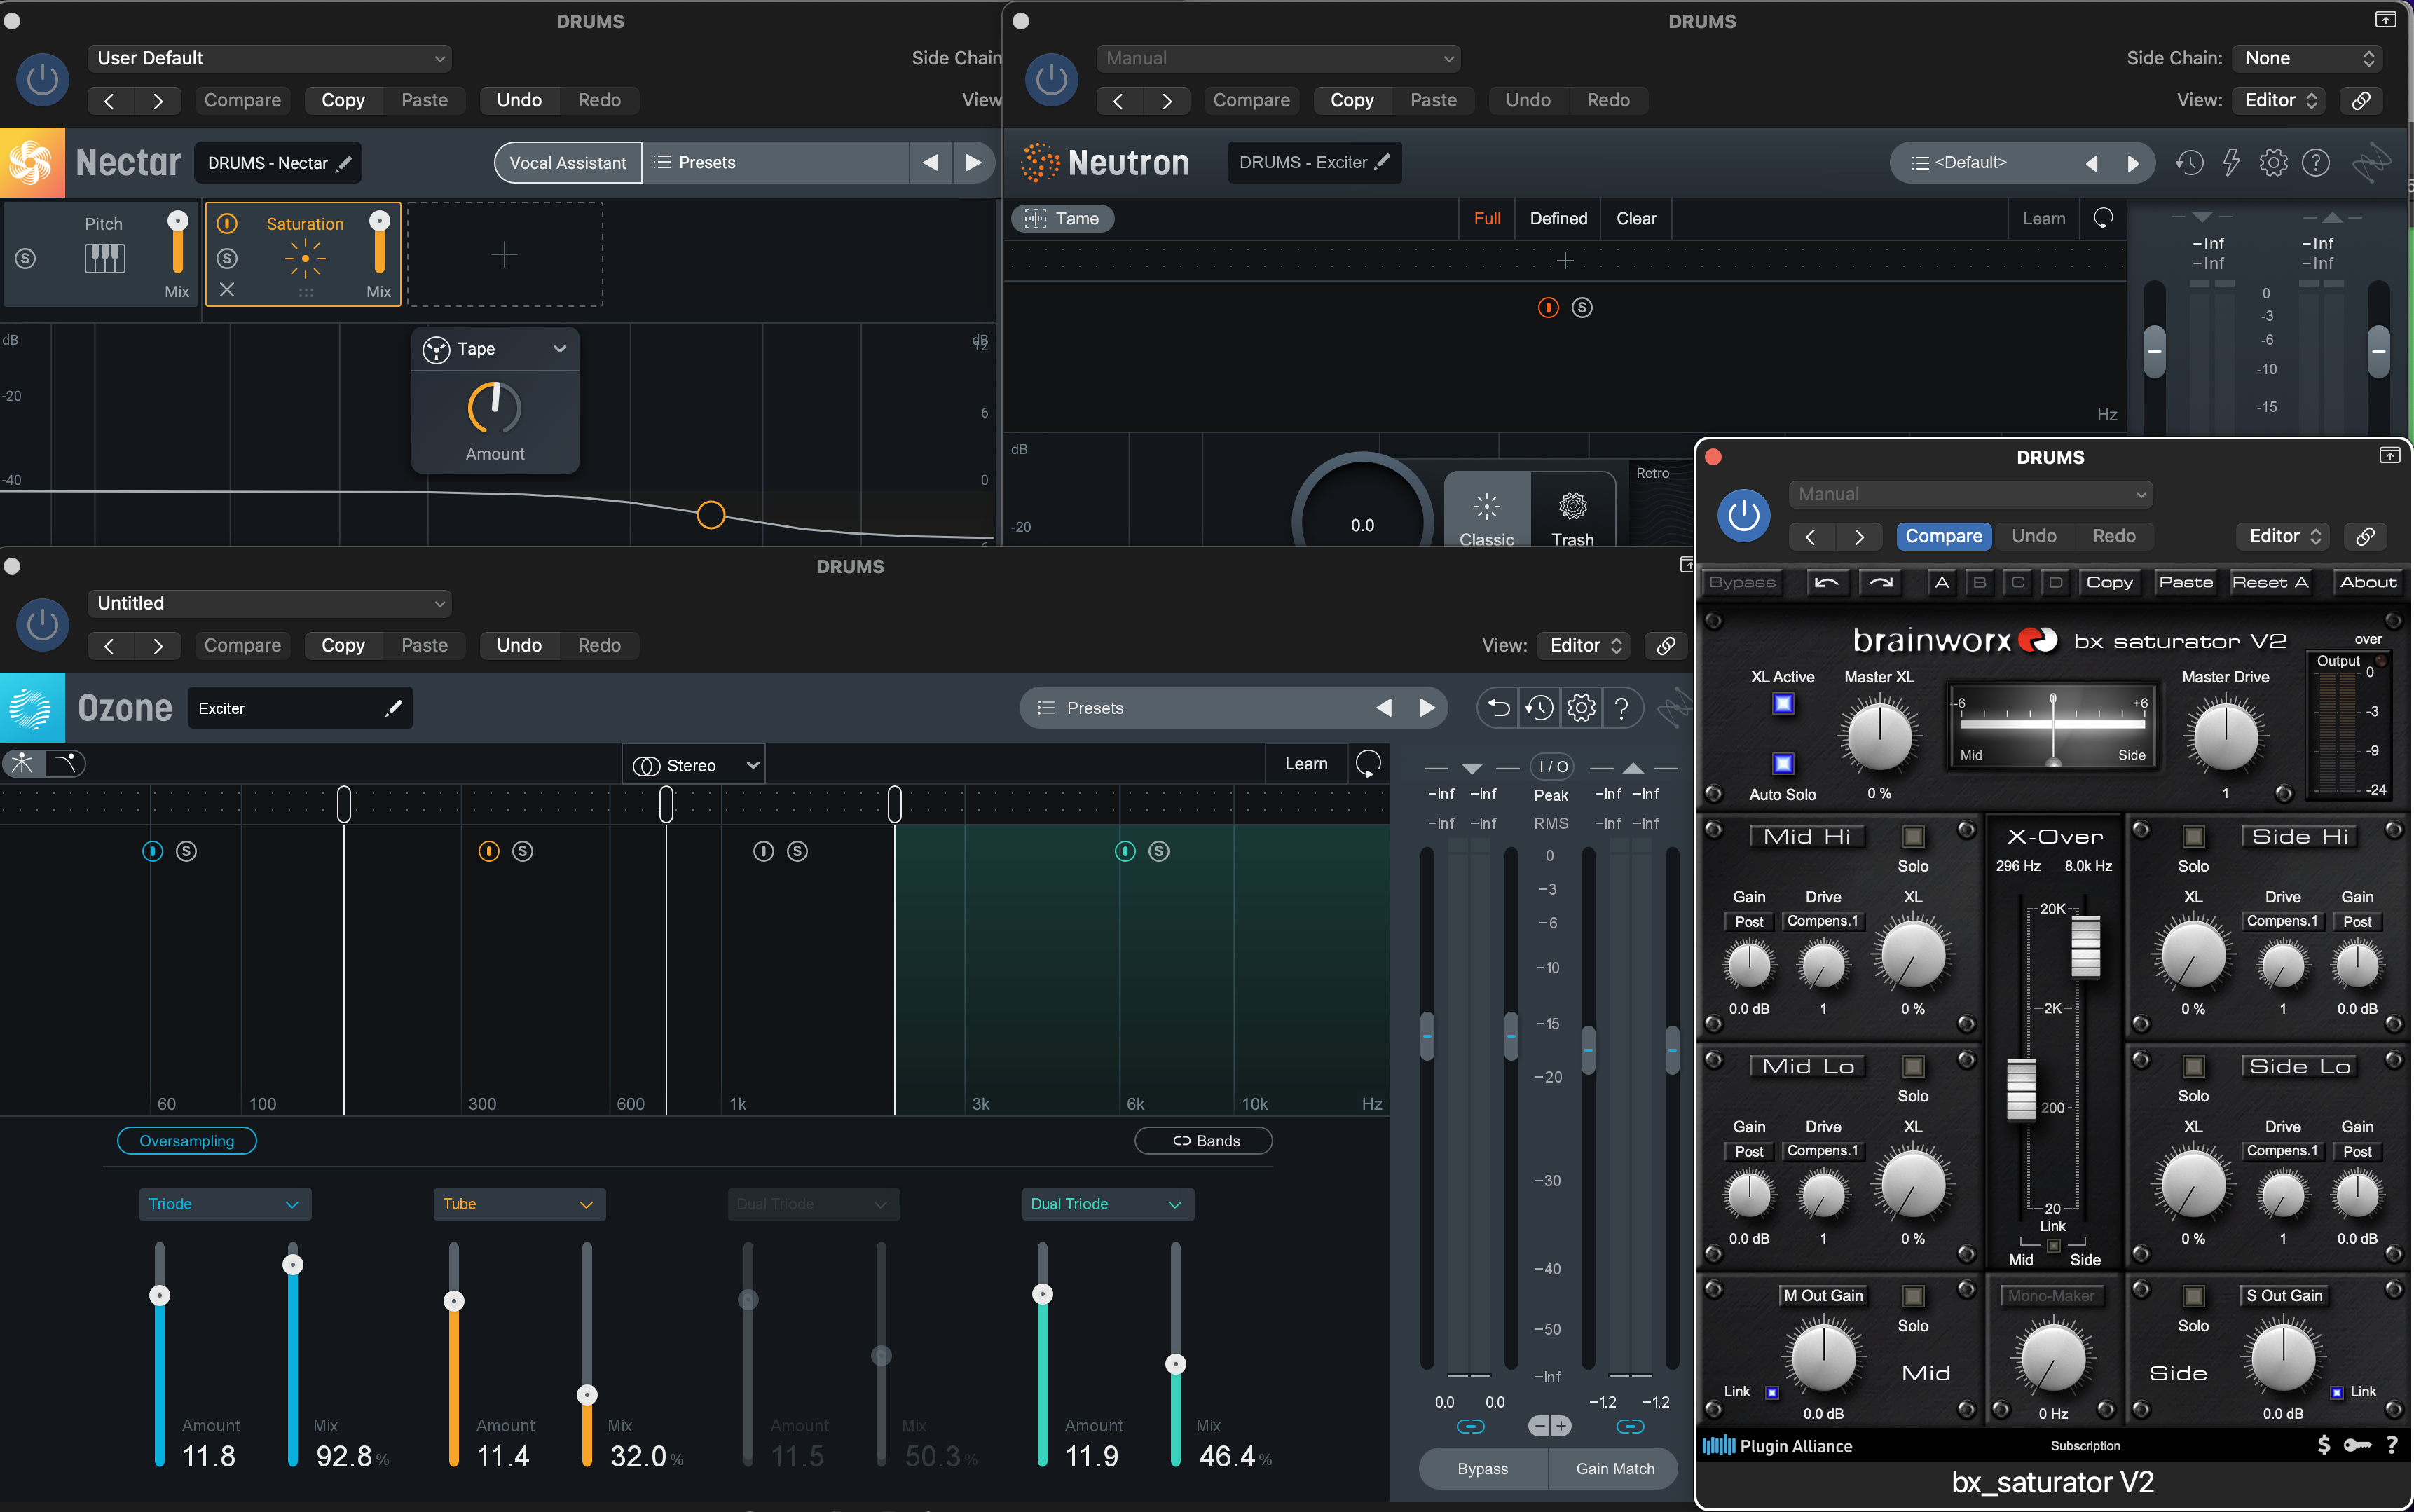
The number of exciters and saturators offered in iZotope Music Production Suite
I will almost never recommend you use all of them on one track! Why? Because each has its own sound and purpose.
I use Neutron’s Exciter to add aggression to an individual track in a generalized way. Ozone’s Exciter is far more subtle—and the oversampling helps to combat aliasing—so I’ll use it to add warmth, density, or sparkle to a sound-source. Nectar’s saturator is its own beast, and it tends to add a lot of meat and girth to the midrange. Brainworx’s saturator has its own way of saturating harmonic material, giving you mid/side control to boot.
Perhaps you’ll have different ways to utilize these plug-ins Music Production Suite—but the important thing is that you don’t just use all of them just cuz. That will create a ton of problems for you down the road.
2. Trying to turn a sound into something it isn’t
I once watched a talented engineer who had just graduated from school sit with a classical recording. Little by little, he turned the sound of a baritone vocalist into something overly reverberant, a bit harsh, and altogether unnatural. Eventually, he turned to me and said “it’s not working, is it?”
So he did something daring: he took off all the processing and limited himself to two plug-ins and one send effect. To his surprise, it turned out quite well. I’ve since heard classical recordings this man engineered, and they are as excellent as anything I’ve listened to.
I take no credit for his evolution—I didn’t offer any advice or criticism; limiting himself to two concrete plug-ins was his idea. I only watched him learn that you don’t have to work so hard.
It comes back to this: Whenever you’re reaching for a new plug-in, do you know what you’re trying to achieve with this next move? Are you serving or fighting the sound?
Again, if I’m bringing in Ozone’s Exciter, for instance, I like to know why I’m doing so. Maybe I’m increasing the density of a drum bus; perhaps I’m adding a sparkly top end to a vocal. Whatever the reason, I know what it is.
Of course, the answer to this question is dependent on maintaining a clear picture of what you want to accomplish, which brings us to our next pitfall:
3. Not having a clear idea of what you want to do
This is an affliction that doesn’t just affect beginners—my peers and I get caught up in this one all the time. It can be enthusiasm as much as anything else: We just want to keep working, so we often don’t let ourselves stop to wonder what we’re trying to accomplish in the first place.
Now, a contractor would never build a house with only a loose idea of where the bedroom is. So why do we think we can fashion a mix with little idea of how we want the bass to end up?
It may be suitable for artists and producers to mess around, but I’d wager our job, in the mixing music phase, is more like artfully executing blueprints than painting a landscape. If you agree, then it’s best to have a clear idea in mind—even if it’s only a glint—of what you want to do before you set out doing it.
This is why I always set my intentions before I mix. I listen to the static mix, or the rough, and I write down what I want to happen in the drums, the bass, the vocals, etc.
After listening to the static mix with an ear on the drums, I might have a list like this:
- Add drum-smash room sound by putting overheads through Neutron’s Punch module in parallel and increasing sustain
- Get a beefy Pultec-type kick sound with the Ozone Vintage EQ
- Get resonance out of snare with Neutron’s Dynamic EQ in proportional-Q mode.
- Crisp up high end of the snare with Ozone Exciter
- Emphasize the attack of the toms, try Neutron’s Transient Shaper across a tom bus with the compressor in Punch mode in parallel
Keeping a “punch list” of purpose makes the job faster, easier, and more fun.
4. Not paying attention to gain staging
You’d think in this world of floating point mathematics that conventional gain staging can be laid to rest. However, many plug-ins—especially analog mods—respond to the strength of signal in the manner of yesterday’s gear. If you use analog gear/emulations on an aux track, juicing the level of the instruments feeding that aux might distort the sound past what you’d want. This can become problematic, especially in large sessions, where you need to pay attention to the levels of many moving parts.
Also, you’re stuck in your own system if you don’t pay attention to good gain structure. What do I mean by this? Live mixing, working off a producer’s session, using an analog board in any recording capacity—these money-making tasks are much harder to execute when your modus operandi doesn’t play with these formats, some of which call for proper, analog-style gain-staging.
That’s why I tend to treat signal flow within a DAW as I would an analog console. It keeps me more mobile, should I need to be. It also helps keep my sessions more organized, in case I decide I need to assign channels or whole groups of channels to new/different busses.
If you’re new at this, iZotope’s Mix Assistant can help you gainstage your tracks automatically. It’s found in Neutron’s


Visual Mixer

iZotope Visual Mixer
This is our starting point.
All the channels are at unity on the faders—and right now it’s a mess. So I’ll set up the Mix Assistant and see what happens.
First I’ll put Relay on all my tracks.
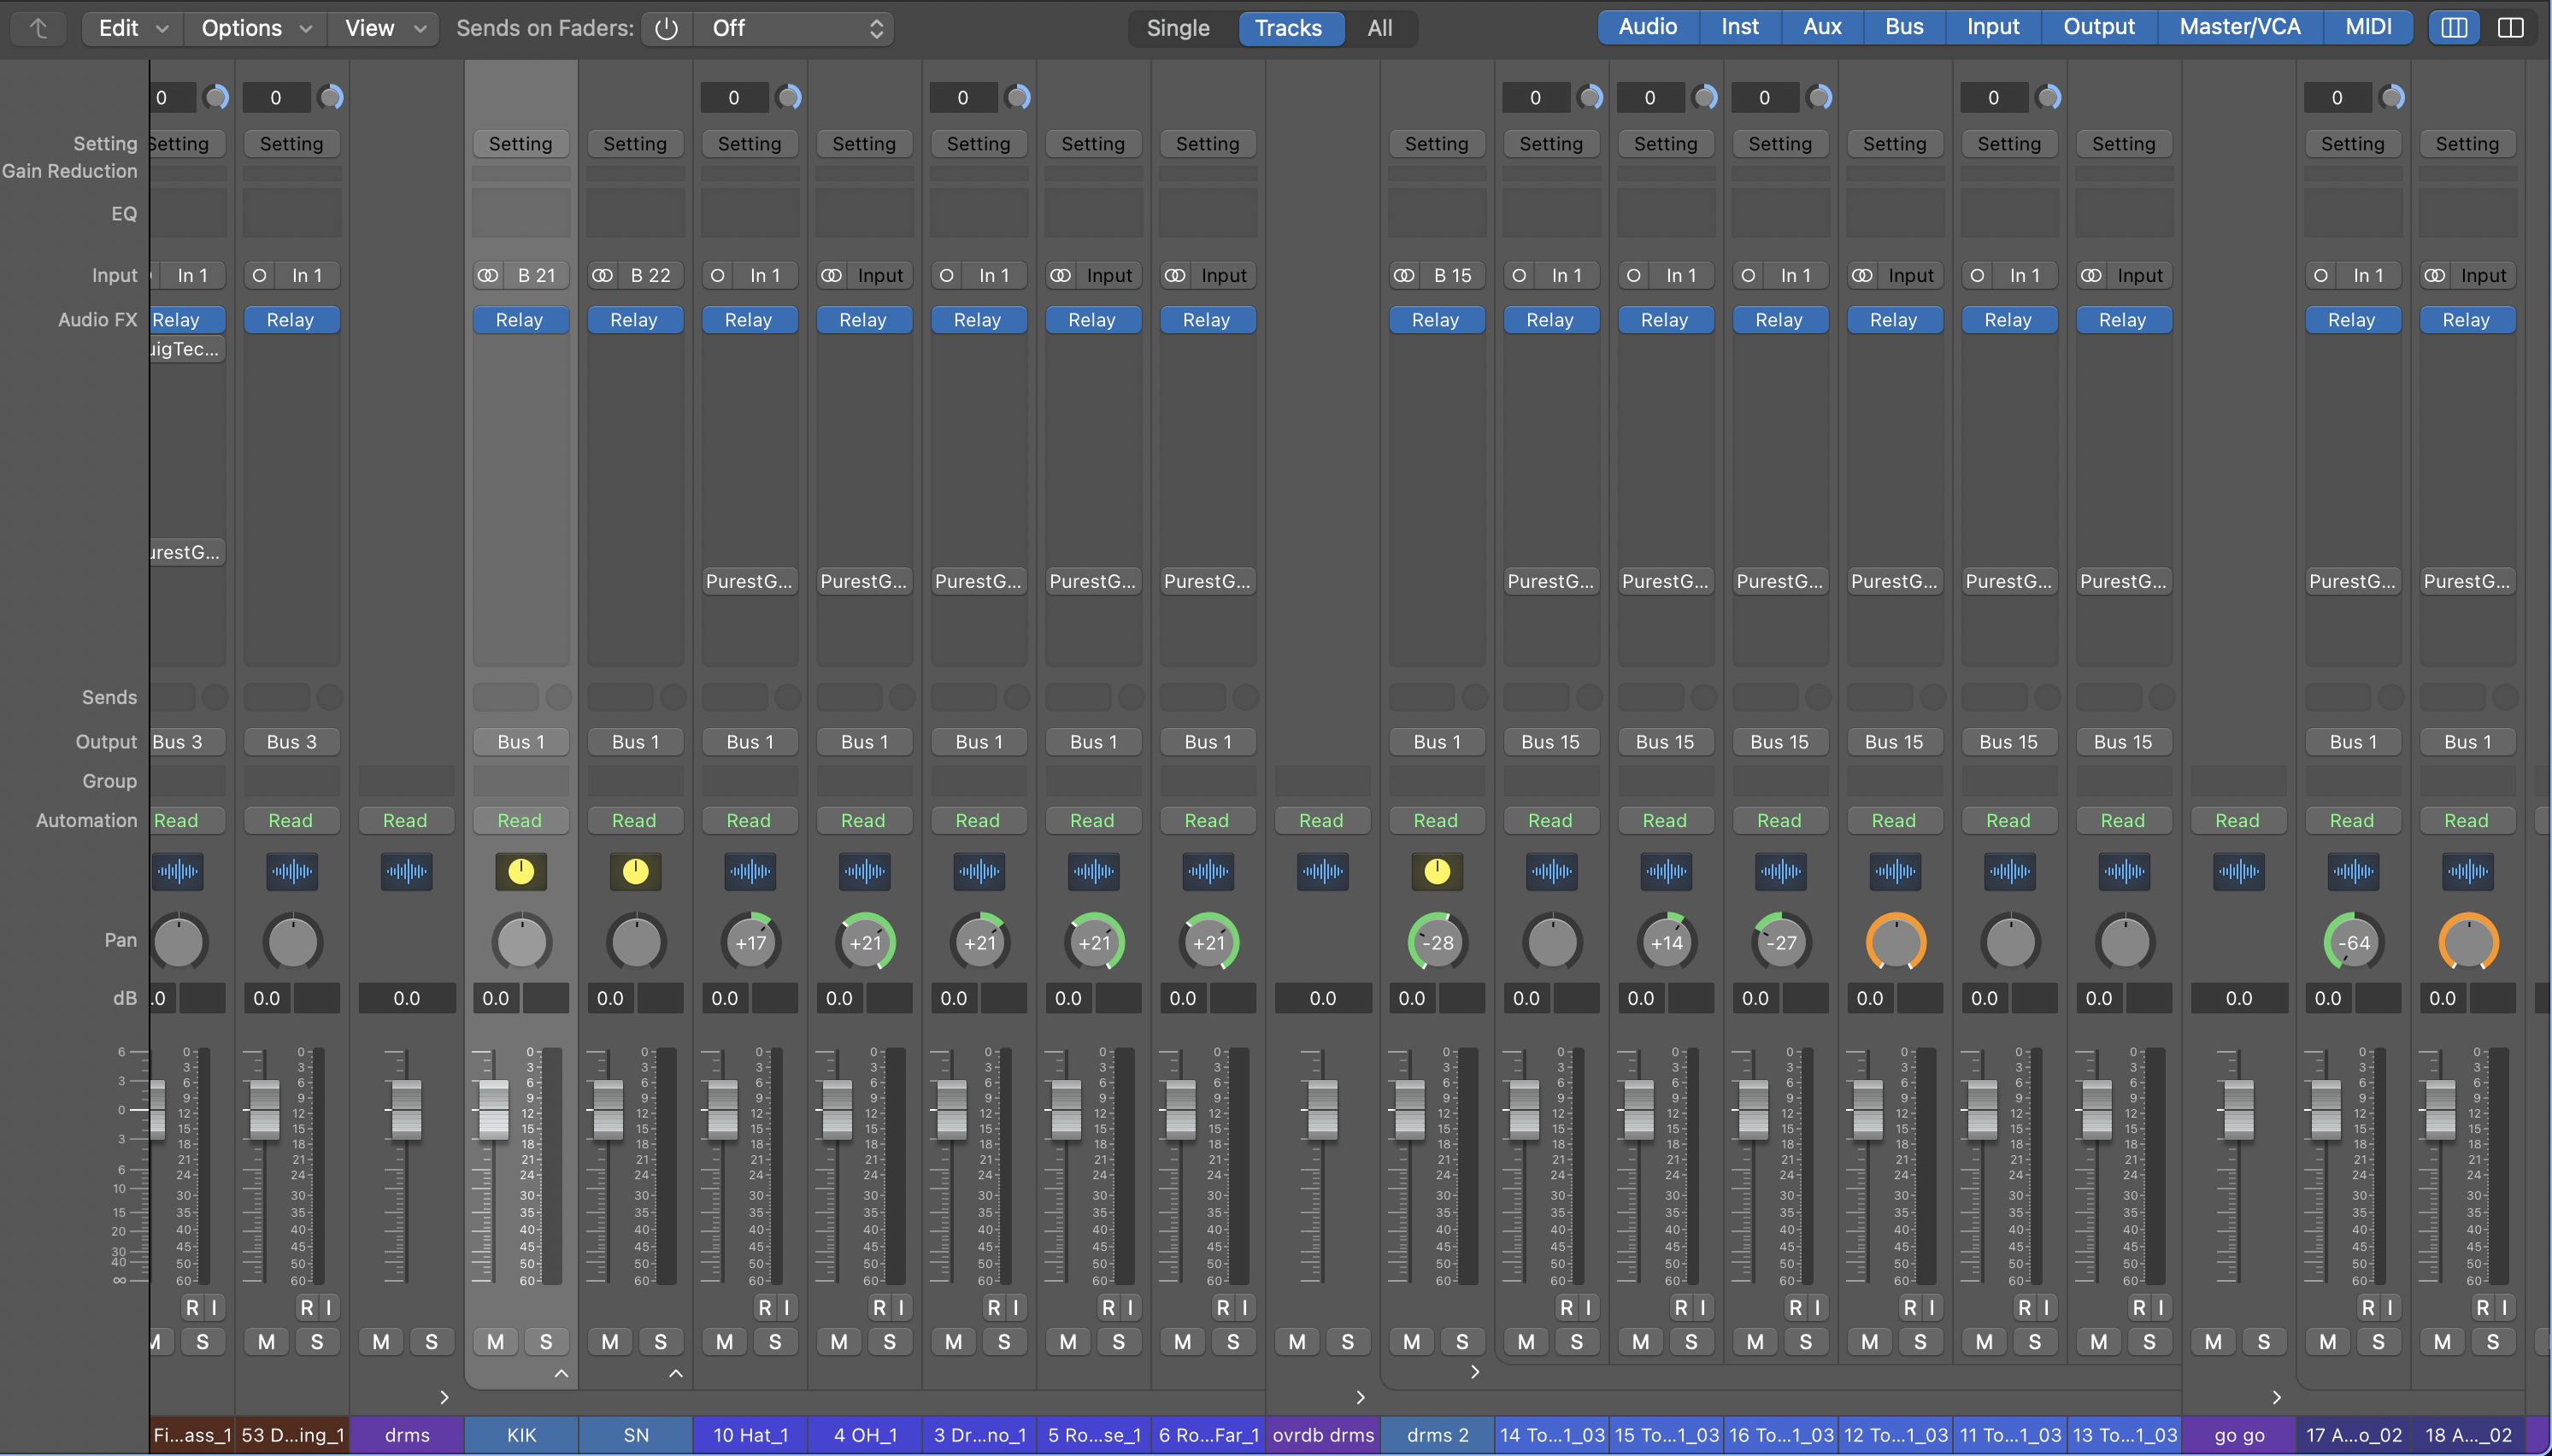
iZotope Relay on all tracks in my session
Then I’ll open up the Mix Assistant in the Visual Mixer, and choose the Lead Vocals and Vocal Doubles as my focus tracks.
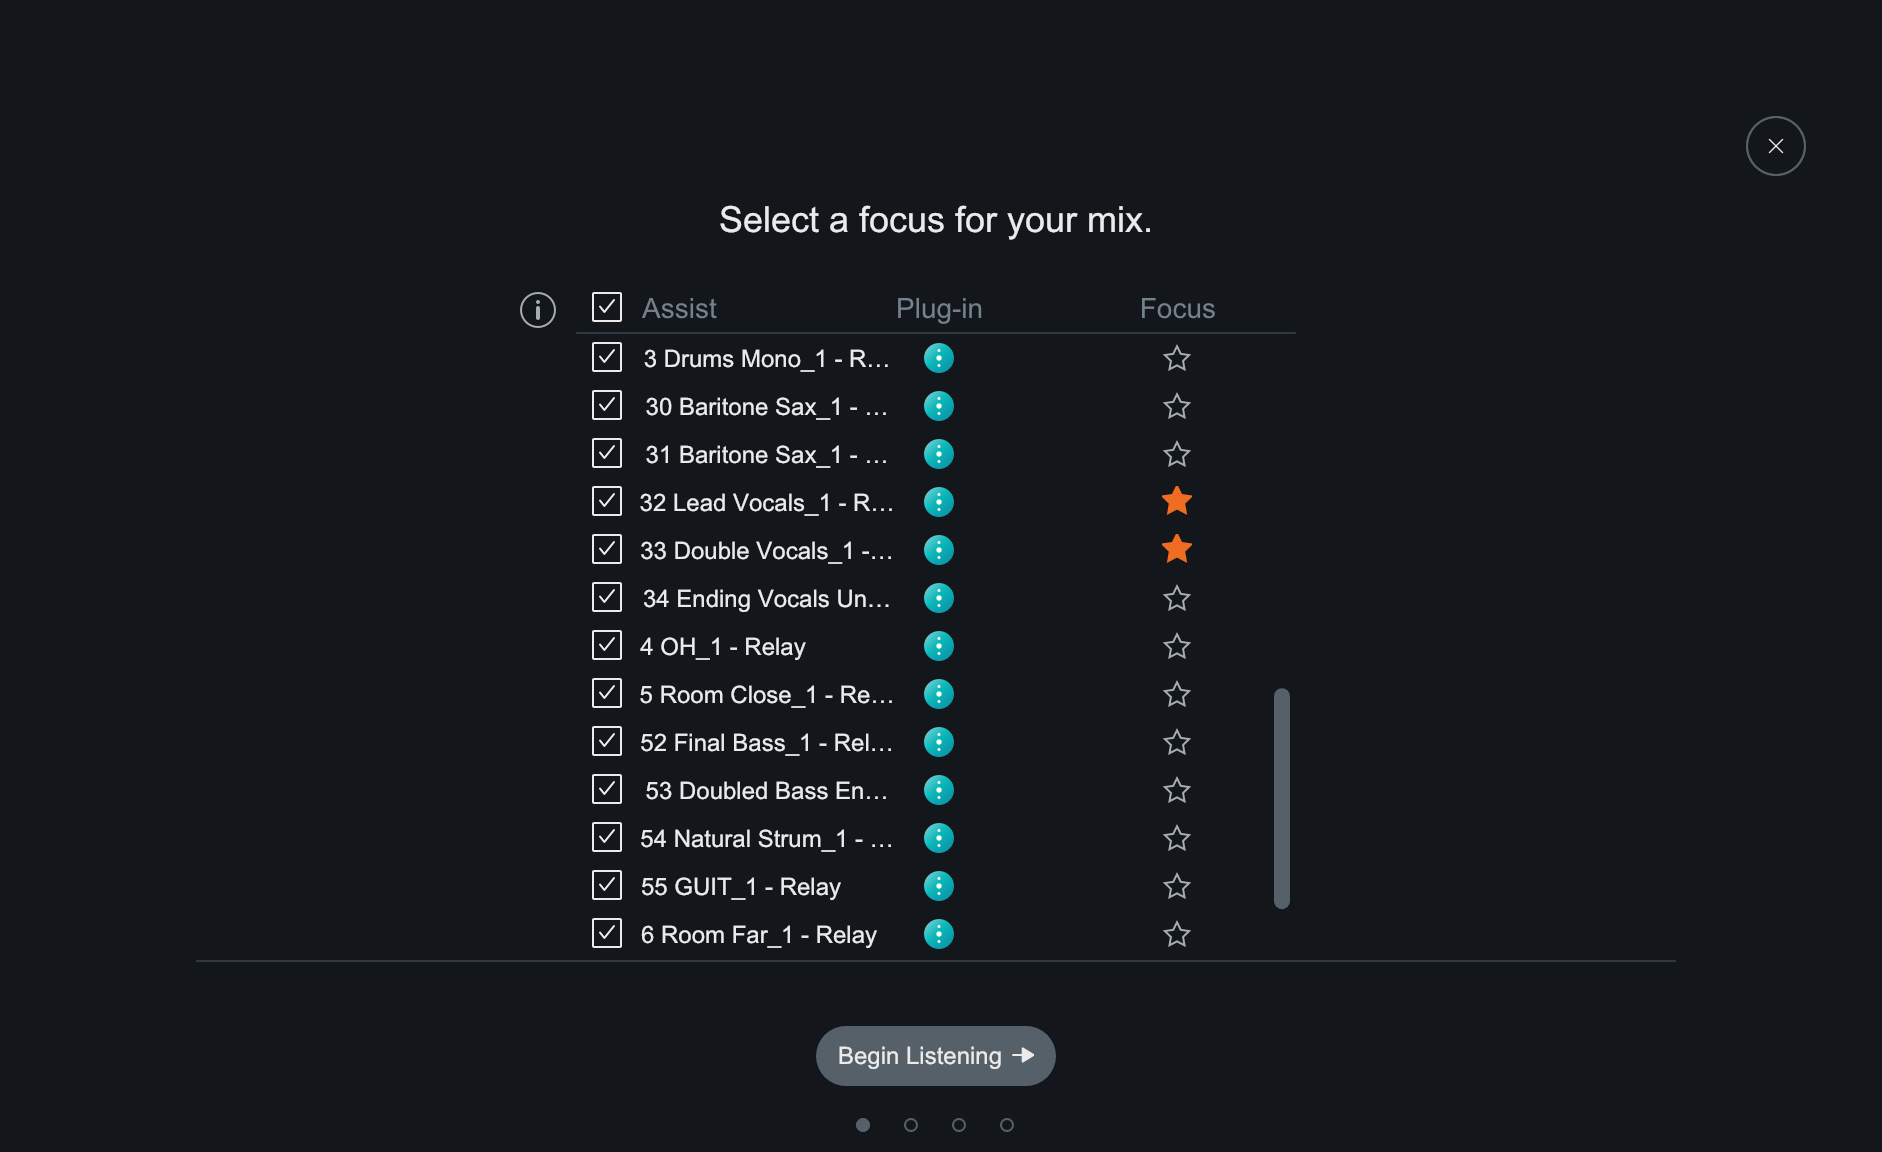
Setting focus tracks in Mix Assistant
I’ll hit play, and run the song down from top to bottom.
That gets me to here:
In these examples, I roughly level-matched the comparisons—but the original rough mix was peaking at 3.5 dBFS before I brought everything down in volume!
Now, the new mix comes in at -21.6 LUFS integrated, with each tack hitting much lower than that. This a much better starting place, especially for hitting analog-modeled plug-ins and respecting the traditional 0 dBFS clipping point.
One bit where I differ from perceived wisdom: Mix Assistant will tell you to put Relay at the end of your signal chain—and you most certainly can—but in this case, I prefer to place it at the beginning. This way, each track will be brought down in level in a way that will better suit downstream processing, and I won’t have to move faders too much, thereby increasing the resolution (faders are by default set to a logarithmic scale, with more granularity near unity than anywhere else).
5. Not paying attention to phase relationships
When you’re just starting out, it’s hard to know if two signals are out of phase, especially if no one’s around to teach you how to recognize the predicament.
I remember one song sent to me by an old friend; he had complained about a generally washy feeling to the drums in the rough mix. The overheads, it turned out, were out of phase with each other—just flipping the polarity on the right overhead greatly tightened up the mix.
Indeed, drums are often problematic, so here’s what I do when presented with a multi-mic’ed kit: I check the polarity of the overheads against each other, flipping one of the overheads to see which gives me a more cohesive, solid picture. It’s usually a night and day difference.
Then I test any other stereo mics against the overheads. I listen for which combination has more body in the lows and low-mids. I also watch the meters—chances are, the polarity arrangement that yields the higher level will be the one that’s in phase. From there, I add in snare and kick drums, flipping polarity to see which works best. Toms and hi-hats are at the end for me.
After some practice, you get a feel for it, and it becomes easy to do by ear.
Now, it can also be hard to know when to leave elements out of phase—or knowing when to manipulate phase relationships for intentional effect.
Drums don’t usually apply here, but multi-mic’ed guitar cabs do. In this case, you can think of the phase relationship between two mics as an opportunity for tonal variation—an EQ, almost. Keep in mind that the quality of sound will change depending on the relational level of the tracks too.
To sum up: when mixing elemental instruments like drums and bass, check for phase, and try to favor the cohesive picture. When mixing elements are not so foundational to the track, learn to use phase relationships to create the best tonal picture.
6. Putting effects on every track
I remember my early fear of a dry signal. Out of this fear, I’d slap reverb on nearly everything. But in my early days, this approach yielded nothing but a pea soup of sound.
I was not yet cognizant of how differing reverbs signify particular trends or genres, or how some sounds might have been recorded with reverb already—guitars being a good example, but also synths given to you by a producer.
Once again, learning grew from limitation. So if putting reverbs on every track sounds like your bag, I invite you to try the following: Limit yourself to only four or five reverbs across a whole mix—or even fewer. Maybe apply some verb to the drums, the vocals, a touch of “exploding snare,” and a spring verb on an otherwise dry guitar. Most of these verbs can be executed quite well in Neoverb, and can be fit into the mix nicely using its built-in EQ.
The same goes for other effects. In our efforts to make everything interesting we can dull the overall impact of the entire mix. Therefore, learn the intentionality behind modulation, delay, and conventional pitch variance. Understand what, exactly, a phaser will get you, as opposed to a flanger or a chorus. Learn how delays can expand the spaciousness of a sound (a synced, low-level stereo delay), or establish a genre (a rockabilly slap, for example).
7. Working in solo for prolonged periods of time
I’ve written about this at length in other articles, but it’s a classic mistake, one not improved by the plethora of YouTube tutorials out there. Sure, plenty of big names have great tips to offer, and to demonstrate these tips, they’ll often play their results in solo so you can better hear them. However, these engineers don’t always remember to warn you about working in solo; if you didn’t know, and if you stumbled on the video, it might convey the wrong idea.
So let’s bow the old saw and reiterate that generally, it’s not good to mix a single sound in solo, as you lose perspective quite quickly. Still there are caveats:
For brief moments in time where it’s necessary to home in on a problematic part of the sound—like a resonant snare drum—soloing is appropriate. Also, there is nothing wrong with soloing a group of tracks. To mix the drums, the bass, and vocals in solo in order to achieve a better micro balance is useful in short intervals.
8. Not paying attention to timing and tuning
So many times I’m presented with a mix and asked, why doesn’t this sound like the real thing? Half of the time there are sonic issues, but often it’s the editing: If something is off key or out of time, it falls upon our shoulders to fix it as best we can—but always in line with the artist’s intentions. Nobody is going to autotune Bob Dylan (at least, I hope not), but Justin Bieber is another story.
Similarly, a band like The White Stripes would get more off-the-grid leeway than an outfit like Imagine Dragons. It behooves you, again, to vet the intentions, to check the references, and to make the changes.
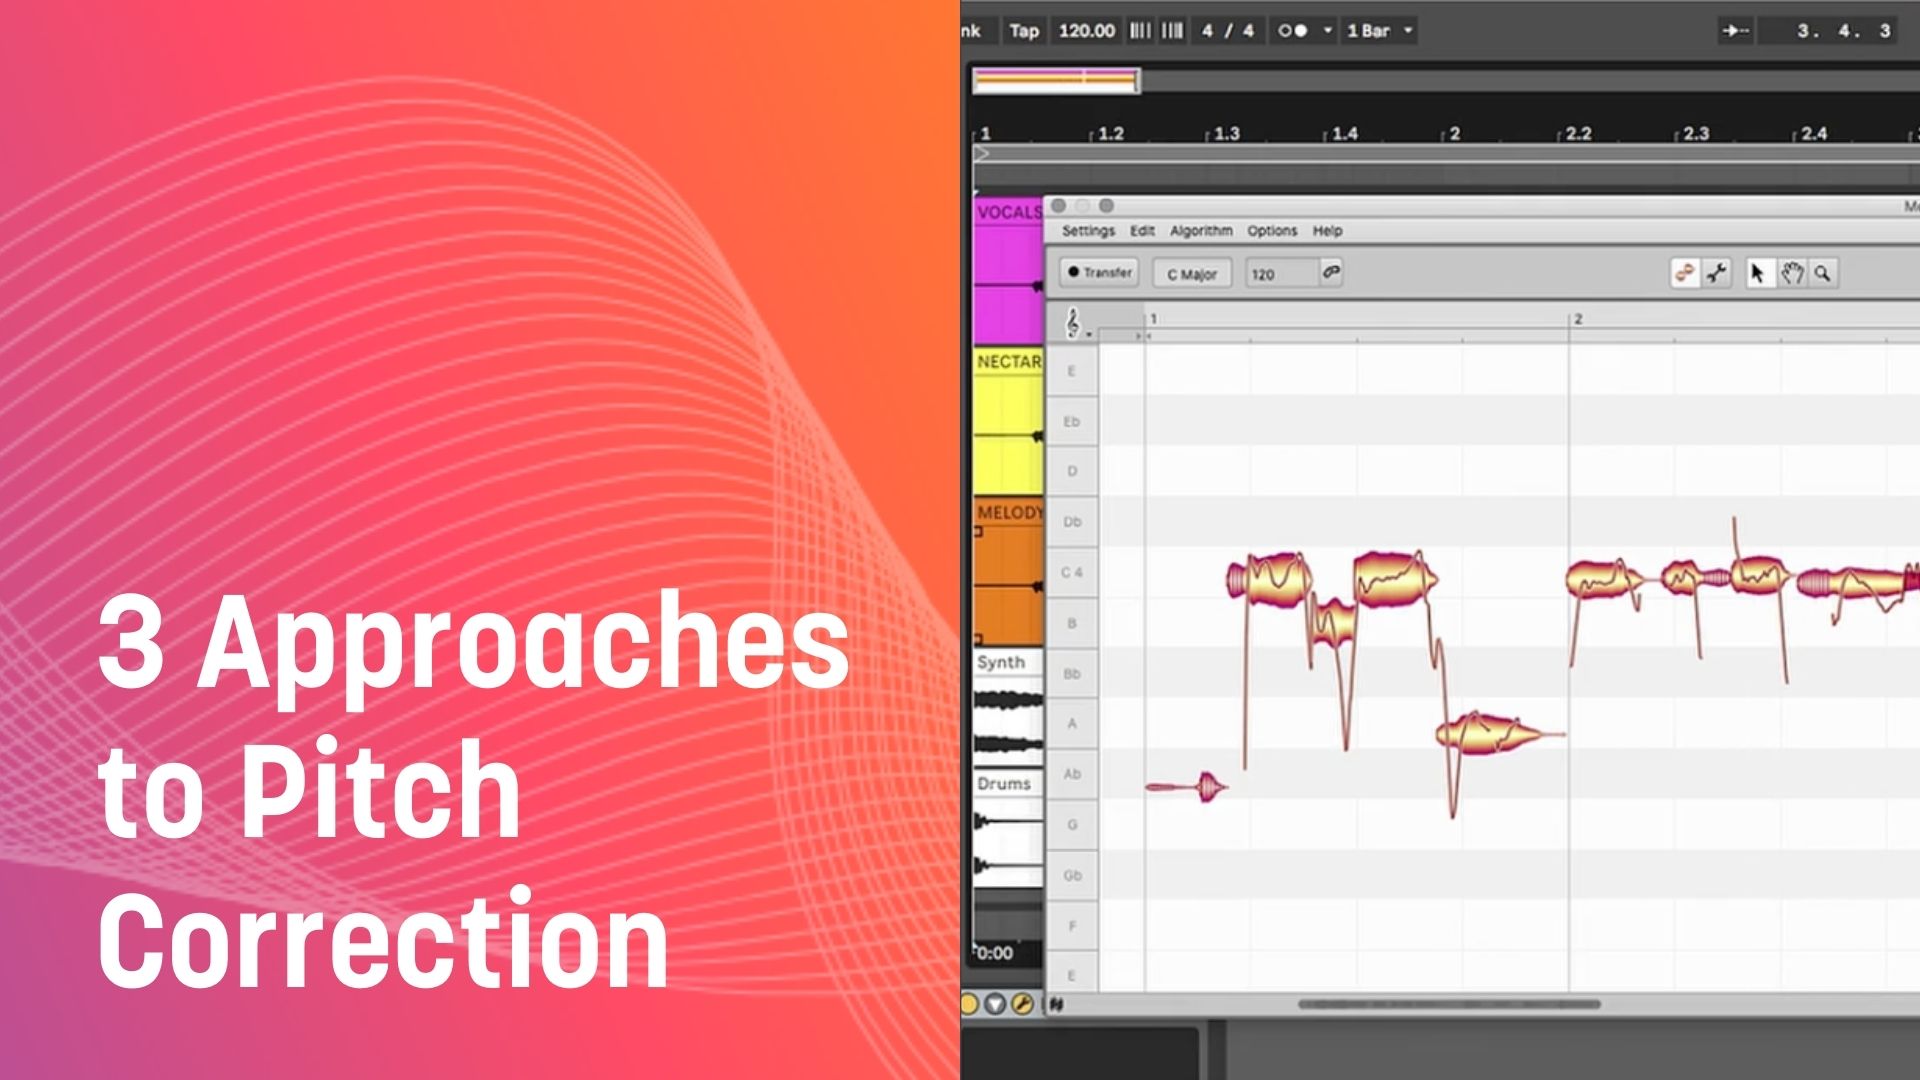
It’s worth noting here that Music Production Suite comes with two tuning options that’ll help if you need to tune vocals. The first is


Nectar 3 Plus
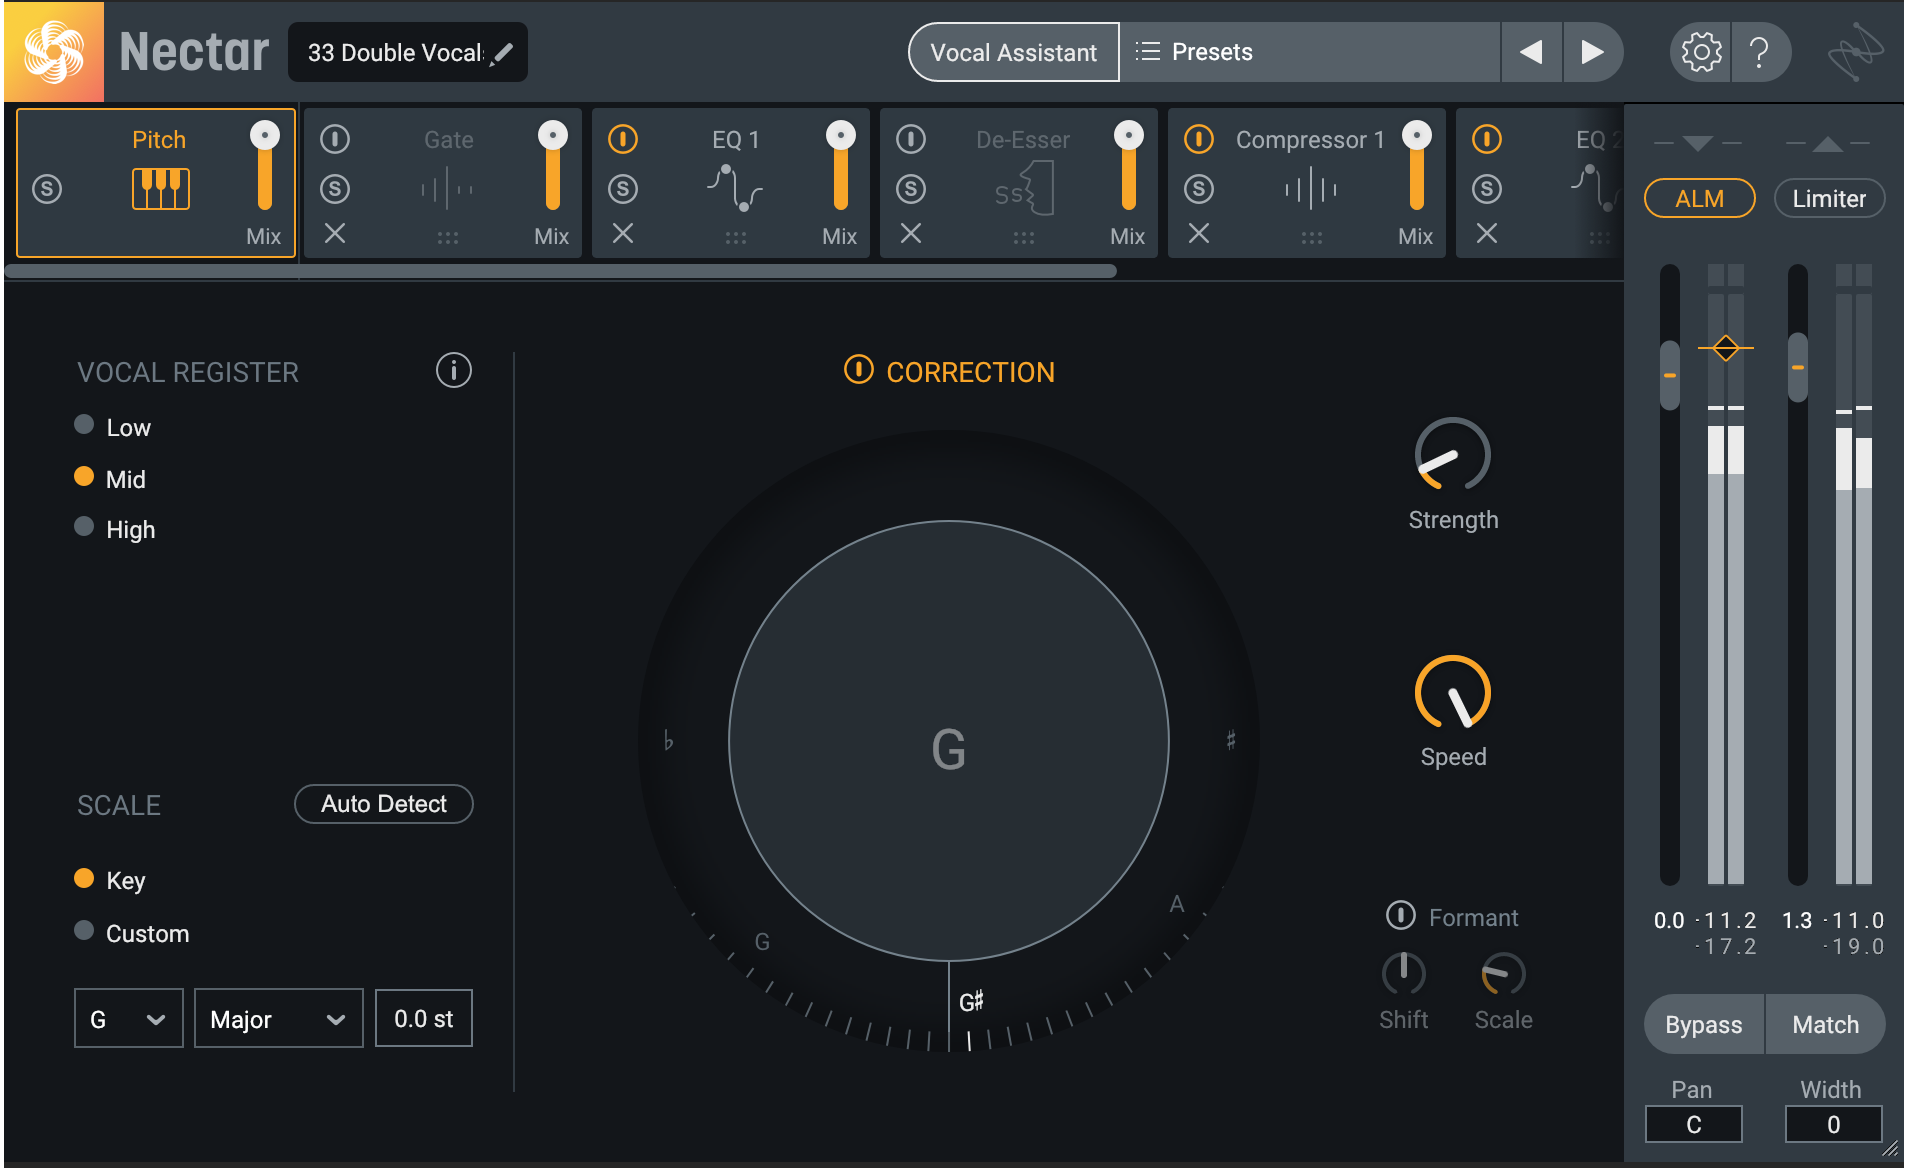
Natural-sounding pitch correction in Nectar Pitch module
The other is


Melodyne 5 Essential
9. Adding too much bass and treble
Ah the smile curve! It’s brought many a frown to budding engineers the world over. Rest assured, we’ve all been there, piling on bottom end and treble as though they’re ingredients that can never go sour.
This is one of the larger EQ mistakes, leading to ear fatigue and poor translation across speaker systems (you’re already applying a “Beats” curve to music that might very well be played on Beats headphones—and Double Beats is never good!).
I don’t know if there’s a remedy for this other than time and track referencing.
Actually, that’s a lie. I can think of two other tools that will help you train your ear.
The first is


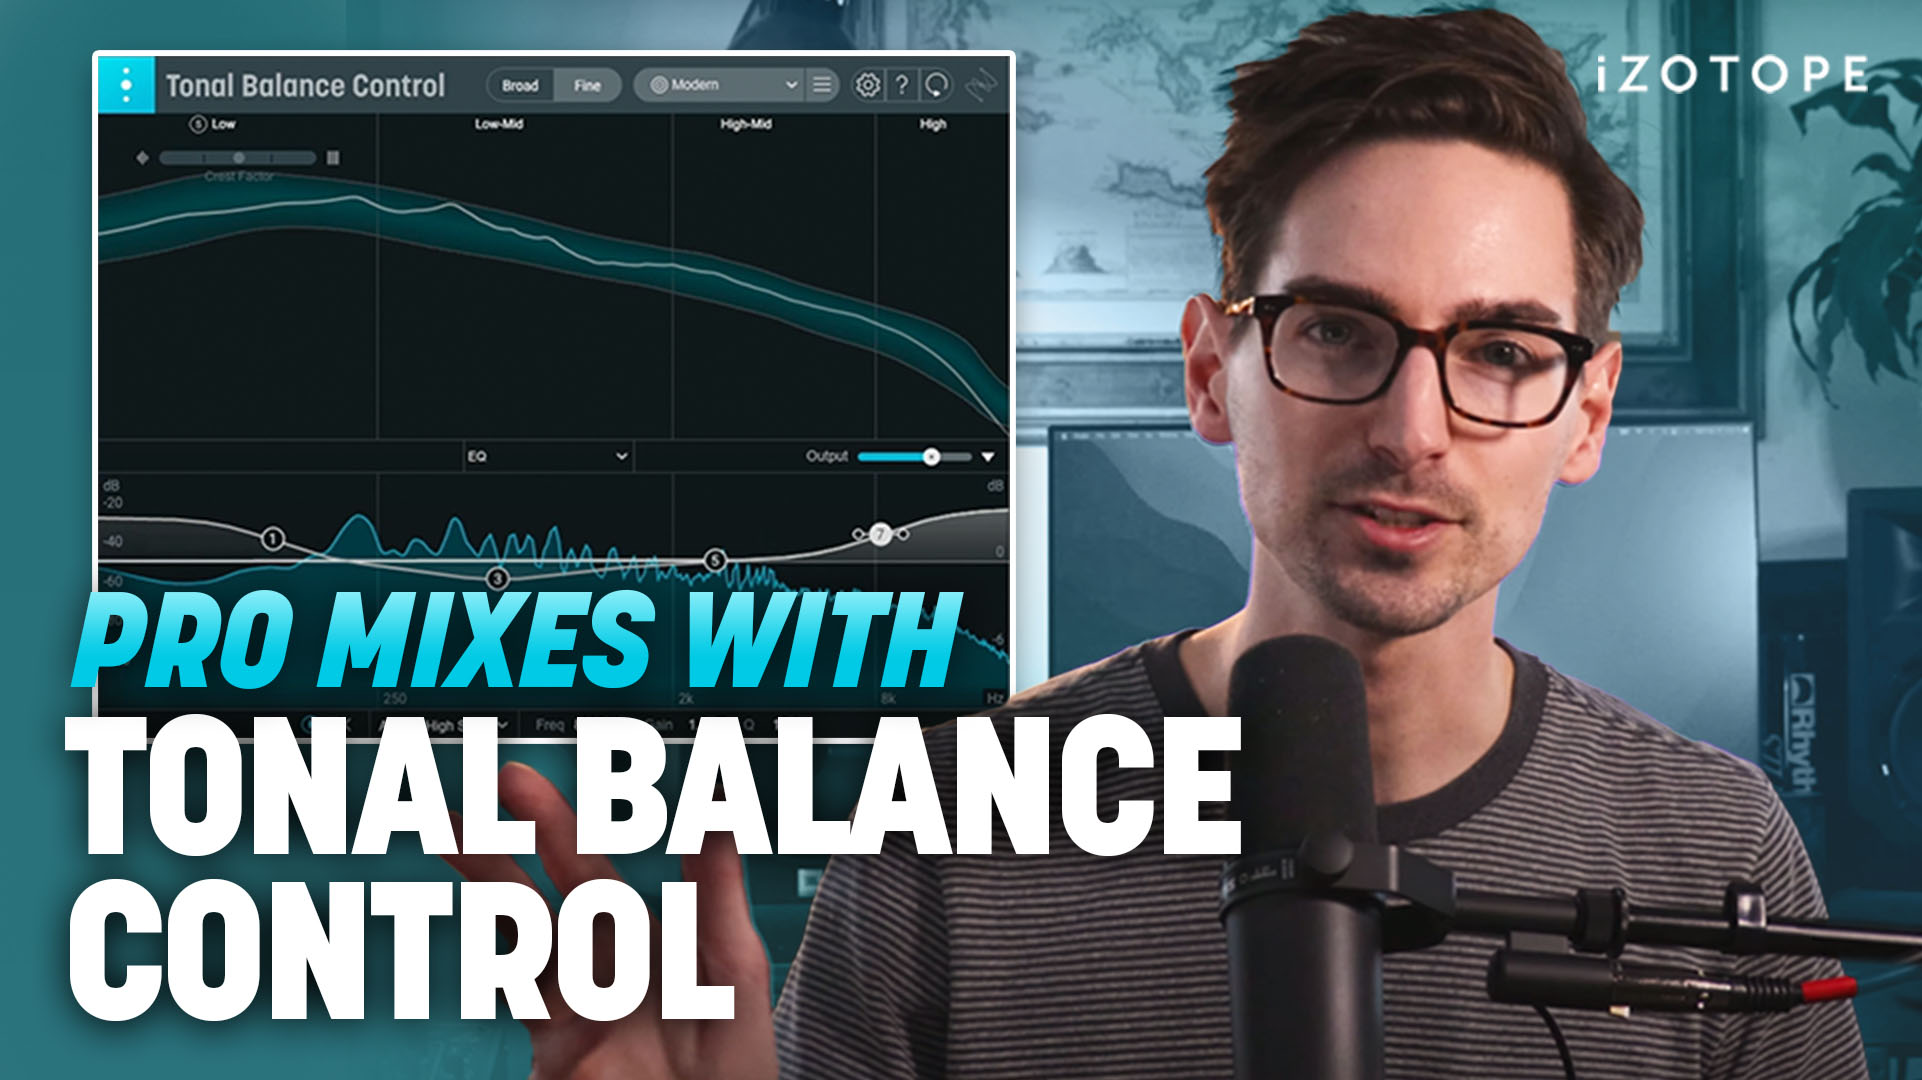
Tonal Balance Control 2
Using preset or custom reference targets, Tonal Balance Control will give you excellent visual feedback regarding whether or not your mix has too much bass and treble.
The second is Ozone’s Master Assistant, used as a mixcheck. After mixing for a while, run your mix through Ozone 9’s Master Assistant, and observe the EQ curves it applies in its “balanced” setting. If it’s working hard to turn down your low and high end, you know you’ve used too much.
10. Not using reference mixes
This is by far the biggest mistake engineers make in their nascent years. Maybe beginners think reference tracks are beneath them—that they want to sound different from the competition. Even so, it behooves you to listen to reference tracks so you know how to sound different!
Reference mixes keep you honest. They can reset you in bouts of ear fatigue, pull you back from making truly crazy decisions, help you know when it’s time to take a break, and most importantly, get your mix in shape quicker.
Whether you load your reference mix into the reference pane of Ozone, or put reference curves up in Tonal Balance Control, avail yourself of this time-honored tool. You’ll be in a better place for it.
Create better mixes
Having written this article on ten common beginner mistakes, I’d like to invite you to do something counterintuitive: Dive head first into every one of them. Take a project you’ve already mixed and start from scratch. Spend an hour on a weekend working on everything in solo, applying reverb to every track—and doing all of it with a complicated master chain in place.
This isn’t meant to be snide, negative reinforcement. Rather, I think two things may come of this enterprise: you may hear for yourself the detrimental effects of these pitfalls, or conversely, you may stumble upon something unique and amazing. Both outcomes are great, and they both serve the larger goal of experimenting.
There is nothing wrong with experimentation, though you may find controlled experimentation to be of better service to your growth, to your deadlines, and to your clients. So go to it, armed with these potential pitfalls! And if you haven’t already, try out some of the plug-ins offered in iZotope Music Production Suite that can help you make informed mixing decisions in your next session.
