5 Signs of Over-Processing in a Mix
In a world of boundless plug-ins, it's easy to overdo it. In this article, discover what an over-processed mix sounds like and how to avoid it in your next session.
We spend a lot of time showing folks how to use plug-ins. But with every tutorial and list of tips we publish, there’s always a caveat: be careful not to get carried away.
In a world of boundless plug-ins, it's easy to overdo it. And overdoing it can make a mix sound muddy, harsh, or out of focus. But how do you know when you’ve gone too far? In this tutorial, learn how to identify the signs of over-processing in a mix and how to avoid them.
Follow along with plug-ins from iZotope


Music Production Suite 7


Insight 2


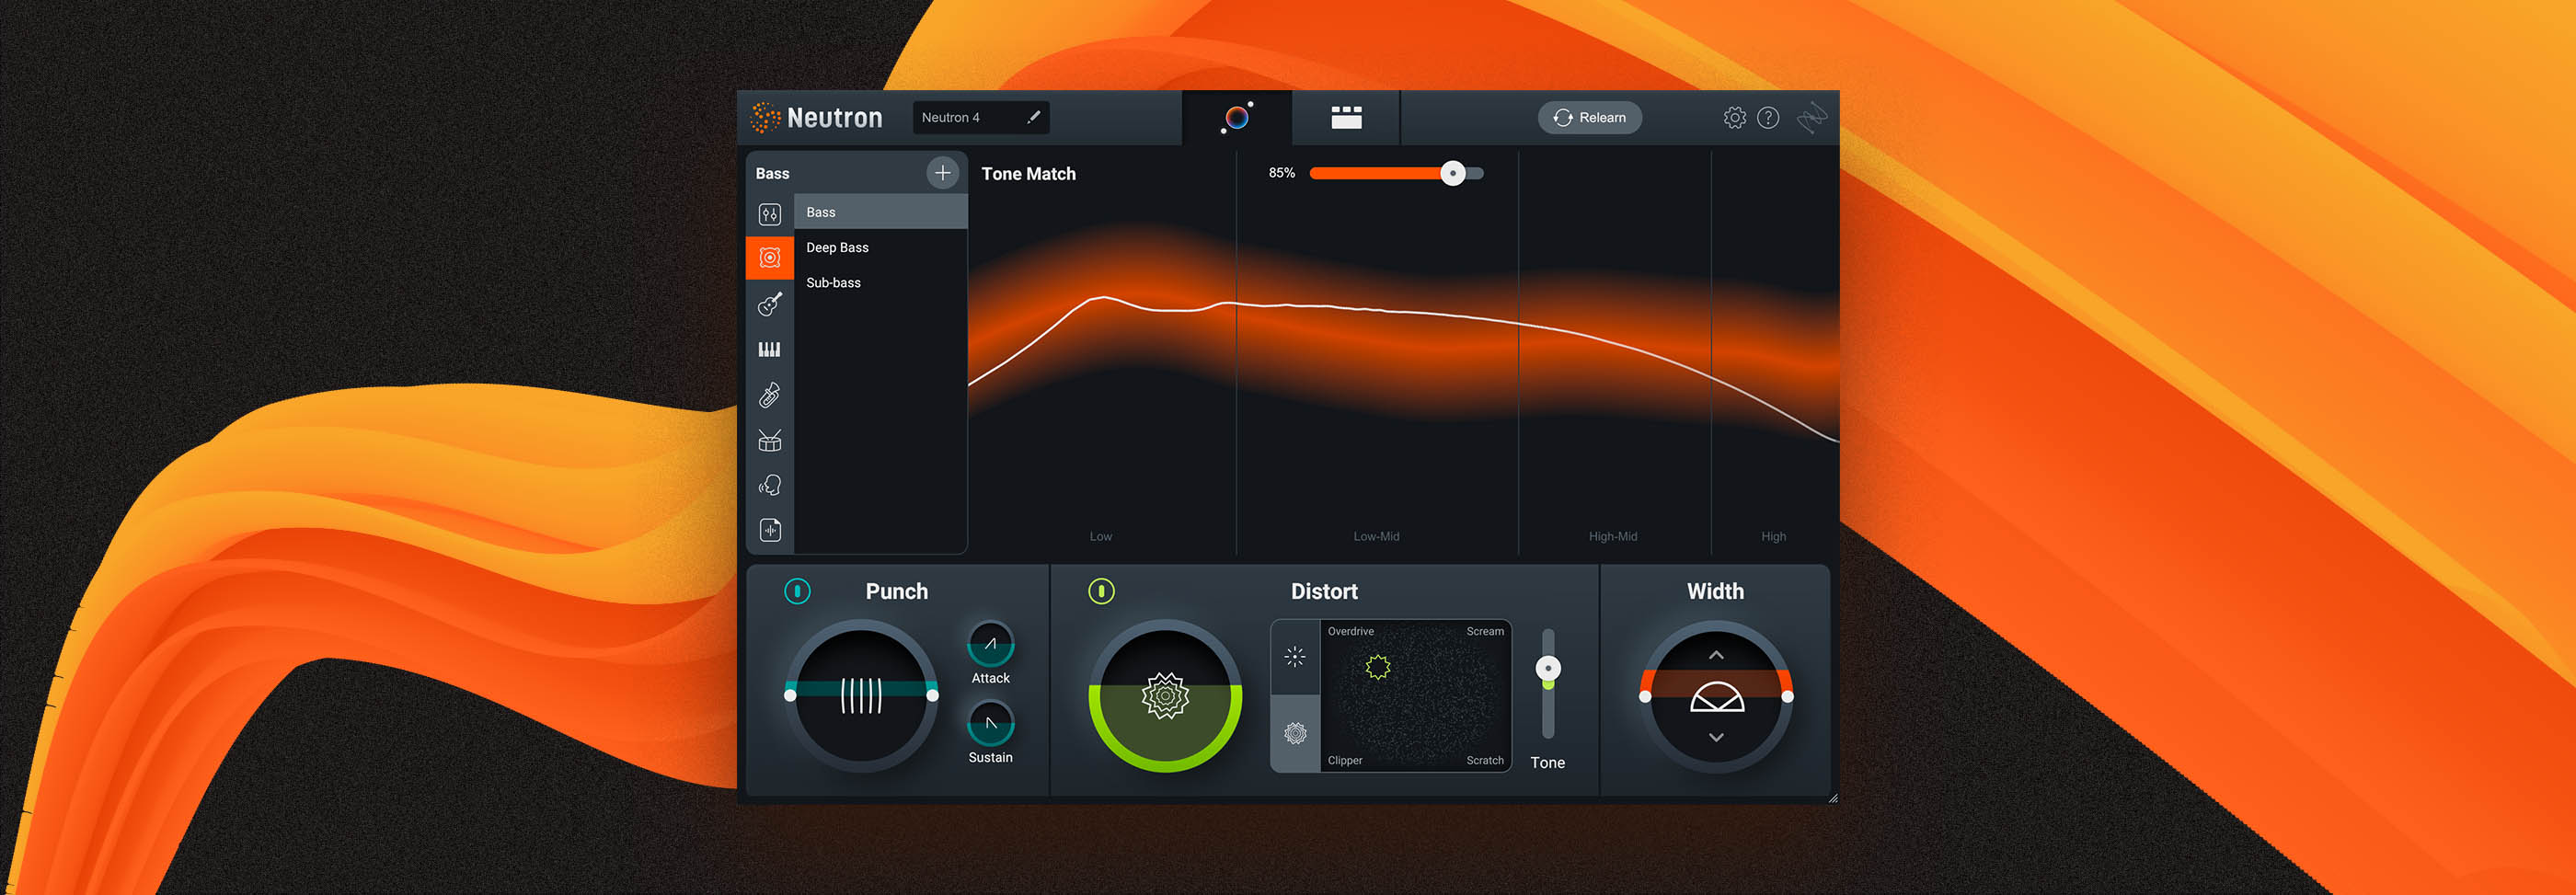
Neutron


Nectar 3 Plus
1. You can’t discern any clear transients
Transients are one way to add a lot of energy to a mix. For most non-ambient music, a lack of transient information can lead to loss of definition, clarity, excitement, depth, and even width!
A sparsity of transients is often caused by over-compression, which starts with improper gain reduction: over-compress—more than roughly 10 dB of gain reduction—and pumping artifacts will become more noticeable, yielding a cloudy result.

Compression and over-compression in a waveform
Improper time constants are also at fault: if your attack or release are too fast, you can introduce distortion that dulls the clarity and fatigues the ear. Unfortunately, a super slow release time can also contribute to over-compression, as the sound will never quite bounce back to a place where the ear can clearly distinguish the next transient.
By way of illustrating over-compression, here’s a basic loop—nothing fancy—featuring some drums that are doing what they basically need to do for this simple little ditty:
And here’s what happens if I over-compress the drums.
That’s the very same arrangement—and I’ve completely destroyed any sense of groove or impact by the use of over-compression.
Chances are you won’t come across something so drastic in your actual mix. Suffering will come from too many slightly over-compressed tracks playing together, yielding one dull mess.
Bottom line is, it takes time to be able to hear the effects of compression. Those engineers you admire, they’ve over-compressed mixes at some point. But they also kept working at it and learned how to listen for the tell-tale signs.
Here are some compression pointers for your own mixes in the meantime:
- Make sure your use of compression enhances the groove
- Use the least amount of compression that will suffice
- See if you can get away with less compression
- Use automation for any drastic shifts in level—like a suddenly belted vocal or a loud crash cymbal
2. Your mix sounds quieter than the reference when loudness-matched
This is an excellent tip for beginners, intermediates, and pros alike: if your reference mix sounds louder than your mix when loudness-matched, your mix might be over-processed.
Here’s how you go about finding out if this is the case: add iZotope


Insight 2

Add iZotope Insight into your mix to measure the short-term loudness of the chorus
Now, import a reference track into your DAW and measure its chorus with Insight. It’ll read significantly louder than yours, since it’s a fully-mastered song, but that’s okay. Just turn it down by the difference—if your mix measures -16 LUFS, and the reference measures -8, turn the reference down until it measures -16.
Because you’ve chosen this reference mix, it hopefully has at least some sonic relationship to your song. With all things being equal, you’d expect these two songs have a similar tonal balance. You wouldn’t be using Nick Cave to reference Nicki Minaj.
All of this means that if both tunes measure the same—but the reference feels louder, has more weight, and hits harder than your own mix—you have a problem. That problem could very well be over-processing, as humans aren’t often minimal in their approach to anything.
I want to be very clear here. By over-processing, I don’t necessarily mean your mix has too many plug-ins. You could only have one plug-in in the mix, but you might be doing too muchwith it.
There are a lot of potential culprits for this that could eat up a whole article, but here are a couple common ones. You could be allowing too much bass to cloud up the proceedings, or overcompressing the drum bus. Mixing is a delicate balance, and using a reference is a fantastic way to check your balance!
3. Using the same processing in the same order on every track
...and that processing isn't an expensive console. The tip speaks for itself, but as I’m loquacious at heart, here are some reasons behind my thinking:
- No two instruments are the same—each one requires its own individual care.
- Not every track that comes your way requires an EQ
- Not every track in the world demands a compressor
- Saturation is not necessary for every track
- To some degree, every tool you use has its own sonic signature
- Analog tools differ from unit to unit, while a plug-in usually doesn’t
If you tend to use the same tools in the same order on your mixes—and if you constantly ask yourself “why does my mix always sound over-processed compared to the competition?”—you’ve just answered your own question.
To illustrate this, I’m going to present a quick loop I put together. I intentionally kept it very busy, so it would be harder to mix.
I’ll use Music Production Suite plug-ins exclusively to do the job, but on one mix, I will only use Neutron’s EQ, Compressor, and Exciter, in that exact order—on every track.
In the other mix, I will use whichever tools work for the job—a Neutron EQ here, a Nectar Saturator there, et cetera.
You’ll have to trust me when I say I didn’t try to make one sound better than the other. But tell me, which sounds better to you?
I vastly prefer the latter one, because I thoughtfully decided to use different tools that would be best for the job—or to skip processing altogether!
Hopefully this illustrates that every sound requires its own care, and that every tool has its own sound. And if you’re using that sound over and over and over again, you're overusing that sound!
Now, to address the caveat above: why does a large-format console—like an SSL, Neve, or API desk—stand in exception to this rule?
Because it actually doesn’t. You would never be processing the snare drum through the exact same channel strip as the kick—you’d move on to the next channel, which has its own real-world components, with their own tolerances, and which are aging ever-so-slightly differently from the previous channel, all of which contributes a certain heterogenous feeling.
4. You can’t make it through to the end of the song because it's too harsh
If you can’t make it through to the end of the song you’re mixing because it sounds so harsh, you have a serious problem. Often this has to do with overcompression—and if it doesn’t, EQ is probably the culprit.
You may have overworked your EQ. There are two possibilities here.
Possibility 1: you used brutal subtractive EQ
Sometimes you need to cut 6 dB out of 2 kHz to curtail a nasty resonance, or to move one instrument out of the way of another. But too many extreme cuts results in a thin, lifeless, deeply unforgiving sound.
Once we dive into subtractive EQ, we become sensitive to any frequencies that feel slightly out of place. We cut recklessly. Not all resonances are bad, and a little masking can actually be what your mix needs to feel cohesive, as opposed to clinical.
This mix session uses a previous version of Neutron. Check out the all-new 

Neutron 5
Here’s an example: We’ll take the song “Death of a Star” by Adara, a mix generously provided to the iZotope team. It sounds like this:
A good sounding mix in its own right. Perhaps, under a microscope, we might want to clean up some of the instruments occupying the midrange.
So, I’ve chopped it up with a “beginner’s mind:” the bass was too full, so I cut out some mid lows. Then the synths felt too competitive with the vocals, and I notched it as well. The clap began to feel too tinny, so I brought out my EQ hatchet again. Next, the vocal began to feel pinched in the 3 kHz range…
When all was said in done, it sounded bereft of any glue or gravitas:
The impetus to change things wasn’t bad, but the execution was off. As shown in the video below, my moves were too harsh:
Instead, I recommend making the least number of cuts that will suffice—which we can do with the masking meter, as shown here:
I chose to EQ the whole instrument submix because I’m working with stems that were already mixed. In your session, you could work on a track-by-track basis; just be sure to be subtle!
Possibility 2: Excessive boosting
The instant “loudness” gratification additive EQ provides leads many engineers to overcook their mixes with dollops of gain. In the low-mid range, too much gain makes things muddy and sluggish; the kick and bass merge into a single blob of low-end that is all thump and no punch. In the upper mids and presence range, too many boosts wash away the contours of individual instruments and leave us with harmonic mush.
To illustrate this concept, I’ve taken “Death of a Star” and absolutely butchered it by EQing in the seductive manner outlined above.
I wanted the vocals to cut more, so I boosted the highs. Then I wanted the synths to cut too, so I repeated this fatally flawed shelf. Soon the drums weren’t loud enough, so more EQ. Next I couldn’t hear the bass any more. EQ again!
Before I knew what was happening, the mix went from the "before" audio to "after." You can hear the mix collapsing, getting smaller and more fatiguing.
Audio Example: Normal Mix vs. Too Much Boosting
If we want to emphasize elements, we can do so to much greater effect by using a subtle hand. Remember: we only need one or two bright elements for the whole mix to sound bright. Let’s show off a subtler way of brightening here:
It’s worth mentioning here, that I’m starting with very good source material, which means my cuts and boosts can be subtler. There’s no specific amount of cut or boost you should necessarily avoid, just be careful not to overdo it. If you’re struggling with this, one good trick is to make your EQ move, and then cut the gain in half.
5. You keep getting lost in your DAW session
As a final tip, if every time you hear something wrong you need to bypass nine different effects to find the problematic plug-in, you’re probably guilty of over-processing! Some mixes need more effects than others, but it's never a bad idea to try a “less is more” approach.
If all those plug-ins aren’t giving you the sound you want, there’s no need to add another—it probably won’t help. Instead, try bypassing the effects one-by-one until you get something better. Or go for a clean slate and remove all the effects and start over.
Getting just the right amount of processing in your mix
Learning how the effects in your plug-in arsenal work and what to listen for takes practice. Just as a musician practices when they’re not writing songs, use the time between mixing sessions to get a better understanding of individual effect parameters and plug-in combinations that sound good.
And if you haven't already, be sure to check out iZotope


Music Production Suite 7


