Quick Tricks for Creative Sound Design at Home
If you can’t get to your studio, why not have fun with whatever’s handy? Check out these great tricks for creative sound design at home!
Working from home has become more common than ever before. While some music producers figure out ways to do their jobs away from their well-equipped studios, others look around the home studio and figure out ways to get inspiration without leaving the house.
Fortunately, there are all kinds of ways to do creative sound design at home. Even a small apartment will have everything you need to come up with intriguing sound effects, bed tracks for music content, and unique, irreplicable beats!
In this article, I’m going to share some quick and easy ways to record sounds and turn them into cool sound design elements. We’ll start with nothing more than a microphone, then introduce some iZotope plug-ins—including a couple that are available for free!
And best of all: we’ve included all the samples below (raw and edited) in a free, downloadable sample pack at the end of this article. If you want even more samples, you can try Music Production Suite Pro for free to access members-only sample packs, plus industry-leading plug-ins and exclusive educational courses and resources.
Want to try things for yourself? Click here to download the samples from this article.
Resonance is your friend
When you want to create powerful sounds that capture attention, look for resonances. Put simply, resonance is what you hear when a sound-making object is fed energy, and it feeds some of that energy back to you in a certain way. The tone of a struck object “ringing out” is a resonance. So is the emphasis—as Bob Moog called it—at the cutoff frequency of a synthesizer filter.
There are lots of resonant objects around the house. Anything that rings when you hit it can be a great sound source. As an example, let’s explore the sound of a stainless steel bowl partly filled with water.
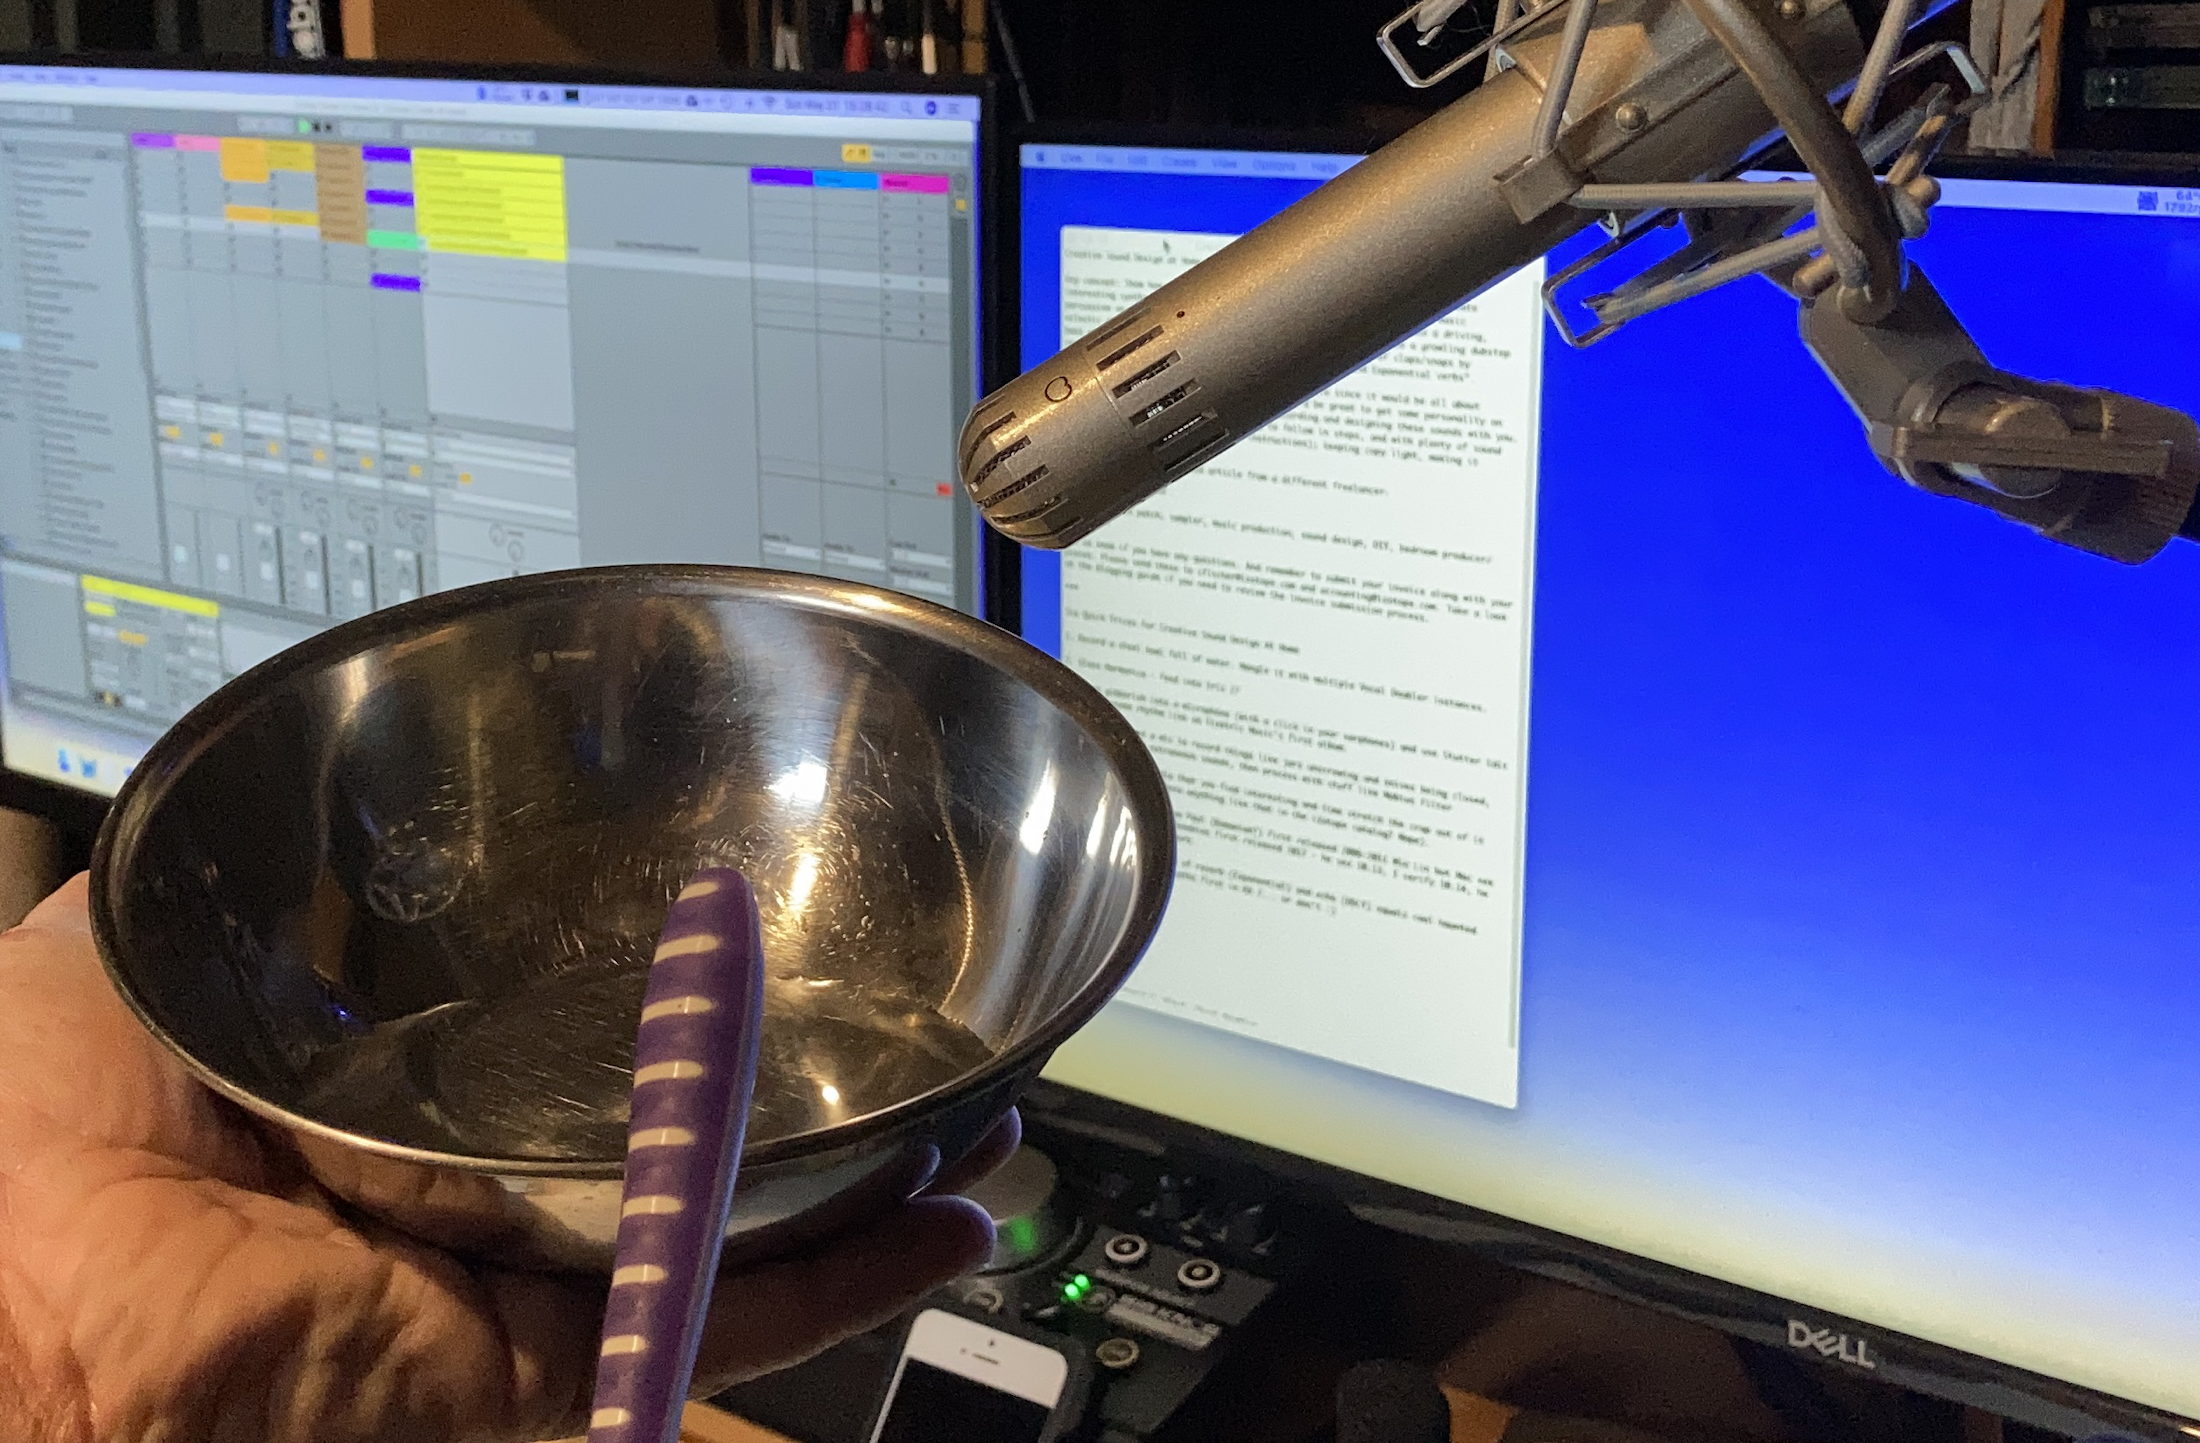
One steel bowl + one toothbrush + one microphone = endless sonic amusement
Water changes the resonant characteristics of the metal as it moves. You can use any microphone to capture the sound; in my examples, I used a small-diaphragm condenser mic that I happened to have set up in my studio already. But for sound design, even a smartphone’s mic can do the job.
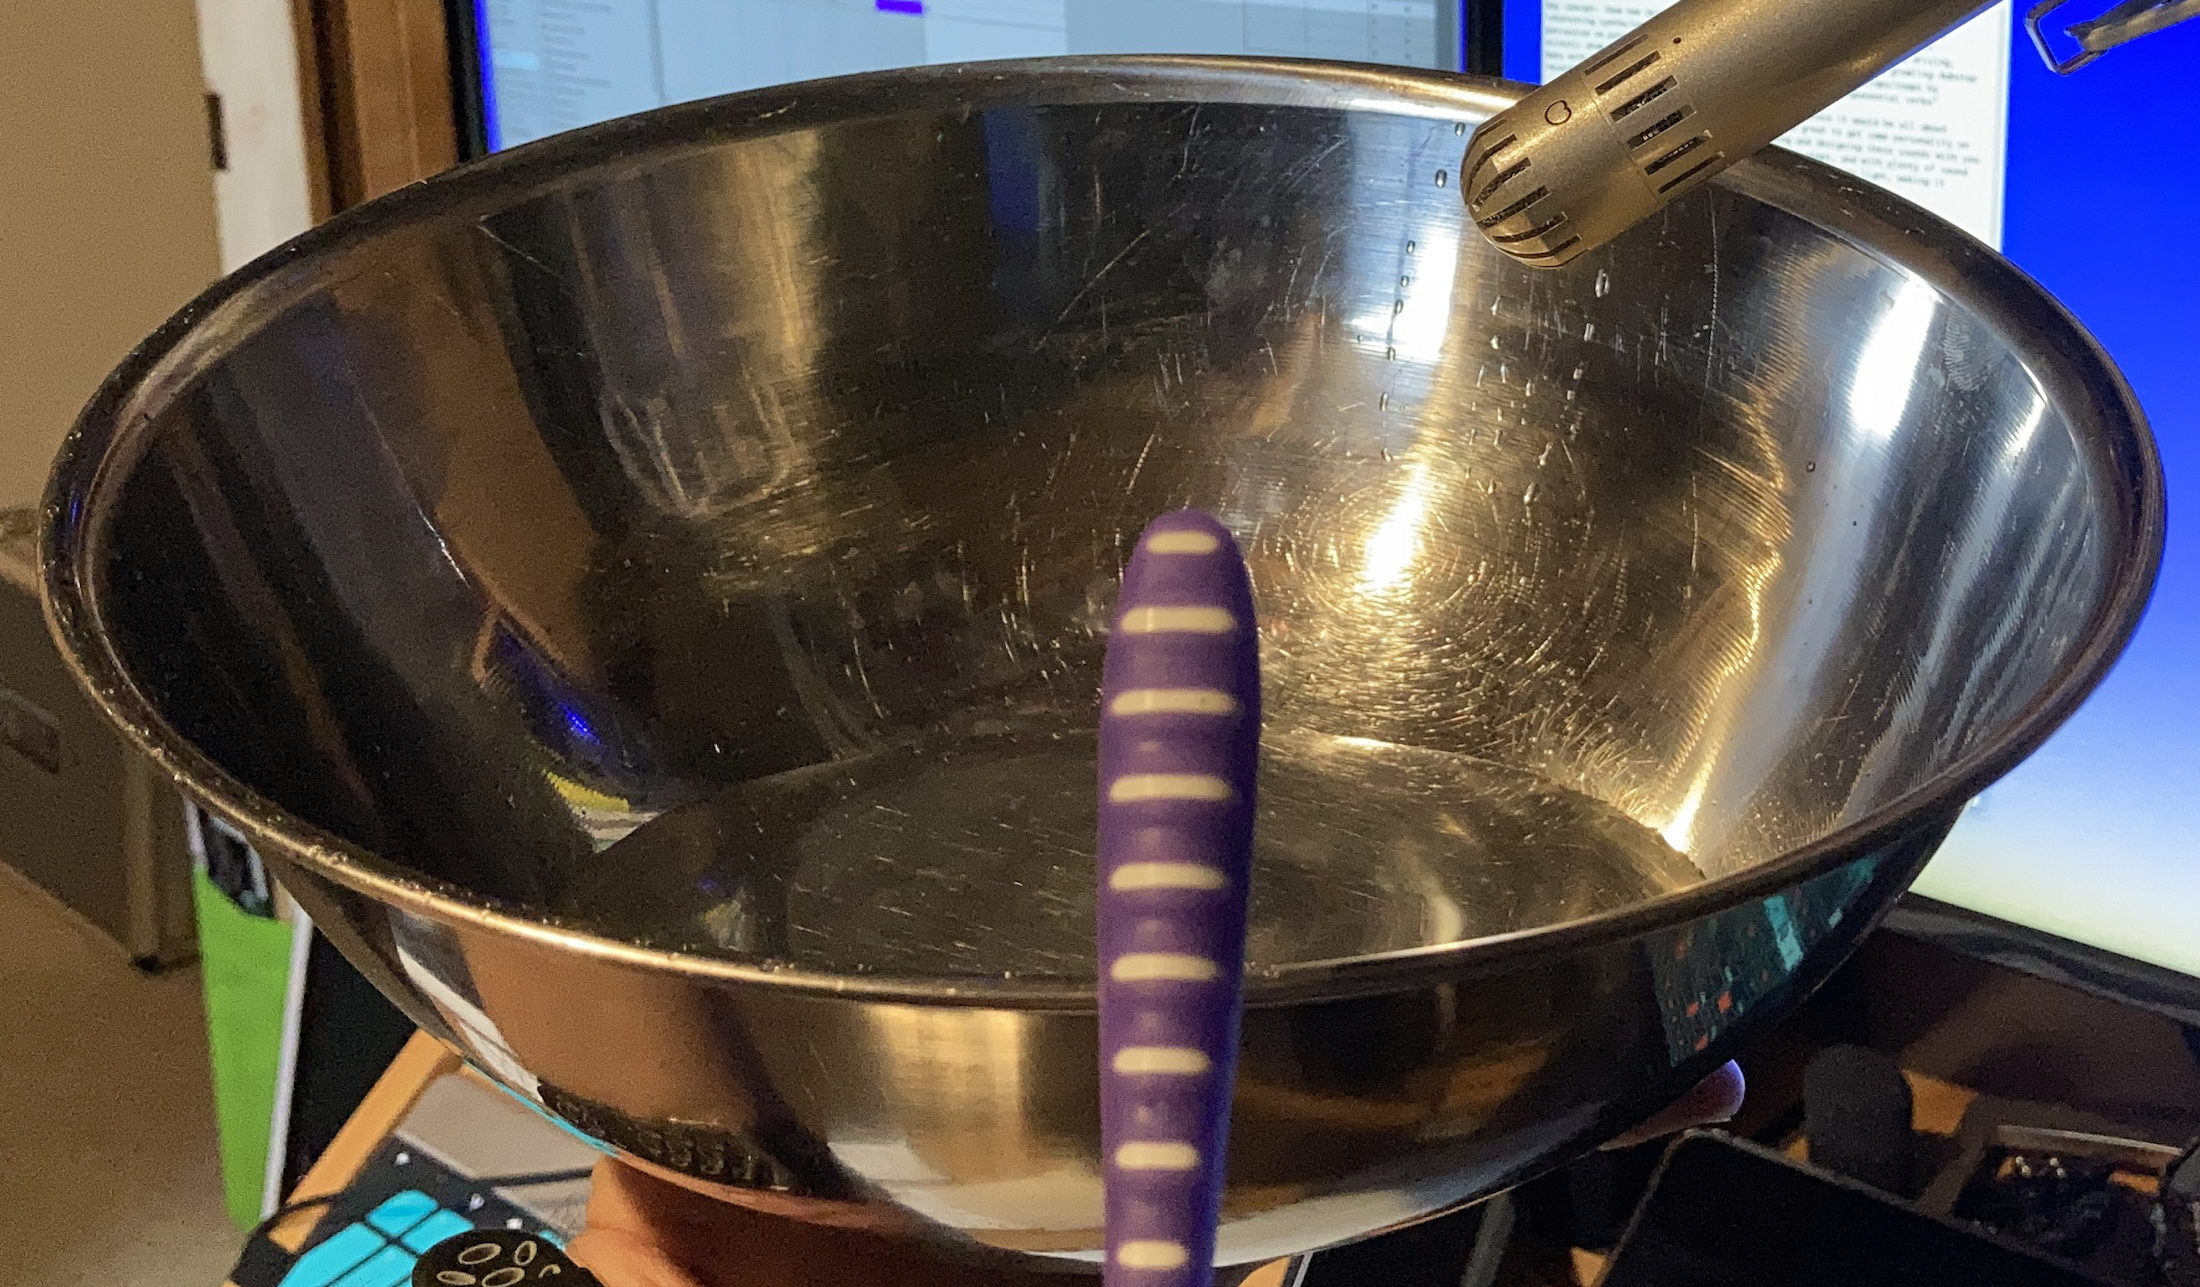
iZotope takes no responsibility for you dumping water on your computer if you’re silly enough to do this right next to it.
In these examples, you’ll hear a small bowl and a large one, first empty, and then with sloshing water in them. They’re struck with soft and hard objects to get different frequency responses. I used a toothbrush, which has a variety of striking surfaces to choose from. I struck both bowls with varying dynamics, and on the larger one I had some fun with rhythms and harder sloshing. (You can hear my yelp when I got carried away and got water on my shirt.)
How would you use a sound like this? Try cutting up single hits and building a library of samples for your beatmaking. Play rhythms and turn them into loops. You can even feed the sounds into a virtual instrument for further sculpting—the things you can accomplish with your own sounds in Iris 2 would fill multiple articles on their own.
Small sounds for big impact
When music creators discovered the microphone could capture sound in ways the ears could not, they explored all kinds of possibilities, from a mic submerged in water (thank you, Beatles producer Geoff Emerick!) to multiple mics roving over the surface of a huge gong as it was played (thank you, Karlheinz Stockhausen!).
We can take advantage of the power of the microphone by recording very small things, making very small sounds; amplifying them; and working with them as we would any other sonic material. Much as a magnifying glass gives us a look into a realm too small to see easily, this approach gives us a window into a new world of sound.
Capturing these sounds is easy: just set up your mic or phone near a surface where you can place your small objects, and then manipulate them in various ways. A quiet environment is ideal, but catching background sound can add space and character. It’s your call.
Here are four examples taken from objects I had laying around on the worktable where I repair old computers.
First, I took two of my tools—a metal dish that holds screws and other small parts, and a plastic “spudger,” a pry tool for opening computer cases—and used them as a tiny faux-Tibetan singing bowl. Rubbing the spudger around the rim of the dish produced a pulsing, ringing throb that was easy to time-stretch into a predictable rhythm.

You could pay fifty dollars at a New Age store for the real thing…but why bother?
Once this rhythm loop was created, then I could bring some iZotope plug-ins into play. I used the tempo sync of Mobius Filter to provide a steady upward shift, and followed it with two consecutive instances of the free


Vocal Doubler
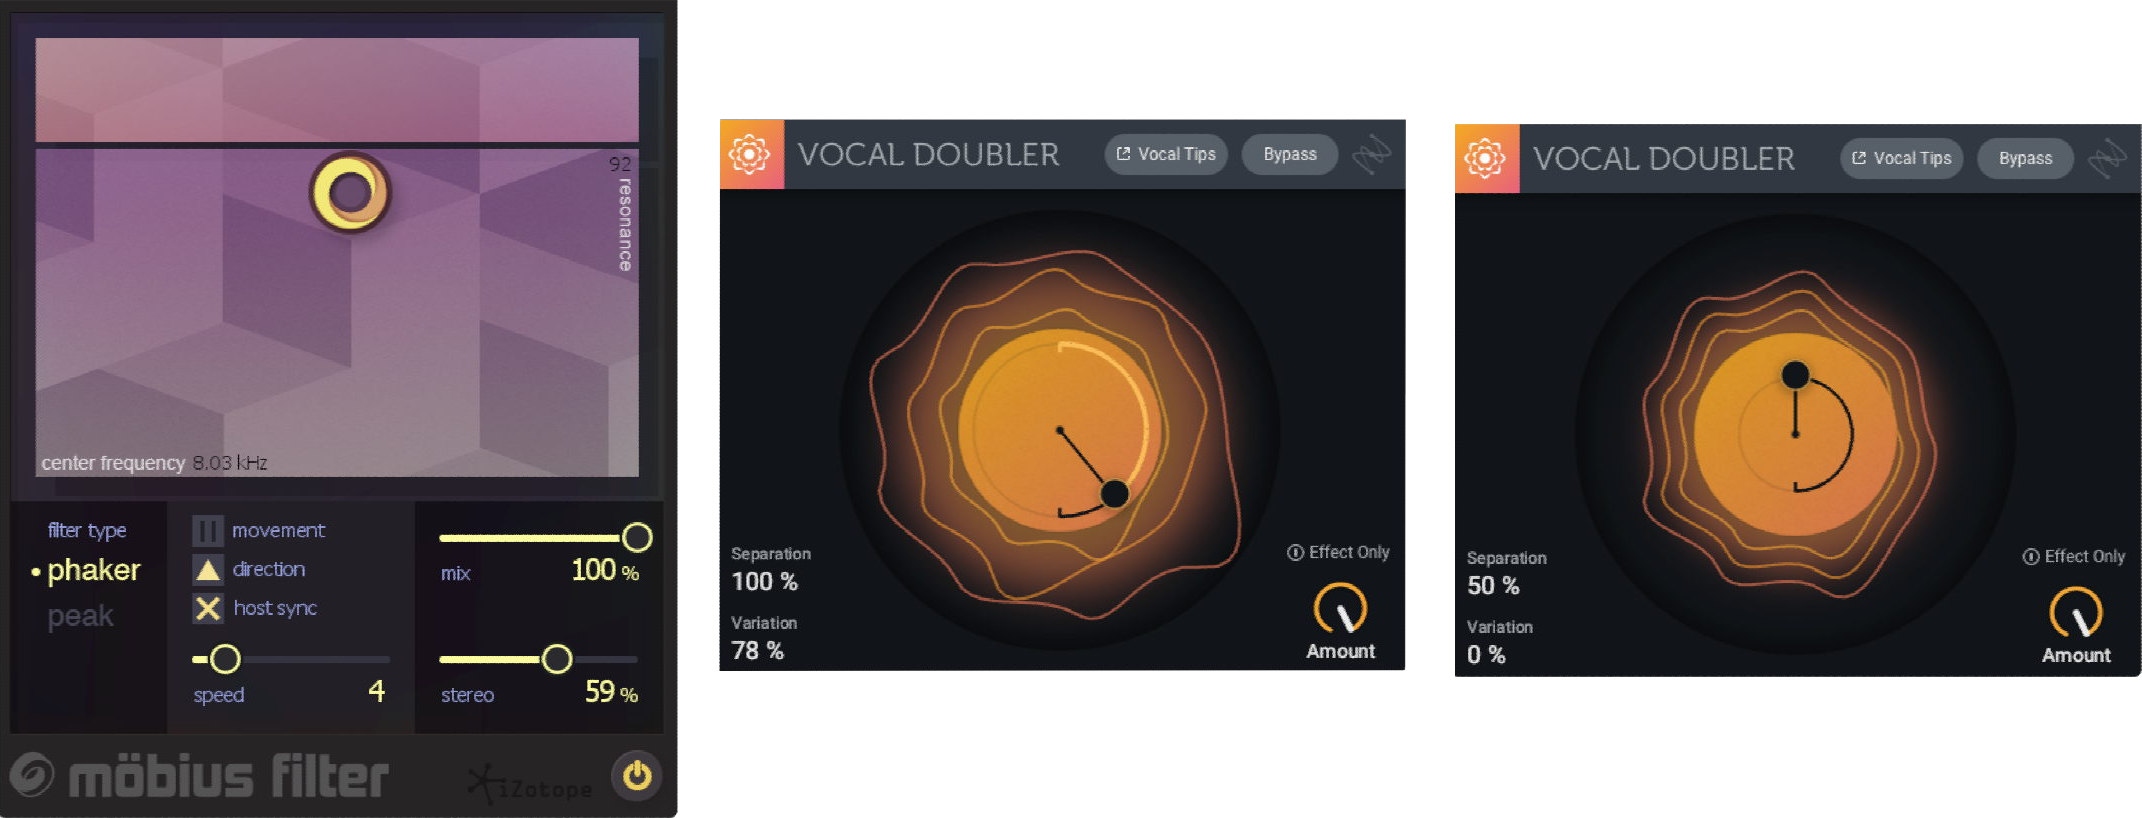
Dish and Spudger FX chain
Second, I took a small tape measure and recorded opening it in jerks and then retracting it, creating a rhythm. The basic sound is intriguing in and of itself:
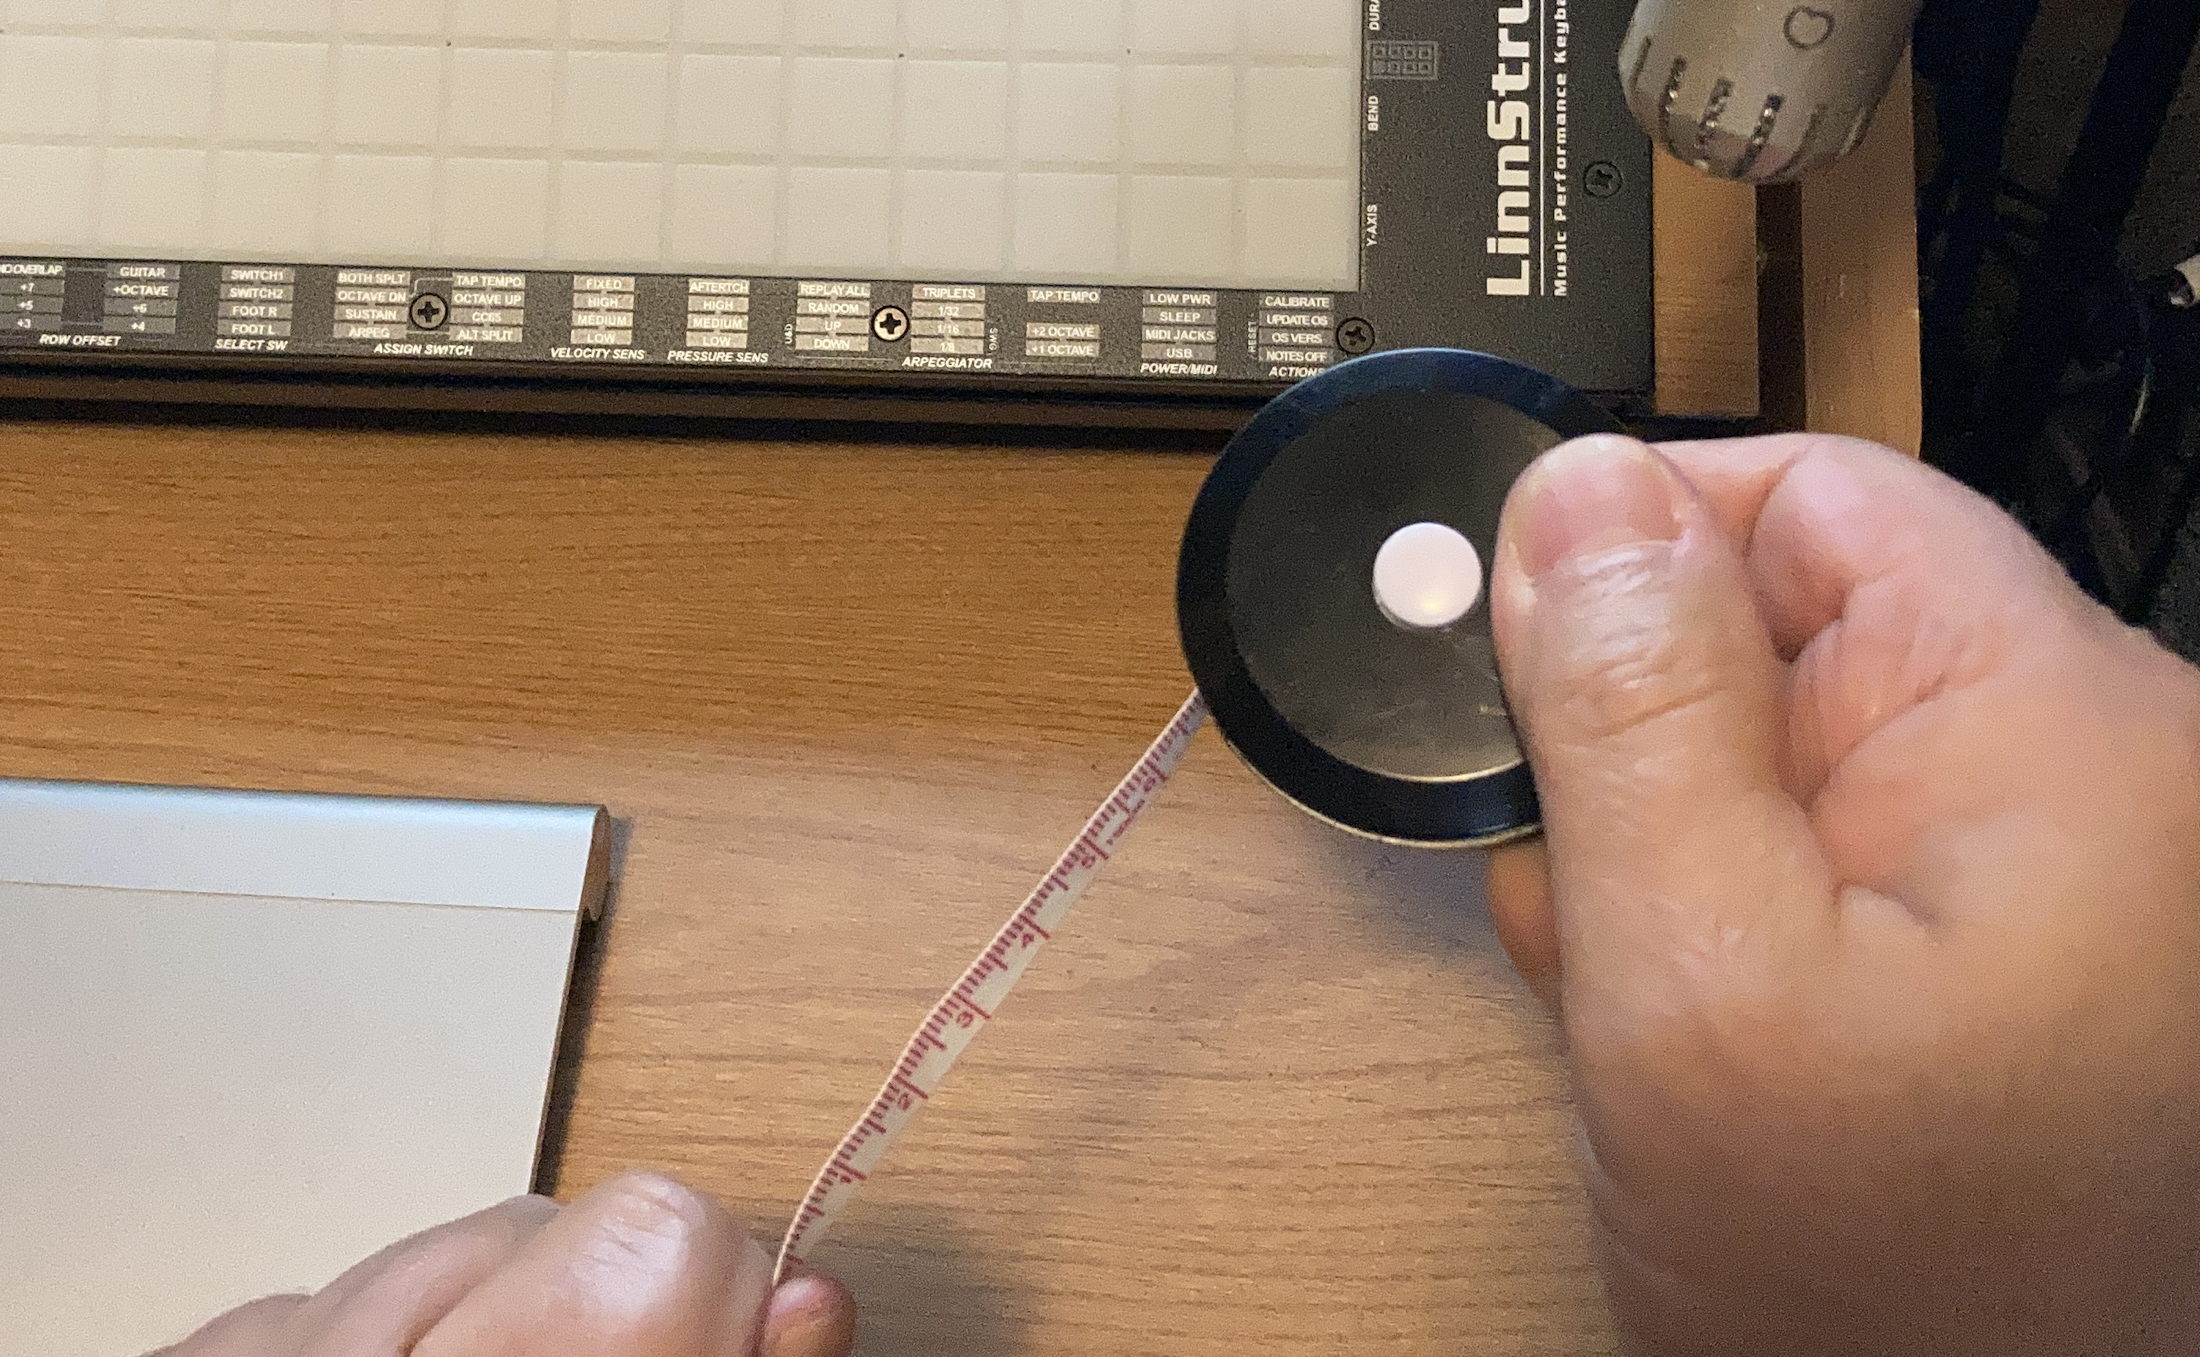
By yanking and retracting the tape, I got enough sounds to make two measures. (...get it?)
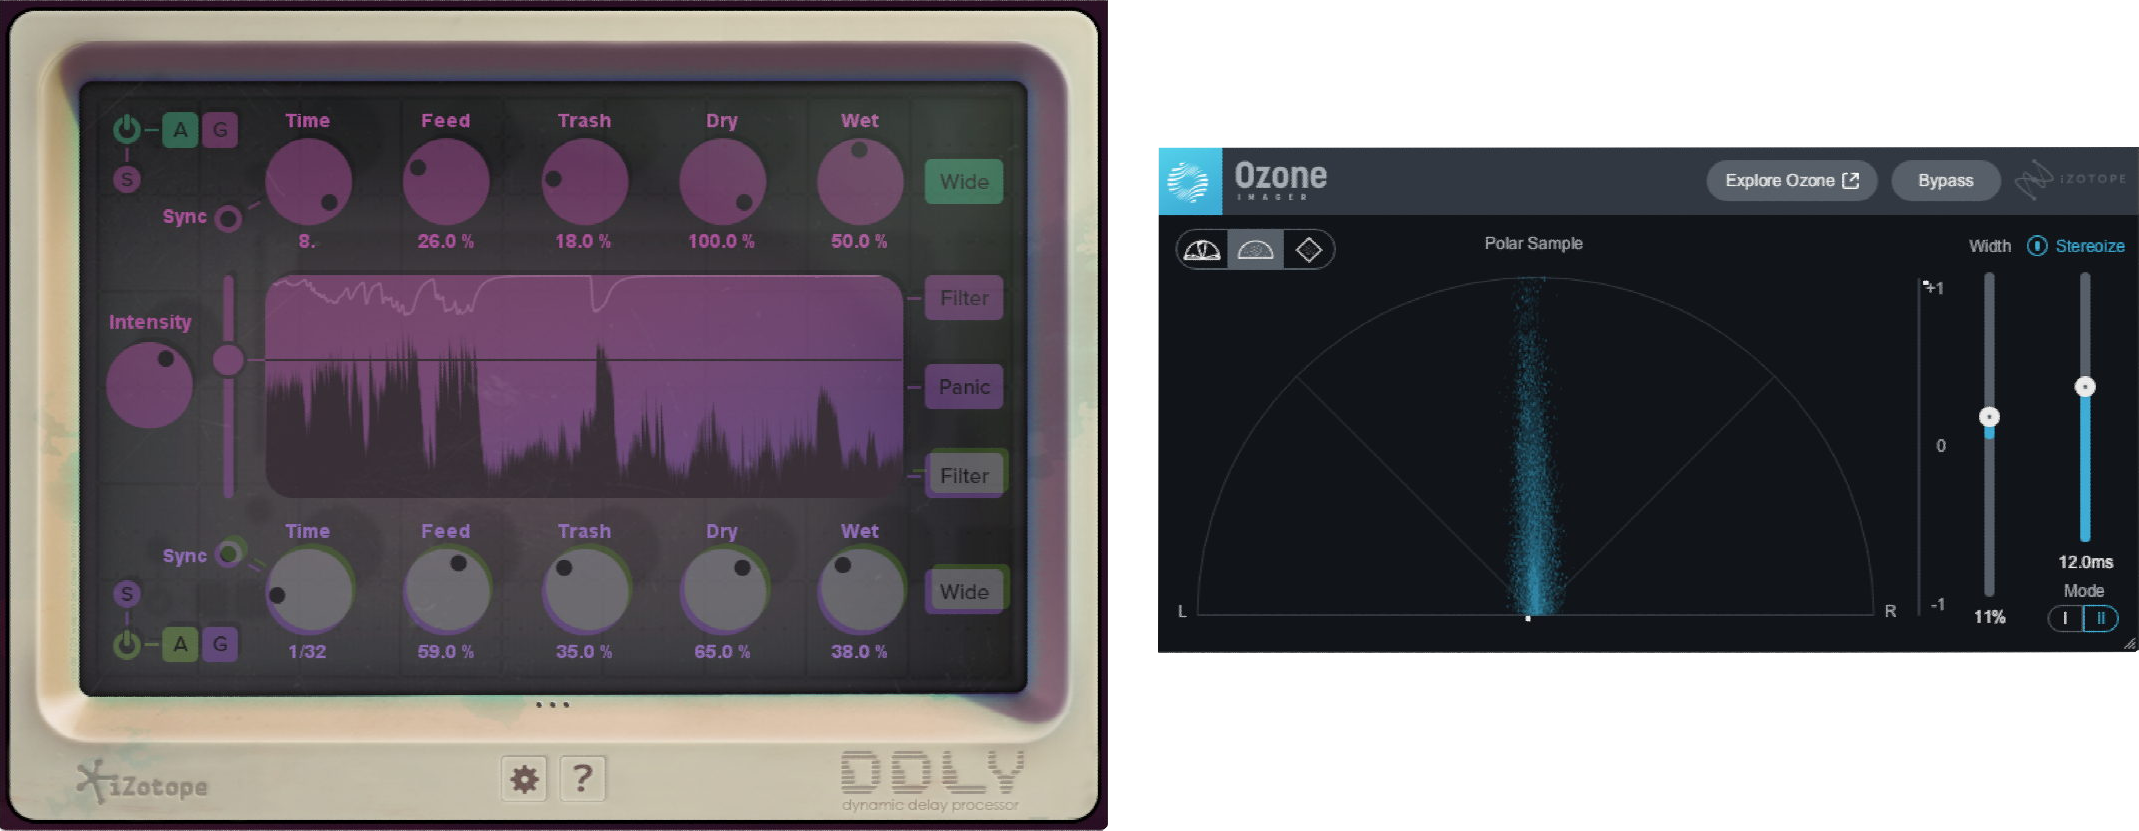
To enhance the rhythmic aspect of the sound, I took advantage of the DDLY Dynamic Delay plug-in’s ability to process softer and louder sounds with two different delay lines. Here, the softer retraction ratcheting has a rapid dotted-eighth repeat, while the louder clicks have a dotted-half pattern, with a tiny bit of pitch variance in the granular delay. Next, the


Ozone Imager V2
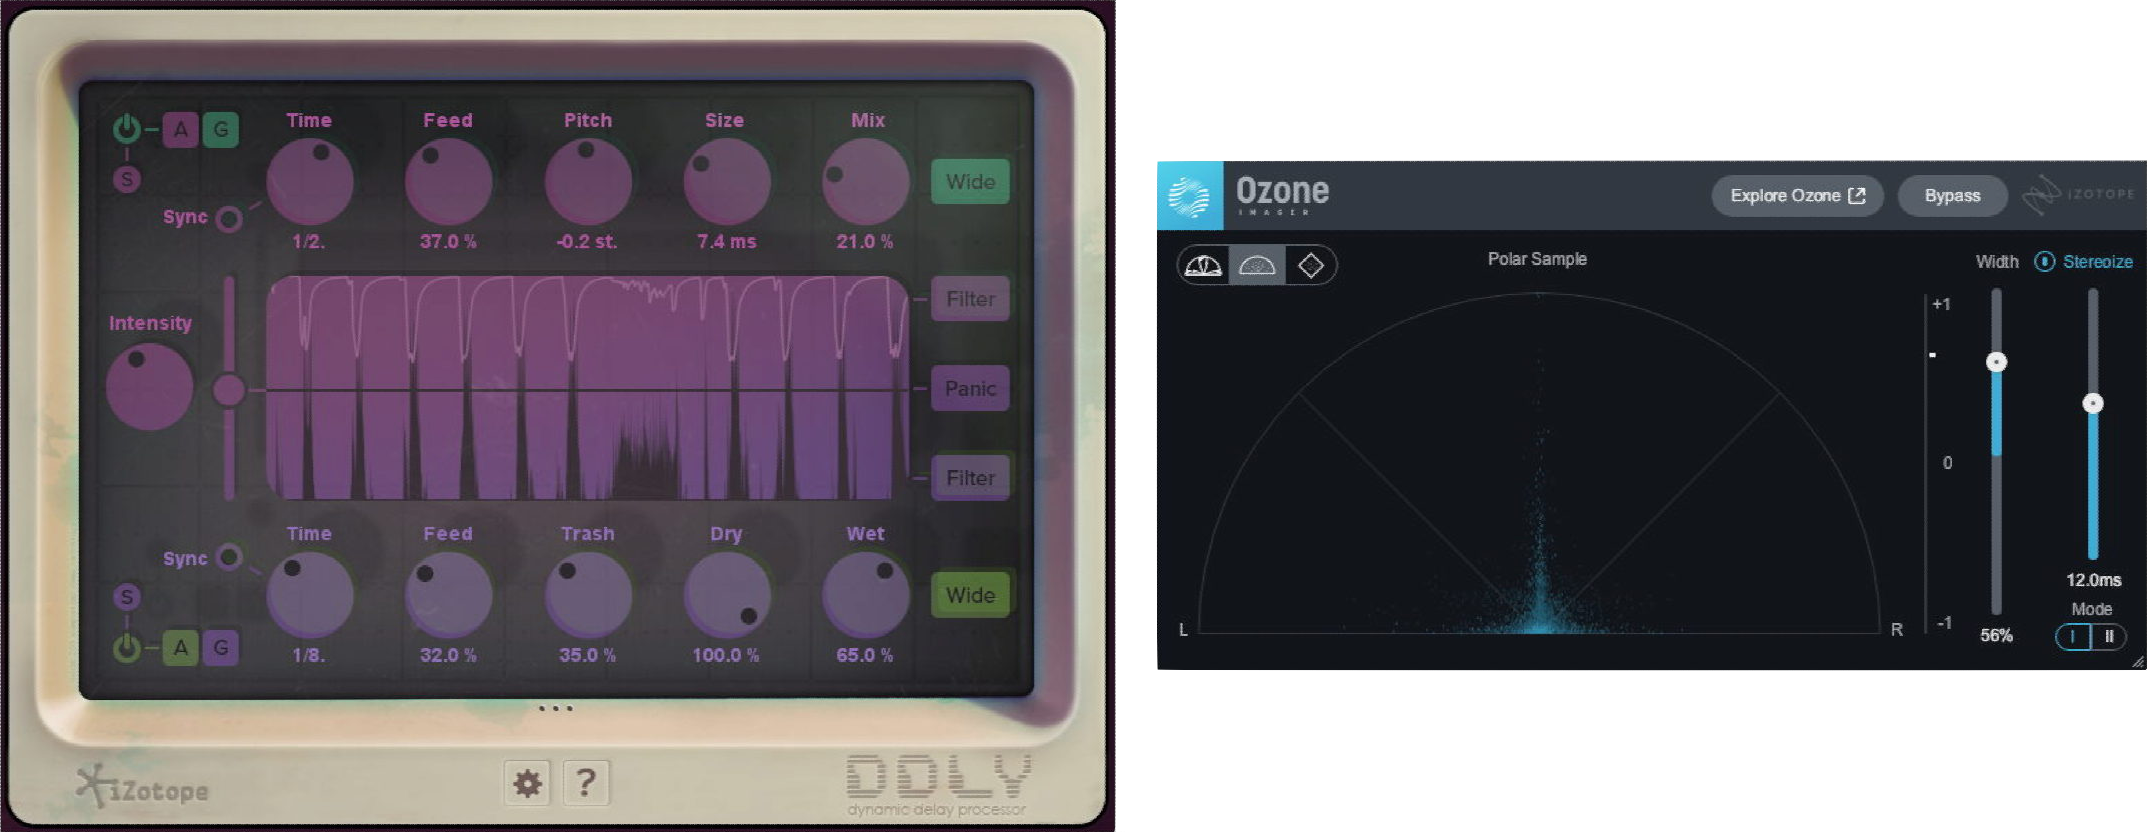
Tape Measure FX chain
Third was the old lidless Mason jar that I kept spare screws in. I could have just shaken the jar under the mic, but how many shakers do you already have? Instead, I emptied the jar and scraped around the lid with the back of a knife blade, while moving my hand on and off the opening to vary the tone.
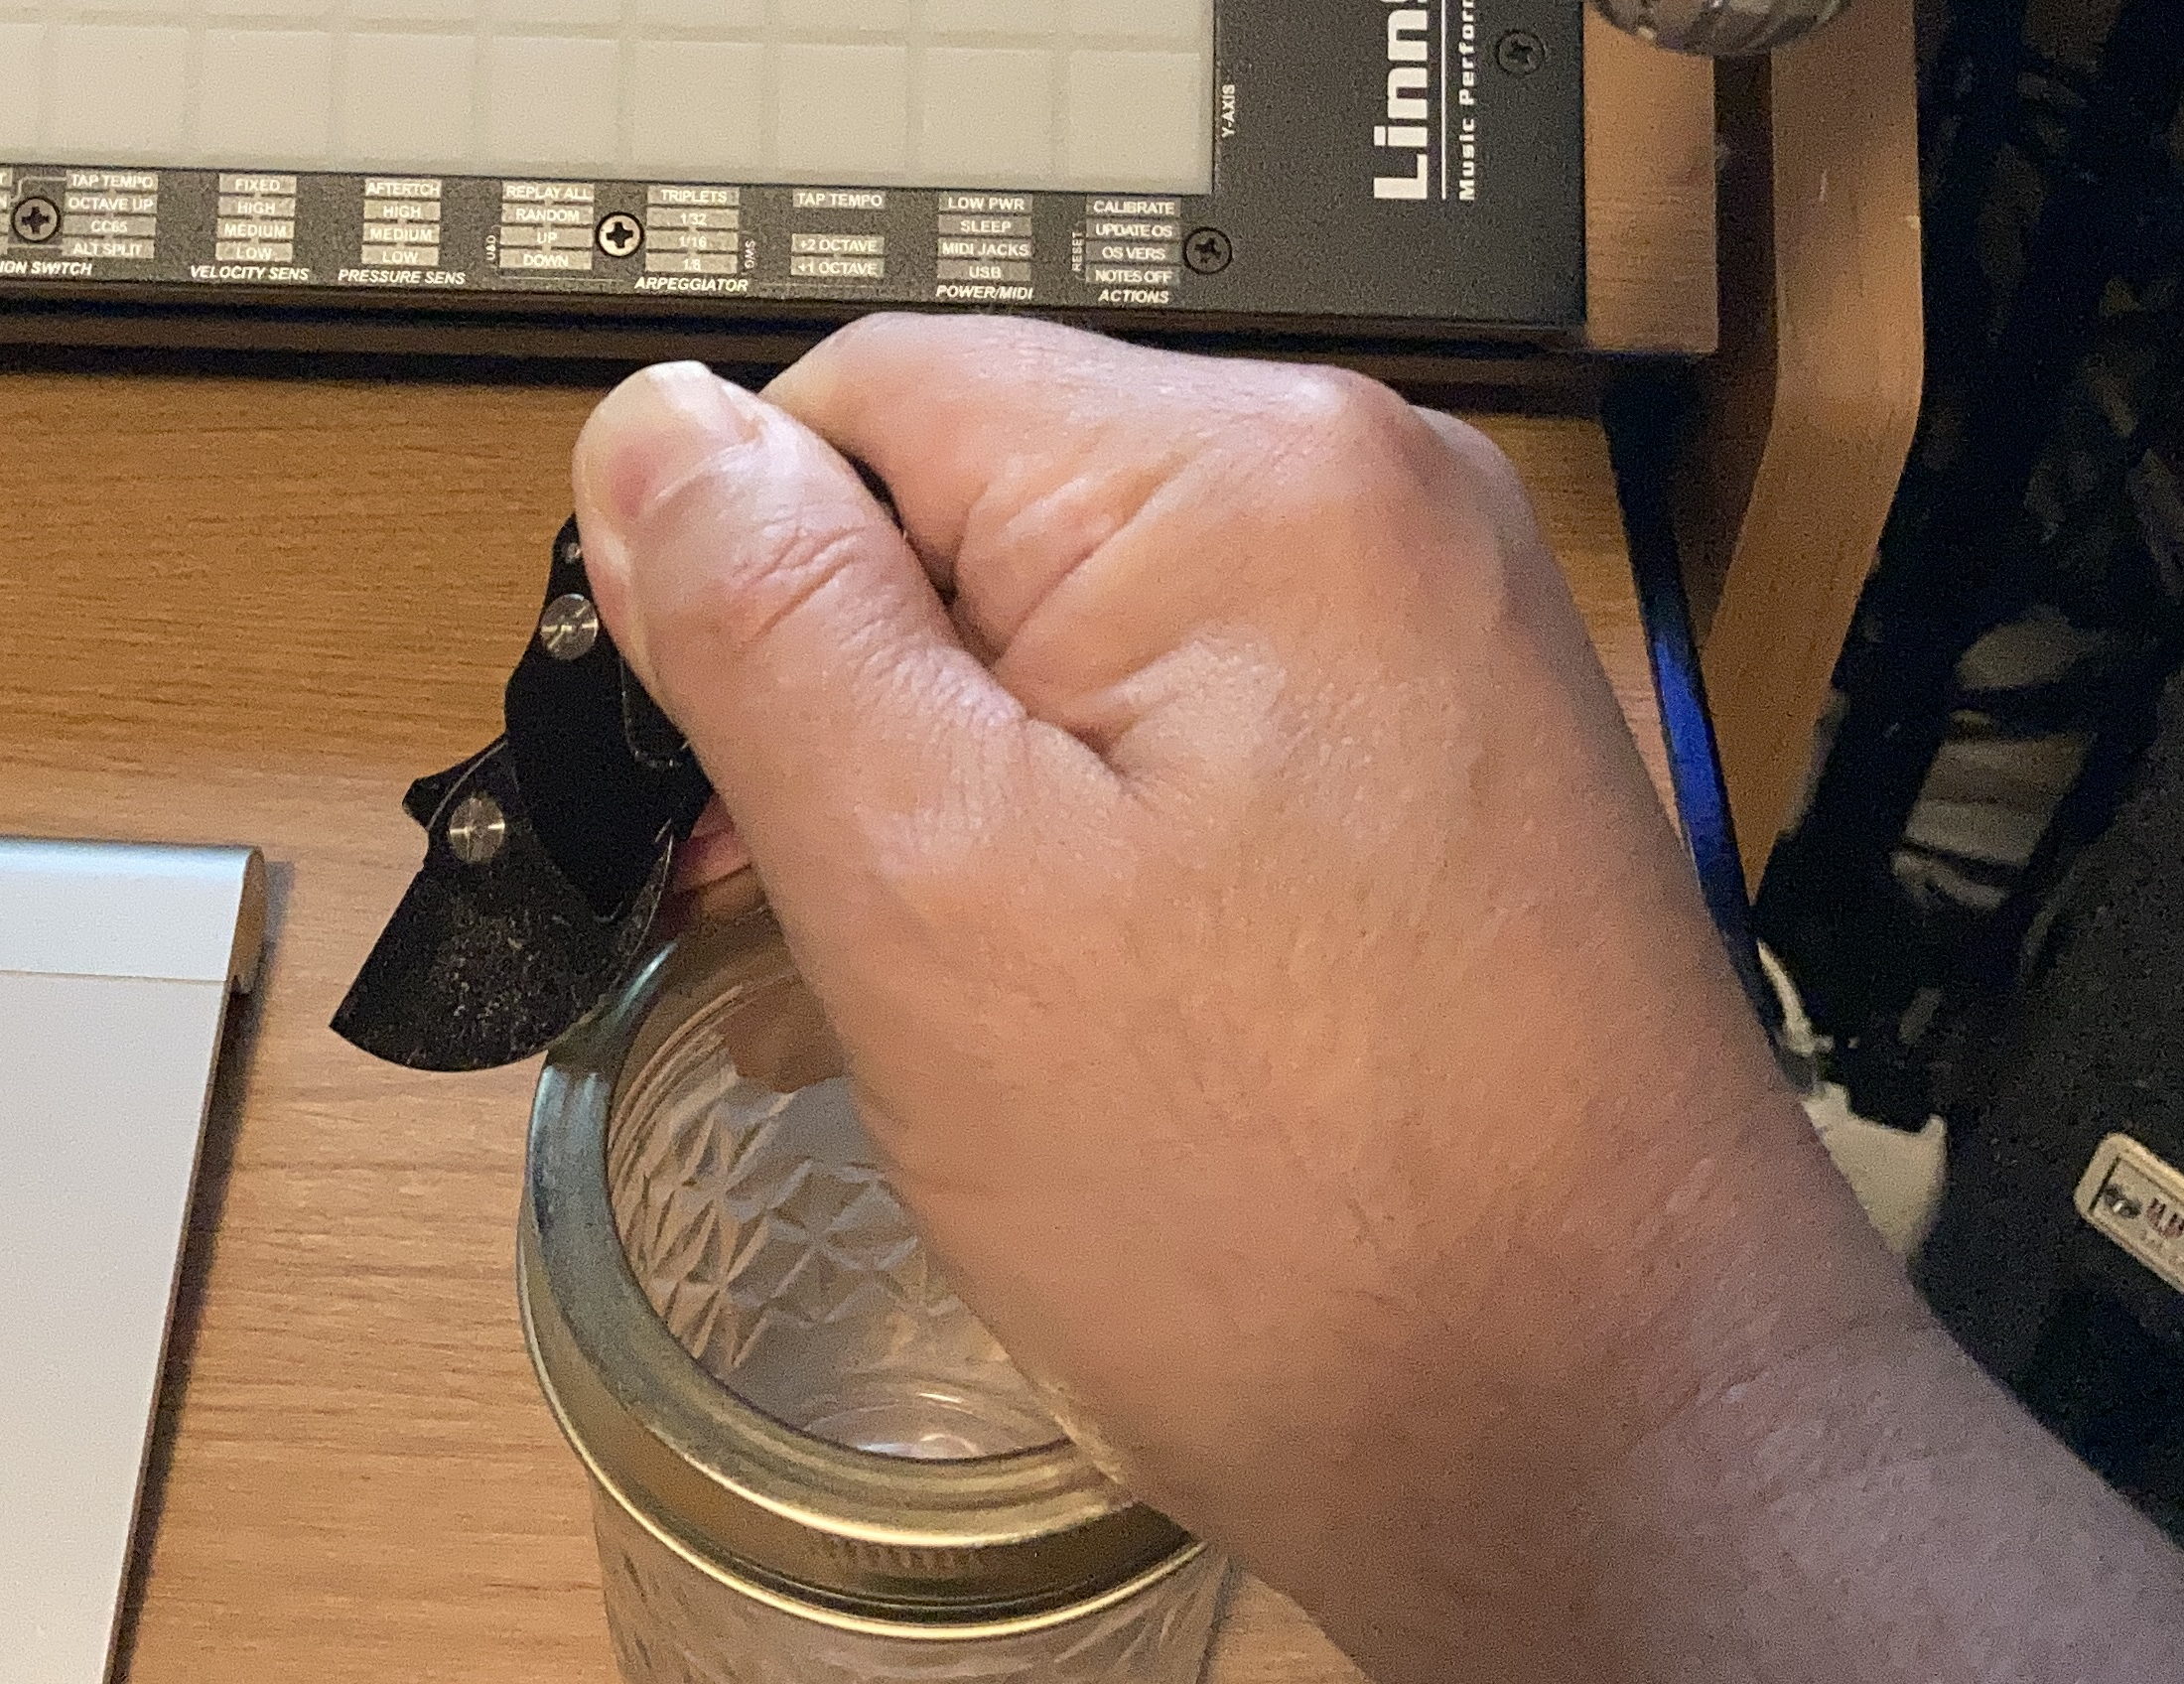
Knife-scraping on a Mason jar
To give this sound some space, I could have added an


Exponential Audio


Ozone Imager V2
Mason Jar and Knife FX chain
Finally, I applied this same effects chain to a distant recording of the creaky chair at my work table. I left the sound of my breathing in place, plus the rumble of the air conditioning ducts in the background (which can be heard in other samples). I could edit these out easily with


RX 11 Advanced
Stretching the truth
Here’s one more nifty tool for building thick, droning pads to underlay your soundtracks and backing textures: a free plug-in called PaulXStretch. While the standalone app still works on Windows and Linux, you’ll have an easier time with the plug-in.
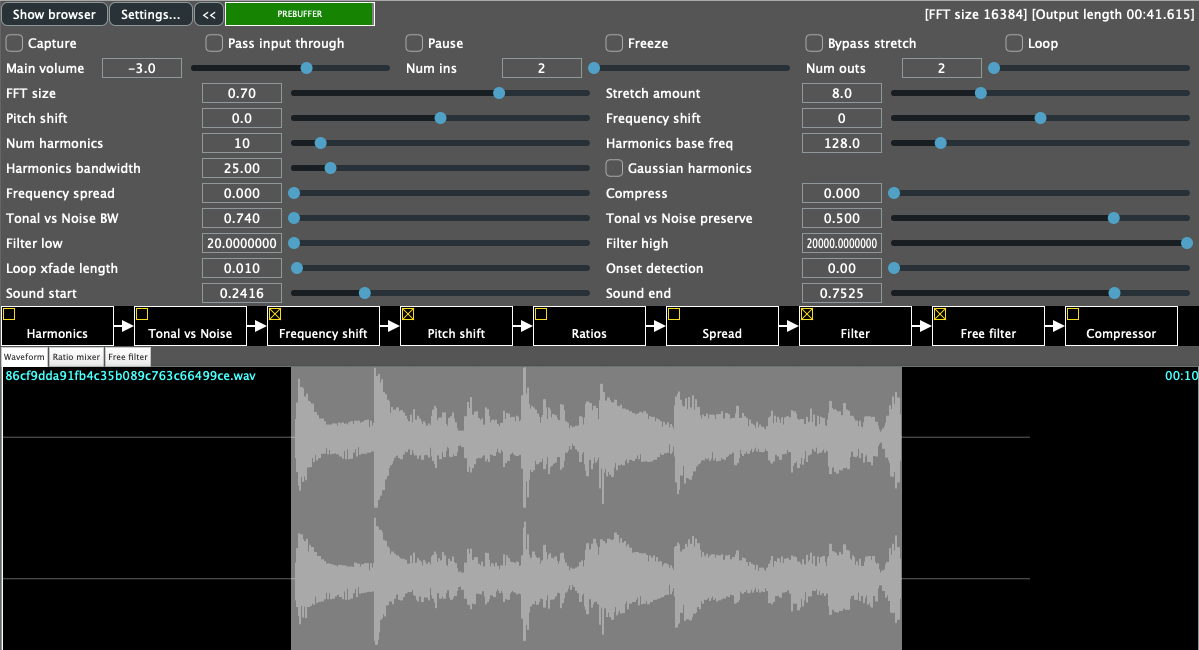
PaulXStretch
As you can see, PaulXStretch was designed for utility. It’s certainly not coded to be pretty and it’s confusing as heck, and you’ll have to mess with the controls to figure out how to get it to work (there’s no manual). Fortunately, all you really need to do is play audio into it using the Capture button, set the Stretch Amount (top slider on the right) to where you want it, and record the output.
What does PaulXStretch do? It stretches or compresses audio using granular synthesis. However, we’re not talking about the subtle time stretching you get in most audio software; we’re talking about serious stretchitude here. PaulXStretch is designed to stretch audio by ten, a hundred, or even a thousand times: you can easily turn a single guitar twang into a drone that lasts over an hour. Check out this bit of strummed guitar (a factory loop in Ableton Live 10 Suite)—first on its own, then stretched by a factor of eight, and then by a factor of 20.
PaulXStretch was a fairly well-kept secret until a few years ago, when someone put a Justin Bieber song through it and spawned a wave of similar tricks being pulled on everything from Top 40 hits to soundbites from cartoons. It’s not for the faint of heart, but it’s tons of fun.
Blah blah freakin’ blah
For our last trick, let’s consider the potential of the human voice. Stuck at home for weeks on end without seeing anyone, we might start talking to ourselves to fill the silence.
I thought I’d started doing that, but the ironing board reassured me I was absolutely fine. Not that I trust him; he’s always trying to smooth things out…
Why waste all that speechifyin’? Record it and play with it, and all sorts of audio mayhem can happen.
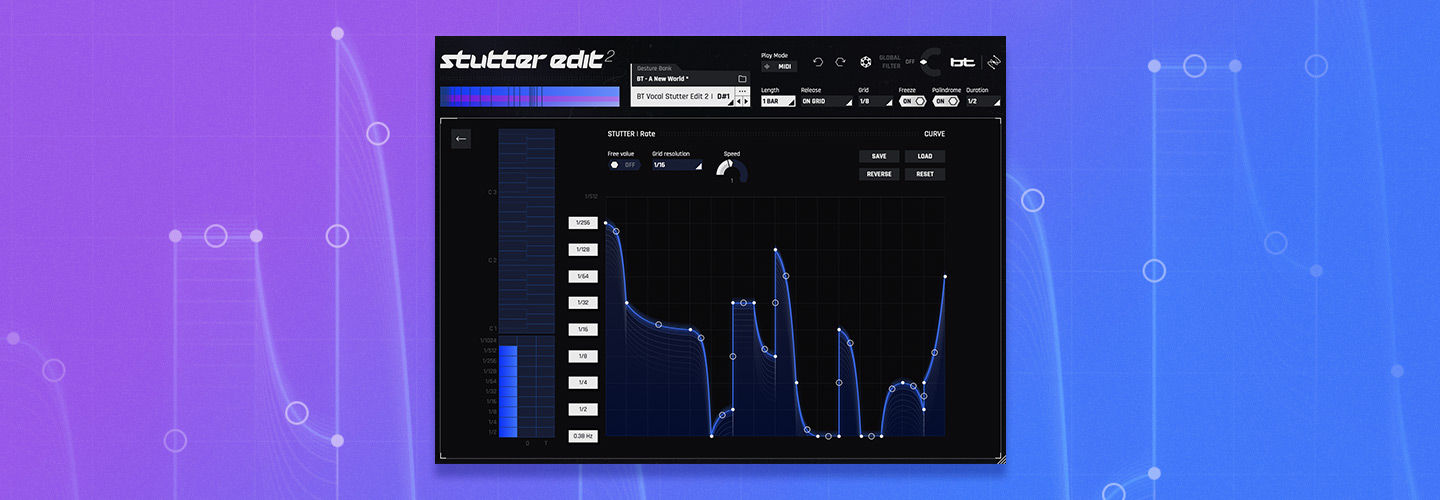
For our last audio sample, I recorded myself babbling gibberish at 120 BPM while listening to a metronome click in headphones to keep myself in time. The first sample is what I said, tweaked a bit to even out the rhythm—yes, I did that all in one breath, and no, it isn’t edited together—and the others are examples of my playing with it. I first turned to


VocalSynth 2


Stutter Edit 2
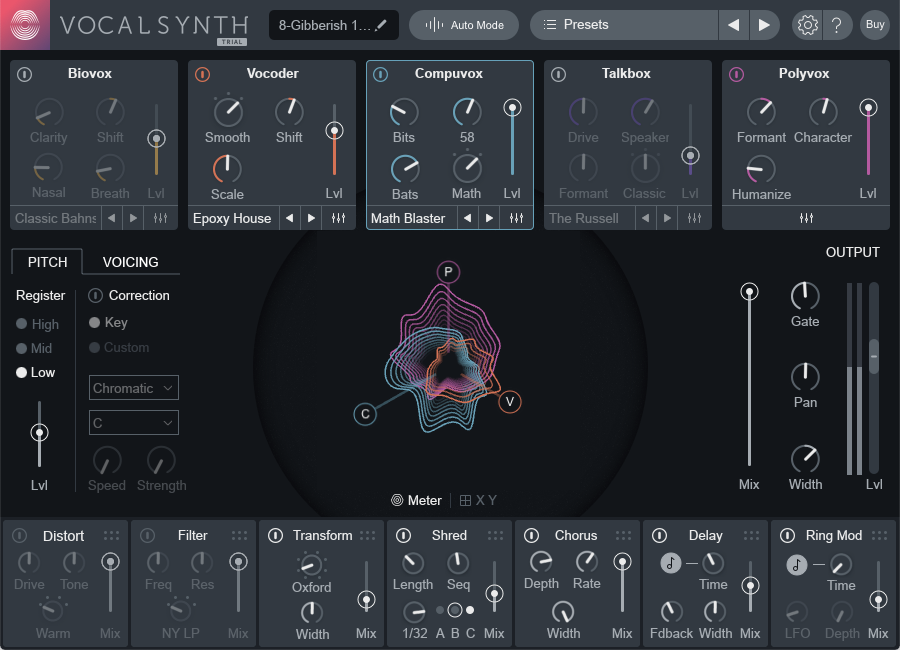
VocalSynth 2
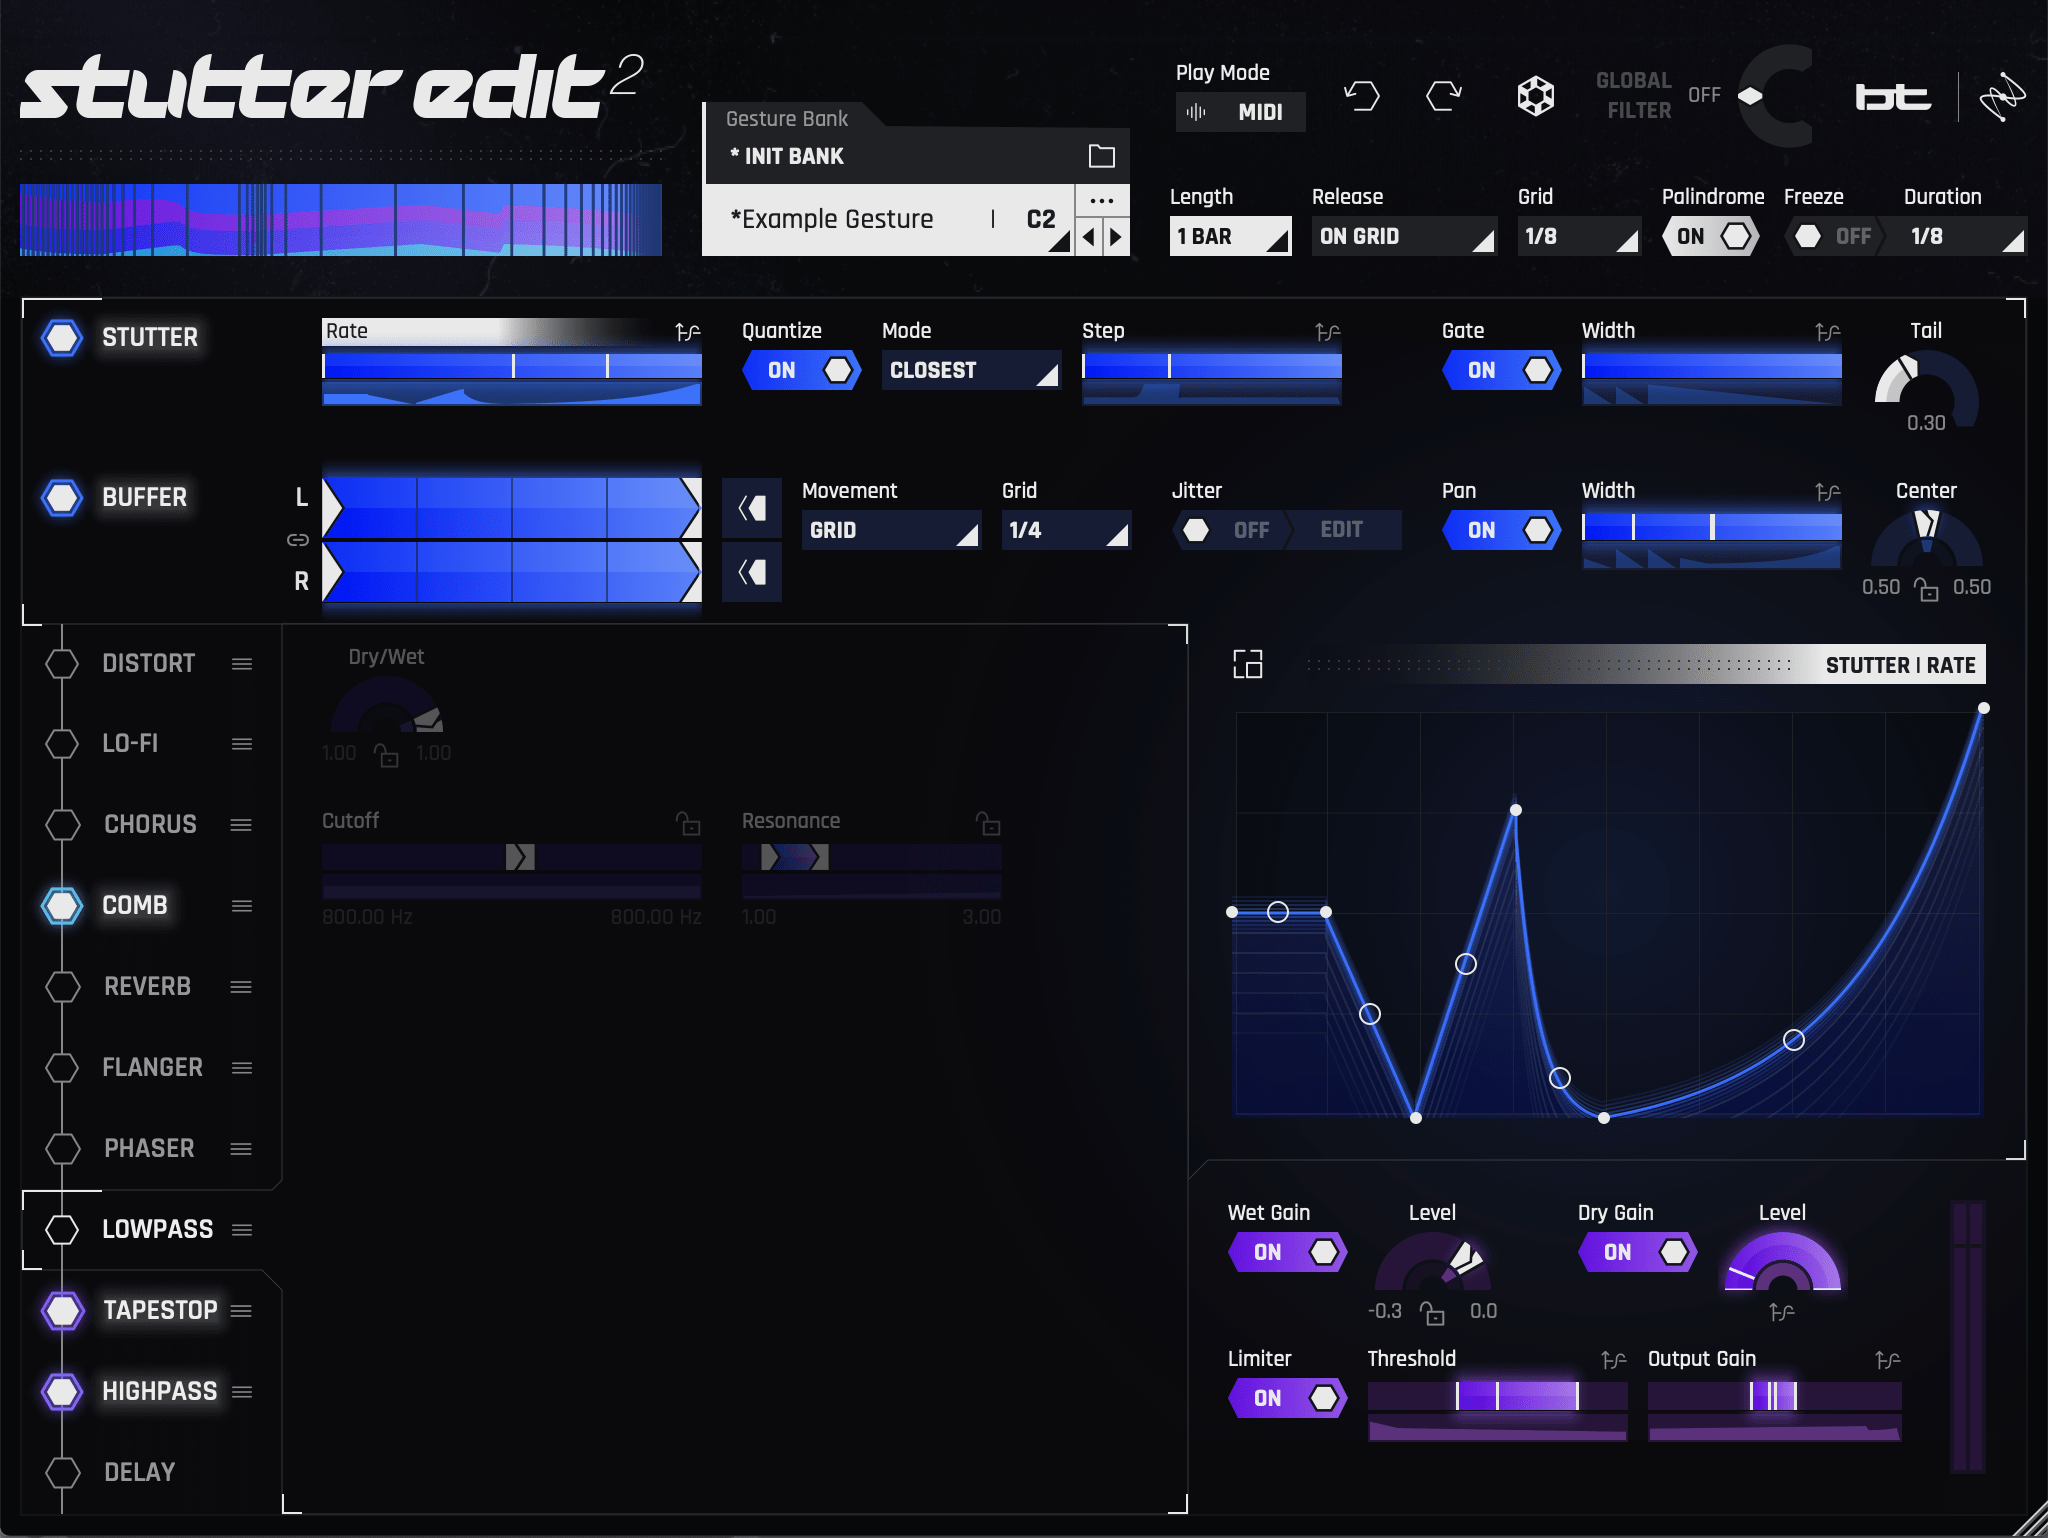
Stutter Edit 2
Mash it all together and bake at 350°
Once I had all these ingredients, I had to see what they sounded like put together. I did allow myself one bit of cheating, though—I added a drum loop to help guide the timing of the piece. Not that it escaped unscathed, of course! I put it through iZotope’s free


Vinyl
Important notice: Trash 2 is no longer available for purchase from iZotope. We are continually developing new products, services, and solutions to enable and innovate on journeys in audio production. We occasionally need to retire older products in order to focus our resources and development efforts on building new, innovative products and features. Support for this product will remain in effect for 12 months from your date of purchase up through October 27, 2023.
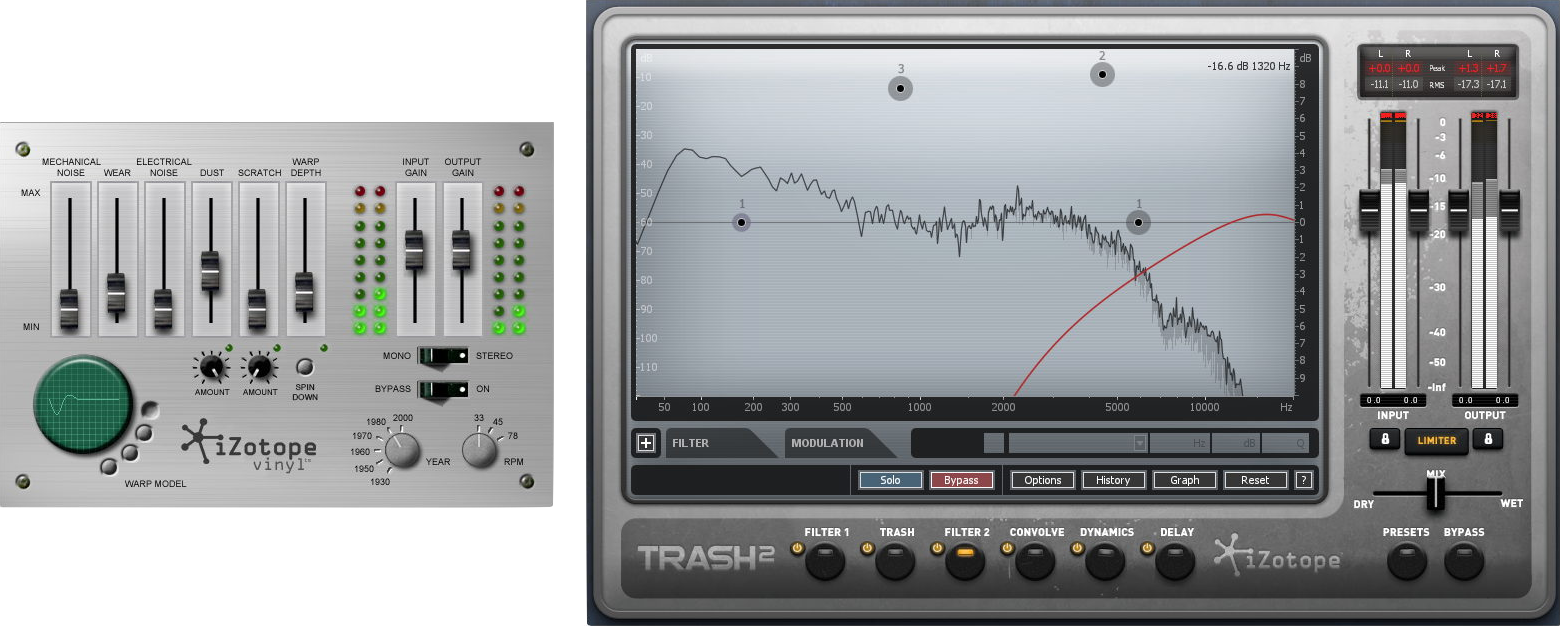
Drums FX chain
Here’s the result. First you can hear the various sounds in place without processing, then I turn on all the plug-ins, play Stutter Edit 2 live, and record the embarrassing results.
The takeaways
It would be a shame to waste all the wonderful sounds you’ll make when isolation makes you start throwing things around your ever-shrinking room. With the tools above and a bit of imagination, creative sound design at home can lead to some amazing musical (and not-so-musical) results, all while helping you keep your sanity with a fun and explorative creative outlet.
Have fun, and whatever you do, don’t believe a word the ironing board says to you...
Download the samples from this article
We hope you enjoyed these tips and put some of them to use yourself! Click here to download a sample pack of all samples in this article.
And remember—you can access even more samples, industry-leading plug-ins, and exclusive educational resources in


iZotope Music Production Suite Pro: Monthly
