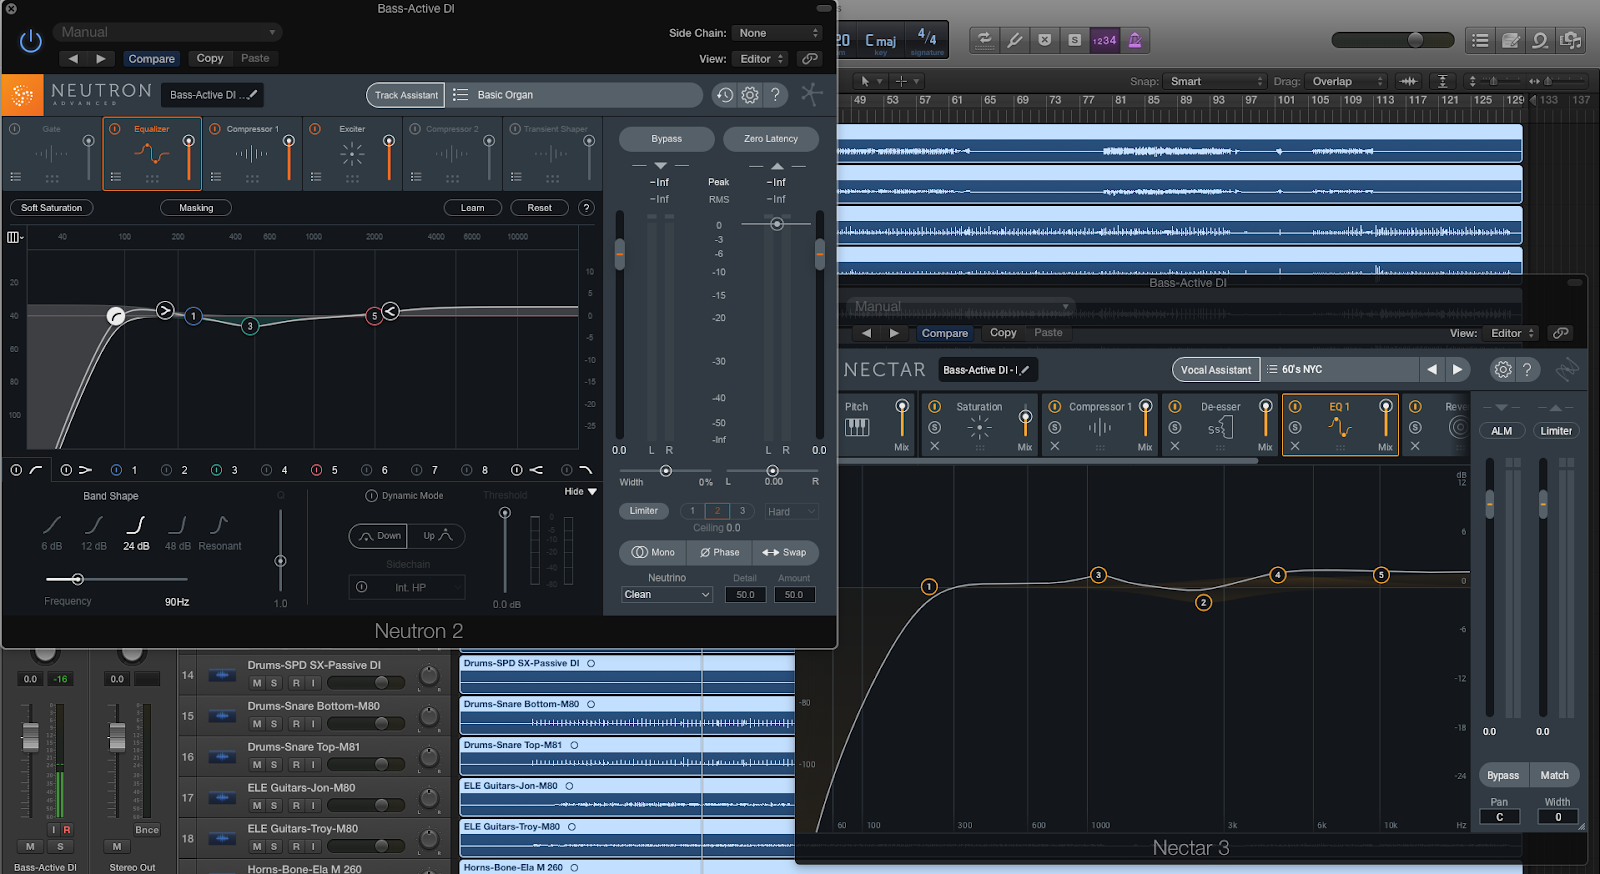
6 Ways to Pair Nectar with Neutron
Nectar and Neutron complement each other well when it comes to vocals. This article will provide some insight as to how to use these two channel strips and give you six different ways to pair Neutron 3 with Nectar 3 in your next mix.
If you have both Neutron 3 and Nectar 3, it may be hard to know when to use which: you have two-channel strips at your disposal, one geared towards the voice, one geared to everything including the voice. Today, we’re here to dispel any confusion.
The two complement each other quite well when it comes to vocals. This article will provide some insight as to how to pair these two channel strips.
1. Sculptor, EQ, and compression in Neutron and time-based FX in Nectar
In this combination of channel strips, you start off with Neutron 3, using the Sculptor module to shape audio subtly on the way in.
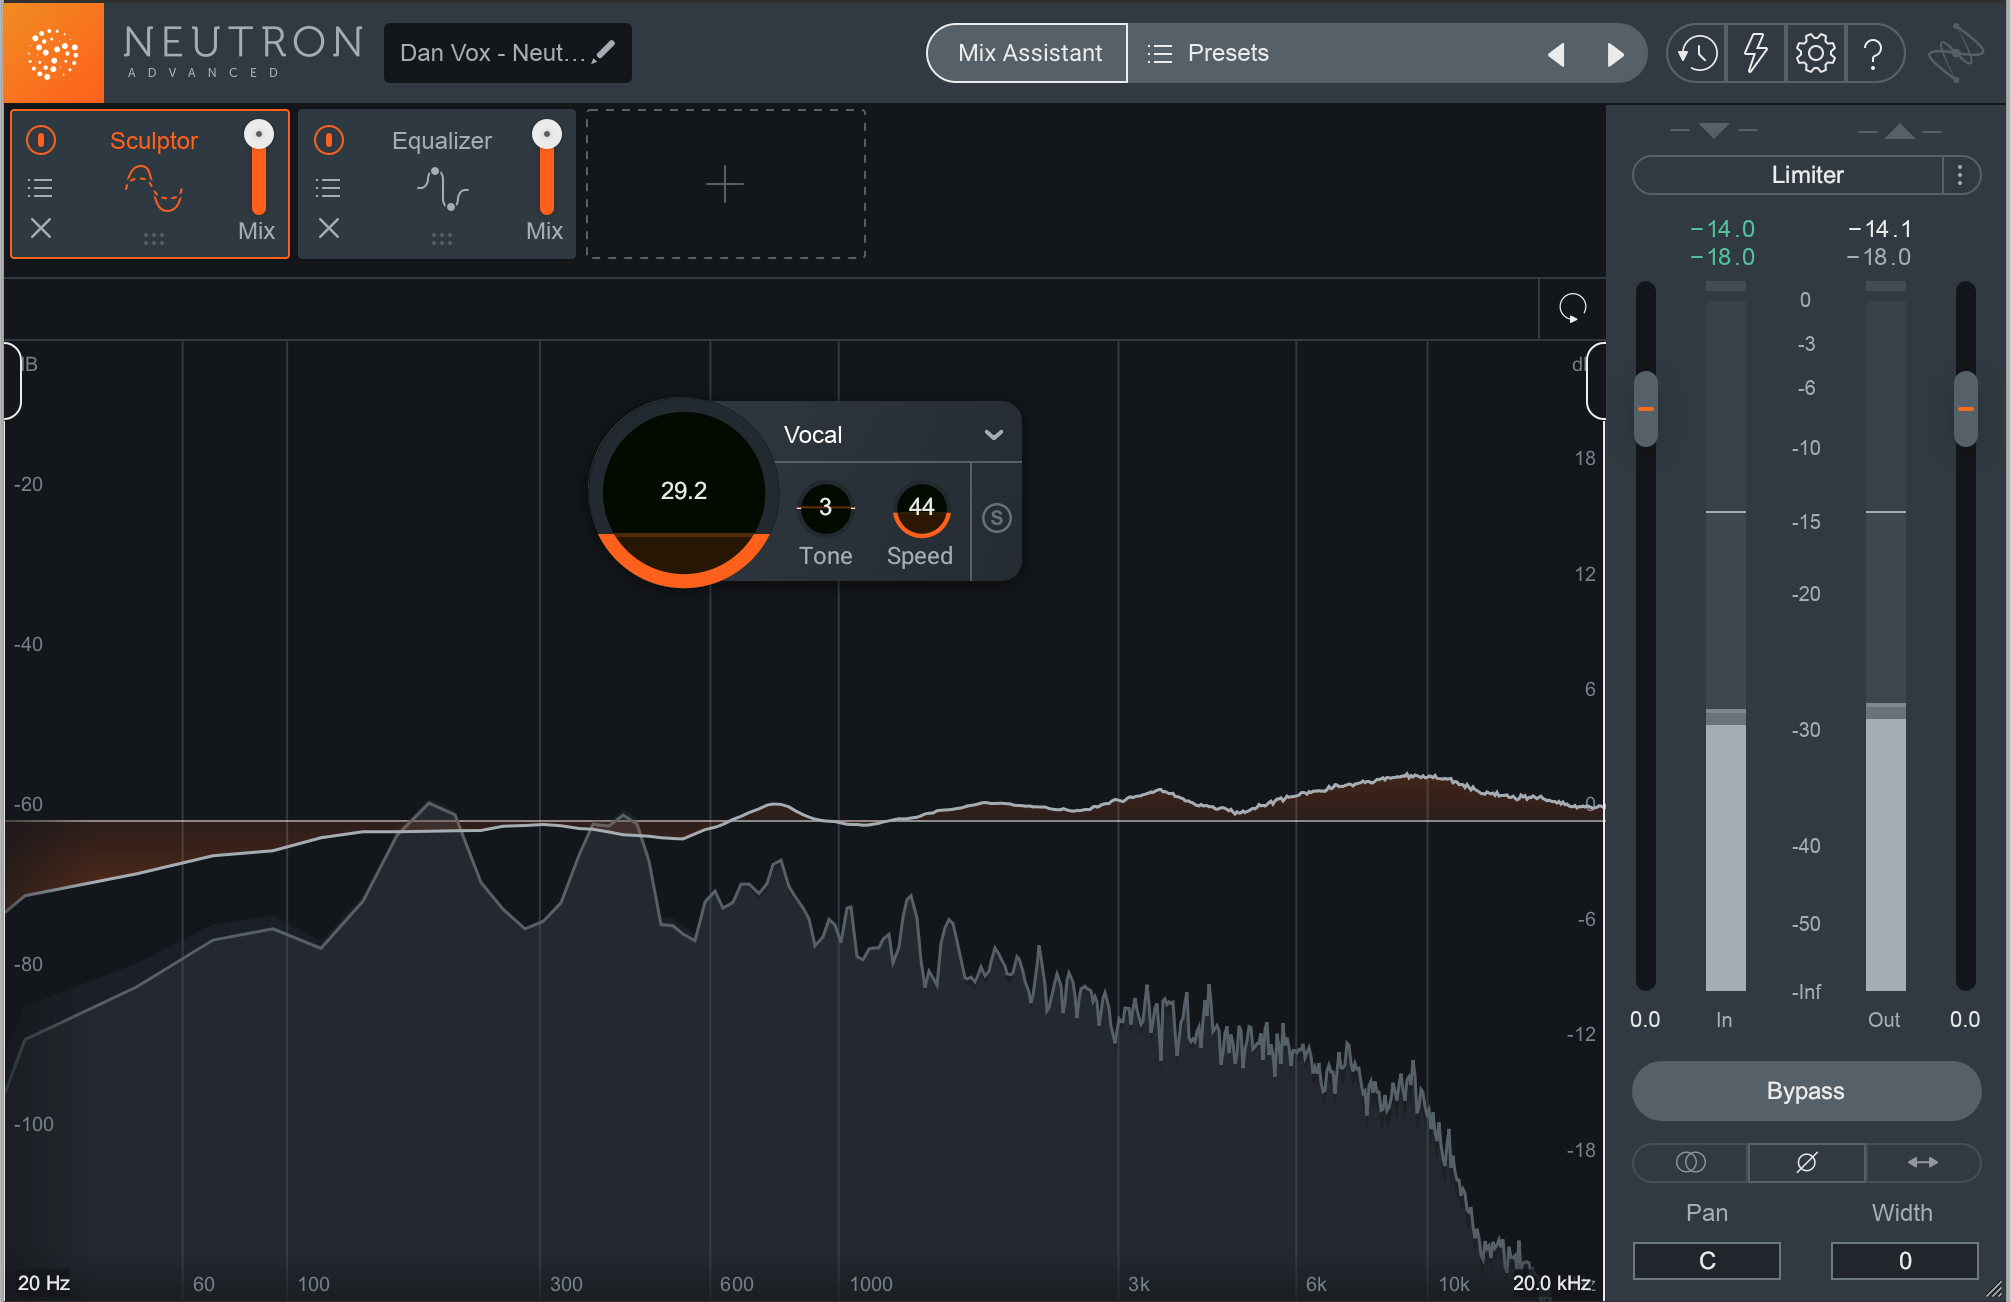
The Sculptor module in Neutron 3
Using Sculptor first can have a salutary initial effect—you may find the signal now only needs a lighter touch from here on out. When you equalize the vocal after Sculptor, you may find you don’t need to pull out various resonances, or play with the high shelves as much.
In this method, we EQ into compression. The compressor will respond more favorably to a signal already balanced: no one part of the spectrum will trigger the compression earlier than you’d like. Sometimes you may notice compression adds an almost sibilated sound. This can be due, in part, to not utilizing EQ before compression. Equalize first to sidestep this problem.
Next we switch over to Nectar for its effects—the Dimension module, Delay, Reverb, and even Harmony could be used here. Now you can add slight chorusing to help a lead vocal stand out among stacked harmonies.
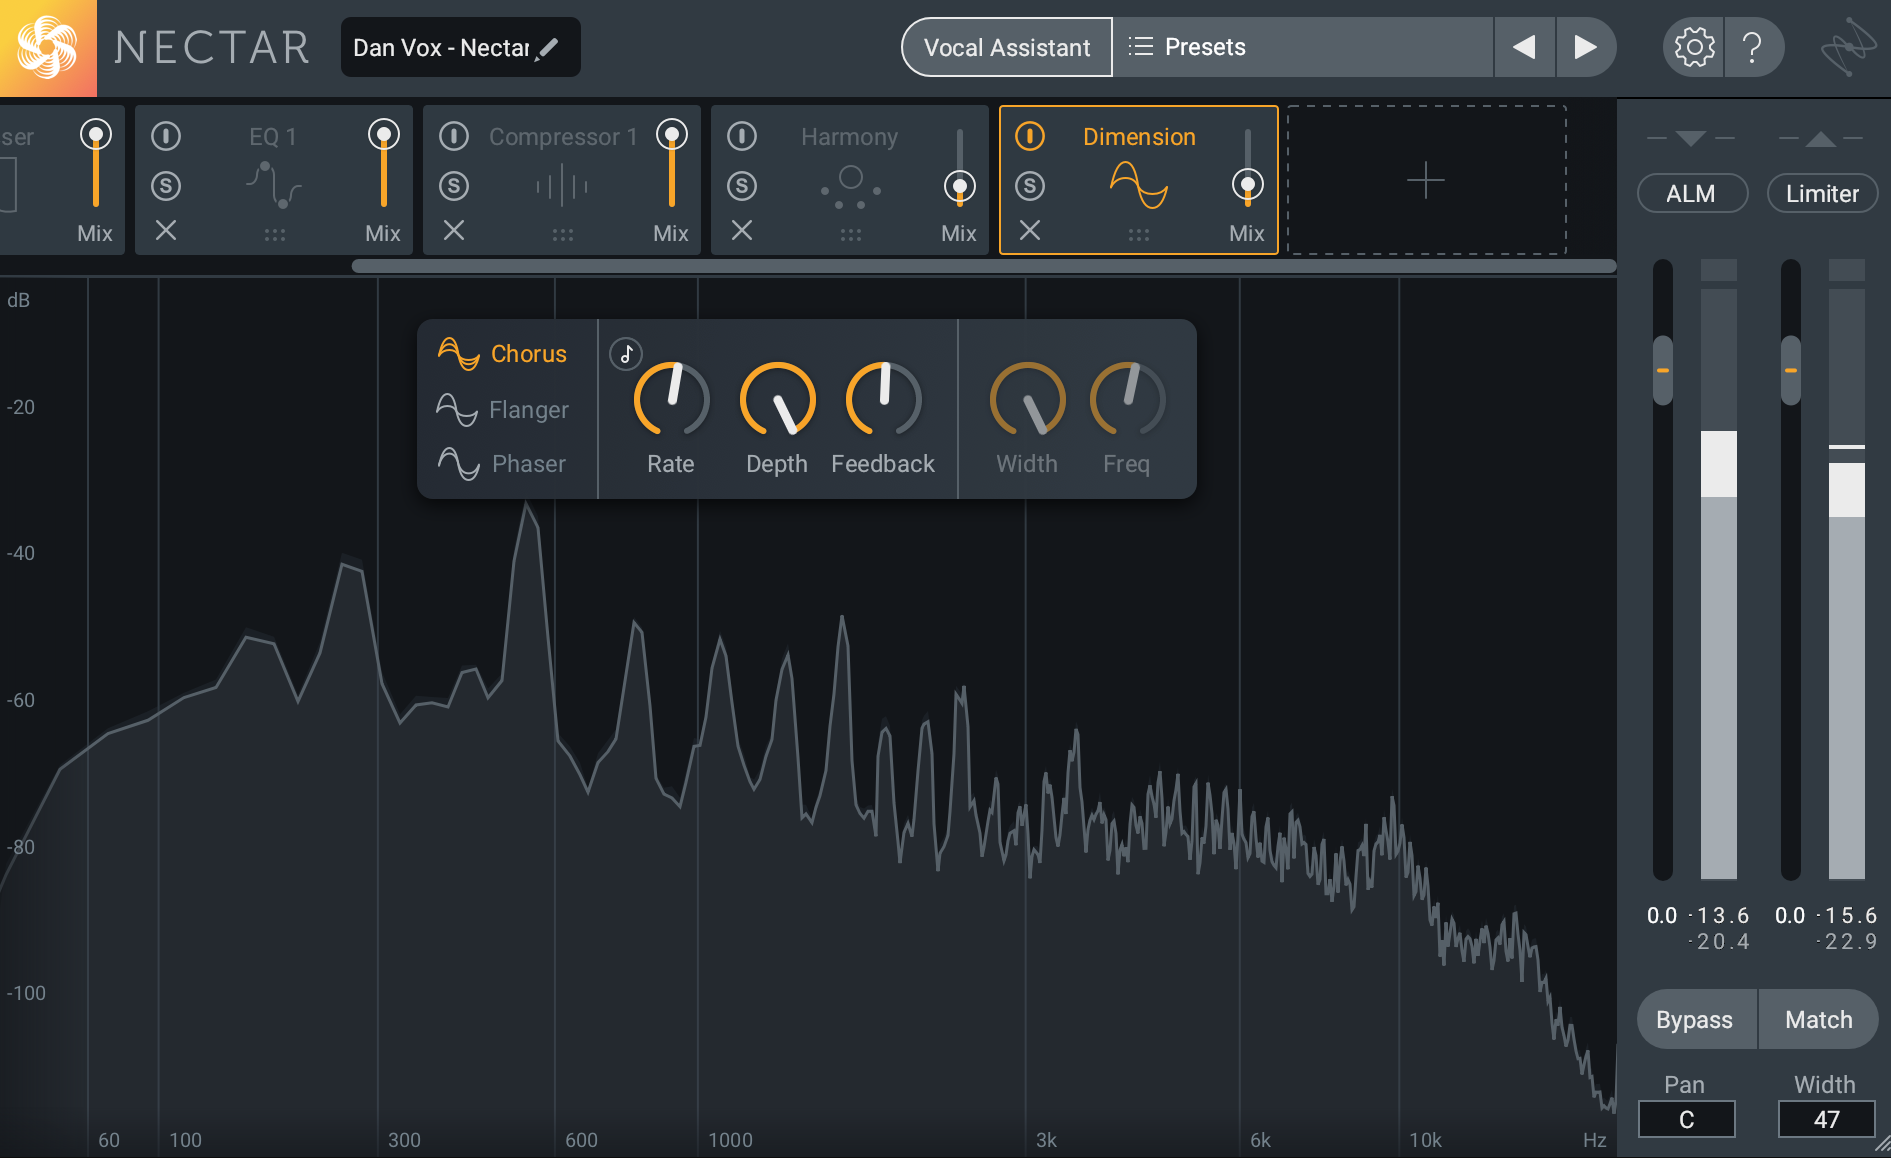
Nectar 3 Dimension module
Or you can add the harmonies themselves, blending them in however you like. If you’re a minimalist who likes to keep track-mults and auxes to a minimum, you can even automate these effects for certain sections. Bring up a blend of harmonies for the pre-chorus, mute them for the chorus, and switch on the Dimension module instead for extra vocal definition. You are only limited by your creativity here.
2. Sculptor in Neutron, harmony in Nectar
Sure, you can Melodyne your way into a variety of backing chorus vocals, turning one lead vocal into a stack of backgrounds—but this isn’t always the best option. For one, it’s time consuming, and for another, it doesn’t always suit the material. Sometimes the arrangement is better aided by vocoded backgrounds, such as the kind you’d be able to get with VocalSynth 2.
For a third option, one that can be evaluated relatively quickly while sounding fresh, try a combination of Sculptor in Neutron 3 and the Harmony module in Nectar 3.
The operation relies initially on extremes—highly restricted sculpting by soloing between action region boundaries in Sculptor. Here is a lead vocal I want to harmonize on the chorus:
Now, we can process it aggressively through Sculptor, effectively soloing the midrange.

Our vocal in Sculptor
Next, we run the Harmony module, making sure to solo the sides (so that the original disappears).
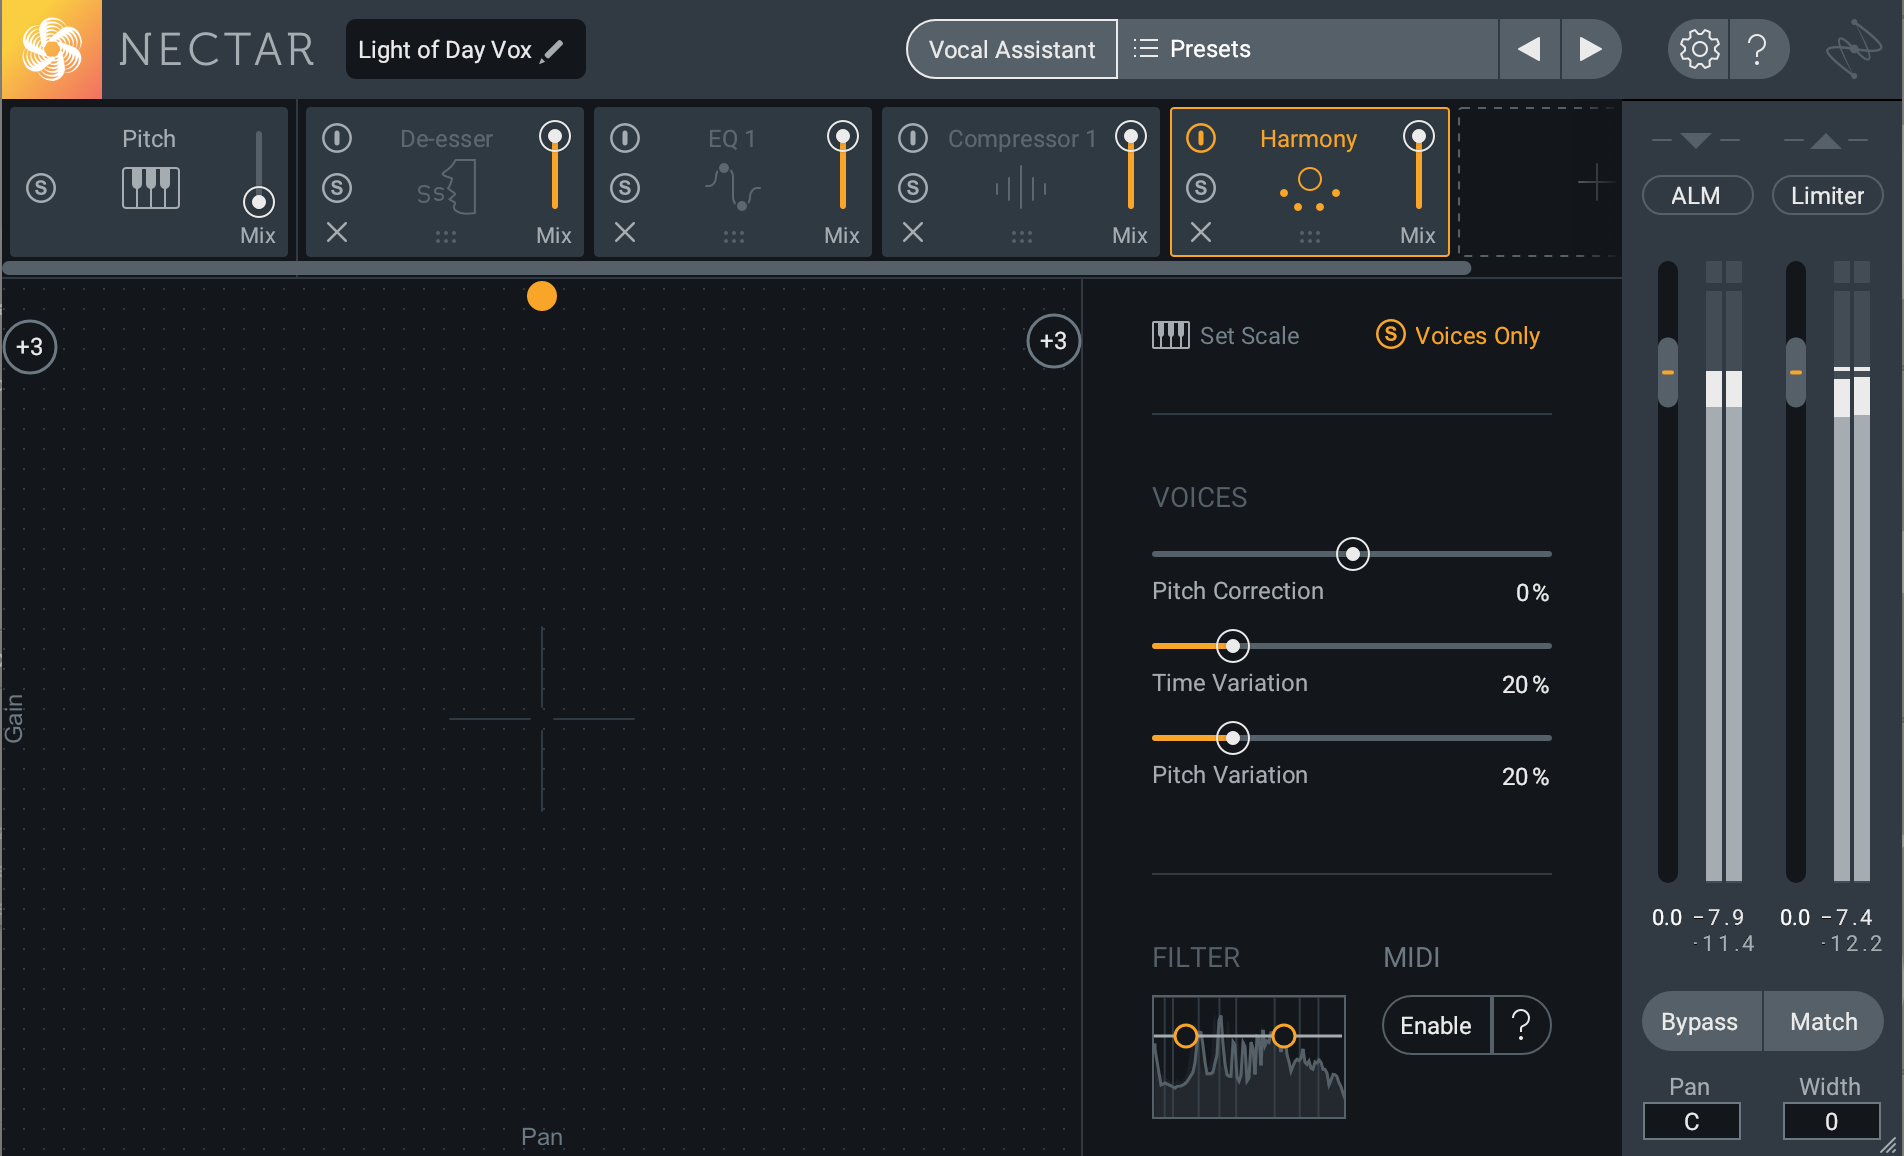
Nectar 3 Harmony module
Perhaps a little more processing is in order—some saturation, followed by compression, reverb, and a little widening, for example.
Combined with the original vocal, it would sound something like this:
Use the MIDI function in Nectar 3’s Harmony module and you can go even deeper with harmonies here.
3. Neutron 3, followed by Nectar 3’s compression
Do not forget that Nectar 3 has compression modes not offered in Neutron 3. The Opto mode, in particular, is well-suited for vocals, with its nonlinear attack/release curves that can import more musical compression on vocals. The Opto compressor also offers a light amount of tonal coloration.
Similarly, Neutron 3 has modules unavailable to you in Nectar: an excitement module can be focused on various ranges, with timbres that preserve or accentuate high-end; the Sculptor module reacts to your particular signal so quickly that it almost seems uncannily prescient.
Lastly, remember that these facets are complementary—especially for vocals! Use Sculptor to balance at the outset, and you may find even greater musicality with Nectar’s Opto compression mode. Achieve musical compression with Nectar, and then process in parallel with the exciter in a way that won’t affect the compression (as it comes after Nectar), and won’t darken the sound (as it differs from Nectar’s saturator).
4. Follow EQ in Nectar, multiband compression in Neutron
Here’s another combination that makes use of both channel strips’ singular assets. Neutron 3 has the capability of multiband compression, up to three bands. Nectar does not. You can utilize a dynamic EQ in Nectar, but sometimes it pays to use a multiband compressor instead.
The two processes appear to be similar at the outset, but they do have an easily observable difference.
Neutron
A dynamic equalizer may have all the controls of a multiband compressor; attack, release, ratio, and threshold may be present in both. However, a dynamic EQ will restrict the dynamic range of its frequency band in relation to its curve. If you’re using a bell, for instance, to notch out a frequency, the gain reduction will always be stronger at the peak of the bell than at either slope.
Aside from discrepancies at the crossover points, a multiband compressor will attempt to exert a more evenly-distributed gain reduction across the whole band.
Sometimes it pays to have multiband compression over multiple notches of dynamic EQ. Need to curtail a specific frequency bloom, or de-ess? Dynamic EQ can help. Want to apply compression that feels uniform, but reacts differently to the low, midrange, and treble portions of a signal? Multiband compression is often the better bet: you can dial in the same ratio, attack, and release controls, but change the threshold to clamp down more on certain parts rather than others. Thus, the vital midrange can receive less compression than the low-end, and yet it all feels like one organic process.
Nectar
Nectar sports a feature called Follow EQ, which picks out a resonance and tracks its amplitude wherever it may roam, up or down the frequency plot. Why might this help? Imagine a low-cut filter that intelligently follows its target, so it cuts starting at higher frequencies when the vocal is higher in pitch, and moves lower when the vocalist sings in the bass range. This is quite useful, for you’re always cutting the exact amount of low-end you need in relation to the material.
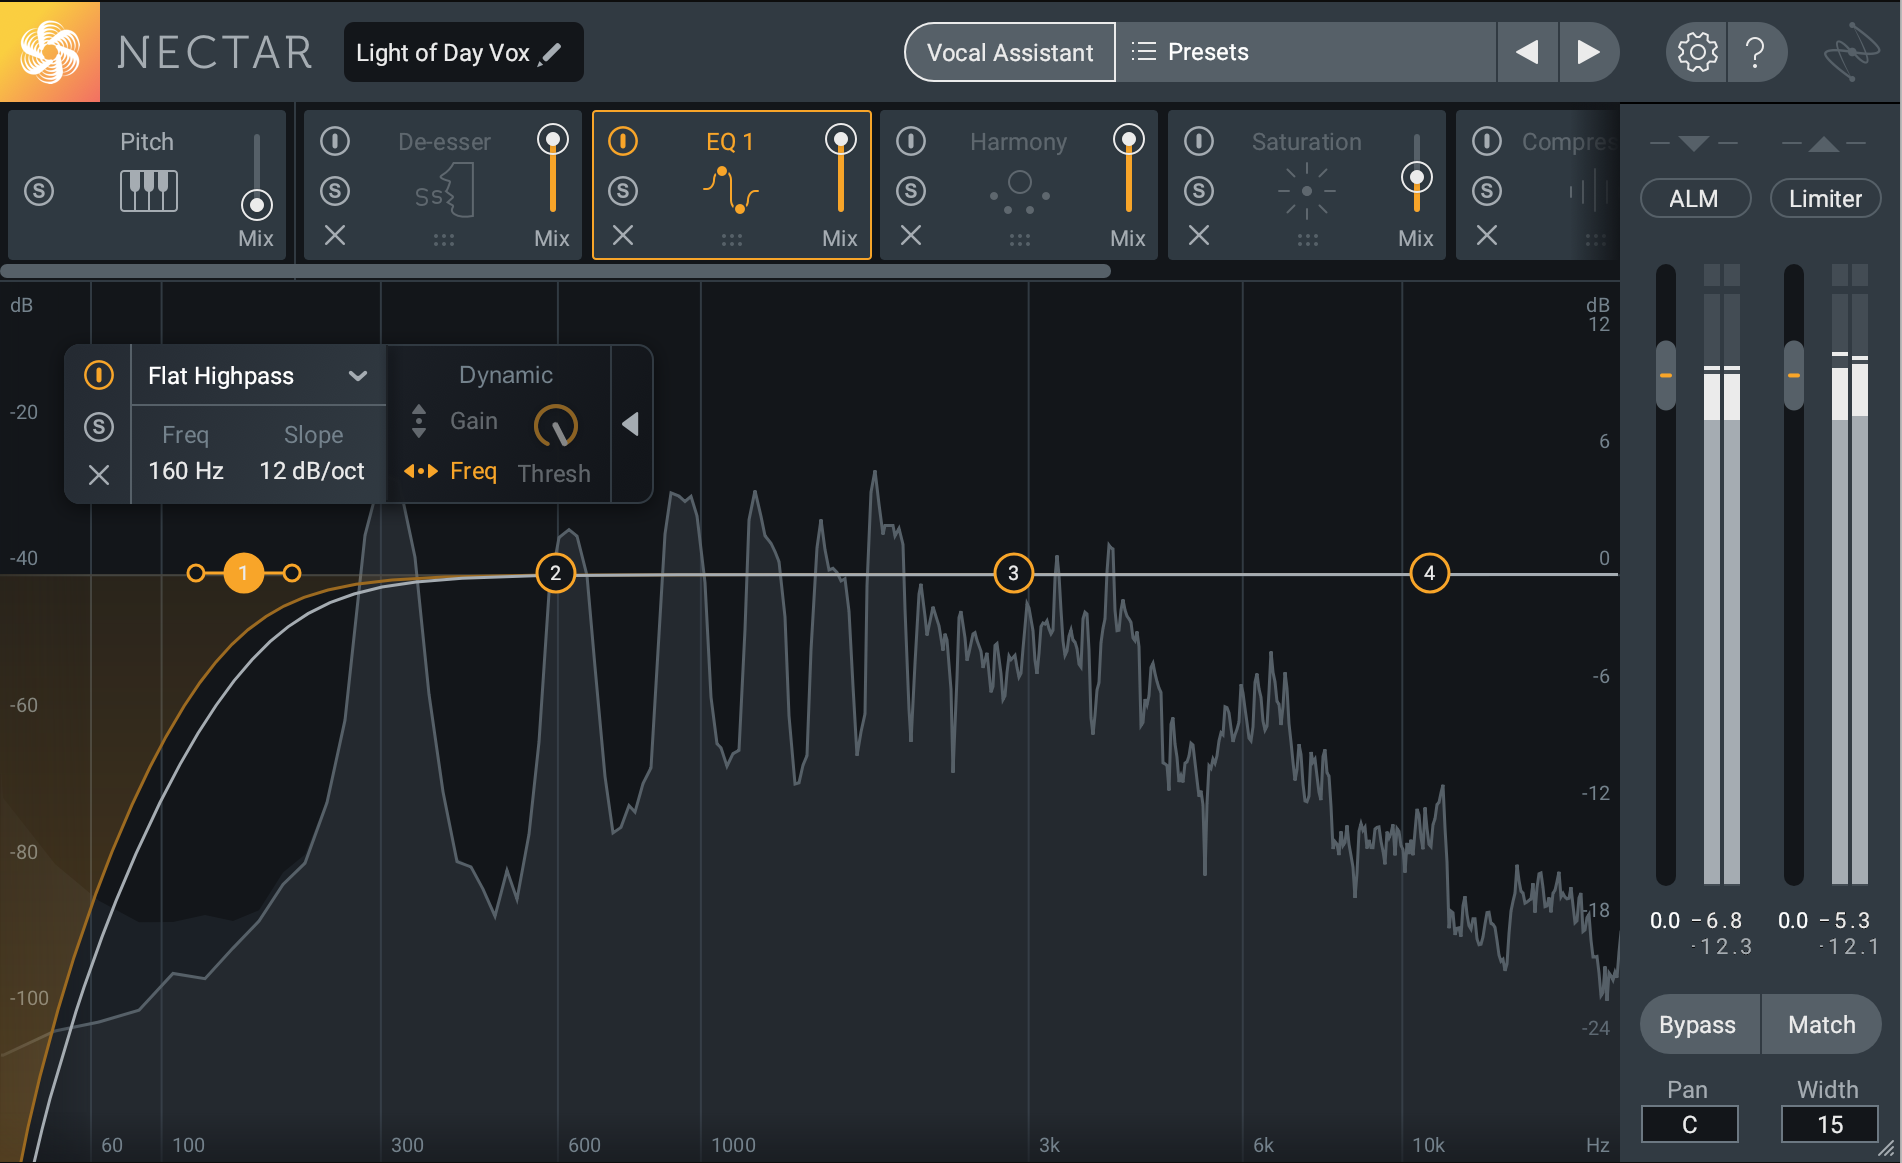
Follow EQ in Nectar 3
Nectar gives you the ability to do this, while Neutron does not. So, in this usage, we’re suggesting you start with Nectar’s EQ in Follow mode, and Neutron 3’s multiband compressor immediately after.
5. Auto-leveling and wide-band de-essing in Nectar, further processing in Neutron
If I have a way of dealing with vocals that I would call “usual”, this would be it.
I start with Nectar. It has, on its input slider, a feature called ALM, which stands for Auto-Level Mode. You can see it pictured and circled below:

Nectar 3 Auto Level Mode
Click this parameter, and Nectar will analyze the RMS level of your input signal; choose a target, and Nectar will keep it within 3 dB, within reason (the most it ever boosts/attenuates any signal is 3 dB; anything over/under 3 dB will only be affected by—you guessed it!—3 dB).
This parenthetical observation may seem curious, but in fact, it keeps the process very transparent. This is part of how the process retains its subtlety.
Next comes Nectar’s De-esser, which acts quite transparently as well. It’s almost akin to pulling down the fader by a set level when it detects sibilance, and this is how I like my initial de-essing—on the subtle, wideband side.

Nectar 3 De-esser
I can always use dynamic EQ later to de-ess further if need be.
With these two processes handled, I’ll move over to Neutron 3. I usually pull up the EQ and go about tailoring the frequency balance I need, doing so in broad movements: if a resonance is bothering me, I tamp it down a bit. If I need to hear more of something, maybe the high-midrange, I’ll pull that area up.
Then I listen to see what else is needed, and proceed in accordance with what I hear. Sometimes I’ll note I need compression, but I find I can get away with subtler amounts of it, thanks to work I’ve already done with Auto-Level Mode in Nectar. Furthermore, when I do compress, I won’t hear that awful, over-sibilated sound compression can sometimes give, as I’ve done work tamping down my esses in Nectar.
6. Saturation in Nectar followed by excitement in Neutron
The Saturation module in Nectar provides a darker, more rounded tone overall than the Exciter module in Neutron. As such, I find it excels in adding a vintage flair to vocals that may require it. Plop the saturation on the vocal before, say, an Opto compressor, and you can get something that works for an Adele or Amy Winehouse vibe.
Sometimes it’s even beneficial to calibrate my saturation and throw on the Opto compressor first, using them almost as tonal agents (light color compression, driven by a decent—though not overbearing—amount of saturation); then I EQ into this chain.
However, try as you might with this chain, you may not conjure the brightness necessary for modern productions. EQing around the saturator and the compressor can often lead me into harsher territories, instead of something pleasantly sharp.
This is where Neutron’s Exciter comes in. In parallel, I can reignite the high-end using a bit of tape saturation for rich, harmonic emphasis in the treble range. I only add a touch, but my high-end is back in a subtle and pleasing way. Then, to top it all off, I can run Sculptor in Polish mode for just a touch more sheen.

Nectar 3 Saturation module
Here’s our lead vocal with Nectar for saturation and darkening:
And now we add Neutron 3’s Exciter, in Tape mode, processing the highs in parallel. Next, a little dynamic EQ for de-essing, followed by Sculptor for polish.
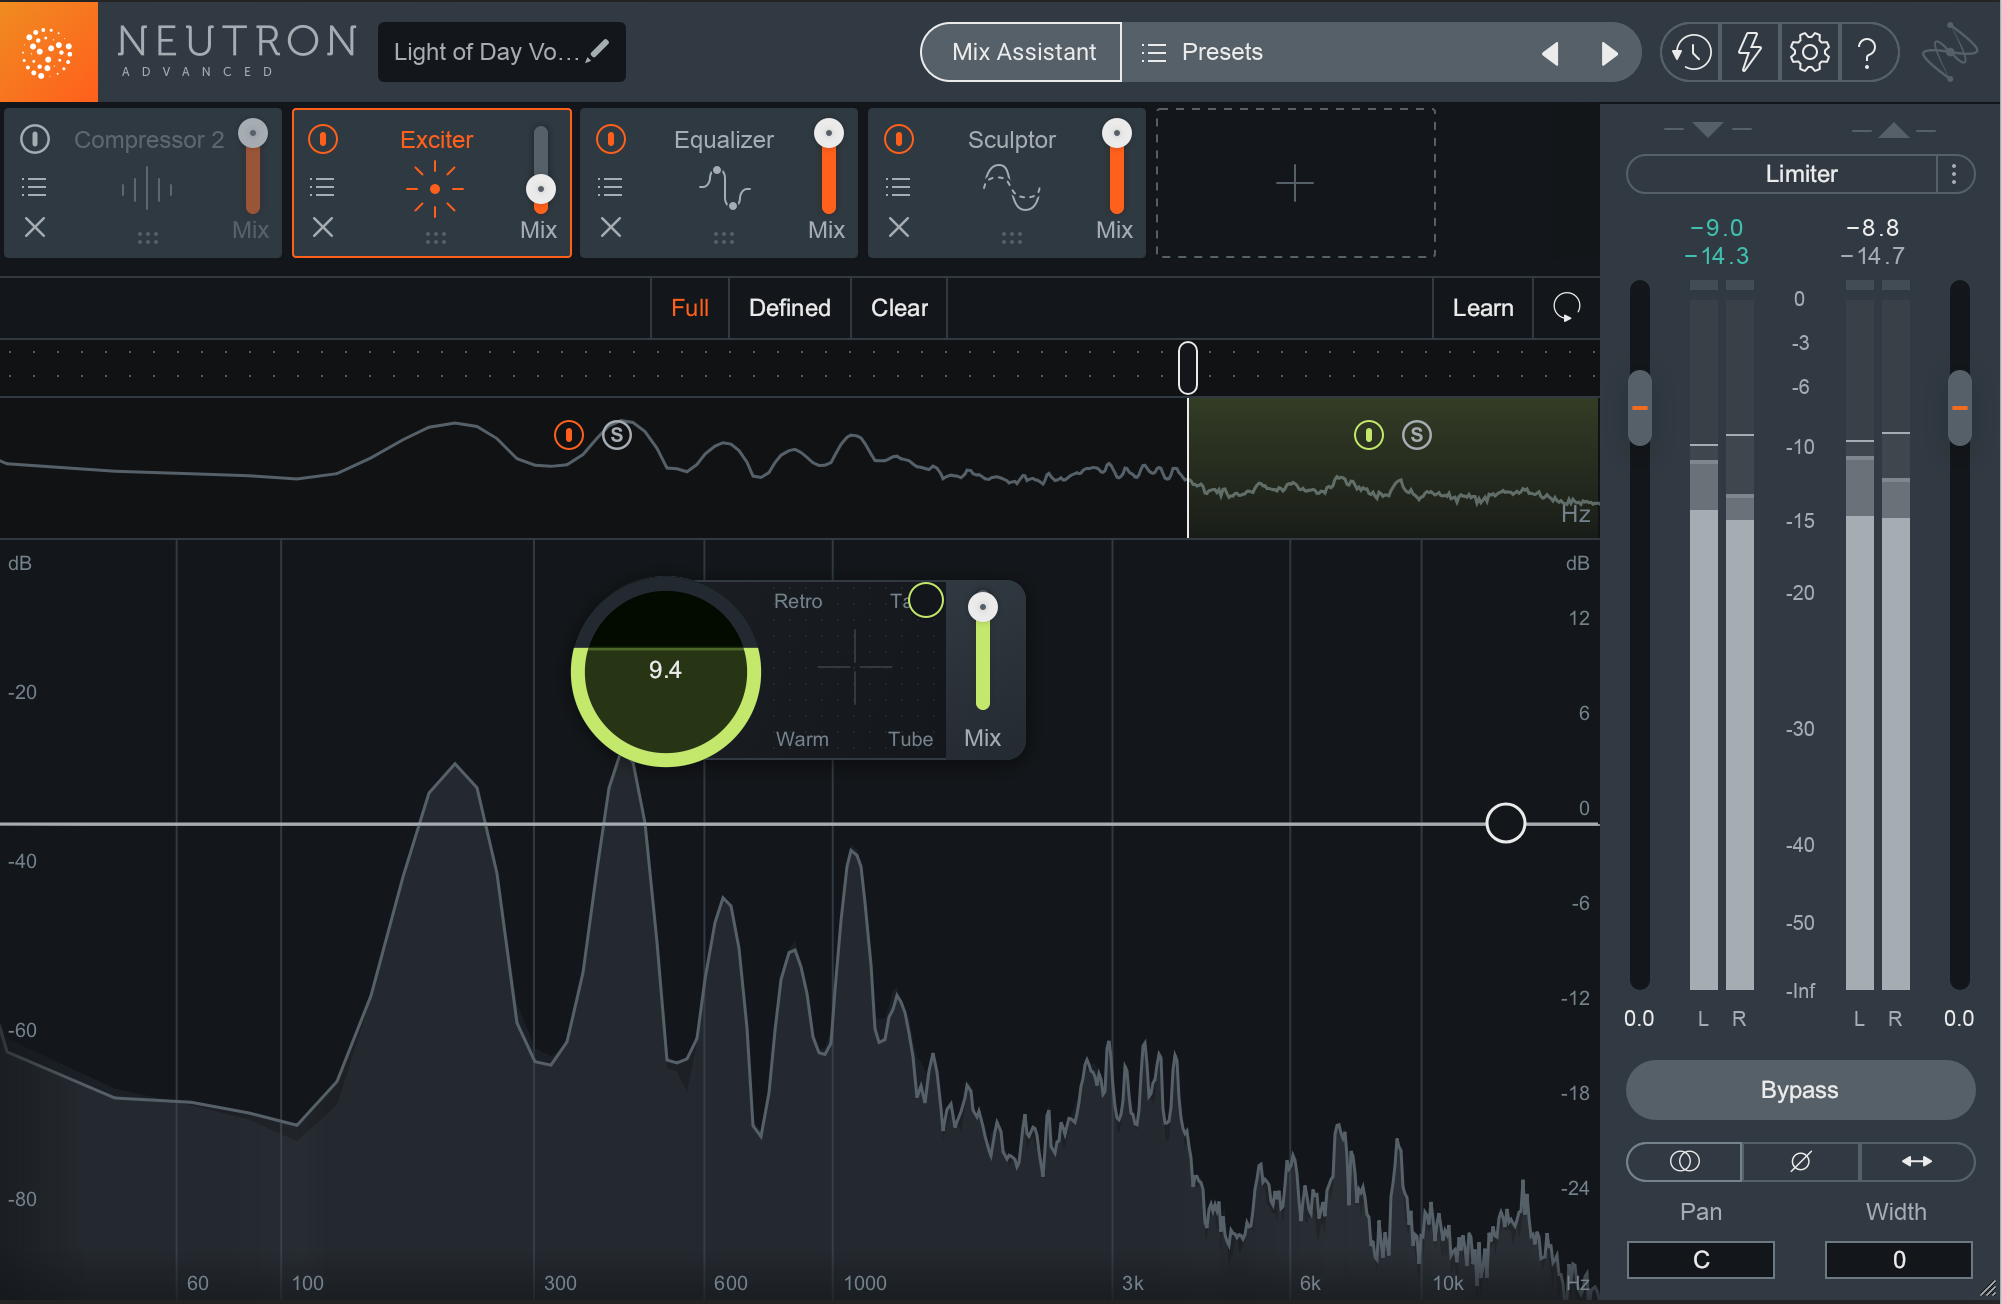
Exciter module in Neutron 3

Sculptor Module in Neutron 3
Conclusion
There are as many combinations of Neutron and Nectar as there are people using them. Everyone has their own unique workflow after all. Taking personal taste out of the bargain, Neutron and Nectar provide such different methods of compression and saturation that one is invariably more suitable for a given situation than another.
What we hope to provide here is the spark, the turn that allows you to overcome any fear in blending Neutron and Nectar. Bring both elemental channel strips to your productions, and you’ll find a rock-solid basis on which to build your full production.
