10 steps to a quick master in iZotope Ozone
Learn this simple 10 step-by-step process to intelligently master your song in iZotope Ozone with the help of Master Assistant, Ozone’s built-in mastering presets, and its newest modules for clarity and cohesion.
Mastering often comes off as a mysterious part of the music production process, and it really doesn’t need to. Learning how to critically listen and understand best practices to finish a mix are important skills for an engineer to learn, even if they aren’t always wearing the shoes of a mastering engineer.
The mastering process is about achieving a cohesive sound that stands up against other tracks in the same genre—or across an entire album. Ozone’s powerful software helps you work efficiently and creatively, and the new features of Ozone 11 can make the process even more streamlined.
In this article, we’ll learn how to master with Ozone with the help of the new Master Assistant. We’ll do this by revisiting a list of important guidelines for working quickly and efficiently, and how the new features work to set you up for success.
Follow along with iZotope Ozone, the ultimate collection of mastering tools to help you make your tracks release-ready.
Before we begin, let's take a listen to the difference mastering with Ozone can make for your track. Listening on good-quality headphones will give you the best audio experience when listening to subtle differences in mastering.
Mastered Song
1. Prep your workstation & DAW for mastering
Especially if you have a multipurpose production room where everything from songwriting, recording to mixing takes place, it’s important to prep and calibrate your workstation and DAW for mastering. Remember, one of the main goals of mastering is translatability—that your music sounds good and translates well across a wide range of playback systems, formats and environments. By optimizing your workstation for mastering, your tools and ears are able to make more accurate and reliable mastering decisions that better translate to the outside world. Here are a few key factors to consider:
Monitoring
Calibrate your playback monitoring to a fixed gain level for mastering. This is more crucial for a multipurpose studio environment, because it trains your ears to develop an internalized compass for both loudness and tonal balance that effectively translates to the outside world.
Metering
A well-rounded set of metering tools along with properly-calibrated monitoring are crucial to giving you the most accurate picture of the sound you’re aiming for while mastering. Tools such as Insight provides detailed information about levels, crest factor, loudness targets, stereo imaging, just to name a few. But another metering tool that’s worth having in your arsenal is Tonal Balance Control, which gives you a contextual picture of your master’s tonal balance in relation to a reference target (album, genre, etc.)
File & metadata check
Double check that you have the right files, and ensure that your mixes are at the optimal format/resolution for mastering. Although different mastering houses have their own set of preferred specifications, you’ll be well on your way by exporting mixes in the WAV format, keeping it at its native sample rate, and setting the bit depth to at least 24-bit or 32-bit float. Having the essential metadata on hand before mastering (artist name, song title, album title, sequence, ISRC if it’s available, etc) ensures a smooth, efficient session.
Dig deeper: Learn more about the importance of monitor gain in mastering and discover how to use metering in mastering.
2. Load Ozone’s Master Assistant as a starting point
For this exercise, we’ll use Ozone’s Master Assistant to analyze your mix based on specific parameters to create your starting chain. “Starting chain” is an important detail here. All the modules you use to master your track will get loaded into the ‘Module View’ window of the plugin.
To begin, make sure to clear the signal chain so the Module view is blank.
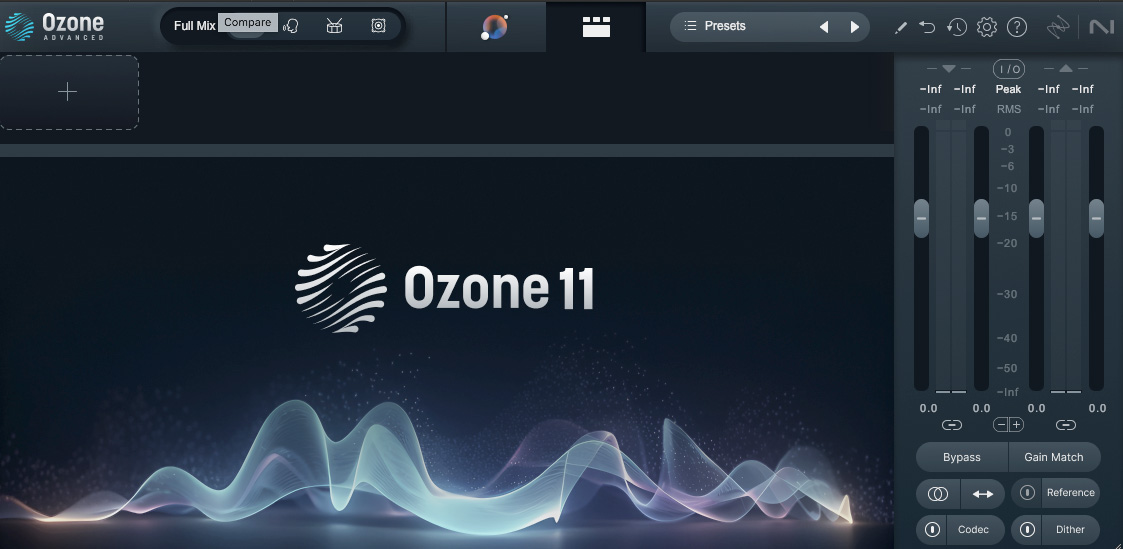
Ozone Start Screen with Master Assistant button, the circular icon at the top center of the plugin
Master Assistant uses AI to analyze your mix and give you suggestions based on the content and genre of the track. If you are a beginner with regards to mastering, it will provide you with a good starting point from which to work. If you are an experienced mastering engineer, it can be a second set of ears as well as a way to streamline your work.
Use Master Assistant in Ozone to analyze your mix based on specific parameters to create your starting chain.
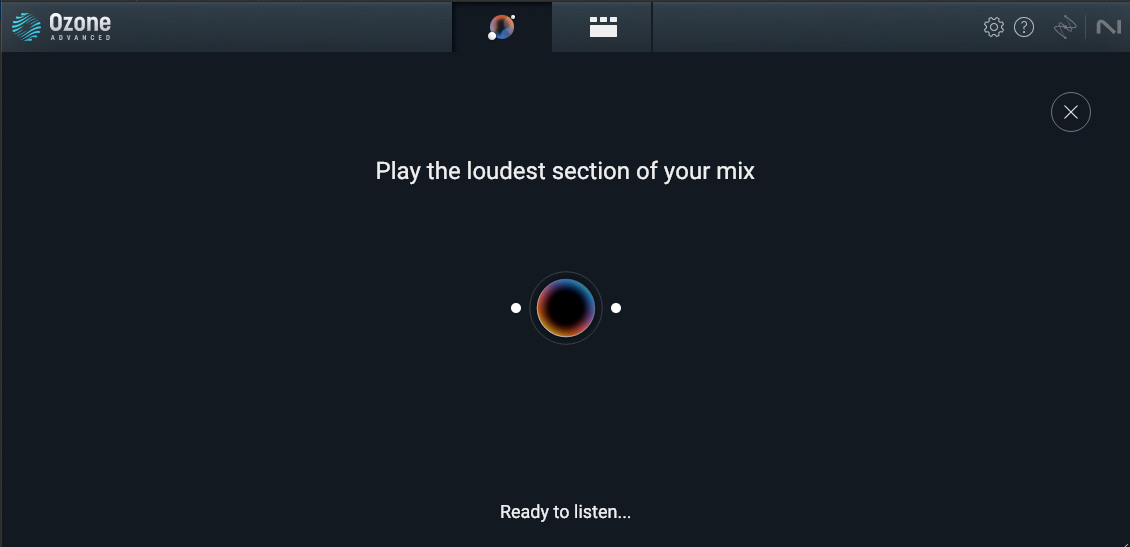
Master Assistant selected, waiting to hear your track
Pick at least an 8 second loop, preferably the most energetic section of the song. As it listens, it will begin to build the mastering chain.
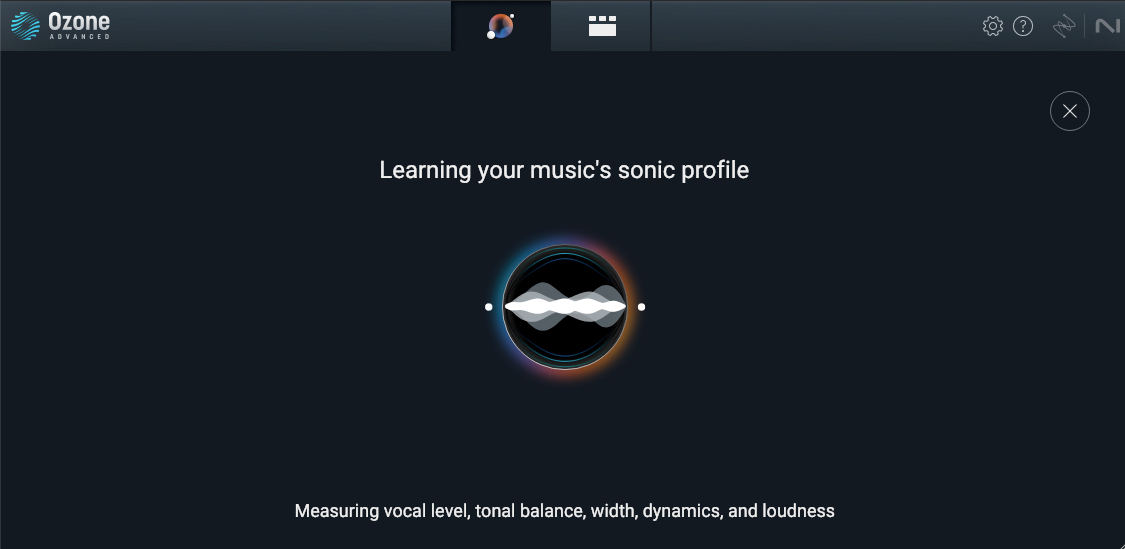
Master Assistant listens to your track and creates an AI-powered mastering chain that you can adjust to taste
After the analysis, Master Assistant will load modules guided by the analyzed genre.
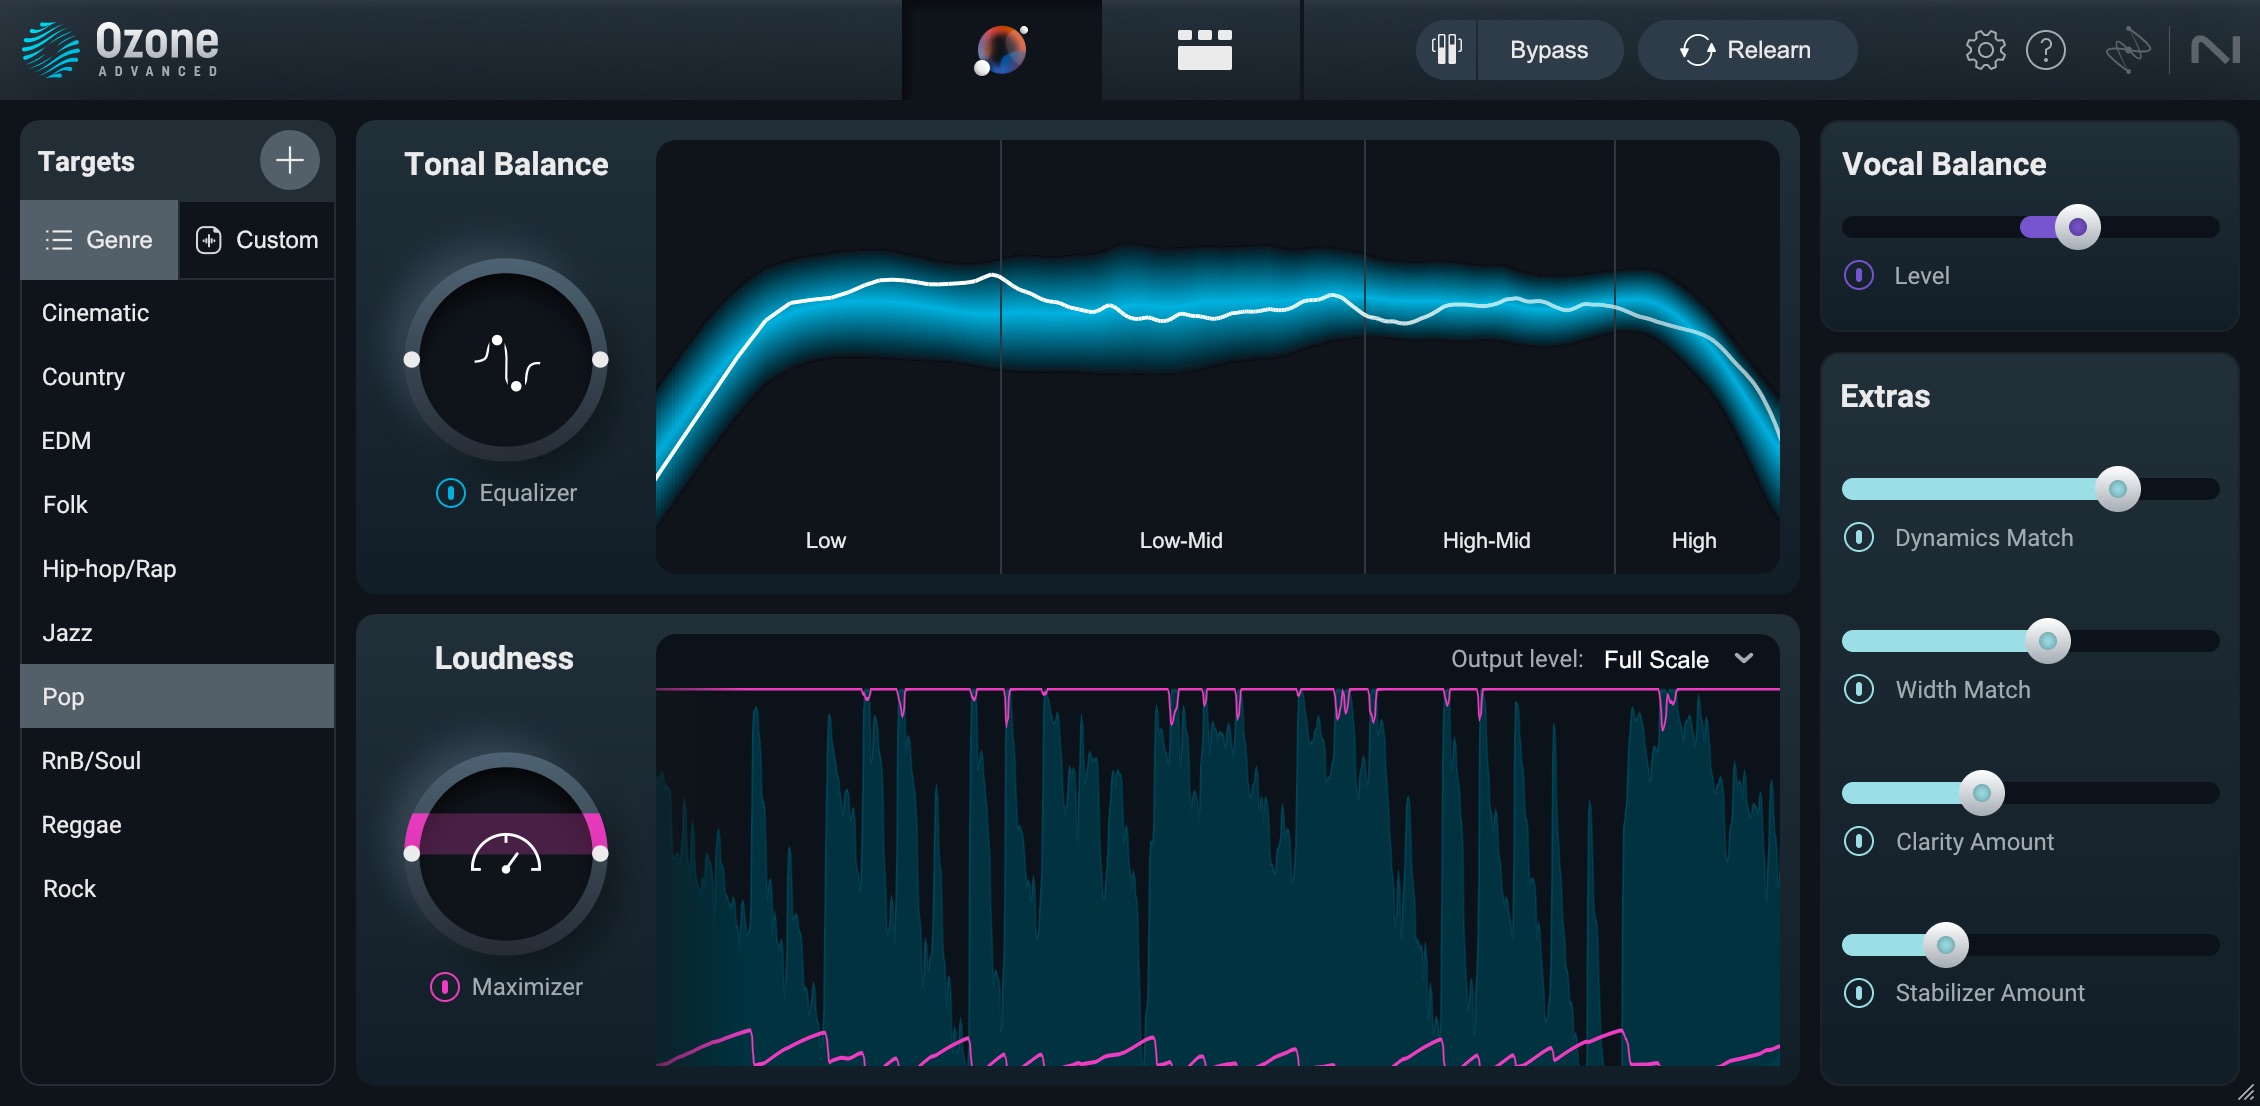
Master Assistant results
As you can see, in Module View, modules were added.
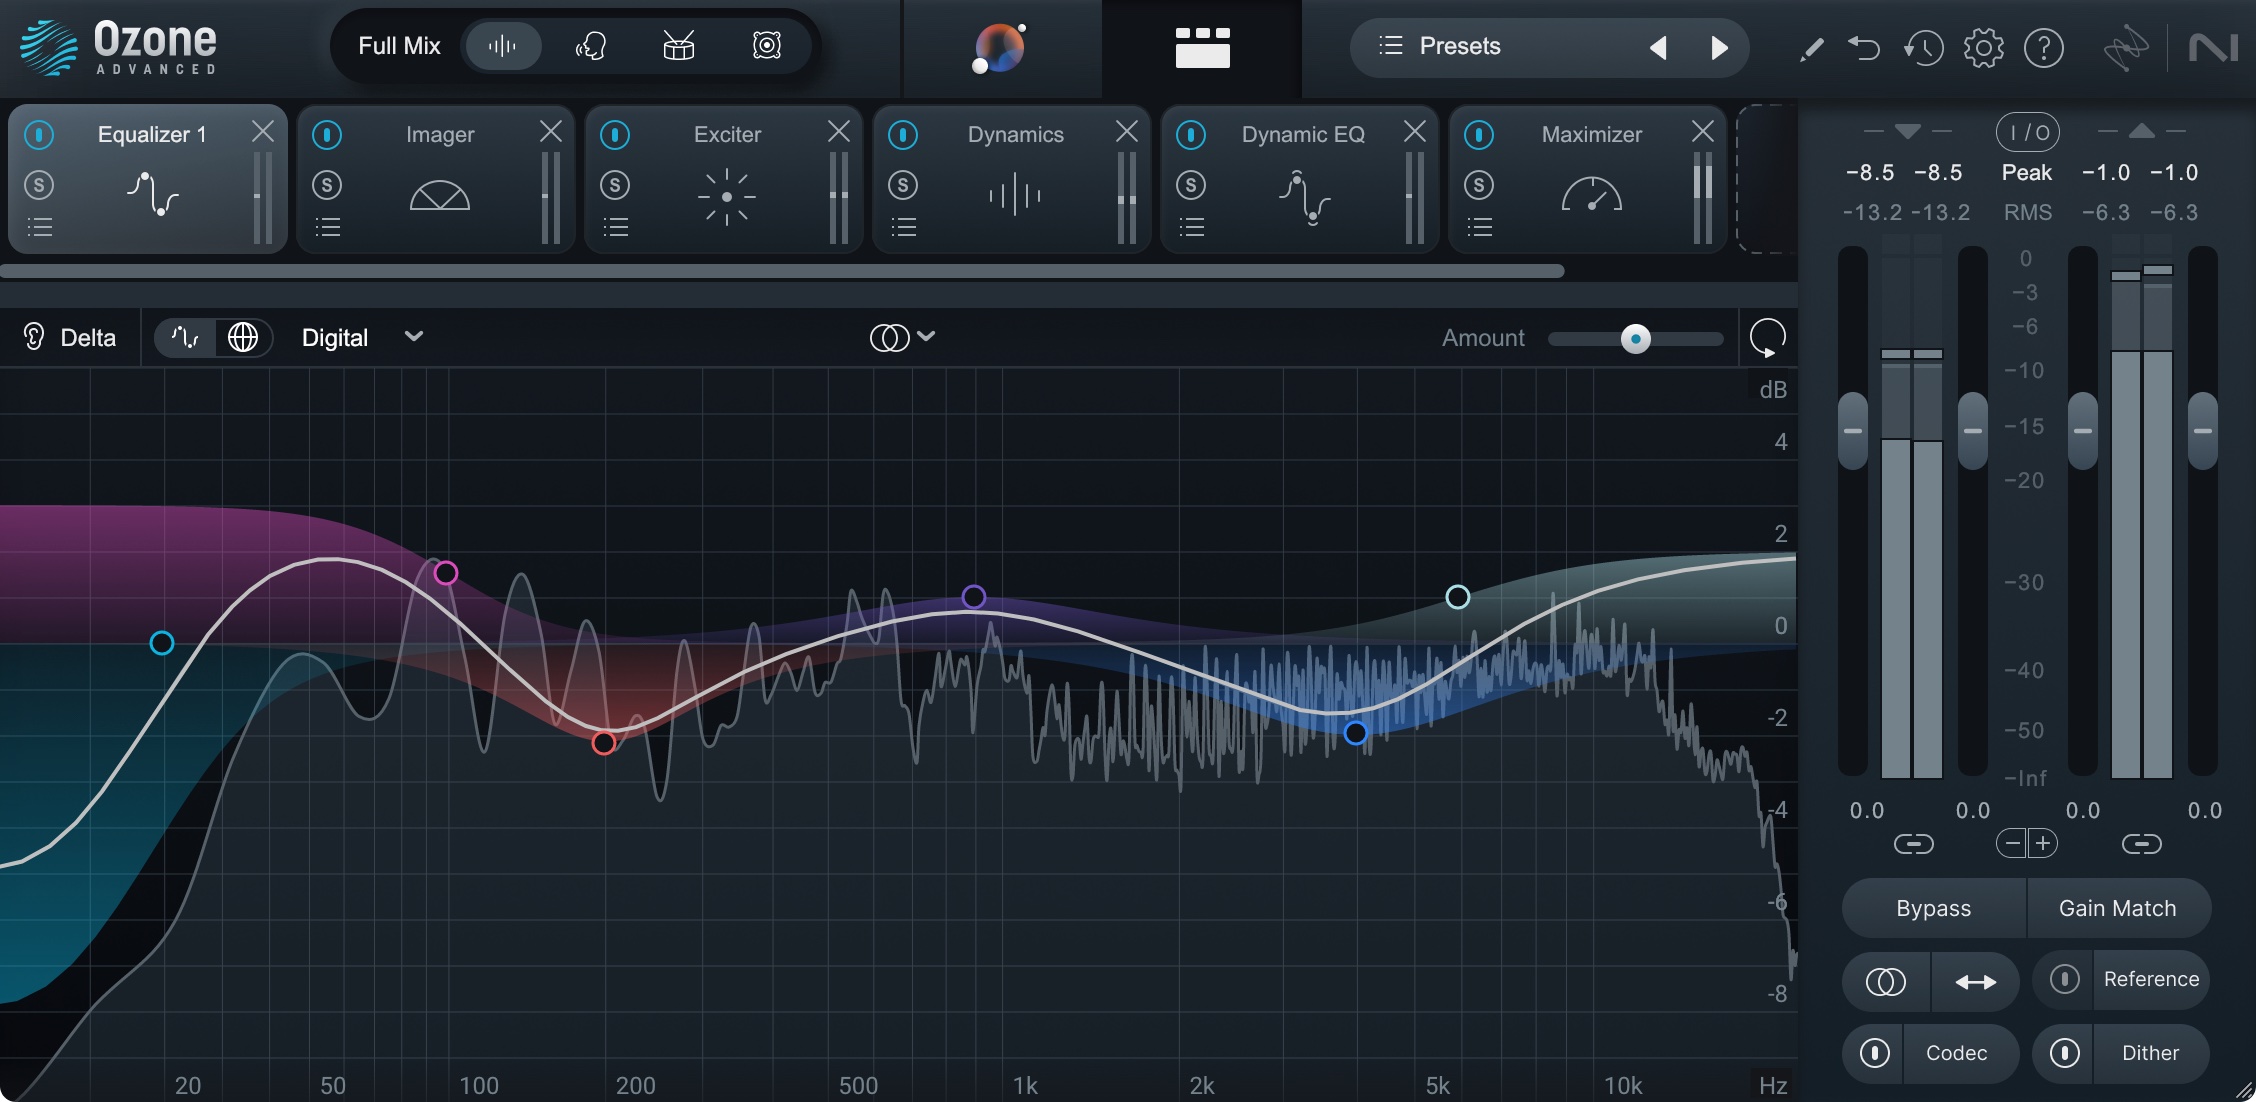
Ozone's Master Assistant creates modules to edit your processing in a more surgical fashion
You have the option of tweaking the Master Assistant parameters on the Assistant screen, or you can go into each module that it is pulling processing from to get a more surgical view and editing capabilities.
Another feature of the Master Assistant is custom targets on the left hand side of the Master Assistant. You can upload audio files for the Assistant to use as a guide for how you’d like the track you’re working on to sound.
This can be helpful if you’re looking to match an already mastered track.
Another way to set a target is to use the Audiolens app. It captures audio directly from a streaming platform and when you open Ozone on your track, it will use that as a reference for your track. No need to upload files, and Audiolens isn’t recording any audio—just using the playing music as a reference.
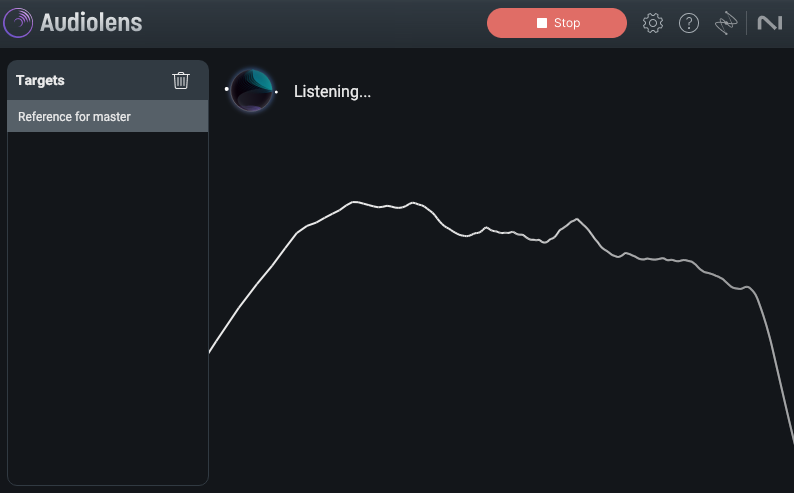
Audiolens capturing a reference track from your computer
3. Level matching and auditioning settings
Now that you have a mastering chain set up, you’re ready to take a listen and see what the assistant came up with—and if there are any changes you’d like to make!
Don’t lose sight of the essential human component in music creation. Listen to how the master sounds and take steps to explore all possible ways to fine tune your master.
Start by doing A/B listening comparisons to hear how your music sounds BEFORE & AFTER mastering. Toggle the “Bypass” button next to “Gain Match” to do so.
Also listen to how every module affects your signal chain by selecting the individual “Bypass” icon on each module.
As you listen, engage the Gain Match button. It allows you A/B settings with the levels matched so you can bypass the mastering by toggling the Bypass button and hear more clearly what the signal chain is doing.
In addition, you can bypass individual modules to see how they are affecting the sound.
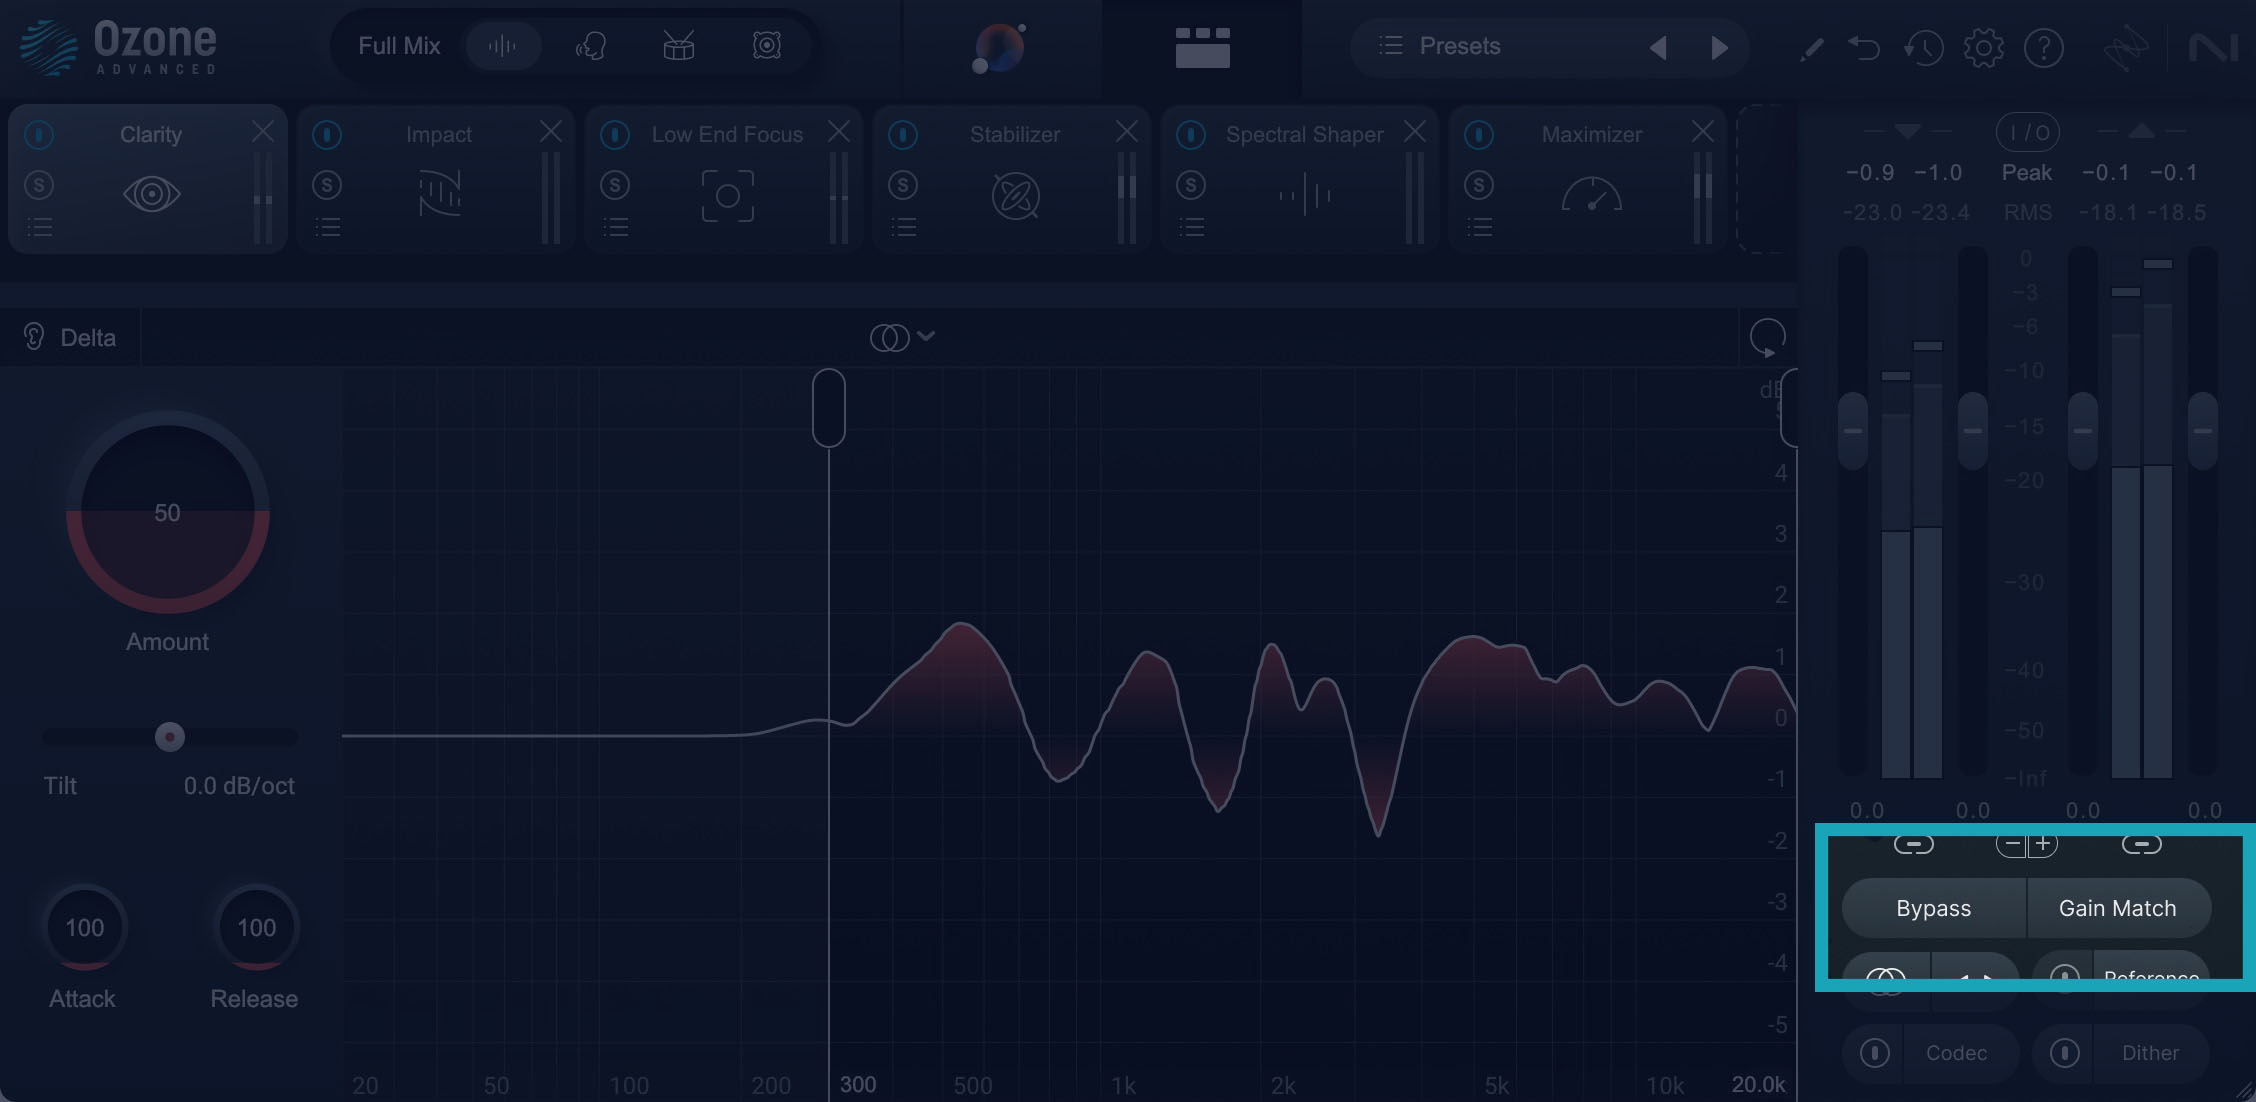
Bypass and Gain Match functions in Ozone
Your signal chain will look different from song to song, and may not utilize every module that Ozone has to offer.
Here’s an example of the original mix, and an example of the initial analyzed settings that the Master Assistant came up with, level matched.
Master Assistant Results
From here, you may want to explore different settings. One way to accomplish this is through the Ozone mastering presets.
Dig deeper: Learn more below about 5 ear training exercises to listen like a mastering engineer.
4. Explore Ozone mastering presets
Ozone is packed with mastering presets that cater to every genre/production style. You can listen to how these various presets compare against the Master Assistant’s starting chain.
To access the mastering presets for each module, select the “Preset Manager” icon right under the Bypass icon (see screenshot below).
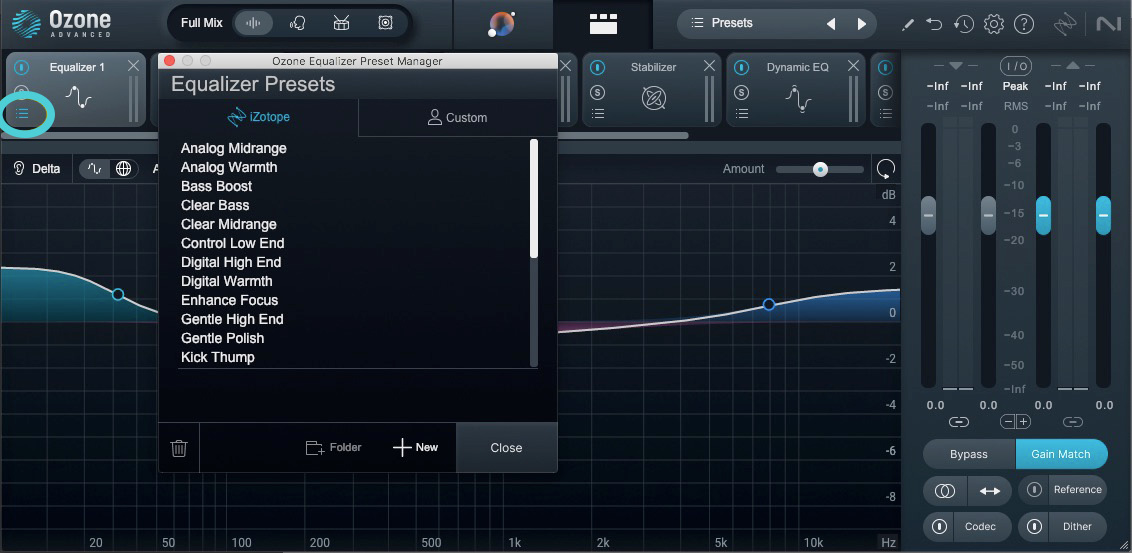
Explore Ozone's mastering presets within each module
You can effectively audition and switch between different mastering settings using Ozone’s “Undo History and Compare” window at the top right corner (see screenshot below). In this window, click the “Set” button under a letter bank (A, B, C, or D), to take a snapshot of your current settings.
Start by saving your Master Assistant signal chain under A then proceed with saving other settings/presets under B, C, or D. Once you’ve taken snapshots of multiple mastering settings, you can easily do your A/B listening comparisons by quickly toggling between each letter bank.
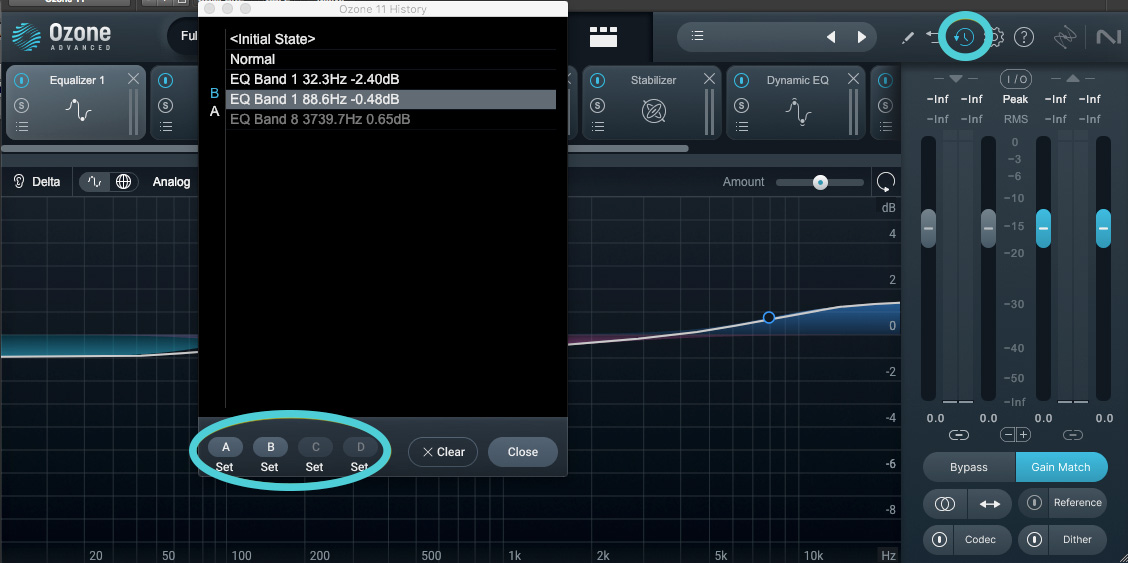
Snapshot comparisons in Ozone
An improvement between Ozone 10 and 11 is the GUI—the layout is more visually streamlined and the changes you are making to your track are easier to see and control.
Another cool feature is Delta (difference) buttons in every module—allowing you to hear what the plugin is actually doing.
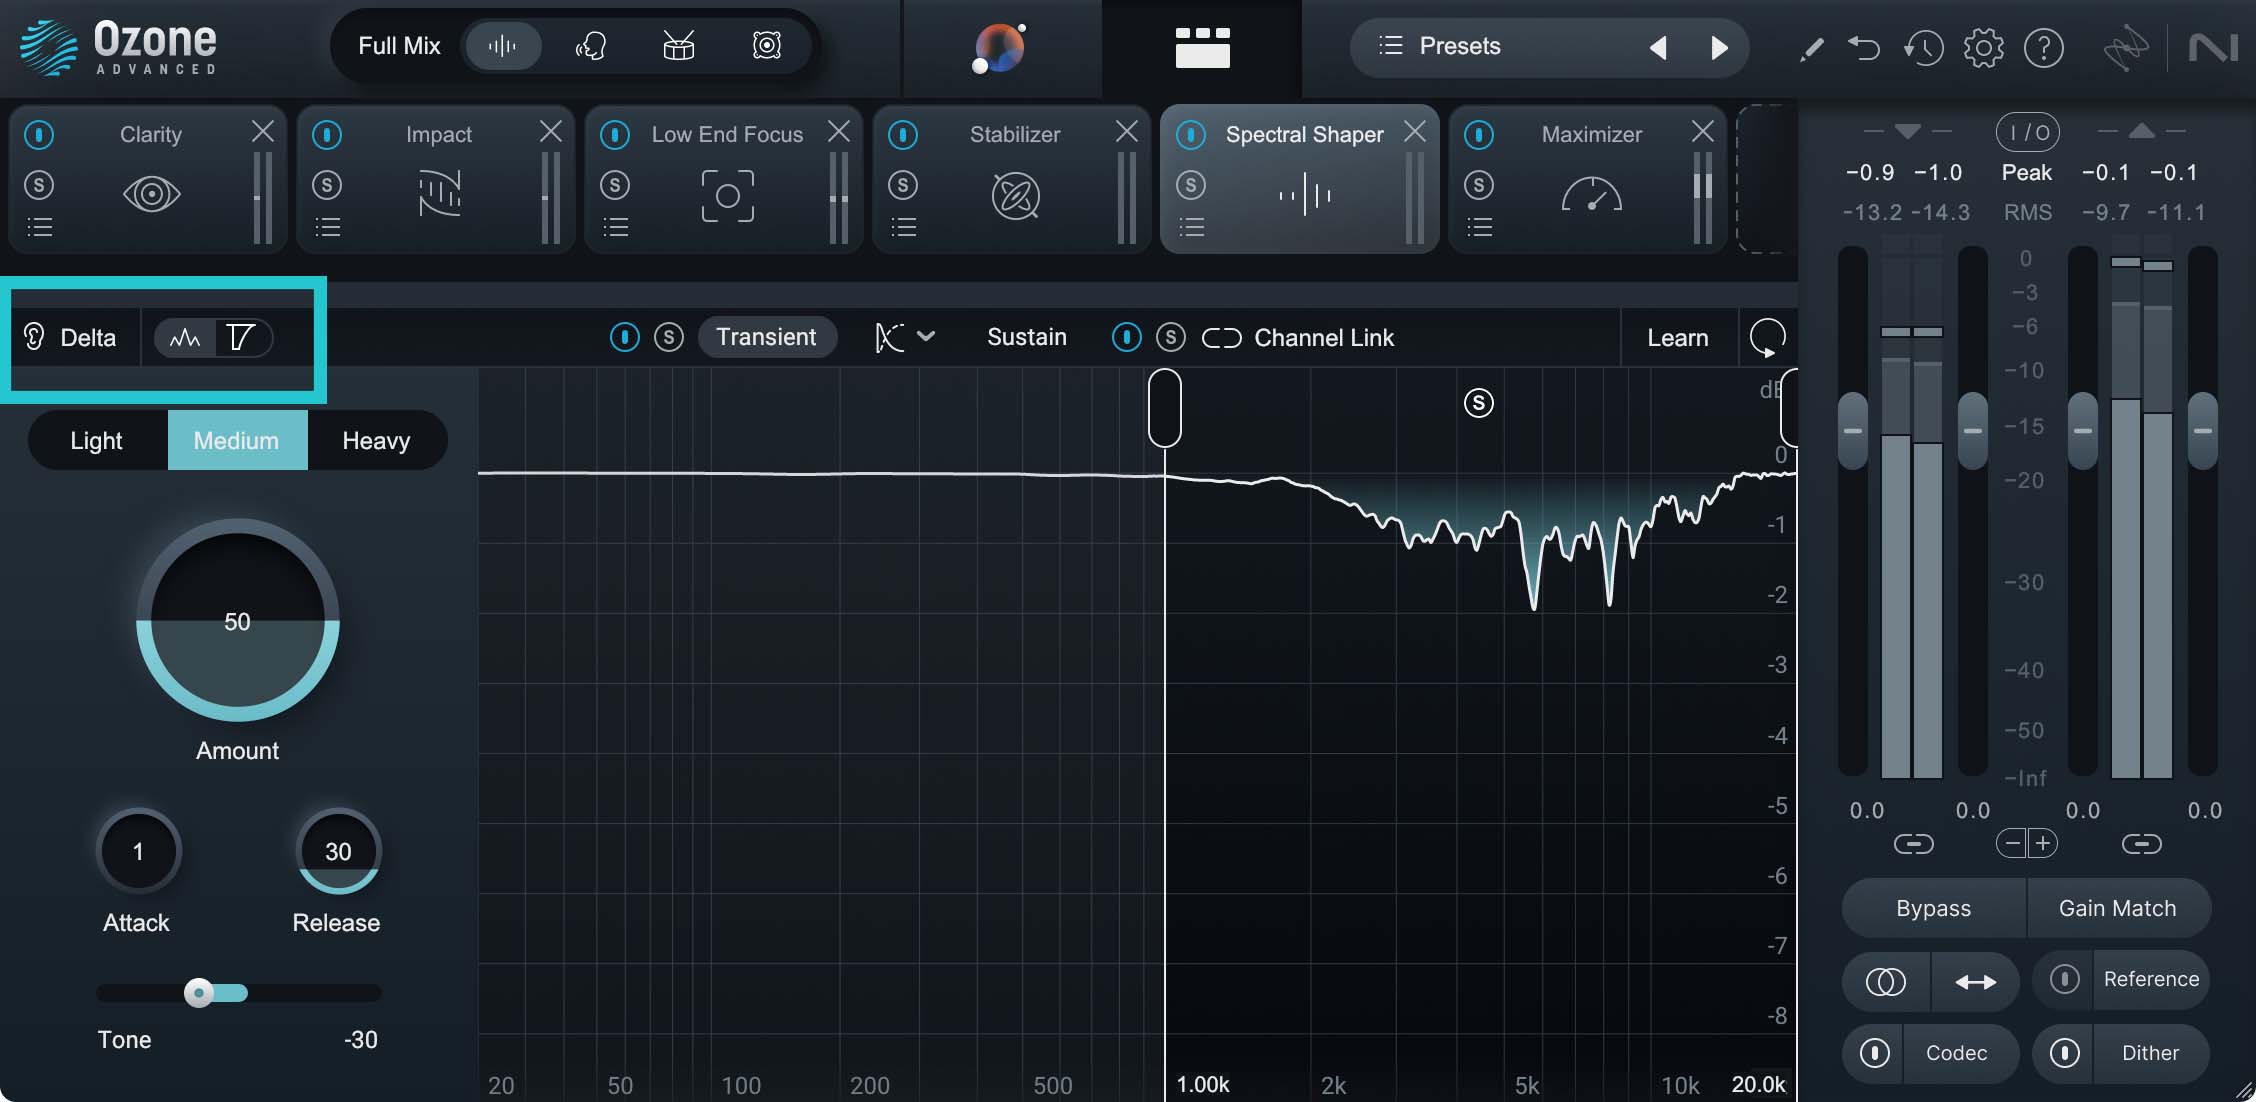
Delta in Ozone allows you to hear just the frequencies that are being cut or boosted
5. Adjust your EQ settings and dynamics processing
EQ and dynamics processing are essential tools used to sculpt the overall sonic balance, shape the tonal characteristics, and control the dynamic range of a master, ensuring it sounds polished and cohesive.
A new feature in Ozone 11 is the Clarity module. It analyzes the spectral content of your music and helps make your mix sound clearer, and more spacious, without harshness.
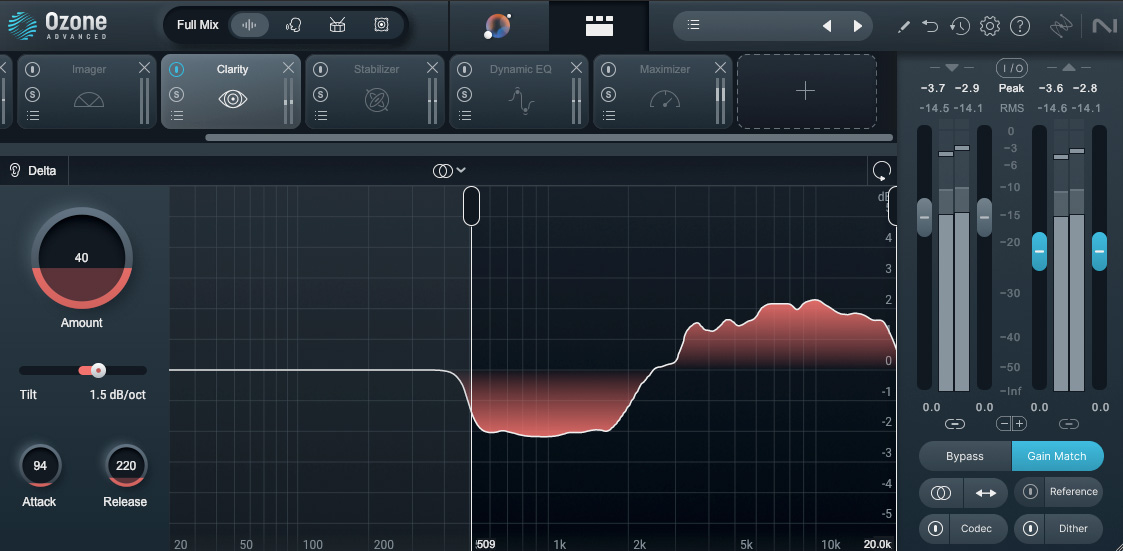
Achieve a smooth master that sounds professional, polished, and maximizes loudness with Clarity
You can control if the processing is applied to the stereo mix equally, either the mid or the side, or if the signal is analyzed so the transients are isolated to be processed differently than the more sustained parts of the track.
The transient/sustain feature is new in Ozone 11. These three features (along with separate left/right processing) are available in multiple modules in Ozone, so you can tailor each module to its own needs.
You can also adjust the attack and release, or how quickly the processing reacts to the incoming signal, and is released to the baseline.
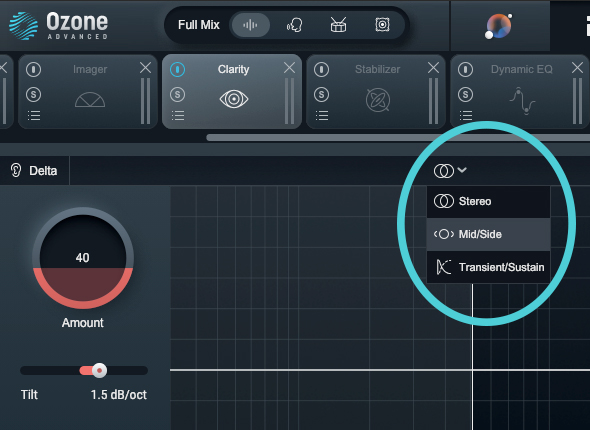
Choose your processing mode; stereo, mid/side, transient/sustain
And like all the other modules in Ozone, it comes with presets to start from.
Here’s an example of the unprocessed signal against the Clarity module in use, level matched. The goal was to clean up the mids, and add some air to the overall mix.
Clarity Module
Assistive Vocal Balance is one of the new features in Ozone 11. When your mix is analyzed, if the Assistant thinks the vocal balance is a bit off, it will engage the Vocal Balance slider. This allows you to enhance the vocals in the mix with minimally affecting the rest of the mix. If the vocals are deemed balanced during the analysis process, this slider will be dark.
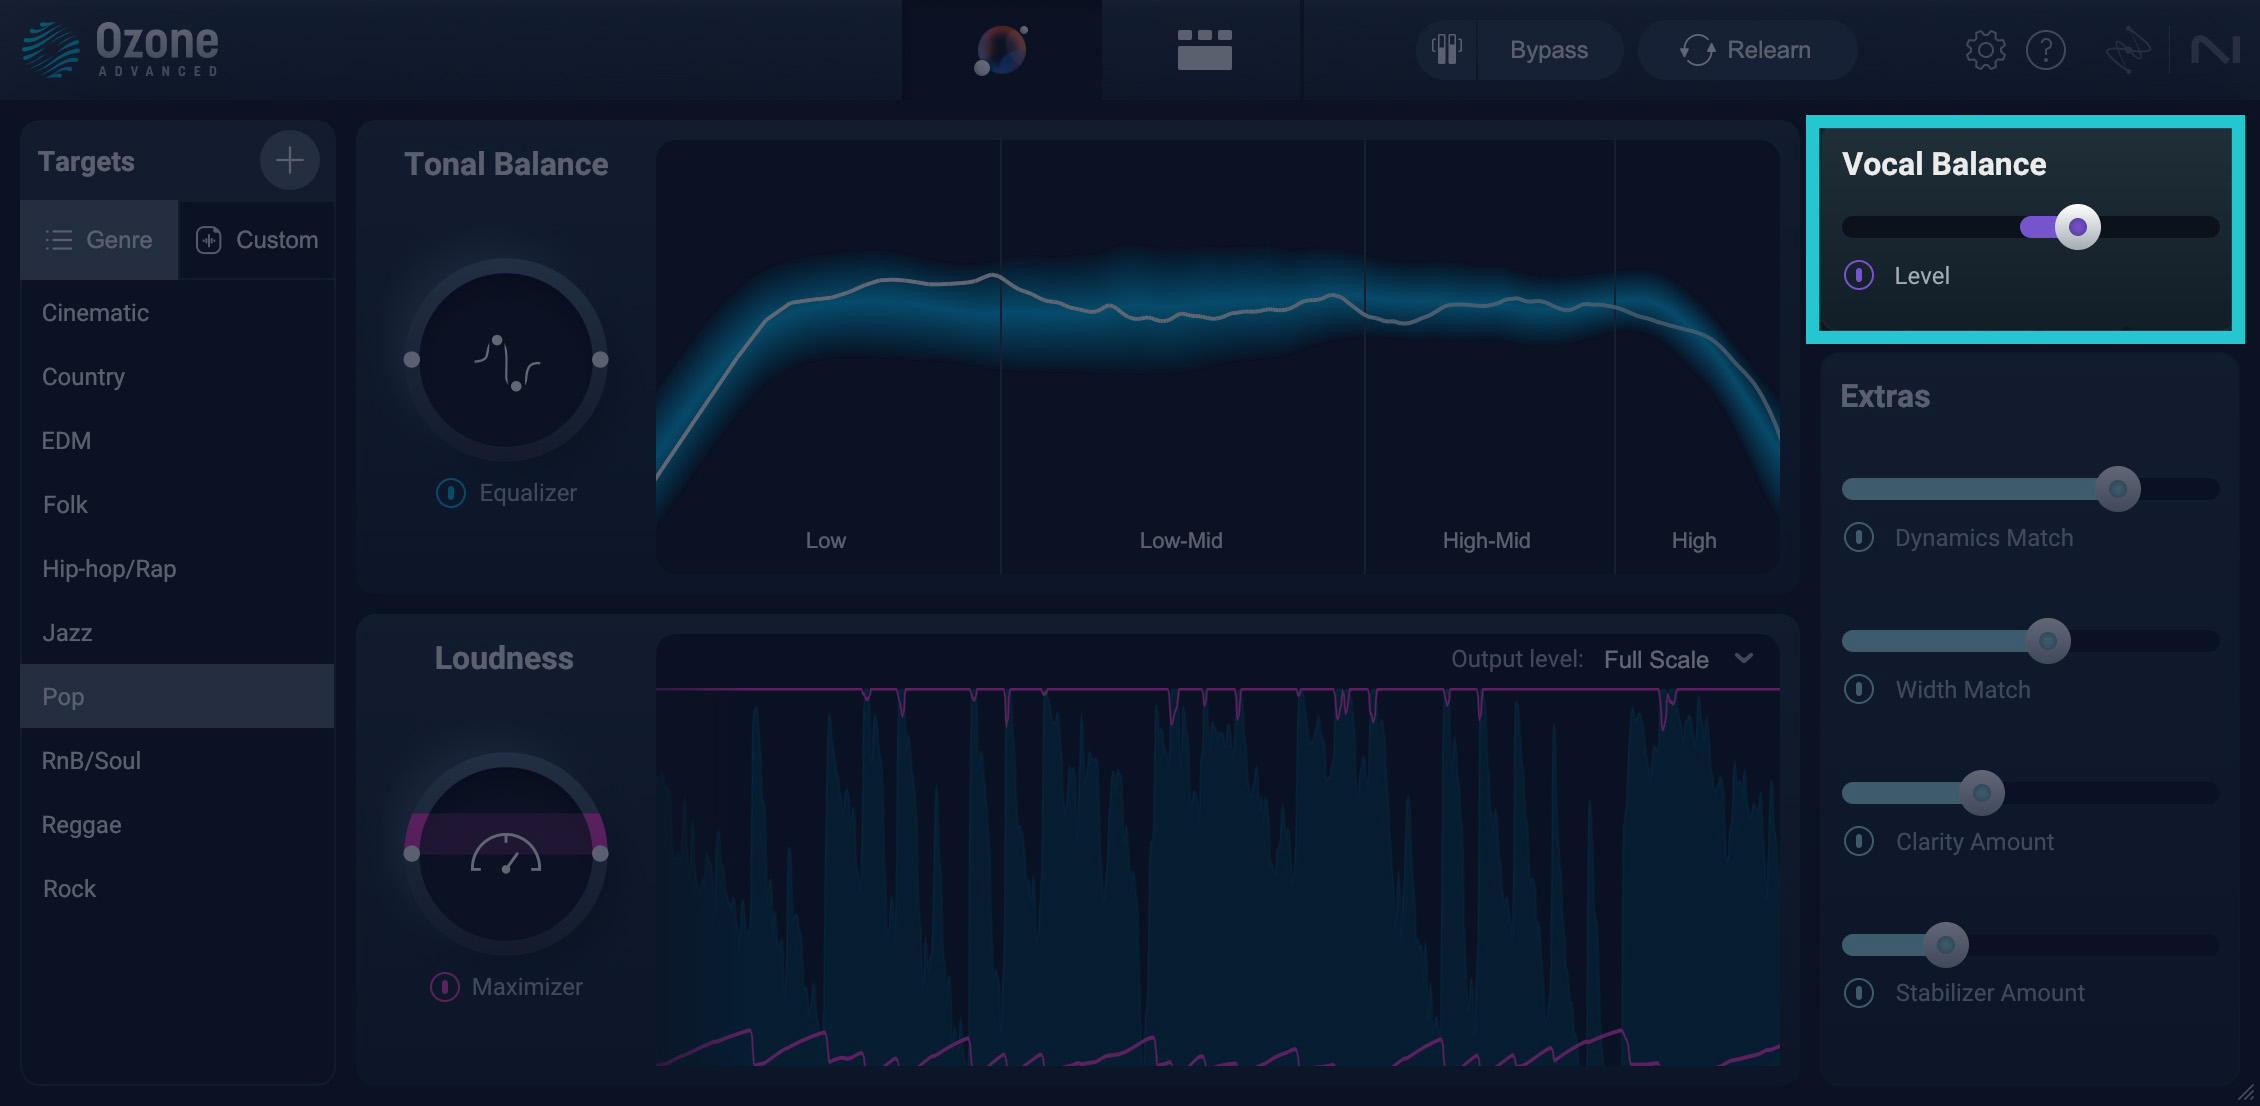
Achieve the clear, perfectly-balanced vocals that will bring out the emotion in your music with Assistive Vocal Balance
Here is a before-and-after example of Vocal Balance engaged on a mix. The files are level matched. The vocal is a bit more present and forward.
Assistive Vocal Balance
And of course, there are the other modules available in Ozone to add dynamics processing and color, such as Vintage Tape.
You can always add additional modules to your mastering chain, but it is best to keep the Maximizer for the very end of your chain.
6. Explore additional mastering treatments and techniques
So far, we’ve only covered EQ, dynamics and limiting, and for good reason. Mastering can be fully accomplished with these fundamental processes alone, and it’s most often the case. “Less is more” is one of the essential tenets of mastering, after all. But there may be times you would want to think outside the box and explore other creative strategies.
Now would be a good time to explore other possible techniques such as excitation or reverb. You might even look into automation to further refine your mastering settings for specific portions of the music. As you try out other modules, make sure that the Maximizer remains at the end of your Ozone signal chain.
Despite all the constraints in the mastering world, there’s certainly a lot of room for creativity. But it should always be rooted with intention once all the essential steps have been dialed in (EQ, compression, limiting).
A new feature in Ozone 11 is Stem Focus, which allows you to isolate a particular stem of music in the mix and apply any Ozone module to that area of the mix, pushing the AI technology involved in the Master Assistant to the limit (pun intended!)
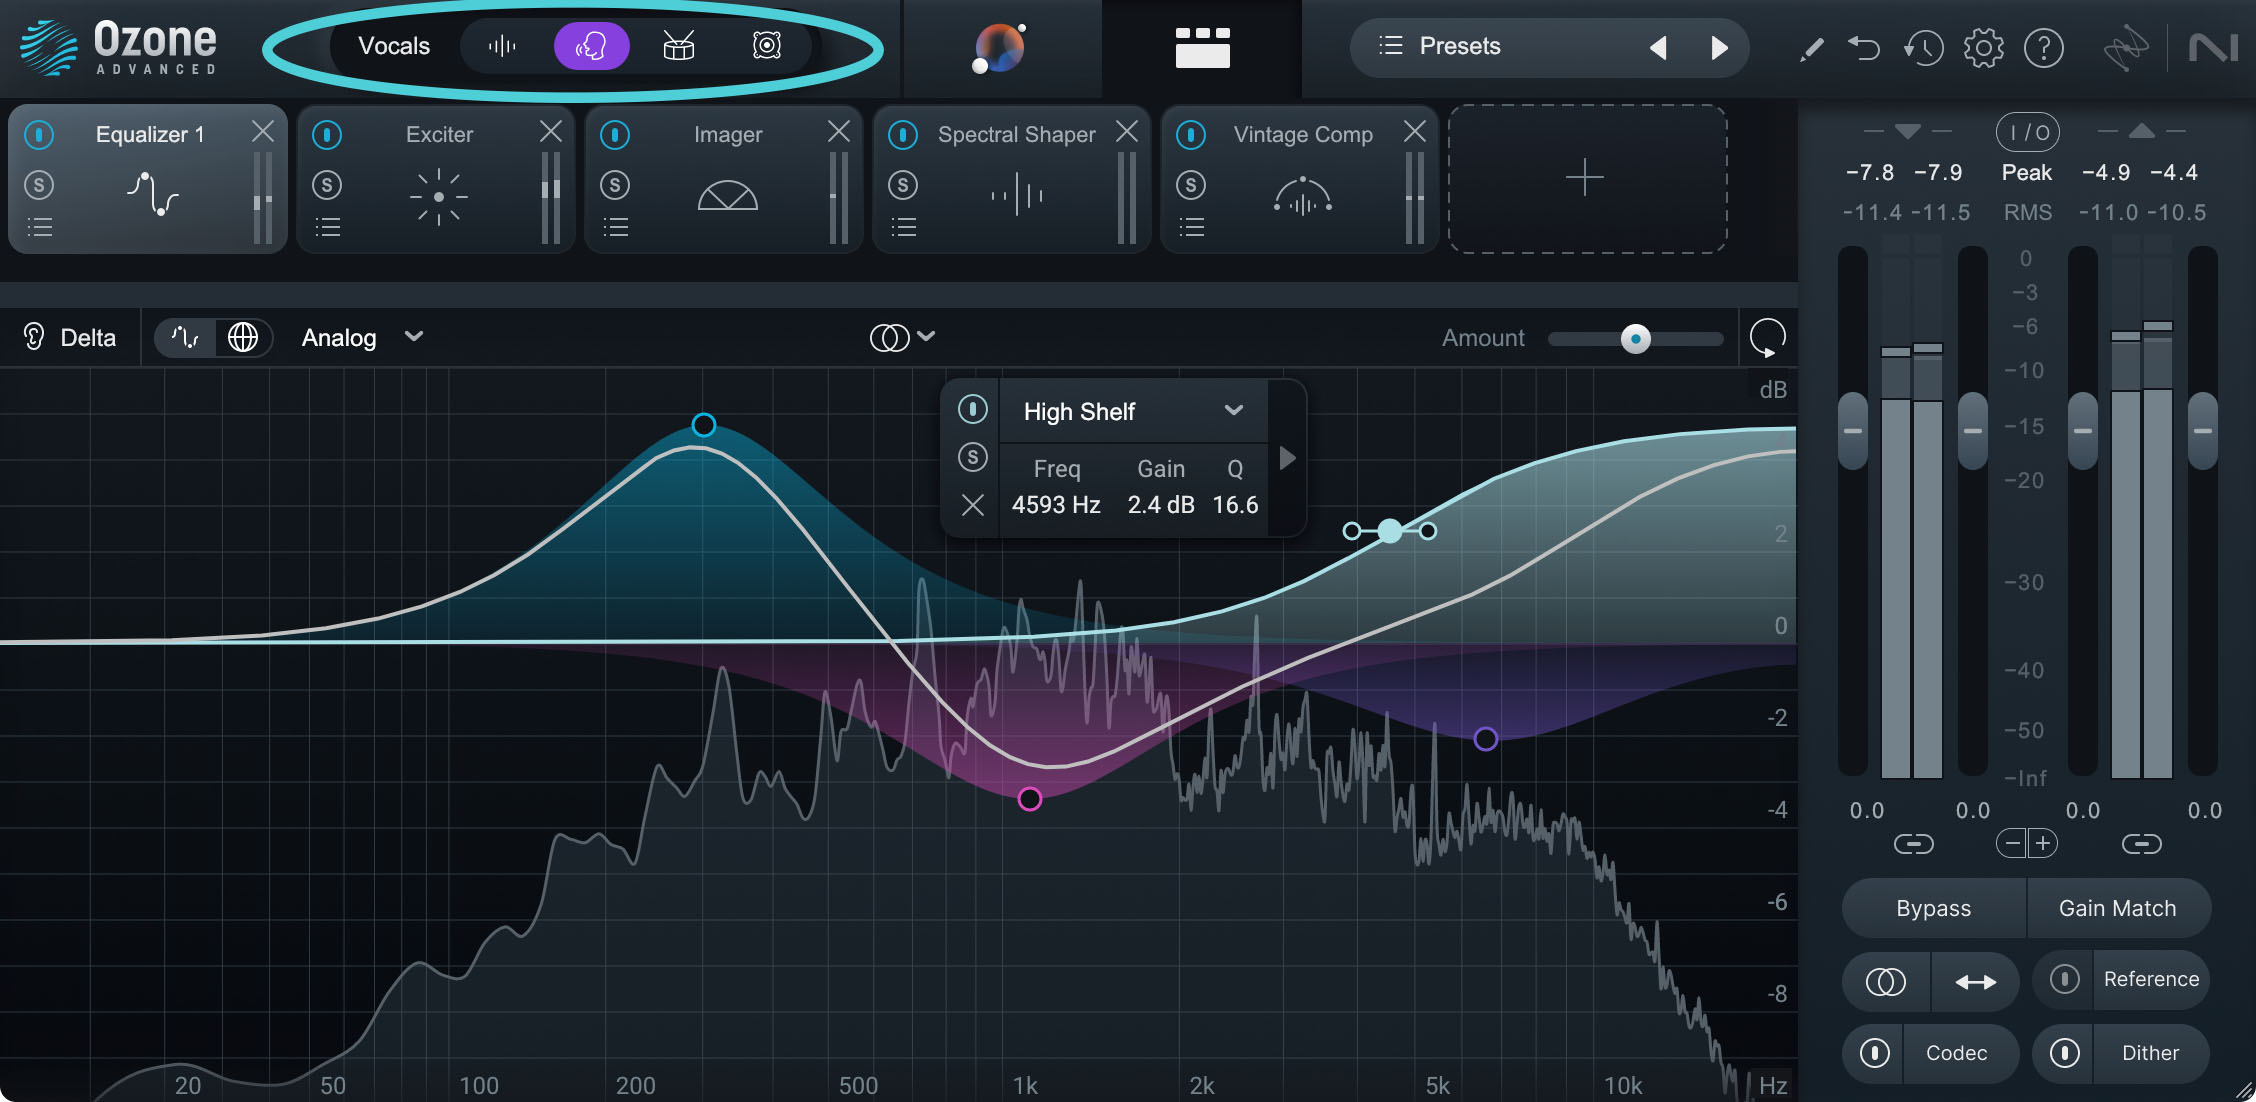
Apply any Ozone module to an isolated stem to control the internal balance of a mixed file
7. Adjust the loudness and limiting with the Maximizer
When people think of mastering, the first thing that comes to mind is loudness. It’s essentially the prime directive of the mastering stage—to make your mix competitively loud in the commercial marketplace. Use metering tools such as Insight (inserted at the very end of your DAW’s master chain) to make better-informed limiting decisions with your Maximizer.
Also keep in mind that all the processing in your signal chain can influence the loudness potential of your mix—tonal balance and crest factor both being significant factors—so keep a watchful eye on your EQ and dynamics modules as you adjust your limiting.
Dig deeper: Learn more about loudness in this conversation about loudness in mastering with the pros.
A new feature in Ozone 11 is the Upward Compression option in the Maximizer. It allows you to add in upward, parallel compression to the mix before the IRC Maximizer. It brings up the quiet sections of the mix without reducing gain of the loud sections.
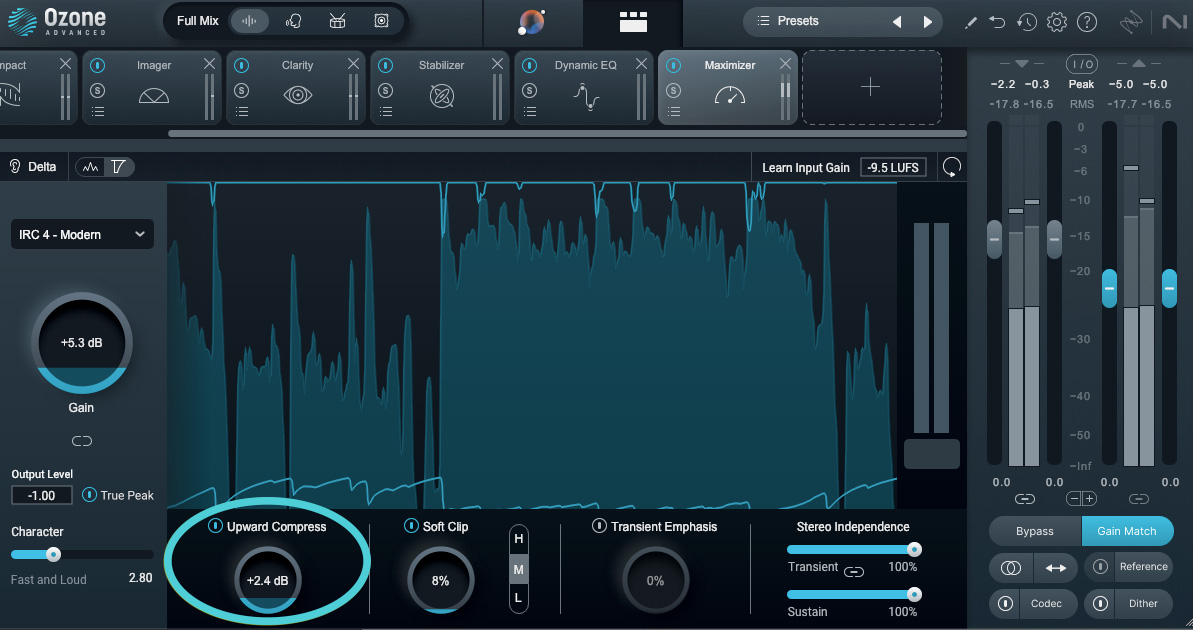
Maximizer module with Upward Compression engaged
8. Preview your sound using the Codec Preview feature
The Codec Preview in Ozone is a nice way to double check how your masters will sound when converted to different audio codecs, such as AAC and MP3 at varying bit rates. You can also solo artifacts that might occur through conversion.
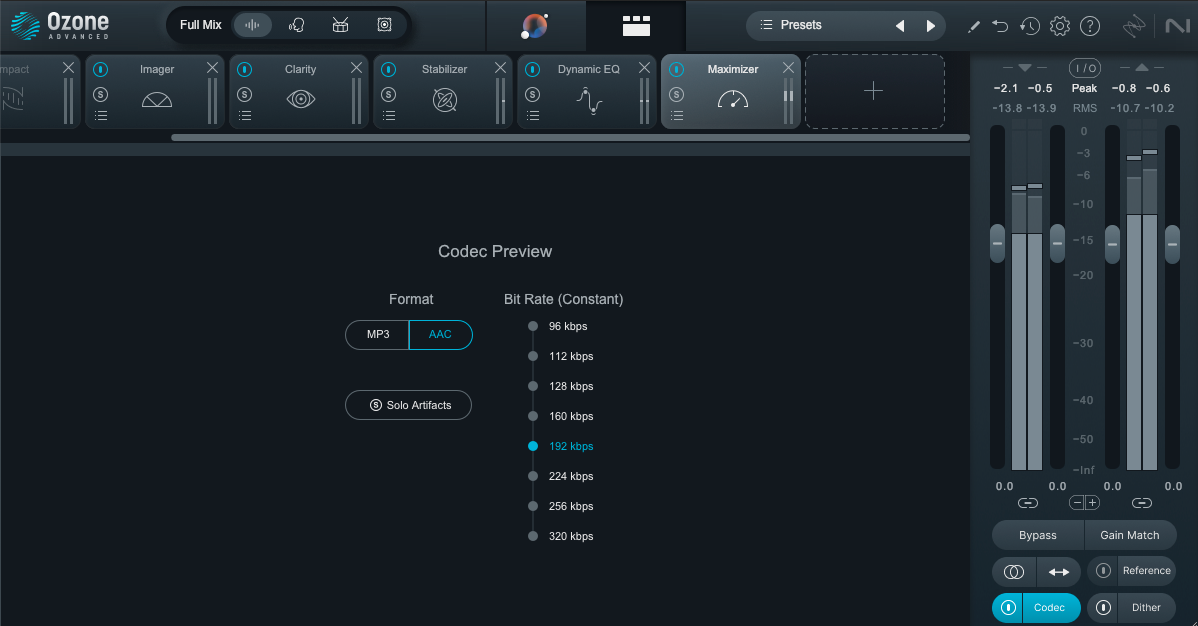
Codec Preview allows you to hear what your audio will sound like after conversion to MP3 or AAC
9. Export your master and listen back in various playback systems
Once you’re satisfied with your mastering adjustments, export your master to a lossless audio format. Avoid the mistake of exporting to lossy MP3. Different digital service providers (DSP) will have different specifications, but a common delivery spec for streaming and digital download is 44.1kHz / 24-bit WAV (a few DSPs still require 16-bit resolution so double check on your end).
Your mastering session doesn’t end here, however. Your critical listening continues outside your workstation. Remember that one of the goals of mastering is translatability—to make sure that your master sounds good across various commercial playback systems, whether it’s a high-end speaker system, headphones, car stereo or even a bluetooth speaker.
Comparing it against other commercial releases would help give you better context as well.
Take note of anything that needs to be adjusted to improve your master’s translatability (e.g. low-end could sound a little less boomy, the master could sound brighter, the sibilance could be tamed a bit better, etc.)
Dig deeper: Learn more about audio sample rate and bit depth and how those factors play into audio production.
10. Revise your masters if necessary
The client may ask for revisions. That’s okay! It’s a totally normal part of the mastering process. After a polish, sometimes an artist might hear things they didn’t hear before, and want some changes. Or maybe they’ll want to revise the mix!
Revisions are easy to accommodate using the Master Assistant. And as you gain more experience mastering, you’ll begin to anticipate a client’s artistic vision with greater ease.
Dig deeper: Learn more about revising masters in this interview with professional mastering engineers.
The final, mastered result
Using the example from above, here’s a before and after using Master Assistant.
"Flesh and Bone" Mastered
The main changes to the Assistant’s analysis were a few more bands of EQ added, the Clarity module adjusted, Impact module was removed, and the amount of limiting that the Maximizer was applying was adjusted (in addition Transient Emphasis was engaged), along with a few other small tweaks. All of these choices were based on the music and of course—what the client would want.
The advantage of using the Master Assistant is having a base to start from, but like anything with music, let your ears be your guide.
Start mastering your music with Ozone
Ozone helps you achieve a solid starting point by which to master a song. Whether an experienced engineer or a beginner, Master Assistant can analyze your track and help you work efficiently. From assisting with Vocal Balance, to achieving Clarity, Ozone’s modules will let you work through the guidelines listed here with ease.
