What Digital Reverb Actually Does
Digital reverb is a game-changer. In this article, we discuss how digital reverb works and considerations when using it.
Digital reverb is seductive. When we get started producing, we often have the tendency to become seduced by the sound of reverb. I, for one, certainly went through a period of slapping reverb plug-ins on every channel when I started.
However, the beautiful spaces that reverb can create are often misleading, as over-reverb’d mixes can end up sounding degraded and unfocused.
In this article, we’ll discuss what digital reverb technically does to an audio signal to achieve the effect of reverb. With this information in mind, we’ll also cover some considerations for handling reverb in your own projects.
How is natural reverb created?
To properly understand why digital reverb works the way that it does, we should first clarify the process through which reverb is created in the natural world.
When a sound occurs, it will emit sound waves that propagate outward in all directions. These sound waves travel through space until they reach a surface. As the wave meets the surface, a certain amount of the waves’ kinetic energy is then absorbed and dissipates as thermal energy in the surface.
However, surfaces will not absorb 100% of the sound waves’ energy. The remaining energy is reflected from the point where the original sound wave contacts the surface, creating new reflected sound waves. These waves once again propagate in all directions until they, too, reach surfaces.
This process continues until surfaces absorb enough sonic energy to prevent further audible reflections. We generally consider this decay period to last until the reverb level has decreased by 60 dB. The time that reverb signal takes to decay (the reverb decay time) is therefore referred to as the RT60 (or “reverb time -60 dB”).
At any point in this process of sound waves reflecting throughout a space, a wave may reach and be perceived by a listener. Based on the journey that a sound wave makes through the room to the listener, we sort it into one of three categories:
- The sound that reaches the listener directly from the sound source (without experiencing any prior reflections) is called a direct signal.
- In a music production context, this is a dry signal with no reverb. Think about how a vocal recorded close to the microphone sounds. Quite dry! This is because nearly 100% of the signal recorded is a direct signal from the sound source: the vocalist.
- Some reflections may only bounce off of one surface before reaching the listener. We refer to these sound waves as early reflections. As these reflections reach the space’s boundaries and immediately travel to the listener, they’re crucial in our interpretation of room size and sound source location.
Last are the late reflections, which reflect off of multiple surfaces before ultimately reaching the listener. The size of the space and the composition of surfaces determine how long these reflections will continue to develop.
Over time, the energy lost in this process causes each reflection to have a lower amplitude than the incoming wave that reflected off of the surface. Also, because higher frequencies have shorter wavelengths, they are more susceptible to absorption when a sound wave reaches a surface. Therefore, each reflection also has less high-frequency content than the signal before the reflection.
Given the fast speed of sound, all of these reflections move quickly through the space, with each reflection reaching the listener almost immediately after the one before it. According to the Haas Effect, we do not perceive each reflection as a separate event, and instead perceive the series of reflections as a reverberant tail decaying over time.
How is digital reverb created?
Digital reverb systems are designed to replicate all of the above events with mathematical processes. Notably, digital reverbs cannot perfectly recreate the effect of natural reverb created by physics. It’s nearly impossible to account for every real-world inconsistency in a calculation, but the developers of digital reverb systems have found several ways to deliver a convincing experience of space.
There are generally two groups of digital reverbs: algorithmic and convolution.
Algorithmic digital reverb
Most digital reverbs that you’ll find are algorithmic, which use less processing power than their convolution counterparts. The first instance of a commercial algorithmic digital reverb was EMT’s 1976 release of the EMT 250 Electronic Reverberator which, impressively, is still regarded as one of the best-sounding digital reverbs of all time.
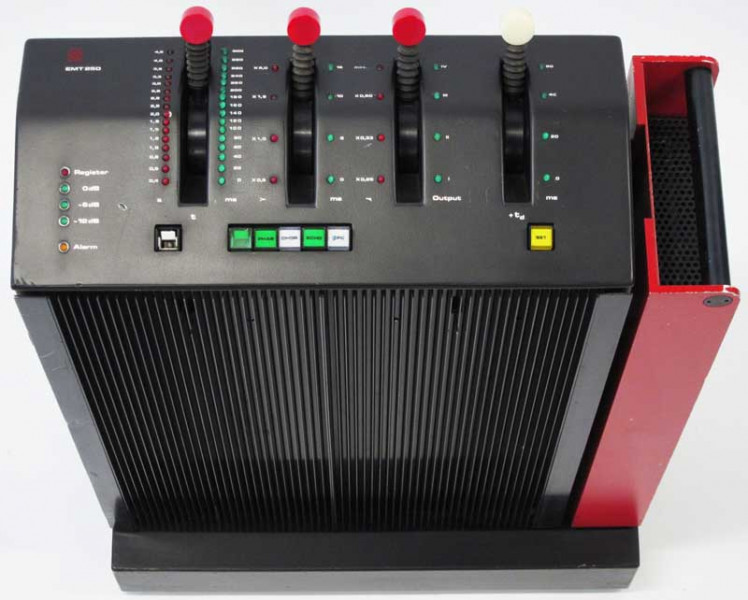
EMT 250 Digital Reverb unit
Most modern reverb plug-ins that you’ll come across fall into the algorithmic category as well, most likely including any stock reverbs in your DAW. In general, it’s a safe bet that any reverb plug-in not specifically marketed as a “convolution reverb” unit is algorithm-driven.
Though they generally take less processing power, algorithmic reverbs like


Exponential Audio
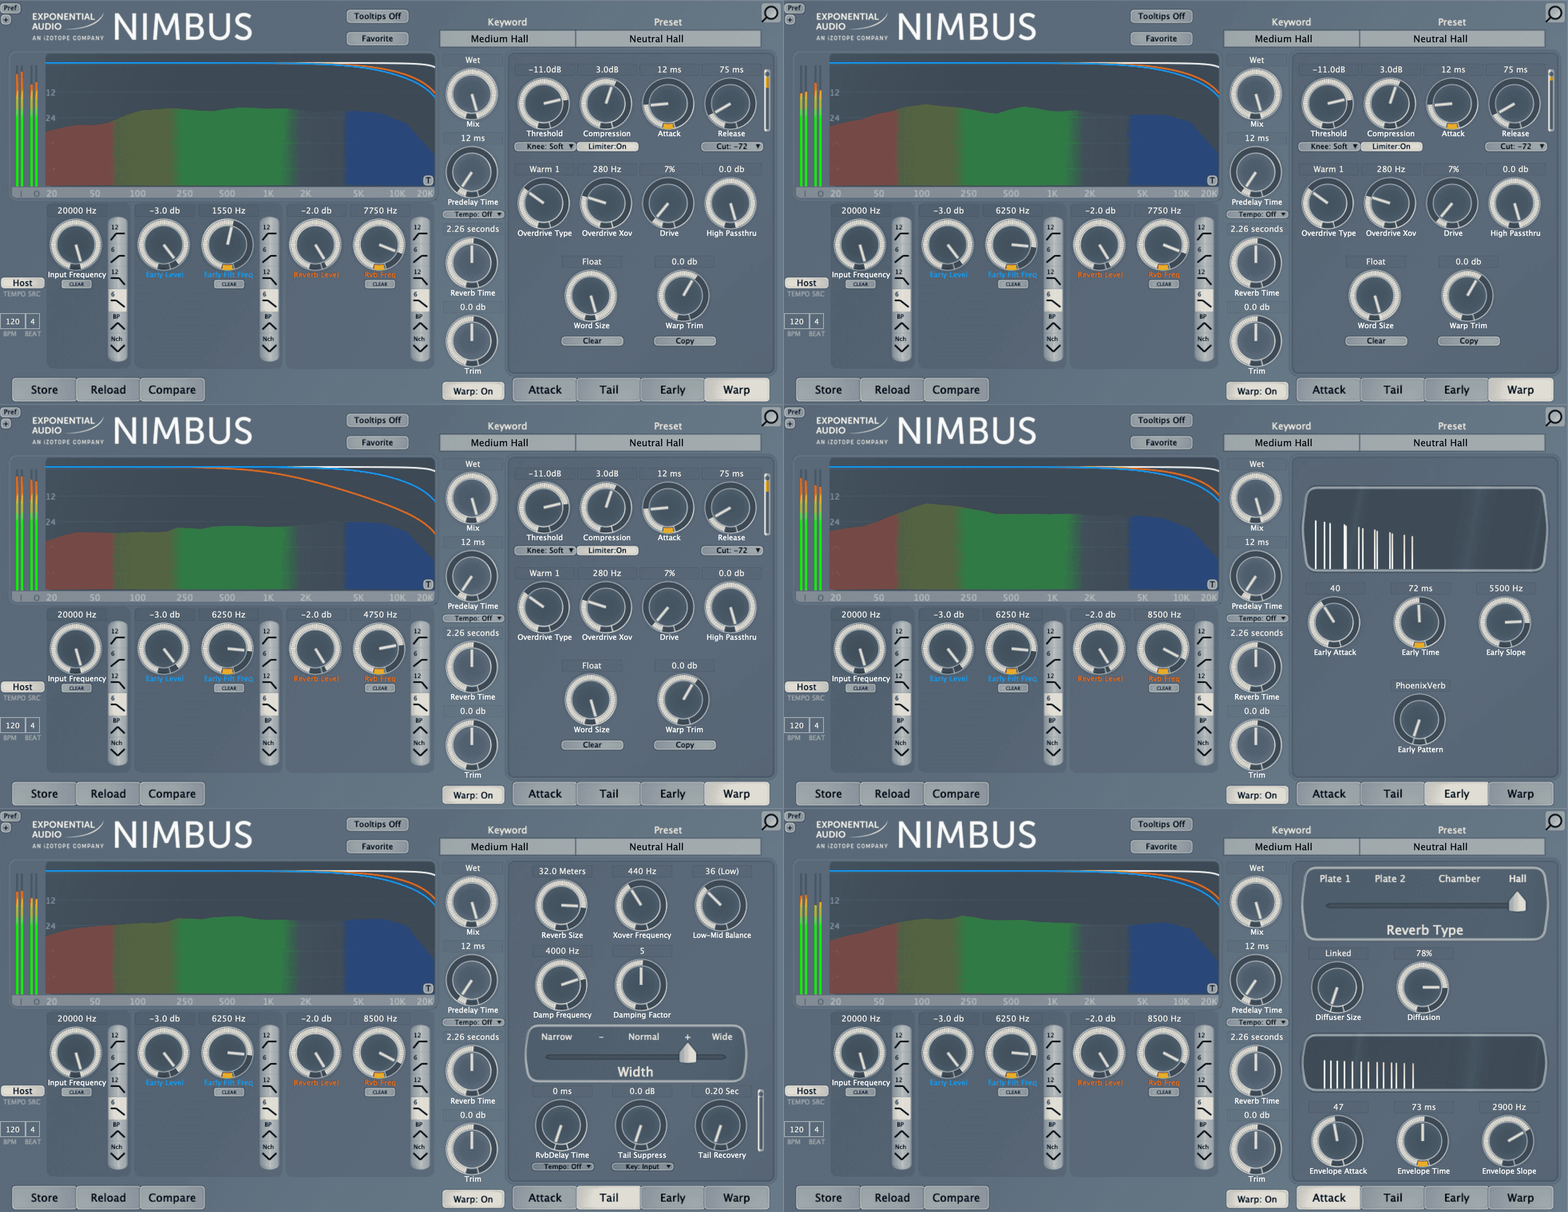
An algorithmic reverb’s first order of business is to generate the effect of early reflections. The dry signal is run through several delay lines, which create a few rapid and closely-spaced delays of the original signal. This is done based on reverb settings that relate to the theoretical room’s size and shape.
These room qualities would dictate how early reflections are created in a physical space. Mathematical algorithms control and modulate the delays’ timing, volume, and tone, much like surfaces in a real room would. As a result, the algorithm can mirror the effect of early reflections.
Next, we have to find a way to generate late reflections. Once again, think about how late reflections are introduced in the real world: they come from early reflections hitting surfaces.
To achieve this effect, an algorithmic digital reverb will use feedback loops to feed the generated early reflections through the algorithm once more. This retriggers the “space’s” reverberant qualities and applies them to the early reflections, resulting in additional delays that serve as late reflections. Again, the timing, volume, and tone of the delays created in this feedback loop are controlled by the reverb algorithm.
The number of times that reflections are run back through the feedback loop can be adjusted, with the feedback amount effectively determining reverb decay time. More feedback, which would cause additional delays to occur, will end up creating a longer reverb tail. Using these processes and following reverb’s physical development in the natural world, an algorithmic digital reverb convincingly recreates the sense of space.
Convolution digital reverb
I discuss the general concept of convolution in detail over here, but let’s quickly cover how a convolution digital reverb system functions.
Convolution reverb uses the concept of “convolution” to create hyper-realistic reverb, often the distinct reverberant signature of a particular space or object.
The first real-time convolution processor was Sony’s DRE-S777, introduced in 1999.
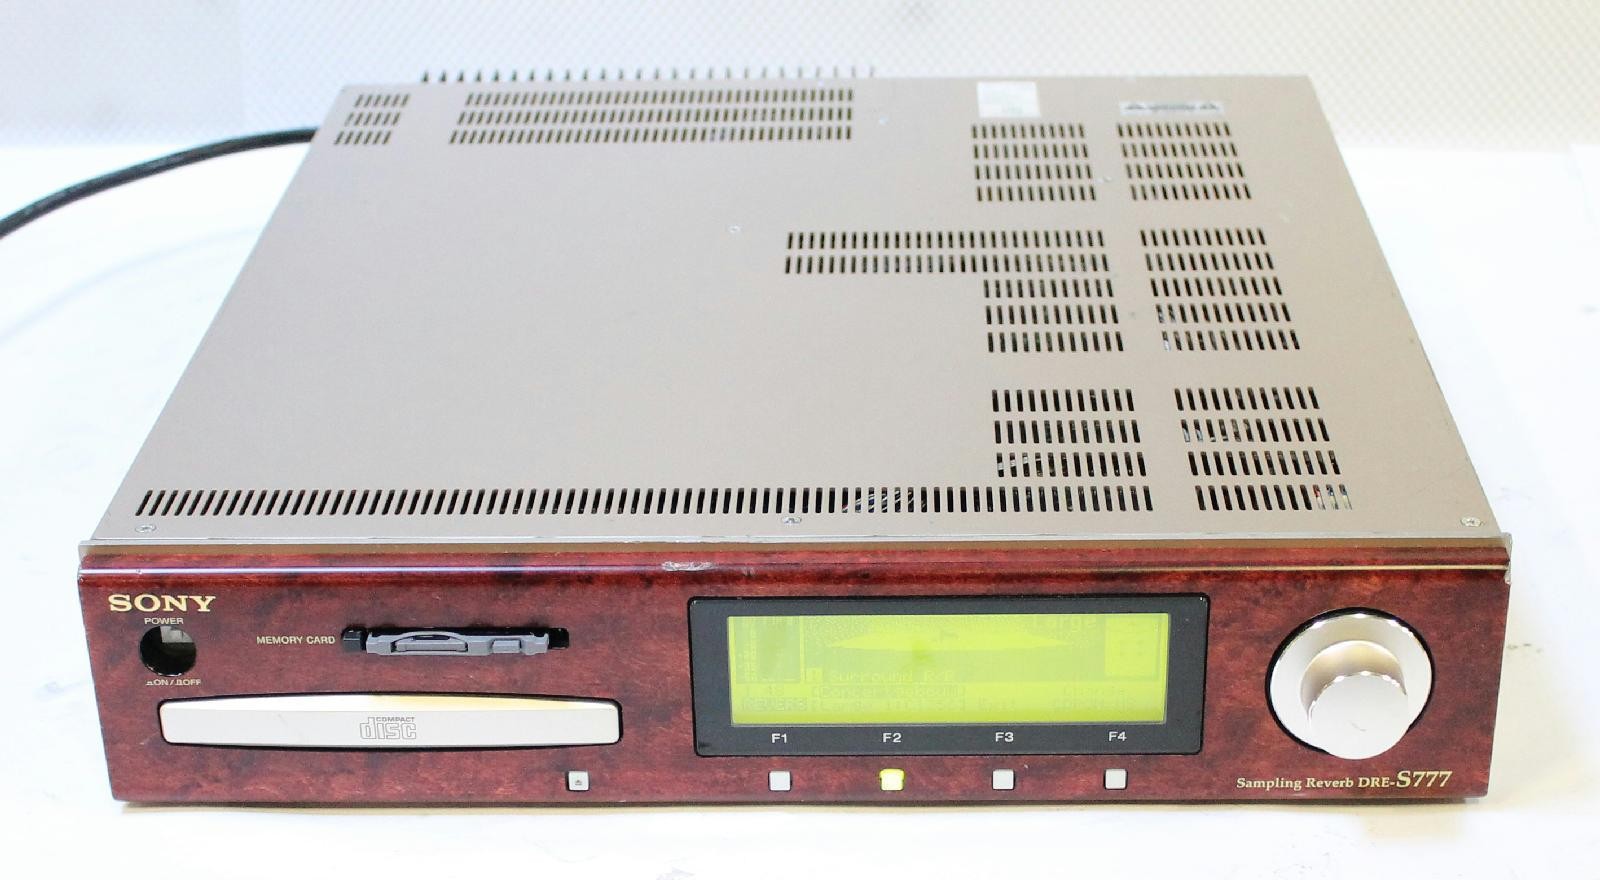
Sony DRE-S777 digital convolution reverb unit
There are plenty of modern plug-ins that contain convolution functions (


Trash 2
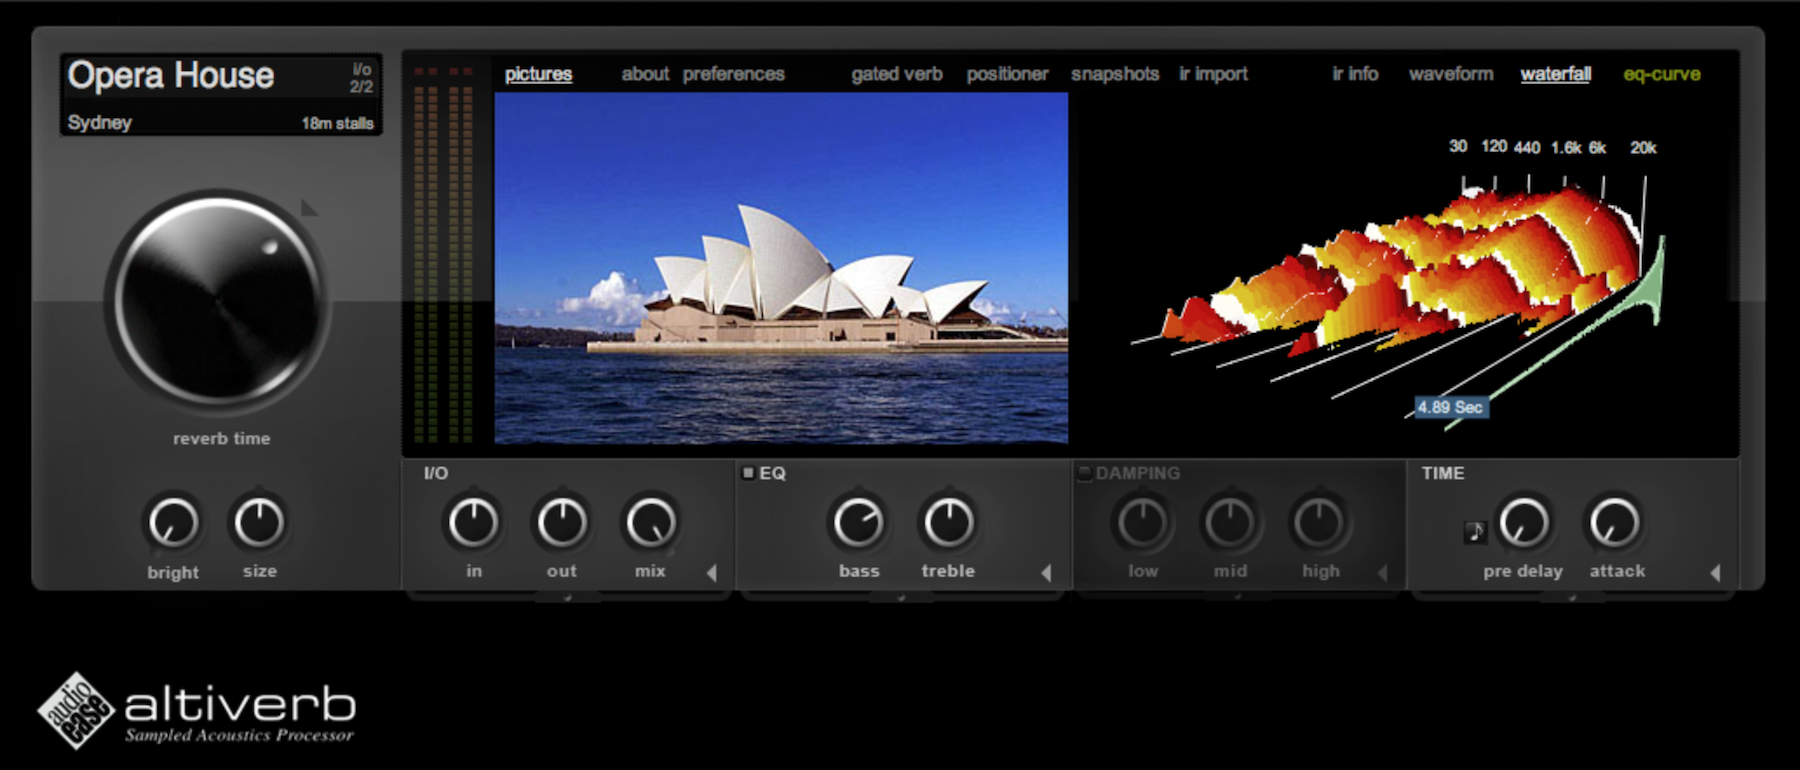
Audio Ease Altiverb

Space Designer, a stock convolution reverb included in Logic Pro
Convolution reverb begins with a measurement. A space or an object’s sonic character can be captured by first triggering its acoustics with an “impulse”. This is often a relatively atonal sound selected to trigger all areas of the audible frequency spectrum. Sounds such as a starter pistol, white noise blast, or sine sweep are commonly used for these impulses.
Microphones are set up in the space and record the resulting audio, picking up both the original impulse and the room’s reverb response. Measurement done!

Impulse response recording by Audio Ease (for Altiverb)
This audio is then fed into a convolution processor, which is able to both eliminate the original impulse from the recording and measure the room’s acoustic properties from the resulting reverberance.
With this analysis, the convolution processor produces an “impulse response”, which acts as the general signature that the room would apply to any sound.
Convolution reverb units are then able to use these impulse responses to affect a brand new signal. The mathematics behind this are pretty complex, but for the purposes of audio production, the new signal and impulse response’s frequency spectra are essentially multiplied. This causes frequencies shared between the two to be accentuated, while disparate frequencies are attenuated.
Ultimately, this causes the reverb sound to be harmonically and timbrally related to this new signal. As a result, a convolution reverb produces an extremely convincing effect of the new signal being played in the measured space or object.
When and how to use algorithmic and convolution reverbs
With the understanding of how these digital reverb systems work, we can see some potential pitfalls when working with reverb in audio production.
In the case of both algorithmic and convolution reverb, the “reverb sound” is nothing more than a series of delays with decaying amplitude and high-frequency content. As a result, when you mix reverb with a dry signal, you’re introducing copies of the dry signal right next to it in time.
The reverb effect that we know and love is the result of these delays’ “smearing” the sound’s position in time, literally taking the focus away from the original dry signal by introducing these delays. This gives a further explanation of how reverb signal can compete with dry signal in a mix, and how overdoing reverb can cause elements to lose clarity and presence.
Due to this potential loss of clarity and presence, it’s also important to know when reverb isn’t the answer. As it’s a delay-based effect, simple delay plug-ins can achieve much of the same effect. They can create a similar sense of space while being more clearly defined and producer-friendly in a mix.
Knowing the differences in how algorithmic and convolution reverbs work should also affect how (and how often) you use each in a project.
As mentioned before, running a convolution reverb takes more computing power than a mere algorithm, so including a convolution reverb on every channel can seriously slow your project down. The spaces available through convolution reverb may sound great, but this doesn’t do you much good if your DAW crashes…
Algorithmic reverbs are more CPU-friendly and are therefore preferable if you decide to add insert reverb as an interesting mixing or sound design effect.
Convolution reverbs are much better suited as return effects than as insert effects. Using a return channel will allow you to use one or two instances of the reverb plug-in to affect multiple elements. This helps to minimize CPU load and creates a realistic space in which all of these elements occur. Doing so plays to convolution reverb’s strengths, as a space will sound even more convincing with several elements reinforcing the space’s identity in the track.
Conclusion
Digital reverb has been an undeniably major development in music production. It provided a surgical, yet convincing alternative to everything from dedicated reverb rooms to cumbersome electromechanical technologies like spring and plate reverbs.
The malleability of a digital reverb system also gives the user more control than previous technologies, which either wasn’t possible (in the case of physical rooms) or was more tedious (in the case of springs and plates). This control allows users to easily create both realistic-sounding and strange, creative reverb sounds in one system.
With a bit of context around how digital reverb systems work, hopefully, you can optimize your reverb use and exploit its capabilities to create interesting spaces in your work.
