Signal chain: order of operations
In this article, learn the difference between signal flow and signal chain, as well as how to set up a plug-in signal chain in a DAW.
The way you sequence plug-ins matters. How you order equalizers, signal processors like compressors and gates, and effects will change the sound of your recordings and mixes. So what should your order of operations be? Today, we’ll get into the basics for assembling your signal chain. We’ll cover how to place EQs and compressors, how to make an effects chain, and how to break the norms for creative effect.
In this piece you’ll learn
- The difference between signal flow and signal chain
- How to set up a signal chain with effects
- Where to place processors like EQ and compressors in a signal chain
Want to follow along as you learn about signal chains and signal flow? Start your free trial of


iZotope Music Production Suite Pro: Monthly
Signal flow vs. signal chain
Signal “flow” is how your audio signal is routed in its entirety, and the signal chain pertains to the processes that you “insert” into your audio signal. In this article we’ll be talking about the latter: the order of inserts, or specifically plug-ins in your DAW. There’s a lot of crossover here so it’s important to understand the basics signal flow routing, too. It is standard for your DAW’s channel strips signal flow to follow the order of: incoming audio, inserts (where your plug-ins go), sends, a pan, and an output level fader.
How to set up an effects chain
There are two ways to put effects onto your sounds that we will outline below.
1. The effect insertion method

Plug-in effects chain in Logic Pro
The first would be to insert them directly onto the channel of the sound source, as pictured above. You can think of this just like an effect pedal chain. In fact, the most common use of this direct instantiate method is on instruments you might use a pedal chain for, such as: guitars, synthesizers, or bass. A common convention for how to order and effects chain is:
- Dynamics: Compressors, gates, and certain modulation/gain effects like wah
- Gain: Distortion, overdrive, fuzz
- Modulation: Phasers, chorus, flanger
- Time: Reverb and delay
Don’t be shy to stray away from this suggestion! That is merely a list to give the clearest representation of each effect you are using. For instance, It might be interesting to put a bit of distortion after a reverb effect to create a unique, grainy texture.
2. The send and return method
The second way to affect your sound would be to use a send and return method. Using your sends from a dry unaffected channel to a seperate aux track with an effect at 100% wet, you’ll have independent control of dry and wet effected signal on separate channels. This is great way to leave all the dry definition in your signal, and additionally be able to automate the output level of an effect like reverb throughout a song. Using this method, you can also send multiple channels to the same effect.

Using the send and return effect method with Neoverb Pro in Pro Tools
As you can see over to the left, the unaffected “BGV” tracks are using a send out to “Bus 1,” and the “Vocal Verb” aux track with Nanoverb inserted has it’s input set to “Bus 1.” Over to the right, you can see we’ve set Neoverb to it’s fully 100% wet position.
It might be useful to think of the first insertion method as something you do to effect a single coherent sound source and the send and return method for effects you want more control over, or want to use for a group of sounds.
First on the signal chain: EQ or compression?
Let’s start with how to order an EQ and compressor. We’ll call this a basic “shaping” signal chain. This is a standard combination of tools that gives you the ability to change the tone and control the dynamic range of your source. Why should one go before the other? Most engineers would agree it is slightly more conventional to have the EQ first, and then the compressor. Occasionally, an EQ after the compressor will give us a clearer sound.


Ozone 11 Advanced

Using Ozone Pro to utilize an EQ and compressor
This article references a previous version of Neutron. Learn about 

Neutron 5
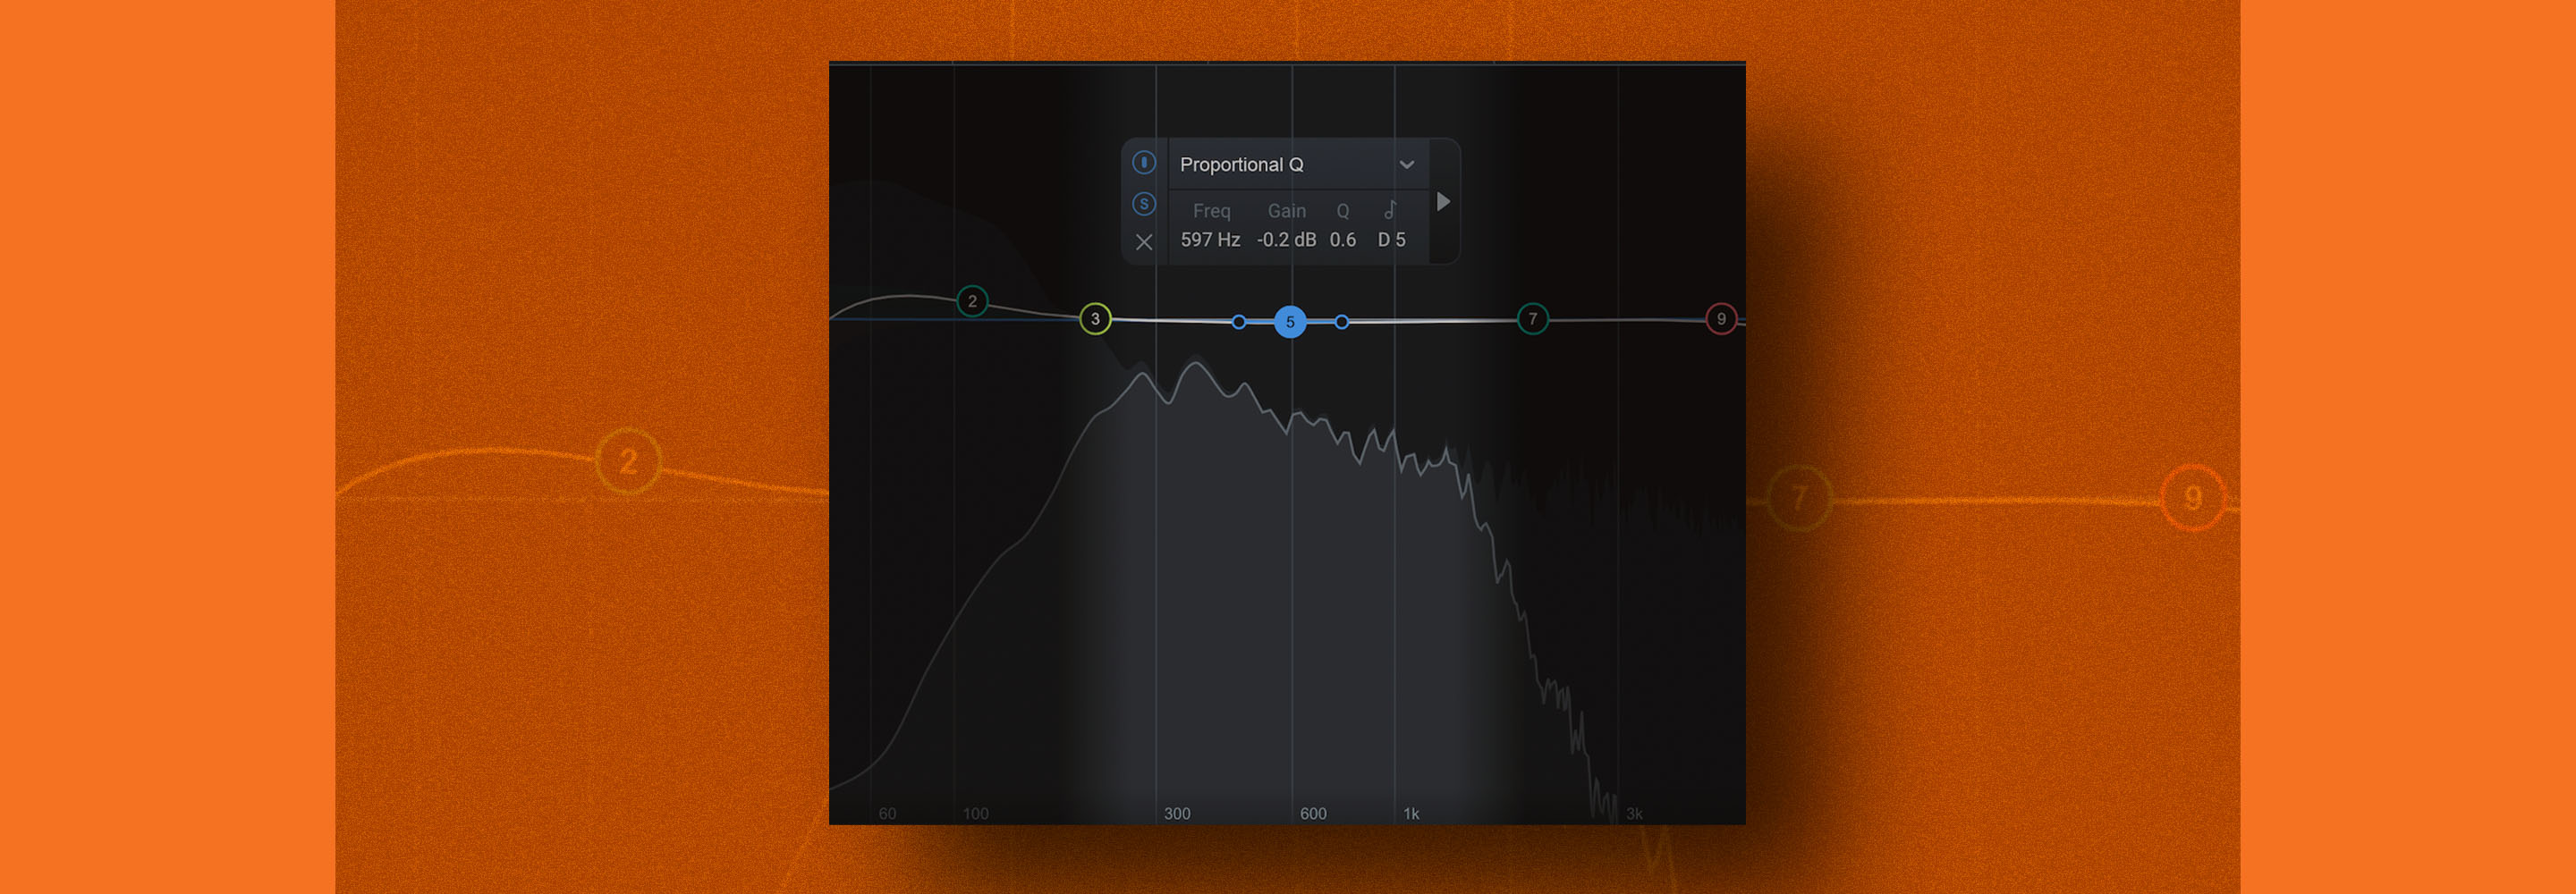
Diving a bit deeper, here’s a way I like to go about making this decision: If the source needs tonal improvement, I go straight for the EQ to even out any imbalances in the frequency spectrum that make the source sound unnatural or unlike the way I want to imagine it. Then, I can use the compressor to add any additional dynamic or performance control, especially if it’s necessary in the mix. If the source already sounds great to me tonally, but I need dynamic control, I’ll go for the compressor first, then add an EQ for any tonal shaping that might be needed to compensate for any new frequency imbalances created by compressing the signal.

Cutting unwanted frequencies with Neutron
On occasion, I can’t quite get the compressor to grab correctly without being placed before the EQ. For example, the low end that I cut out of my track is keeping the compressor from activating as much as I’d like. Here’s an audio example of the same bass track first with EQ before compression, and second with compression before EQ.
Notice how much more compression is happening when I place the compressor first.
Up next: EQ before or after reverb and delay?
An EQ before or after these effects both have their uses, and you might even find yourself using an EQ before and after in the same chain. It is standard practice to start with an EQ to subtract unwanted frequencies before effects like


Neoverb Pro

Neoverb Pro’s built-in EQs
What’s next for your signal chain?
It is almost cliche at this point of history for me to tell you “there are no wrong answers” for assembling your plug-in signal chain. Folks are obviously breaking the “rules” of record making left and right, and I’m not here to tell you to stick to tradition! Try out the tips we discussed above, and then go ahead and try something totally different.


