3 Tips to Learn Neoverb in 10 Minutes
Meet Neoverb, iZotope’s powerful new reverb tool. Read on for tips on how to learn this reverb quickly.
Recently, iZotope joined forces with Exponential Audio, and the partnership has produced industry-first reverb innovations. Dialogue Match made use of Exponential Audio’s algorithms to help looped dialogue fit better with on-set audio. The results speak for themselves to explain Dialogue Match’s overwhelming industry reception.
Now, iZotope has taken Exponential Audio’s killer algorithmic reverbs and brought them into the music space with Neoverb, a reverberation plug-in as handy as it is smart, which makes use of the AI-powered tools iZotope is famous for.
Neoverb sports a lot of intelligent and helpful features that make it intuitive and easy to use. It also happens to sound pretty damn great. So, we thought a tutorial was in order: read on for three tips to get yourself up and running with Neoverb in under ten minutes.
1. Get cozy with Reverb Assistant
It wouldn’t be an iZotope product if you didn’t have a virtual, built-in assistant. Just as


Neutron


RX 11 Advanced


Ozone Advanced


Nectar 3 Plus
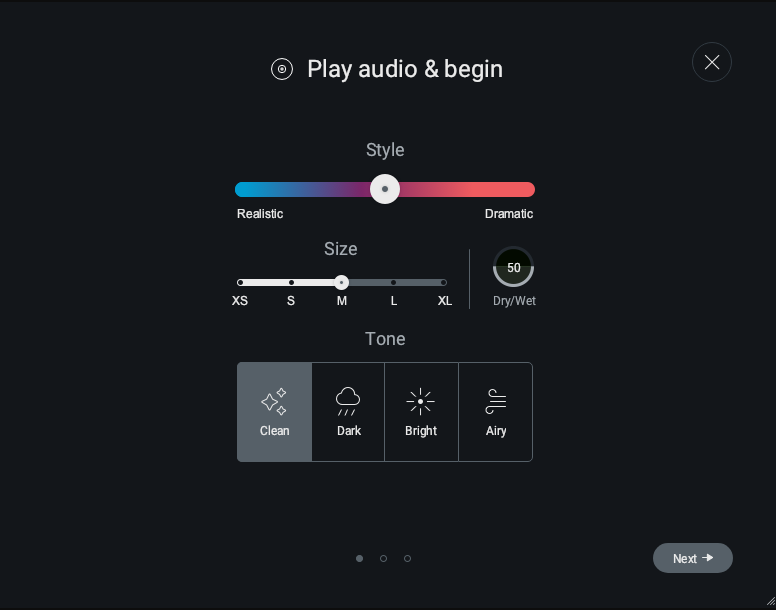
Reverb Assistant’s Intro Screen
When you first use Reverb Assistant, you get a simple screen with recognizable, actionable descriptions. You’ll note the Size parameter, which anyone who’s ever slipped on a t-shirt could understand, and the Dry/Wet knob is fairly ubiquitous to most reverb plug-ins. Finally, you’re presented with a Style slider, which governs how lively the resultant reflections will be.
You play some music, and as it analyzes the input signal, the plug-in gives you a little insight into what it’s doing under the hood:

Reverb Assistant on the job
When all is said and done, the plug-in gives you a personalized starting point for your reverb:
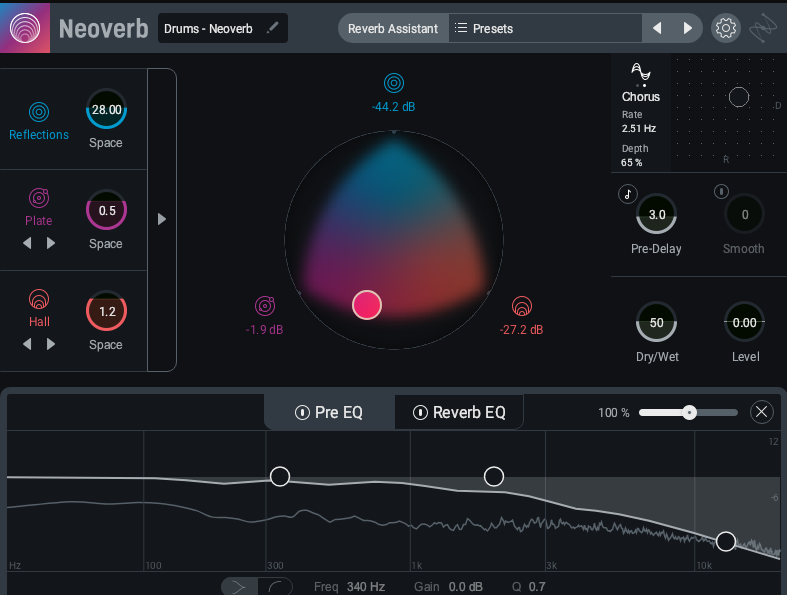
Reverb Assistant results
Above you can see Neoverb fed with a drum bus composed of raw, unaffected audio. In fact, I used Neoverb in three places on the drum kit: a reverb on the snare, a reverb on the room mics, and a reverb on the overall drum bus. Setting it all up took about two minutes, and it turned this dry, well-recorded audio from this:
To this:
Not too shabby. Sure, the kit hasn’t been processed with EQ or compression—all we’re hearing is reverb almost out of the tin. But to my ears, I hear none of the hallmarks of a default preset slapped onto a sound source, none of the usual muddiness in tone, and no incongruous decay times. I may want to tweak the results depending on what happens in my mix, of course, but this assistant feature allows me to work much quicker when I choose to use it.
Tip one, in short: Take a drum bus of raw unprocessed drums and use Neoverb’s Reverb Assistant to create a good atmosphere for your kit. You can do this in 3 minutes, if you choose to adhere to our strict “ten minutes to learn Neoverb” exercise.
2. Use the innovative Reverb Blend
So here’s the thing about


Neoverb
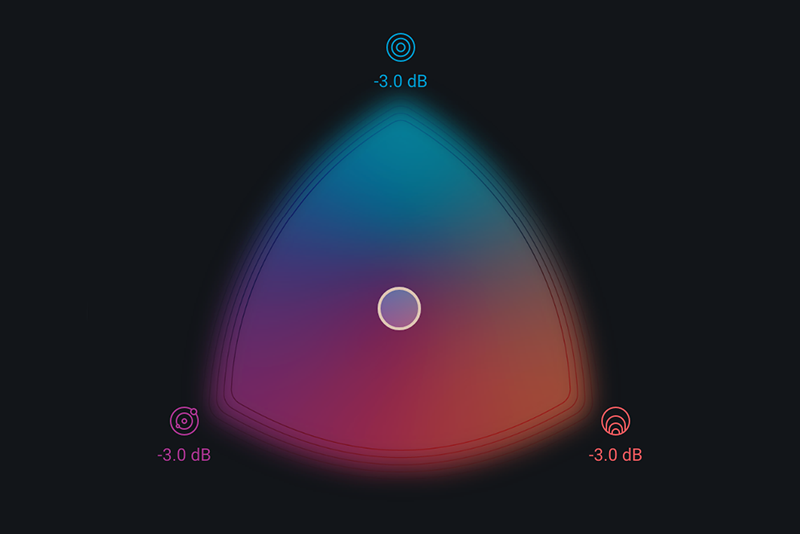
Once you’ve set up your three easily-identifiable algorithms, you can blend them in any way you choose. This constitutes an easy way to use the reverb, and an easy way to learn how to use the plug-in.
I can’t show you the Blend Pad in all its glory with screenshots and audio examples, so I made a little movie for you, using a guitar part and Neoverb’s default reverb settings as a jumping off point.
Tip two, in short: The blend pad, as far as I’m concerned, is the star of the show. It lets you sink the effect from the immediate foreground to the background, helping you create a realistic or colorful sense of dimension. After messing about with the Reverb Assistant for three minutes, spend two messing around with the Blend Pad. Hey, that’s five minutes!
3. Get the reverb out of the way with automatic Unmasking
Another joy from the union of


Exponential Audio
Reverbs often rub against mix in an annoying way. Sure, in solo, a reverb could sound great, but once you engage the rest of the mix, welcome to Mudville. When you think about it, this makes a lot of sense: reverb tends to occupy the same frequency space as its source material, reinforcing, amplifying, and even resonating the original sound.
This can prove overwhelming in the context of the mix. We get build-up in frequency ranges that weren’t so stringent without the effect, and of course, we wallow in the mud. This is why we frequently process a reverb return with EQ, harmonic excitement, and even compression to duck it out of the way.
Processing reverb in this way takes time—time which you might not have on a hard deadline. Luckily,


Neoverb
Let’s observe it in action. Here’s a 50/50 wet/dry blend of guitars with Neoverb:
As you can see from the screenshot, there’s no input EQ here:
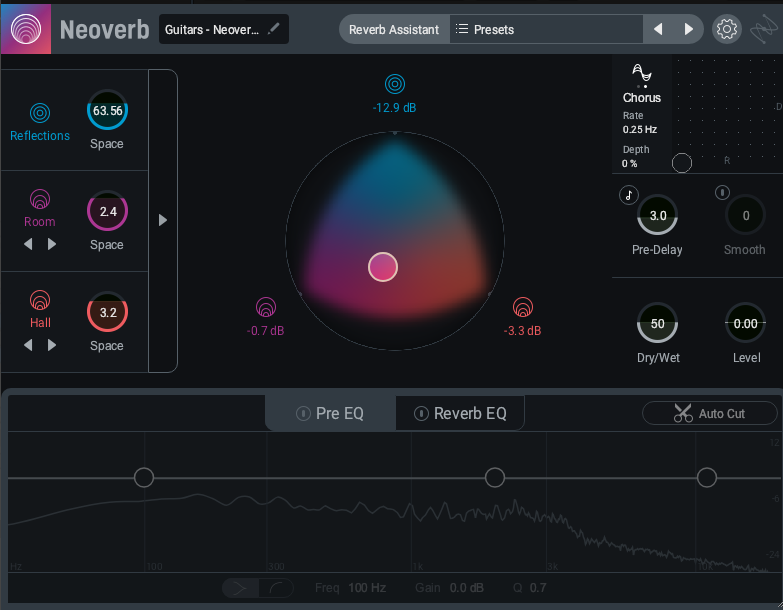
Neoverb on guitars with no EQ
If we ask Neoverb nicely, it will listen to our audio:

Neoverb listens.
After a brief moment, it will give us audibly pleasing results:
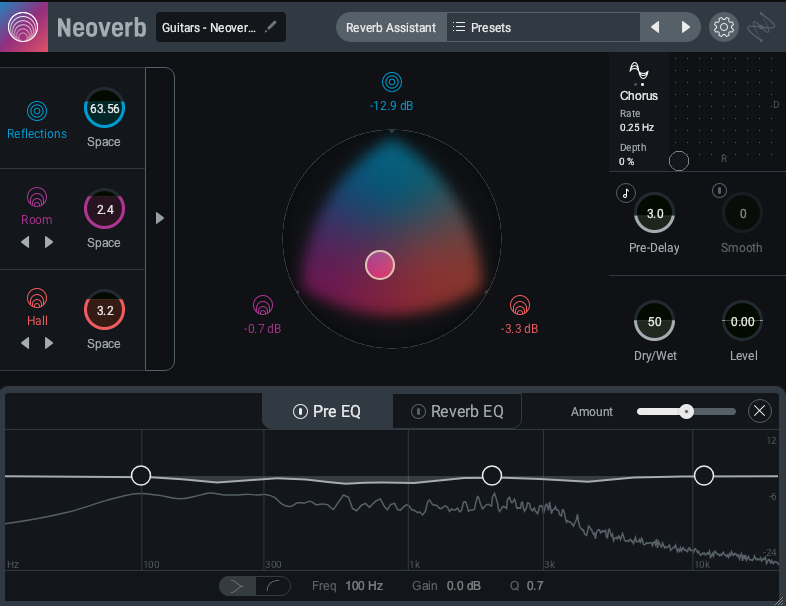
Neoverb Input EQ
After we adjust the input EQ, we can also process the return with the AI-powered-tech of Neoverb's Unmask feature. This keeps the reverb return from overwhelming the original sound. Let’s observe it in action.
The initial guitar part sounds good, but it might be too muddy for the mix. Let’s engage Unmasking, like so:
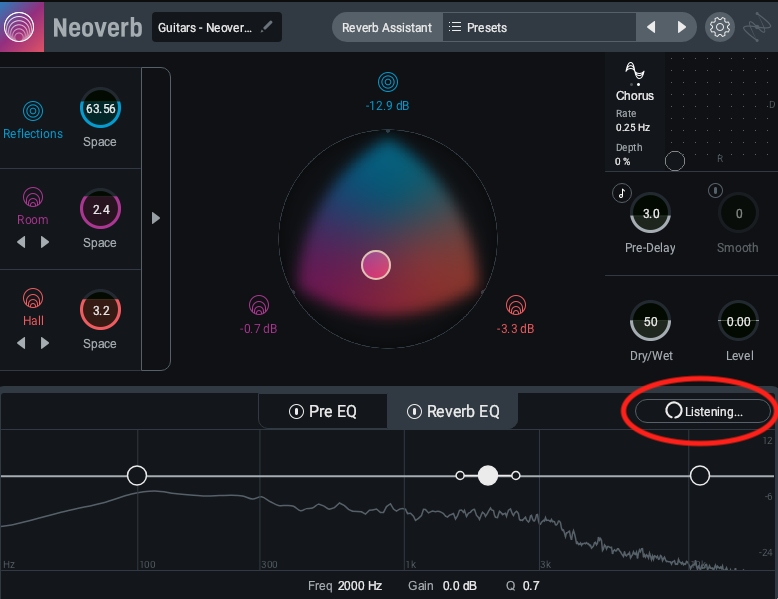
Unmasking, listening
After the algorithm listens, we are presented with a corrective curve, and we can adjust it anywhere from 0 to 200%.

EQ curve for Unmasking
The results are quite illuminating! Compared to the initial example, more of the original guitar comes through.
We can really hear how the reverb enhances the dry signal when we move the blend down to around 23%.
It’s very clean, but how will this verb do against our drums? After all, our guitar’s reverb could get in the way of the drum bus. Luckily, Neoverb’s unmasking meter can show us the potential frequency clashes.
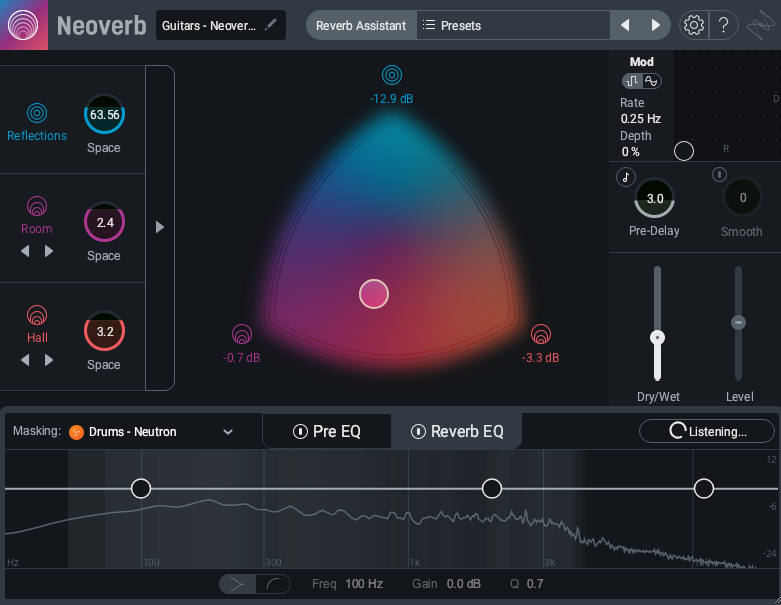
Reverb against drums
As you can see above, Neoverb is registering some low-end clash between the guitar verb and the drum parts. It’s listening to give me a good corrective curve. When the plug-in is done analyzing, we get the following suggestive response for Reverb EQ section:

Unmasking reverb against drums
The difference in sound is also pretty clear. Here’s the reverb, played against the drums:
The drums here are almost buried under the reverb. They’ve been pushed back and they’re harder to hear. When we apply the unmasked reverb EQ shown in the screenshot above, the drums retain their original punch and definition:
Suddenly, the drums are in the foreground and the reverb is in the background, whereas in the previous example, it was reversed: we focused more on the reverb than the drums.
In keeping with the general theme of this article, I’ll mention that you can get a good idea of the EQ section of this verb, its Pre-EQ and its Reverb-EQ capabilities, in just about four minutes. This gives you one minute to consider the topic of our conclusion.
The takeaways


Neoverb

Neoverb Advanced Panel
As you can see here, the Advanced panel offers adjustable parameters for each of the three, blendable reverb sections. When you tweak these parameters and combine them with the modulation section in the top right of the GUI, you can tailor the reverb to your exact predilections relatively quickly. iZotope will release more in-depth tutorials pertaining to these advanced controls but as always, I encourage you to experiment on your own. With this ten-minute primer on Neoverb’s basics, you’ll find this enterprise is easily executed, and quite fun. Enjoy!
