Get started mixing with Neutron Elements
Neutron 5 Elements is the easy way to mix your sound in one affordable package. Learn more about its simple workflow that will help you mix smarter and faster in this mixing guide.
Whether you’re just starting to create your own music at home or you’re a professional looking for some new mixing tools, Neutron Elements has the assistive technology you need to get a professional-sounding mix quickly.
Neutron 5 Elements delivers a powerful control center to perfect your sound in one affordable package. Learn more about its easy, step-by-step workflow that will help you mix smarter and faster while staying in your flow.
Hear how Neutron can quickly add polish and clarity to your mix:
Mix Before & After Neutron
Get Neutron 5 Elements, the easy all-in-one mixing tool included in the iZotope Elements Suite bundle alongside powerful mixing and mastering tools.
Getting started with Neutron Elements
1. Use the Assistant tool
Add Neutron 5 Elements to your individual tracks in your DAW. You will see a big, prominent “Go” button in the center. Click it to get started.
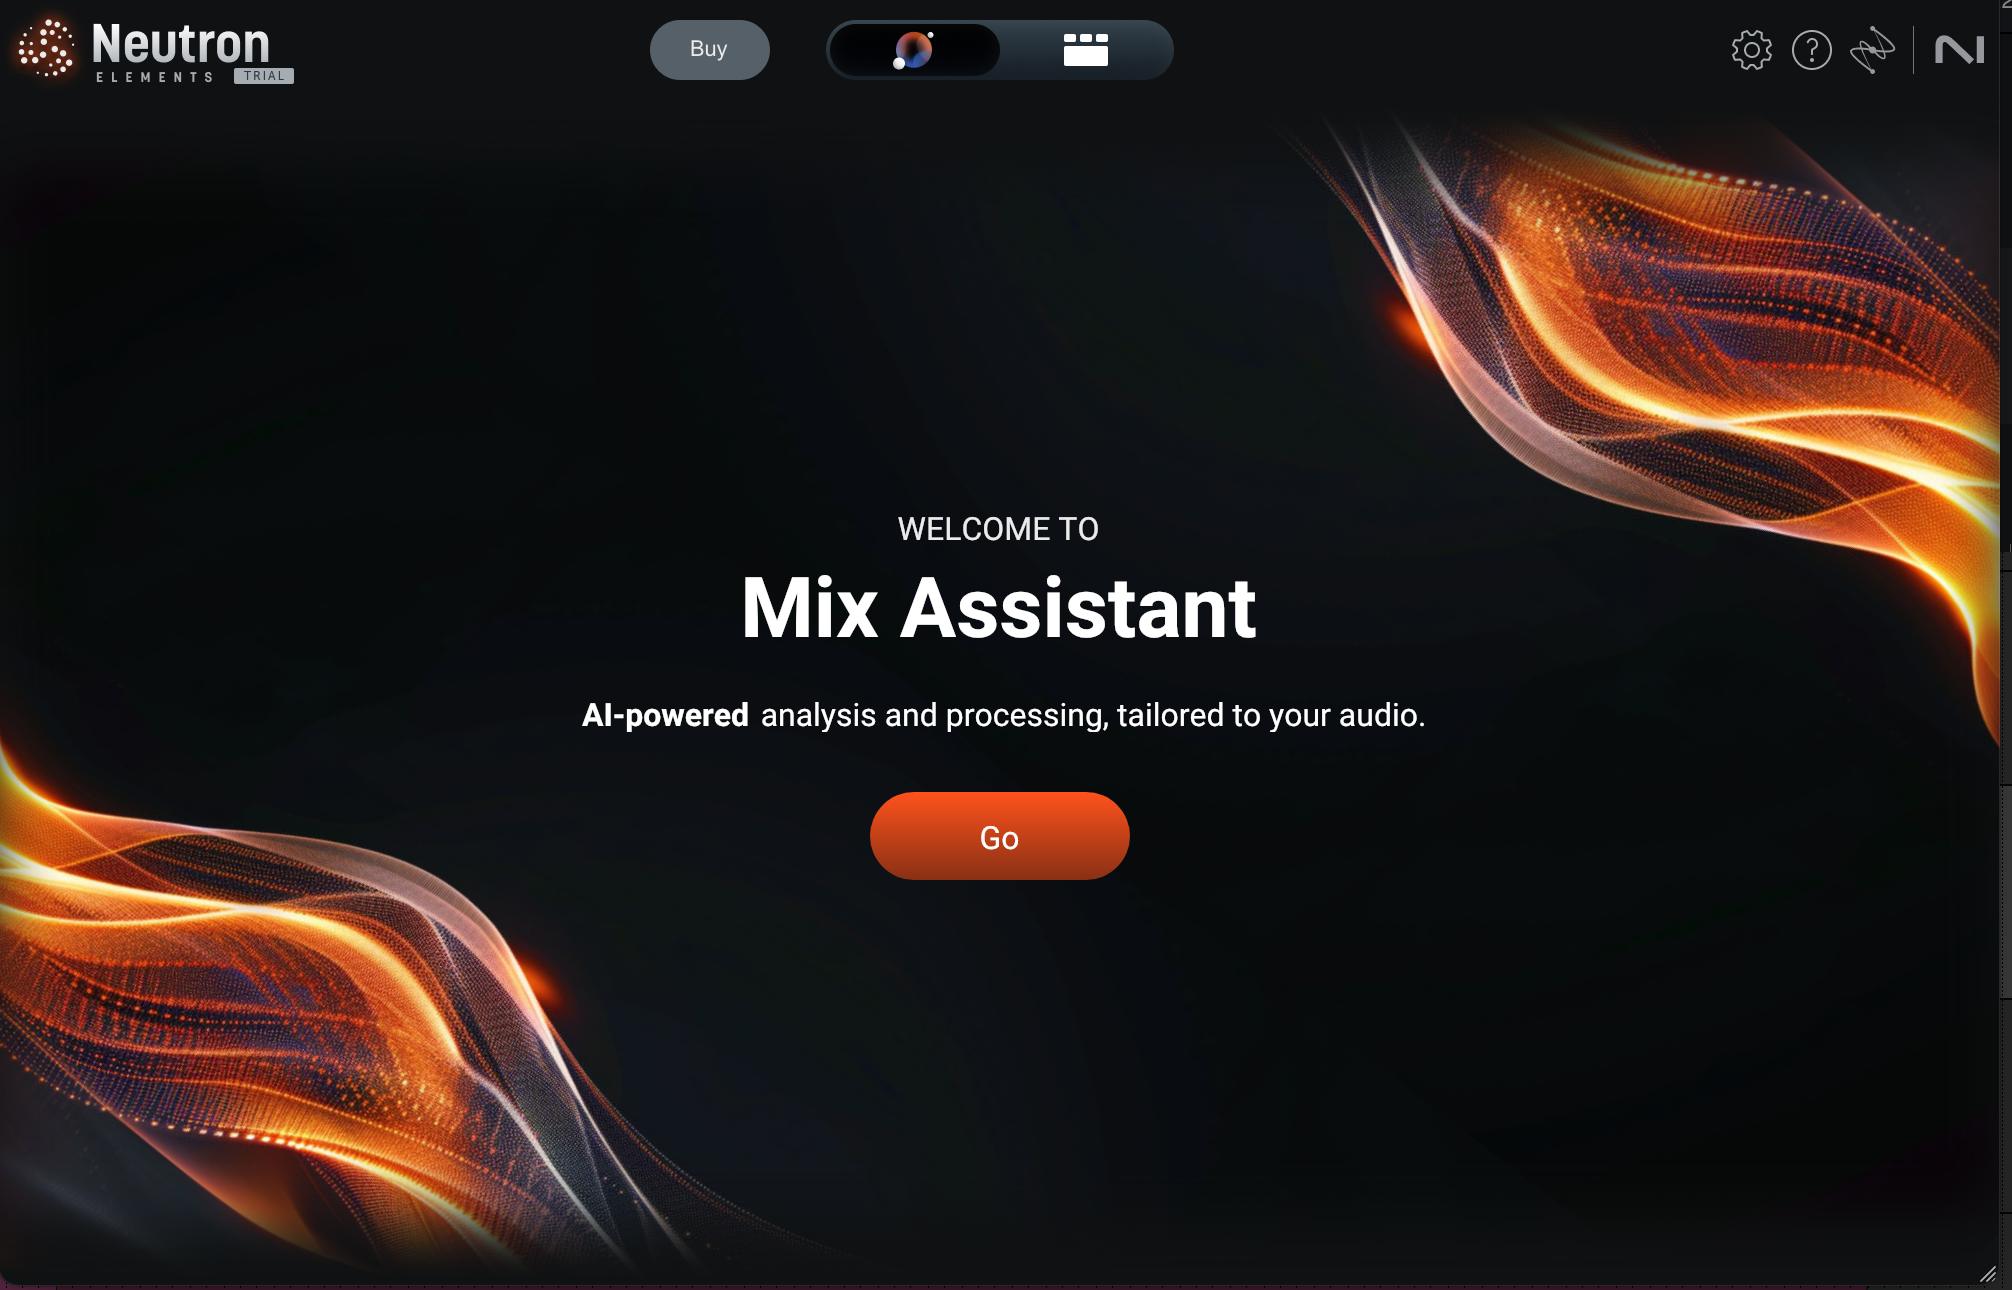
Mix Assistant
Once the button is pushed, Neutron waits for audio to be played. Play a portion of the audio where the track is at its loudest (like the chorus). Neutron will then begin its AI-powered analysis and set up your signal chain.
When you activate the Assistant, you’ll notice you no longer have to click through a series of questions for the Assistant to generate results. As soon as you press play, the Assistant is ready to analyze your audio.
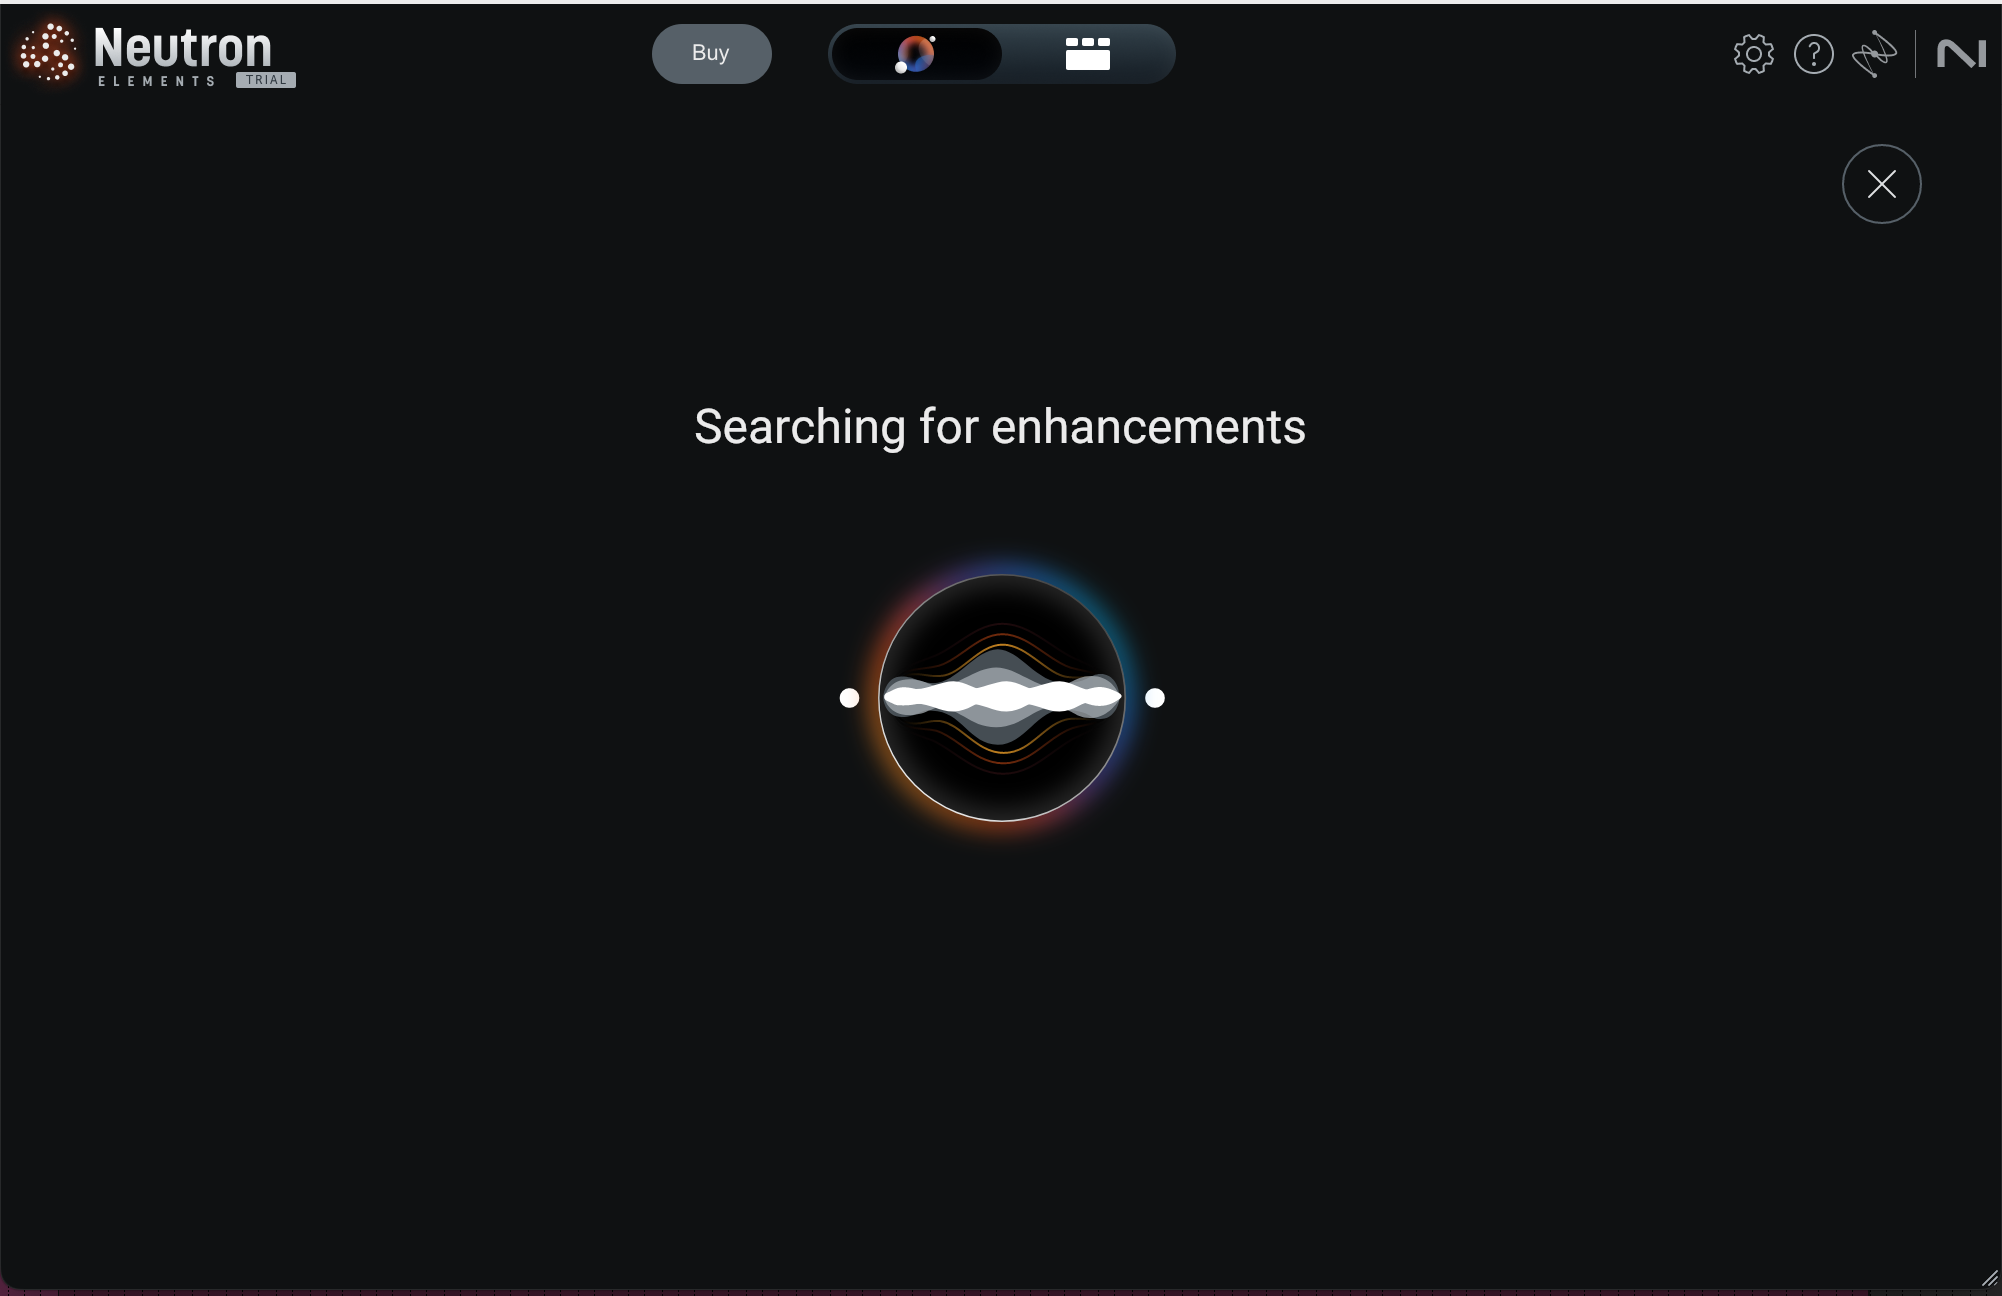
Neutron Elements will build you a personalized signal chain
You will then be presented with a new Neutron Elements interface, complete with target-oriented processing, reference matching technology, and intent-based controls that will help you get your desired sound faster.
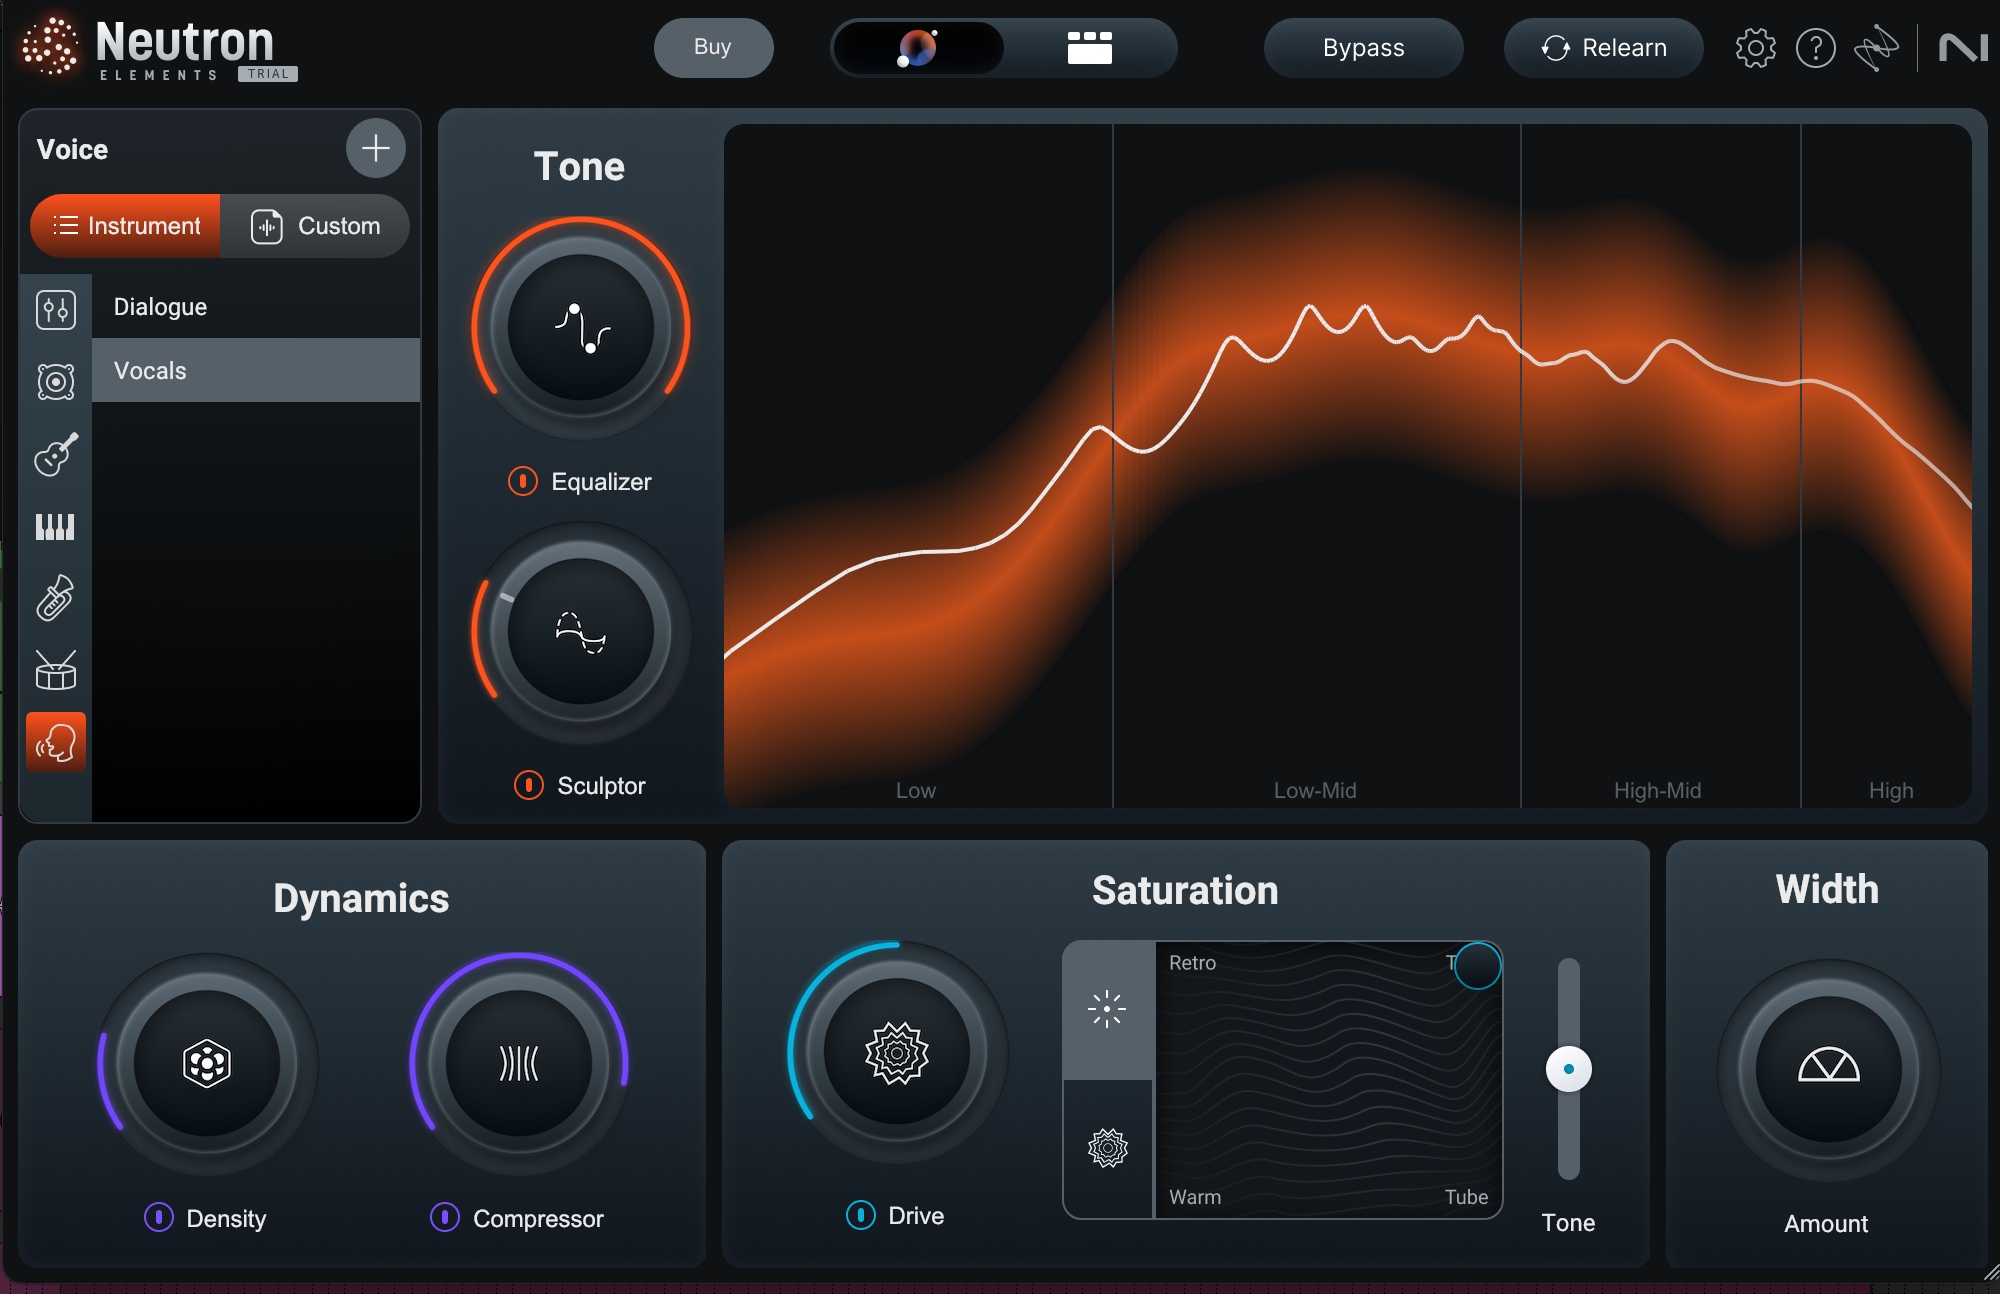
Neutron Elements interface
2. Choose your target sound
On the left hand side you’ll also see the new Target Library. This section gives you the ability to teach the assistant the spectral profile you want for your track so it can produce recommendations based on your intentions.
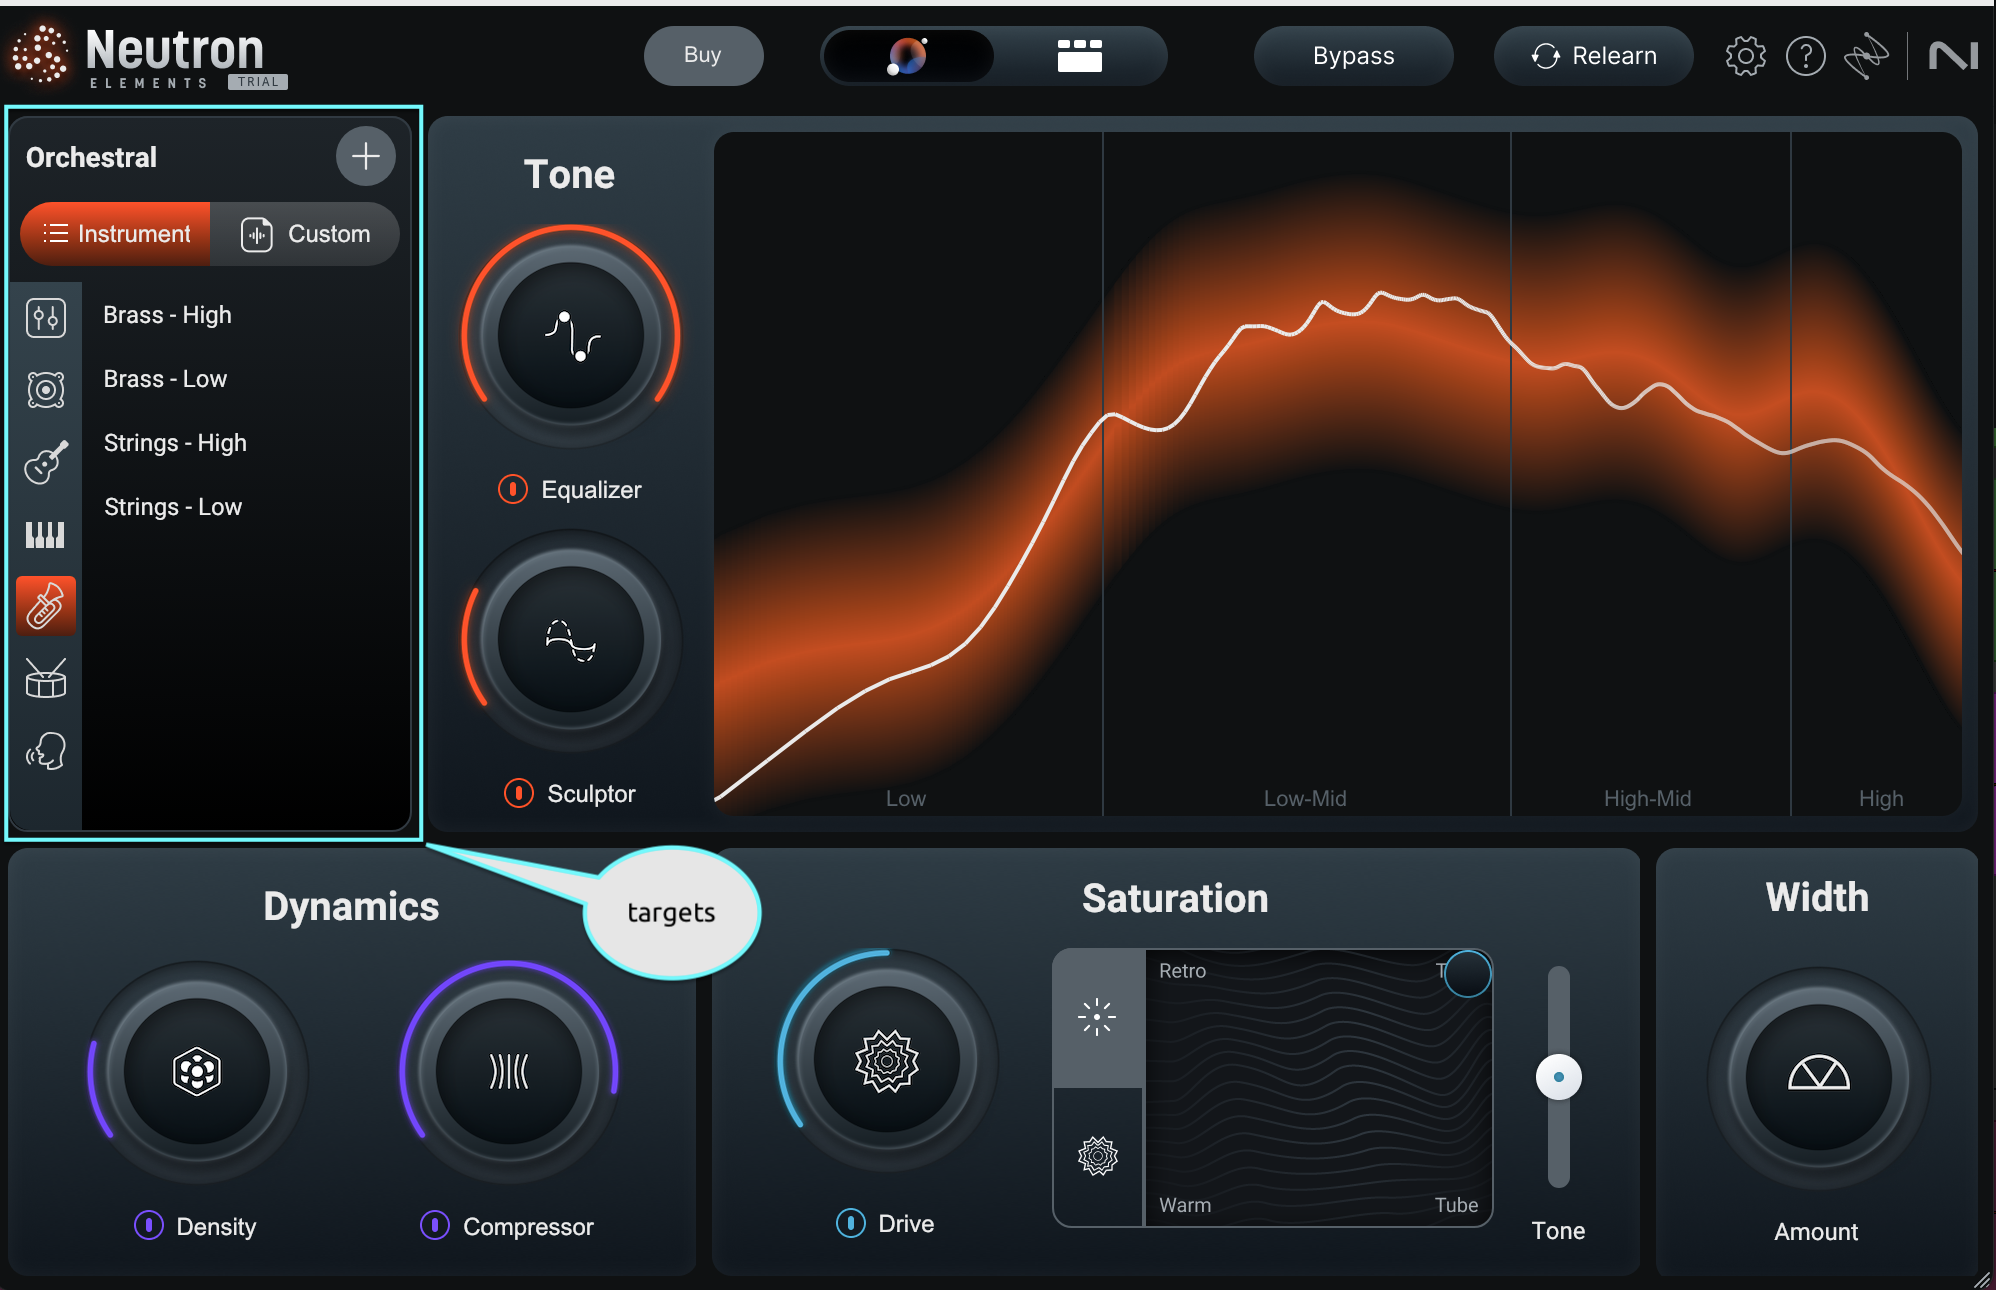
Targets section in Neutron Elements matches your audio to target curves of popular instrument sounds
You can choose from any of the target presets available in Neutron or you can import your own samples or stem audio as references for the Assistant to match.
Love the tonal qualities of a certain bass guitar, kick drum, piano, or synth track? Load it into your Target Library to enable the Assistant to match your track to that reference.
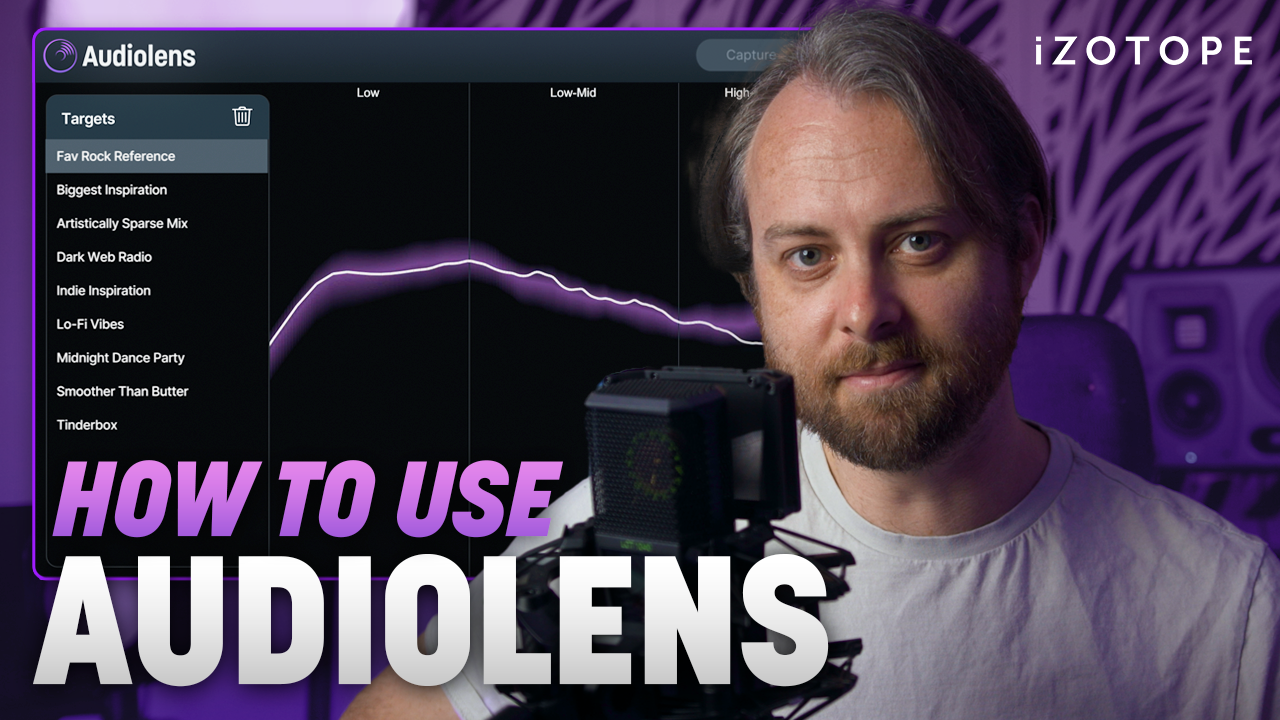
You can also automatically import references captured with iZotope Audiolens, a new, groundbreaking tool that allows you to analyze audio from any streaming platform or audio source, without the need for downloading media files or setting up tedious audio routing setups. Learn more in our recent Audiolens overview.
3. Control your tonal balance with Tonal Balance Target Curve
Once you have a tonal balance target curve selected for your track, the Tonal Balance Target Curve in the center of the plug-in will display the spectral balance of your audio against the target.
The orange line represents the spectral profile of the preset or reference you selected, while the thinner line represents your audio. So at a glance, you can see how your audio compares to the target and you can use the Tone controls to push your audio closer to that target.
Tone section
You’ll note the Tone section has two prominent knobs: Equalizer and Sculptor. Both assist in matching the tone of your signal to the target curve. Sculptor is a dynamic spectral process that is constantly shaping the audio, whereas Equalizer is a specific, static, and bespoke curve tuned to the track you’ve loaded into Neutron.
The Equalizer sits before Sculptor in this chain. As you push the knobs higher, they do more to marshall the signal into shape. You should see your audio in the spectrum adjust towards the intended tonal target.
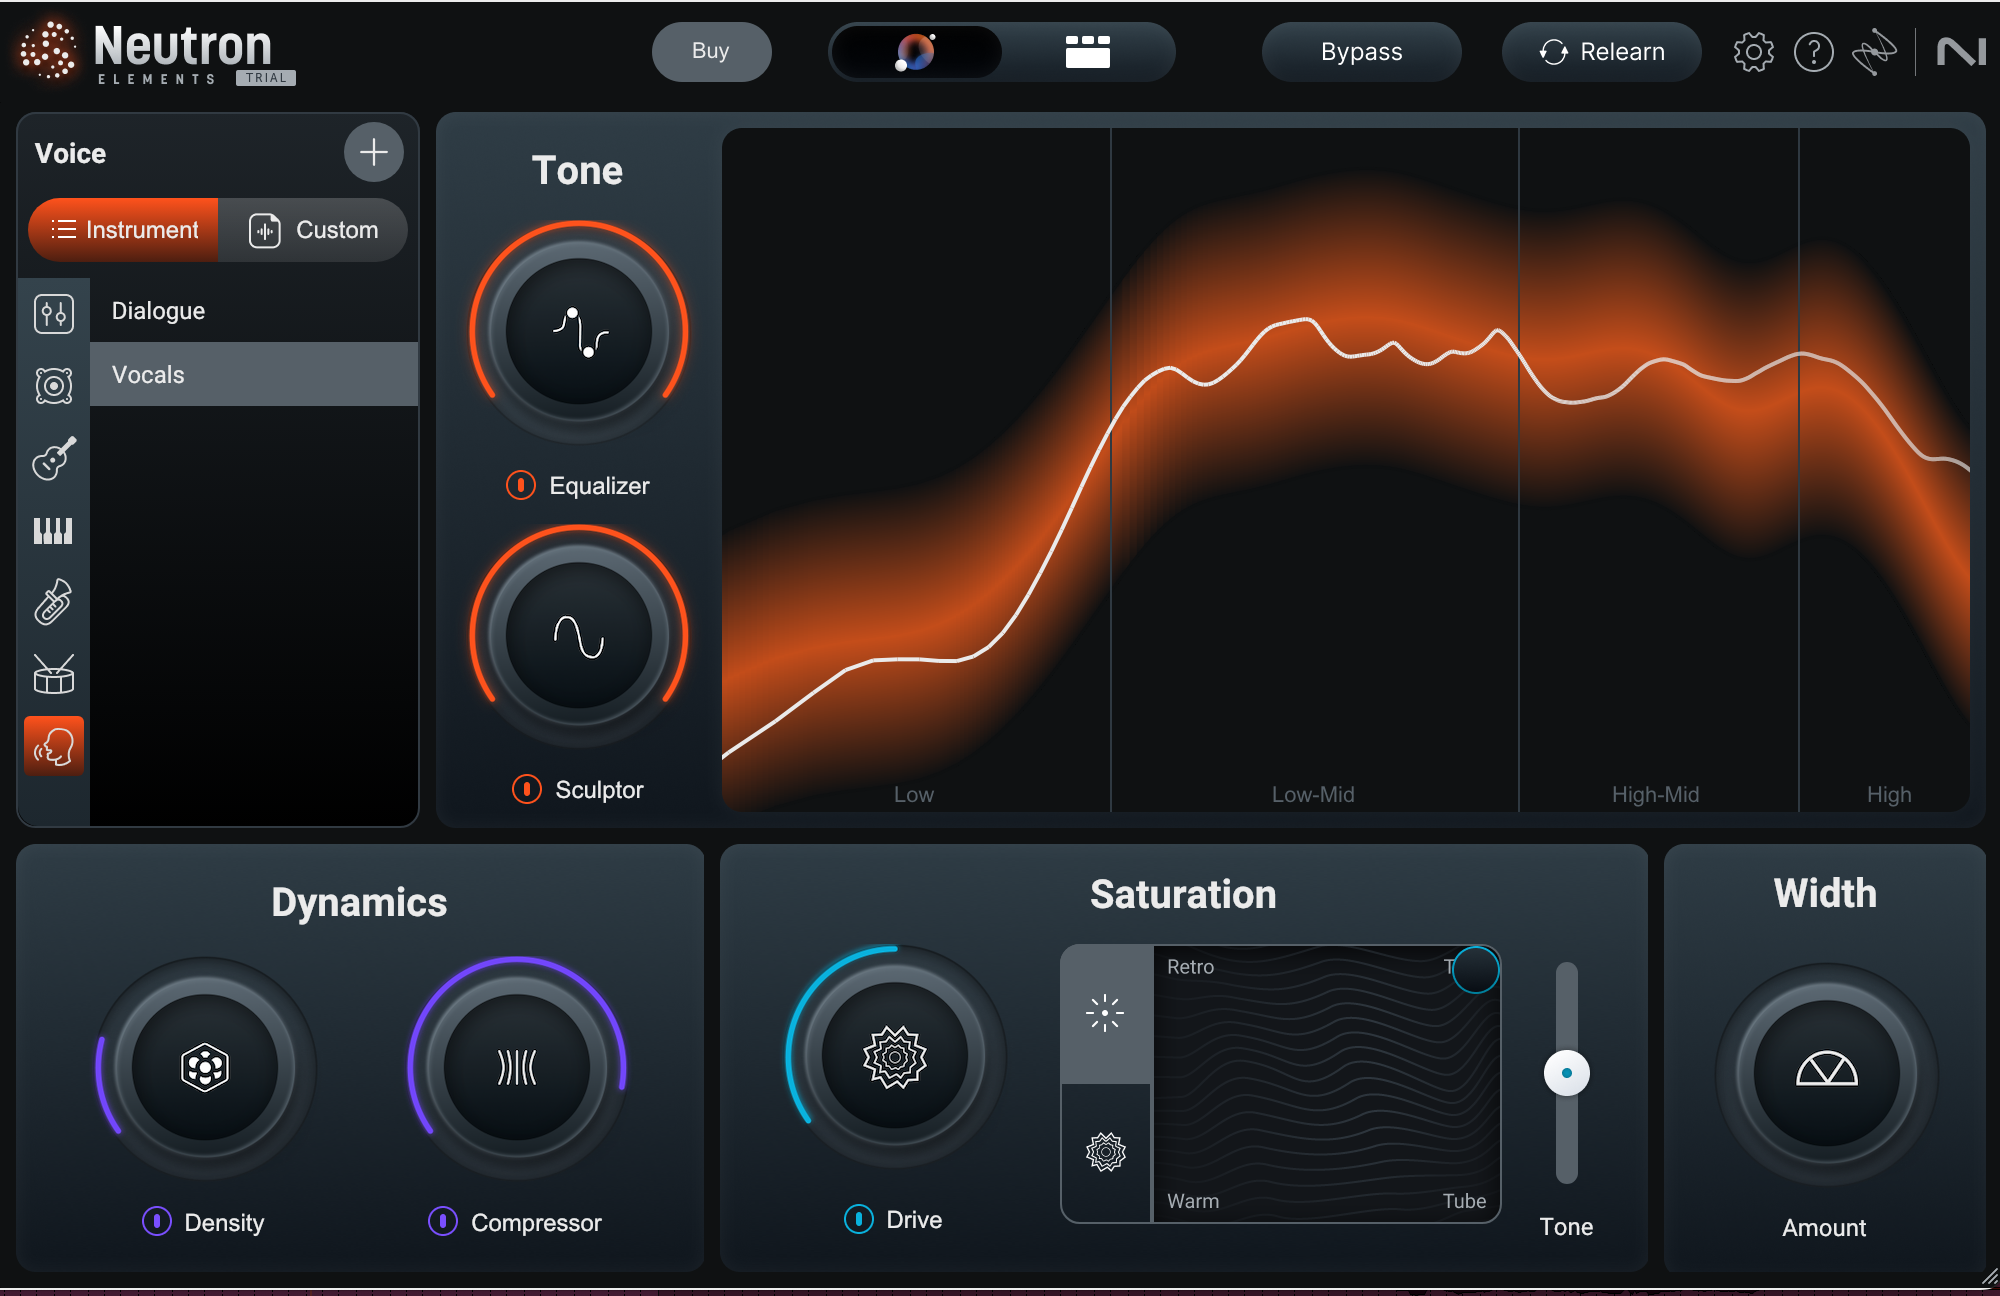
The orange line represents the spectral profile of the preset or reference you selected, while the thinner line represents your audio
4. Tweak dynamics, saturation, and width
Neutron Elements doesn’t just give you a bespoke preset—it gives you the ability to tweak the sound easily and quickly, thanks to a few macro controls.
Dynamics
Neutron Elements now offers a two-pronged dynamics section.
The Compressor knob gradually adds more traditional compression to the signal, doing so with settings automatically suited to your track’s characteristics.
The density knob, however, adds something called “upwards compression.” Upwards compression is a bit technical for this article—you can read about it here—but functionally, the Density knob adds weight, intelligibility, and hefty to your sound in a transparent manner. If you don’t want to hear the clamp of compression, Density is a good tool for evening out the dynamics.
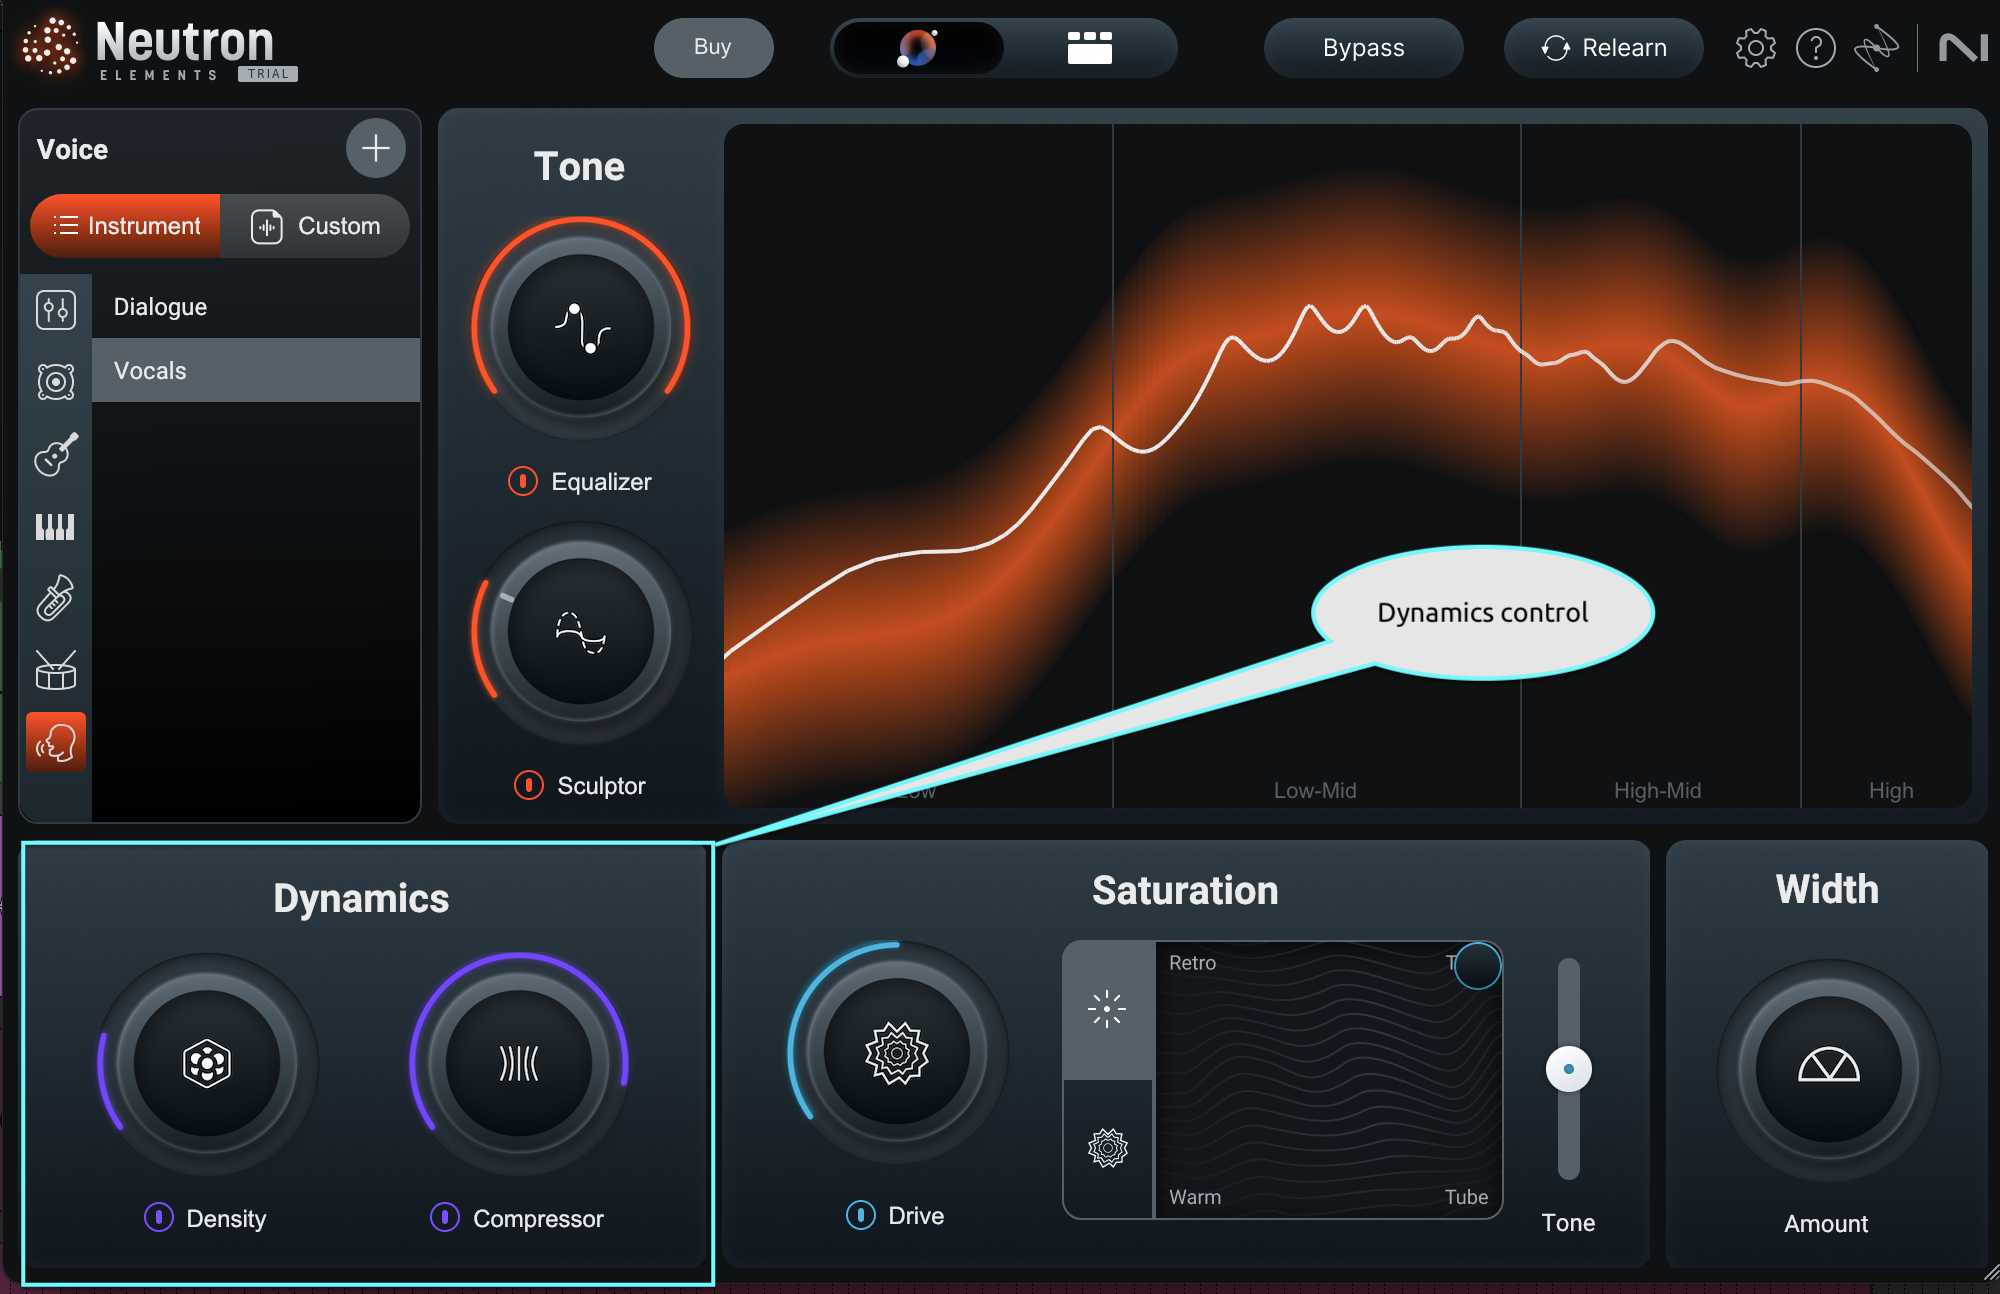
Dynamics section
Saturation
In the Saturation section, you can excite, drive, and distort your track with various different algorithms. Some are borrowed from Neutron 5, and others are borrowed from iZotope Trash. The Retro, Warm, Tube, and Tabe will sound naturalistic—especially when compared to the Trash settings, which bring you into heavy-duty distortion (Clip, Overdrive, Scream, and Scratch). The Saturation section has an X/Y pad you can use to blend between four different algorithms, creating your own signature sound:
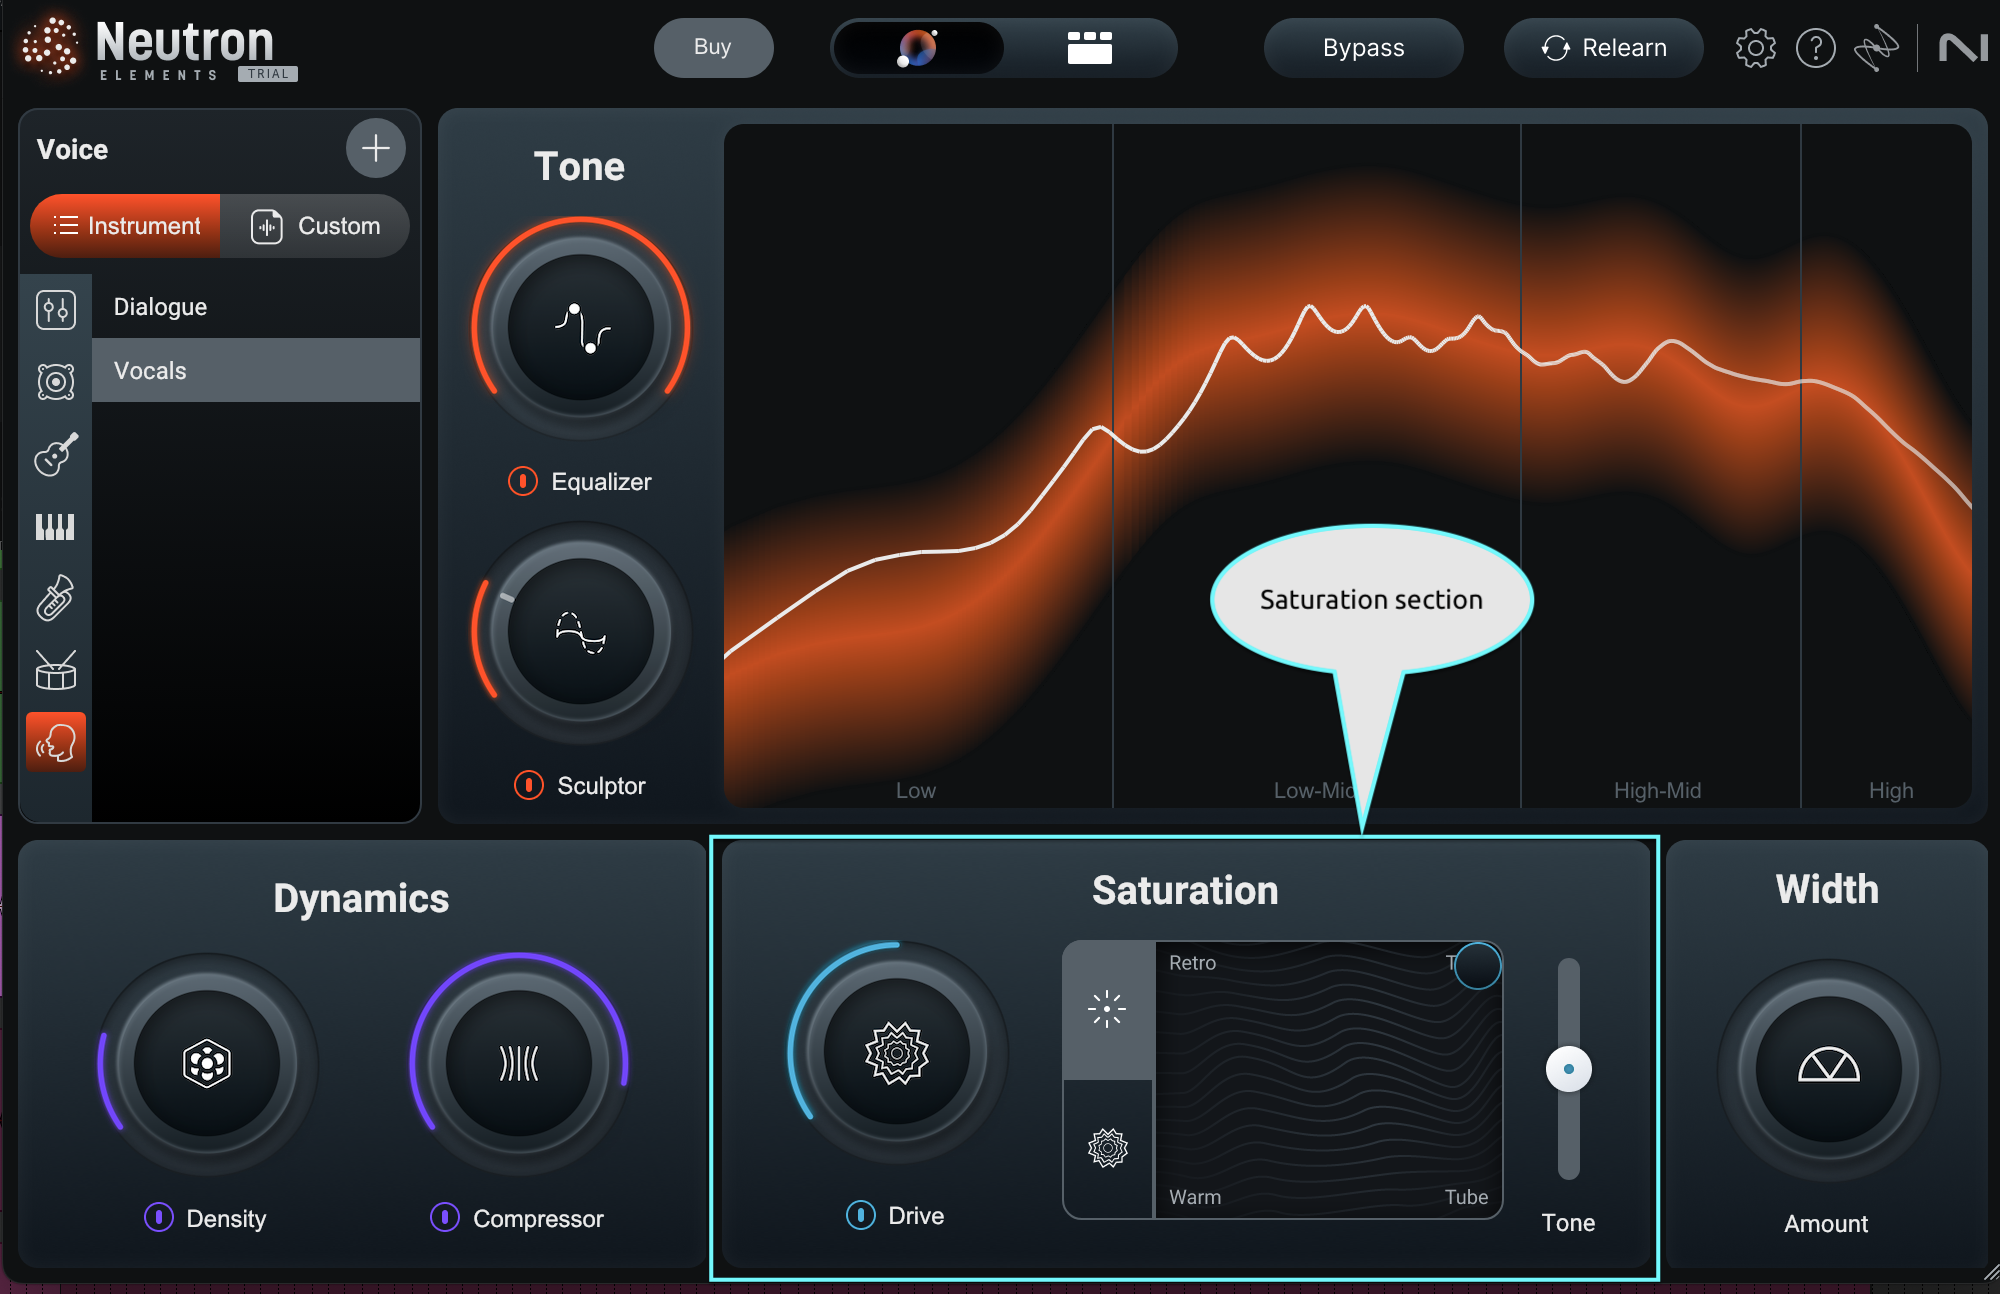
Add saturation
Width
As with previous versions of Neutron Elements, version 5 provides a width control. This can help you center the stereo image, or help you stretch your sound as wide as you want.
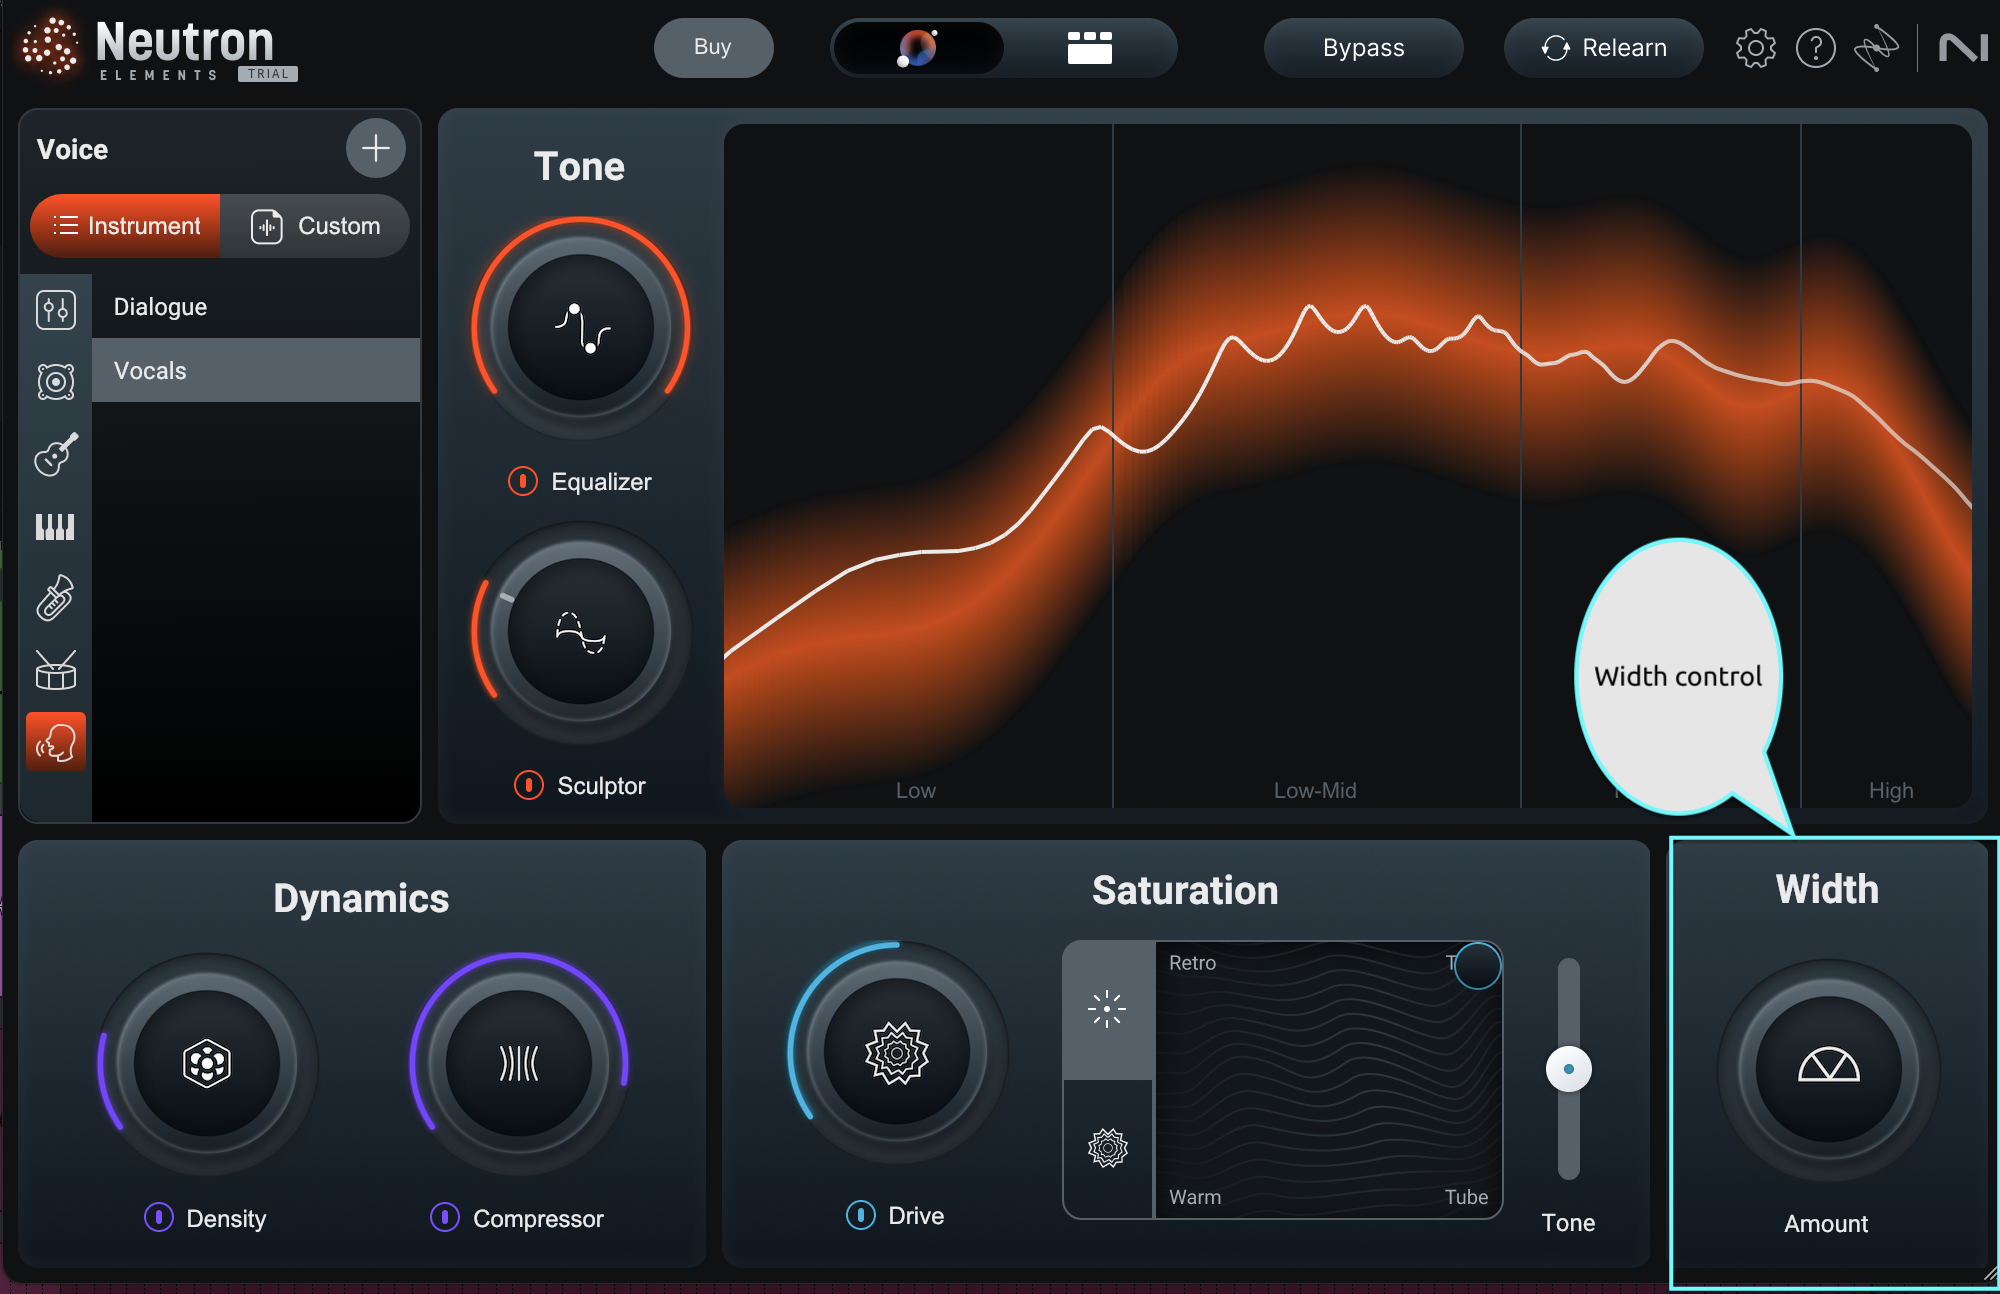
Width control
Additional Neutron Elements Controls
Relearn your audio
Remember, you’re not locked into your settings. You can always click the prominent Relearn button to analyze audio again and generate a new processing chain.
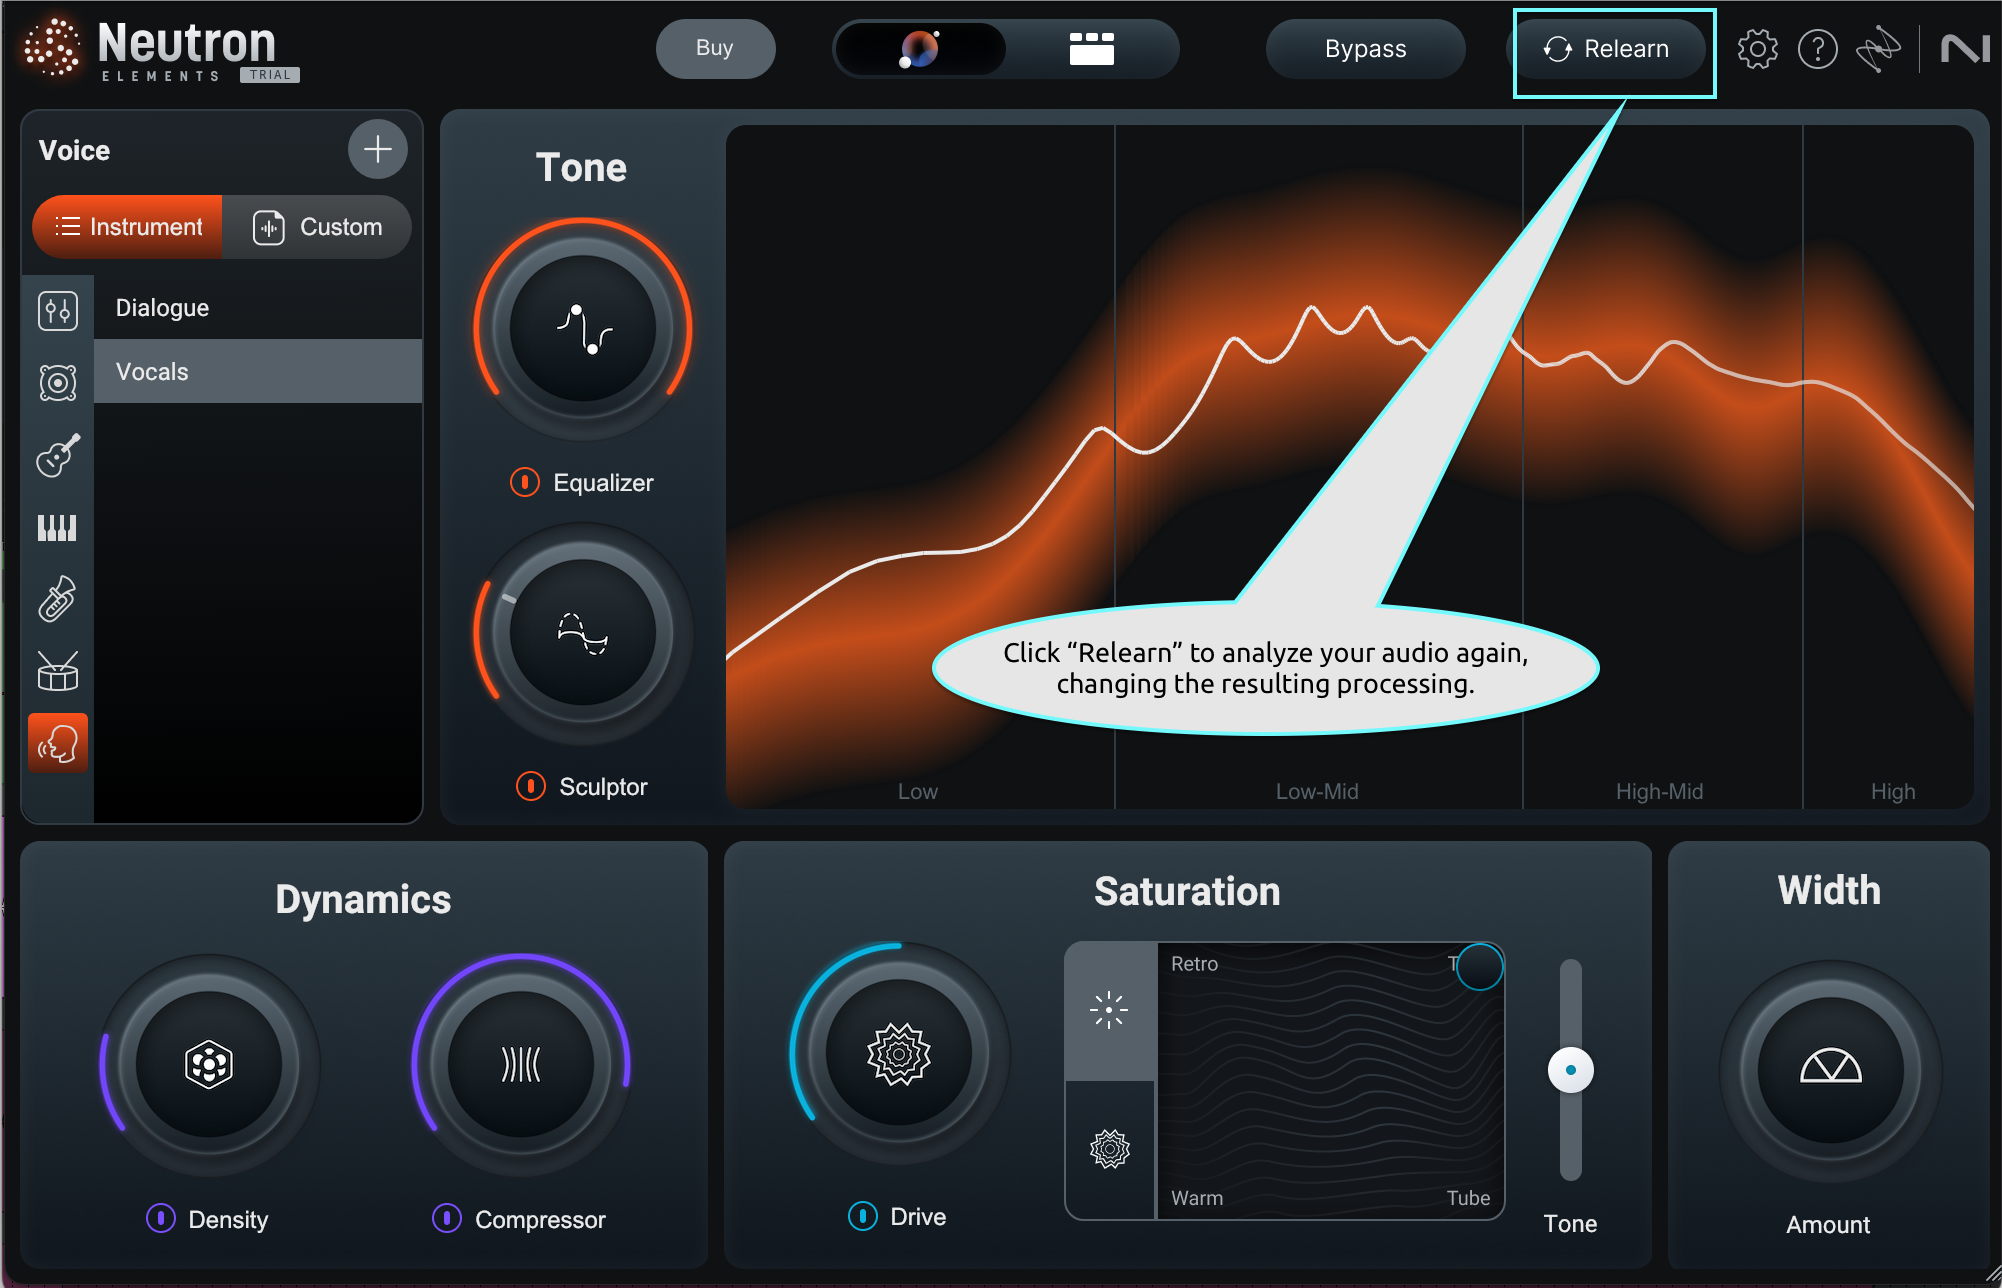
Click Relearn to analyze your audio again
Additional Neutron Elements improvements:
Improved performance
Neutron 5 Elements works faster compared to Neutron 4 Elements. Get going on your mix faster with Neutron 5!
Start mixing your tracks with Neutron Elements
Perhaps now you see why Neutron Elements is valuable to all sorts of engineers. People who are still trying to learn how to mix music as a beginner can get a helping hand with AI-powered assistance, and professionals can get a good result quickly. Start getting professional-sounding mixes in your DAW today.
