How to use Neutron’s Density module in your mix
Neutron 5 now comes with Density, a new upward compressor for adding transparent weight, heft, and intelligibility to your mix. Learn about it here.
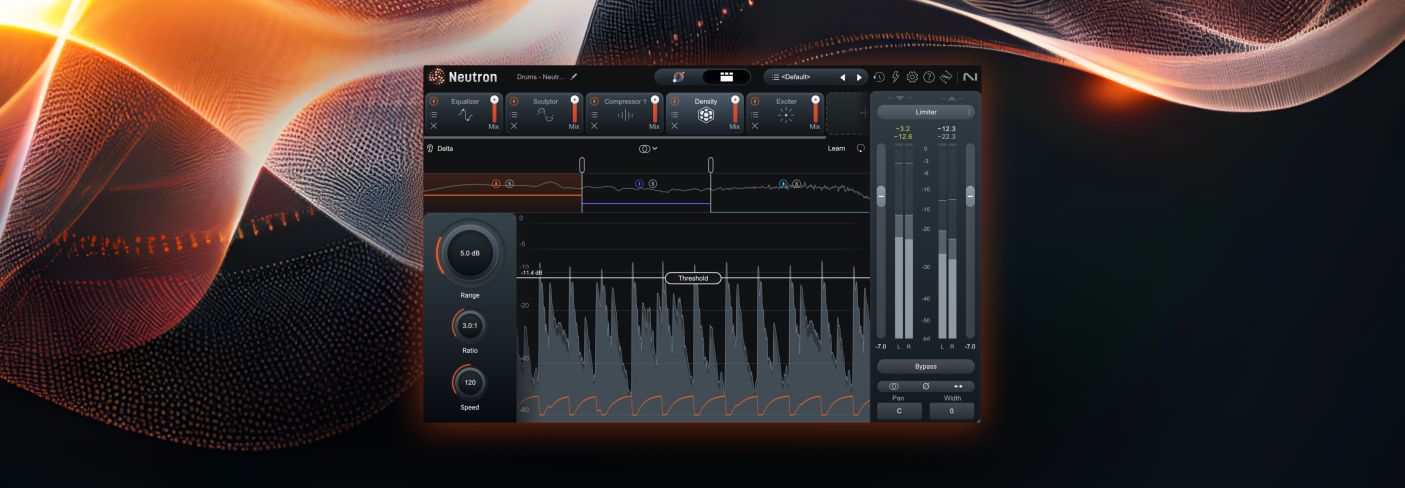
Meet the Density module, a new tool in Neutron 5 for adding weight to sounds without changing their inherent texture or groove. Density is a new take on upward compression, a frequently overlooked type of dynamics processing, one that can sound more transparent than plain old vanilla compression.
Whether you use this module for single-band mixing applications, multiband operations, or post-production sound design, you are likely to get a lot out of Density if you know how to use it.
What is upward compression?
There are four kinds of dynamics processing we can use: downward compression (often just called compression), upward compression (offered in Density), downward expansion (gating, for example) and upward expansion (the Punch module in Neutron). You can read more about these types of dynamics processing here.
Downwards compression – the stuff you’re probably used to – decreases dynamic range by clamping down on signals that peak above a set threshold.
Upward compression flips this principle on its head: it also decreases dynamic range, but instead of clamping down on material, upwards compression brings low-level signals up.
Everything else is the same. You set a threshold, you set the ratio, and you still make use of timing constants such as attack and release. But everything below the signal is brought up in level rather than squashed down.
In practice, upward compression can enhance or preserve the subtler details of a sound – those whispered vocal nuances, the softer strokes of a snare drum – without affecting the overall punch, clarity, or groove. With upward compression, you’re giving the quieter moments the spotlight they deserve, without sacrificing the power of the louder parts.
Why don’t we see more upward compression plugins?
Actually, upward compression has shown up in various plugins over the years – usually tucked into a regular compressor as an afterthought. Some upward compression plugins have a single slider for the effect, taking the time constants away from you. This makes them user-friendly, though a bit limited.
But even so, I can count on one hand the number of modules and plug-ins I’ve come across dedicated to upward compression alone. You don’t see them as much as expanders or regular compressors.
Why? I can think of two possible reasons:
Firstly, one must manage the attack/release controls in an upwards compressor very carefully. Mess these up, and everything begins to sound really strange, really quickly.
Secondly, parallel compression has already won the battle for bolstering low-level signals in the hearts and minds of engineers. This is a sort of chicken-and-egg feedback loop: no upwards compressors on the market? Use parallel compression instead. Need an upwards compressor? Why? You already have parallel compression!
This feedback loop ignores some key issues, which I’ll cover now:
Parallel compression can introduce phasing issues between the original track and the parallel one, resulting in an incohereent recombination of signals – or in rare cases, unwanted frequency cancellation.
Parallel compression paths handled at the send/return level of a DAW can cause misfires in your plugin delay compensation system.
The mix knob on an insert’s compressor is a rather opaque mechanism: you don’t really know what values that big percentage knob actually brings to the table, as different manufacturers scale this control differently – or place them differently in respect to makeup gain. Really, two independent controls for dry and wet signal would be better, but almost no one codes plug-ins that way, as it can confuse the user.
Parallel compression and upward compression are not the same processes.
This last one deserves its own paragraph:
A parallel compressor is always in a state of use. Even if the parallel-compressed signal is effectively masked by louder sounds, it’s still there, playing against the original track. This is what can contribute to phasing issues and delay-compensation problems. In upward compression, however, the effect returns to a state of disengagement when certain conditions are met: if the signal goes above the threshold for a long enough time, you’re not actually adding anything to your sound.
For all these reasons and more, iZotope has crafted the Density module, simplifying a lot of what can get you into trouble with parallel compression without sacrificing tweakability. The GUI is also tailored to helping you get the most out of parallel compression.
5 common uses for upward compression with Density
In this section, we’ll cover five common uses for upward compression, and show you how they are achieved with the Density module.
1. Evening out dynamics in a spoken-word or acoustic vocal performance
Density can make things feel consistently present without adding overt compression. This makes the tool particularly suited to things like spoken word voiceover, or sung vocals on an acoustic record.
Allow me to demonstrate with an upcoming fiction podcast from Voyage Media which I edited, mixed, and sound designed. Unfortunately for people who appreciate the dramatic arts, I also acted in this one.
I recorded my voice into a dynamic mic with no compression. Here’s how it sounds in the scene, unprocessed:
The intelligibility of the part could really benefit from a more even hand, but compression has a tendency to clamp things down in a manner that doesn’t sound good on voiceovers. The clamping or pumping effect of compression can be particularly noticeable on the spoken word.
I can get the results I want with Density, like so:

Density on vocal
We’re getting more level on my performance across the board – but not when I speak loudly, which is crucial. Whenever I do raise my voice, Density quickly takes note and stops boosting the levels.
This same principle holds true on sung vocals for acoustic genres, like jazz or folk. When transparency and intelligibility are key on your vocal, the upward compression of Density really shines.
2. Taming dynamic bass lines without obvious compression artifacts
Basses can be notoriously poky instruments. Sometimes you’ll notice a dull spot on the fingerboard where a note disappears, while other notes seem to leap out of the speaker. Here, Density can help keep things consistent without changing the groove to the bass part.
Observe this electric bass played on the static mix in a hard rock tune:
Sometimes, the part becomes too quiet. Sometimes it’s too strong. If we use these settings in Density, it’s a lot more consistent:
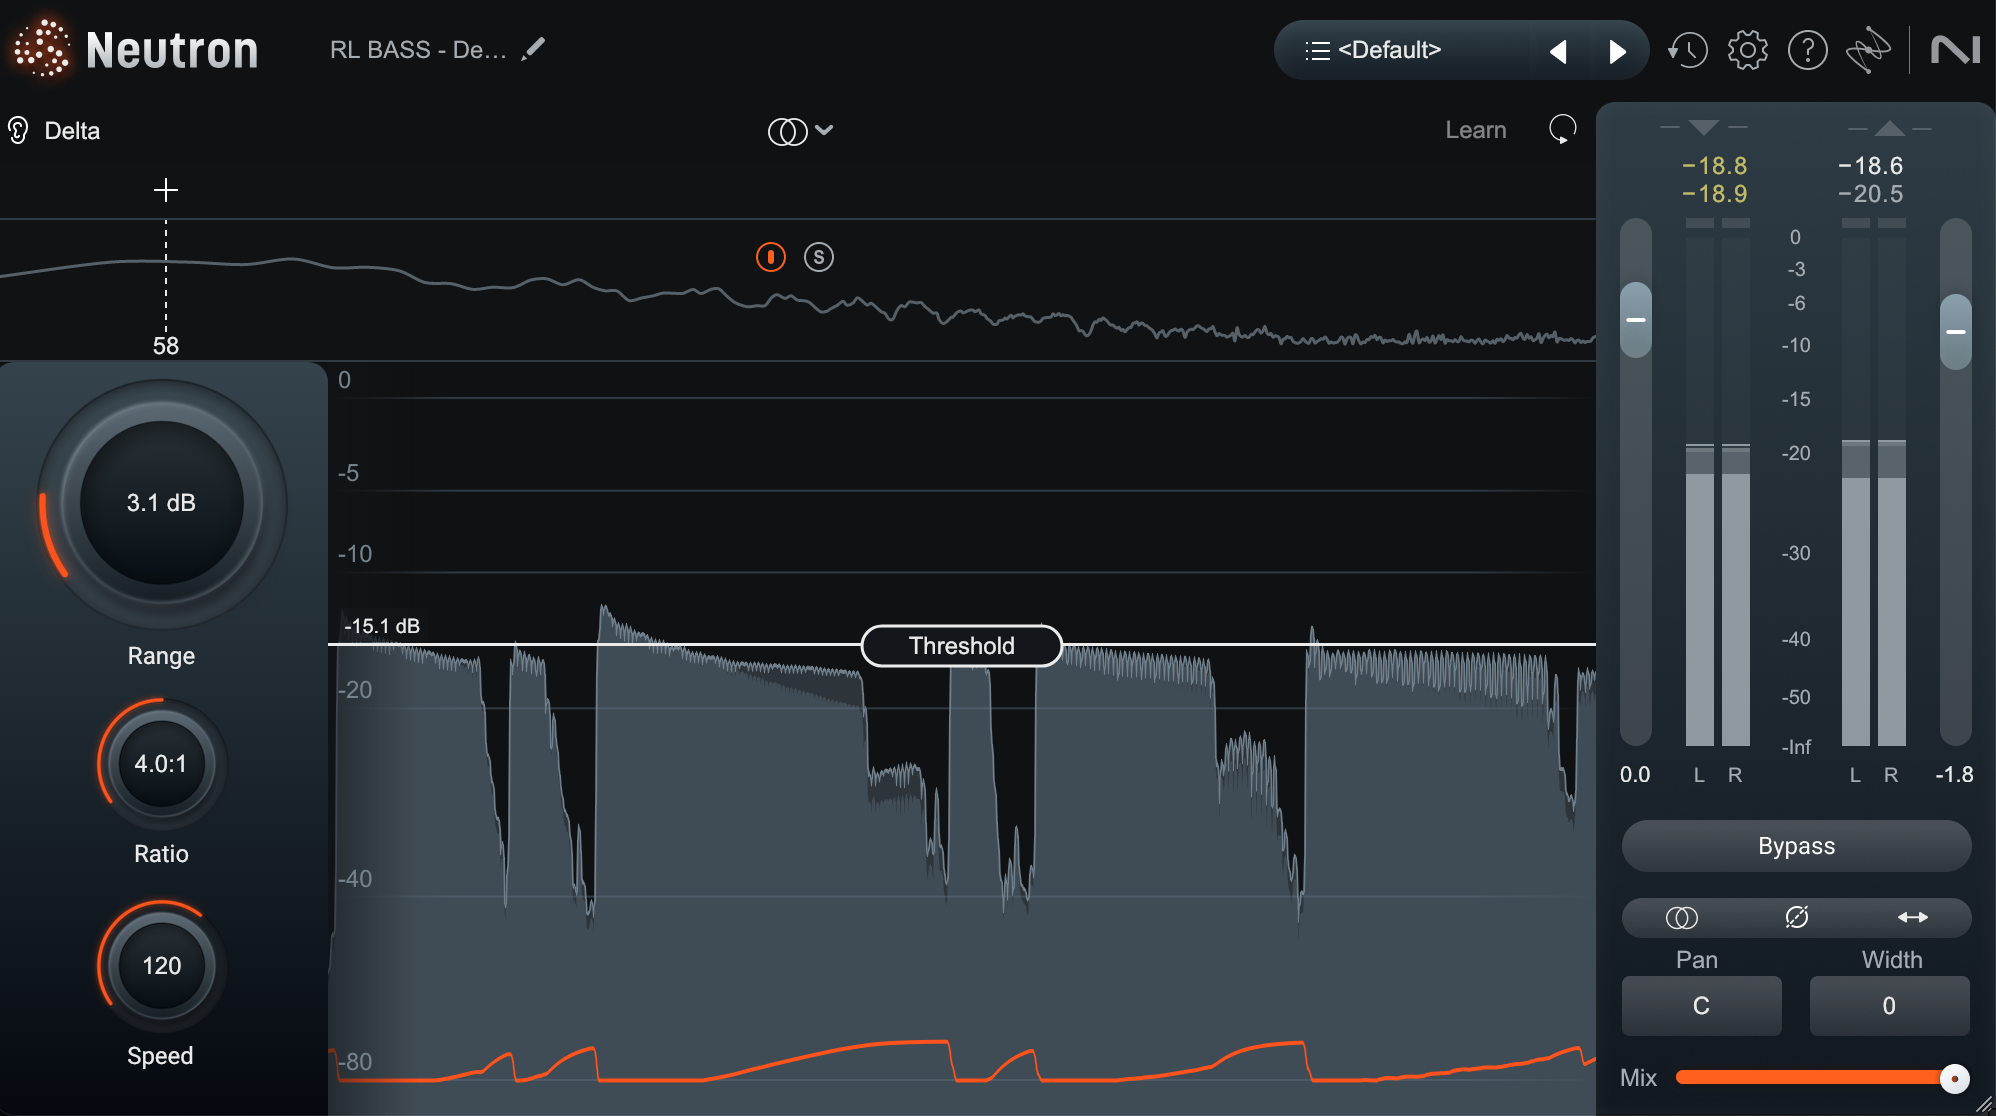
Density on bass
Because Density also works in Multiband, we can tailor the effect to only process specific frequency ranges. On this bass, the uneven sound lies below 210 Hz. We’ll split the bass into two bands, and only use Density below 210 Hz. This can make it more solid in that crucial low end while retaining even more transparency.

Density on bass, multiband
Another solid use case for the upward compression of Density!
3. Bringing out roominess in drums without affecting the groove
Sometimes you want to bring out roominess on a drum recording, but compressing with something like a Purple Audio MC77 or a Kiive Xtressor can be too brash for the part at hand. Here, frequency-selective Density can be our friend.
Observe the drums from our previous example:
Let’s use the Purple MC77 on the room mic and on the overheads in parallel to try and bring out the sustain of the cymbals:
It gets a bit brash, doesn’t it? When the rides come in, it’s definitely unpleasant.
Density, on the other hand, can get us toward a roomier cymbal sound without adding harshness. We’ll use these multiband settings on the room mic:

Density on Room mic
For the overheads, we’ll only add the effect to the middle band, and we’ll do it in M/S mode to really emphasize the cymbal ring:

Density on Overheads
The relative slowness of the attacks on Density are making sure our big crashes, snares, and kicks aren’t caught in the bolstering effect. Instead, the level boost occurs as the cymbals are naturally swinging down in volume. That nets us a more transparent, though roomy, sound:
4. Lifting sparkly frequencies in the side channel of guitars, synths, and other harmonic instruments
Sometimes we use M/S equalization to bring out treble information on the side-channel of instrument buses. This can add a sense of sparkle, lift, or air to these instruments without conflicting with the lead vocal and snare.
However, static equalization can be aggressive for things like electric guitars or bright synths, which quickly become harsh in their upper registers.
Let’s take a look at how Density can solve this problem:
Remember that upward compression only affects material below the threshold. Set the threshold correctly, and the effect will go away when a part is particularly loud.
Instruments like guitars get spiky and harsh when picked aggressively. Using Density in a multiband manner, with the correct Speed setting, we can tailor our bolstering brightness to go away whenever a quick spike of trebles crosses the threshold.
We can do this in a manner more transparent than multiband compression or dynamic EQ, because the effect itself is less noticeable in these crucial loud moments.
Observe this guitar bus.
If I want to lift the sides of them with a static EQ boost, it can all feel grating after a while:
If I use multiband compression or dynamic EQ, I find it’s tricky to get the balances right. It’s hard to find the sweet spot between too bright and too dark, and I don’t quite nail it:
But use Density on the sides, and we’re golden:

Multiband Density settings on guitar
5. Managing the dynamics of acoustic material without altering groove or tone
We’ve spent a long time talking about how Density adds heft or presence to material in a subtle way. So it should come as no surprise that you can use Density across every track in an acoustic mix to keep dynamic instruments in check without messing with the timing of the performances, changing the overall tone, or adding the pumping or distortion side effects of traditional compressors.
Observe this static mix:
Observe what Density gets us when used on every track:
Each instrument is now clearly delineated. The vocals are more consistent and present. The drums envelope us more. The banjo pokes out less. And yet, these examples are loudness-matched. Density has just helped to retain more intelligibility throughout, without really altering the feel of the tune.
Try Density in Neutron
As we’ve hopefully demonstrated, Density delivers a powerful, transparent approach to upward compression, one that stands out in its ability to enhance low-level details without disfiguring the natural character of your mix.
Whether you’re working with vocals, bass, drums, or acoustic instruments, Density should come in handy. It should inspire you to rethink how upward compression can be utilized in your mixes.
