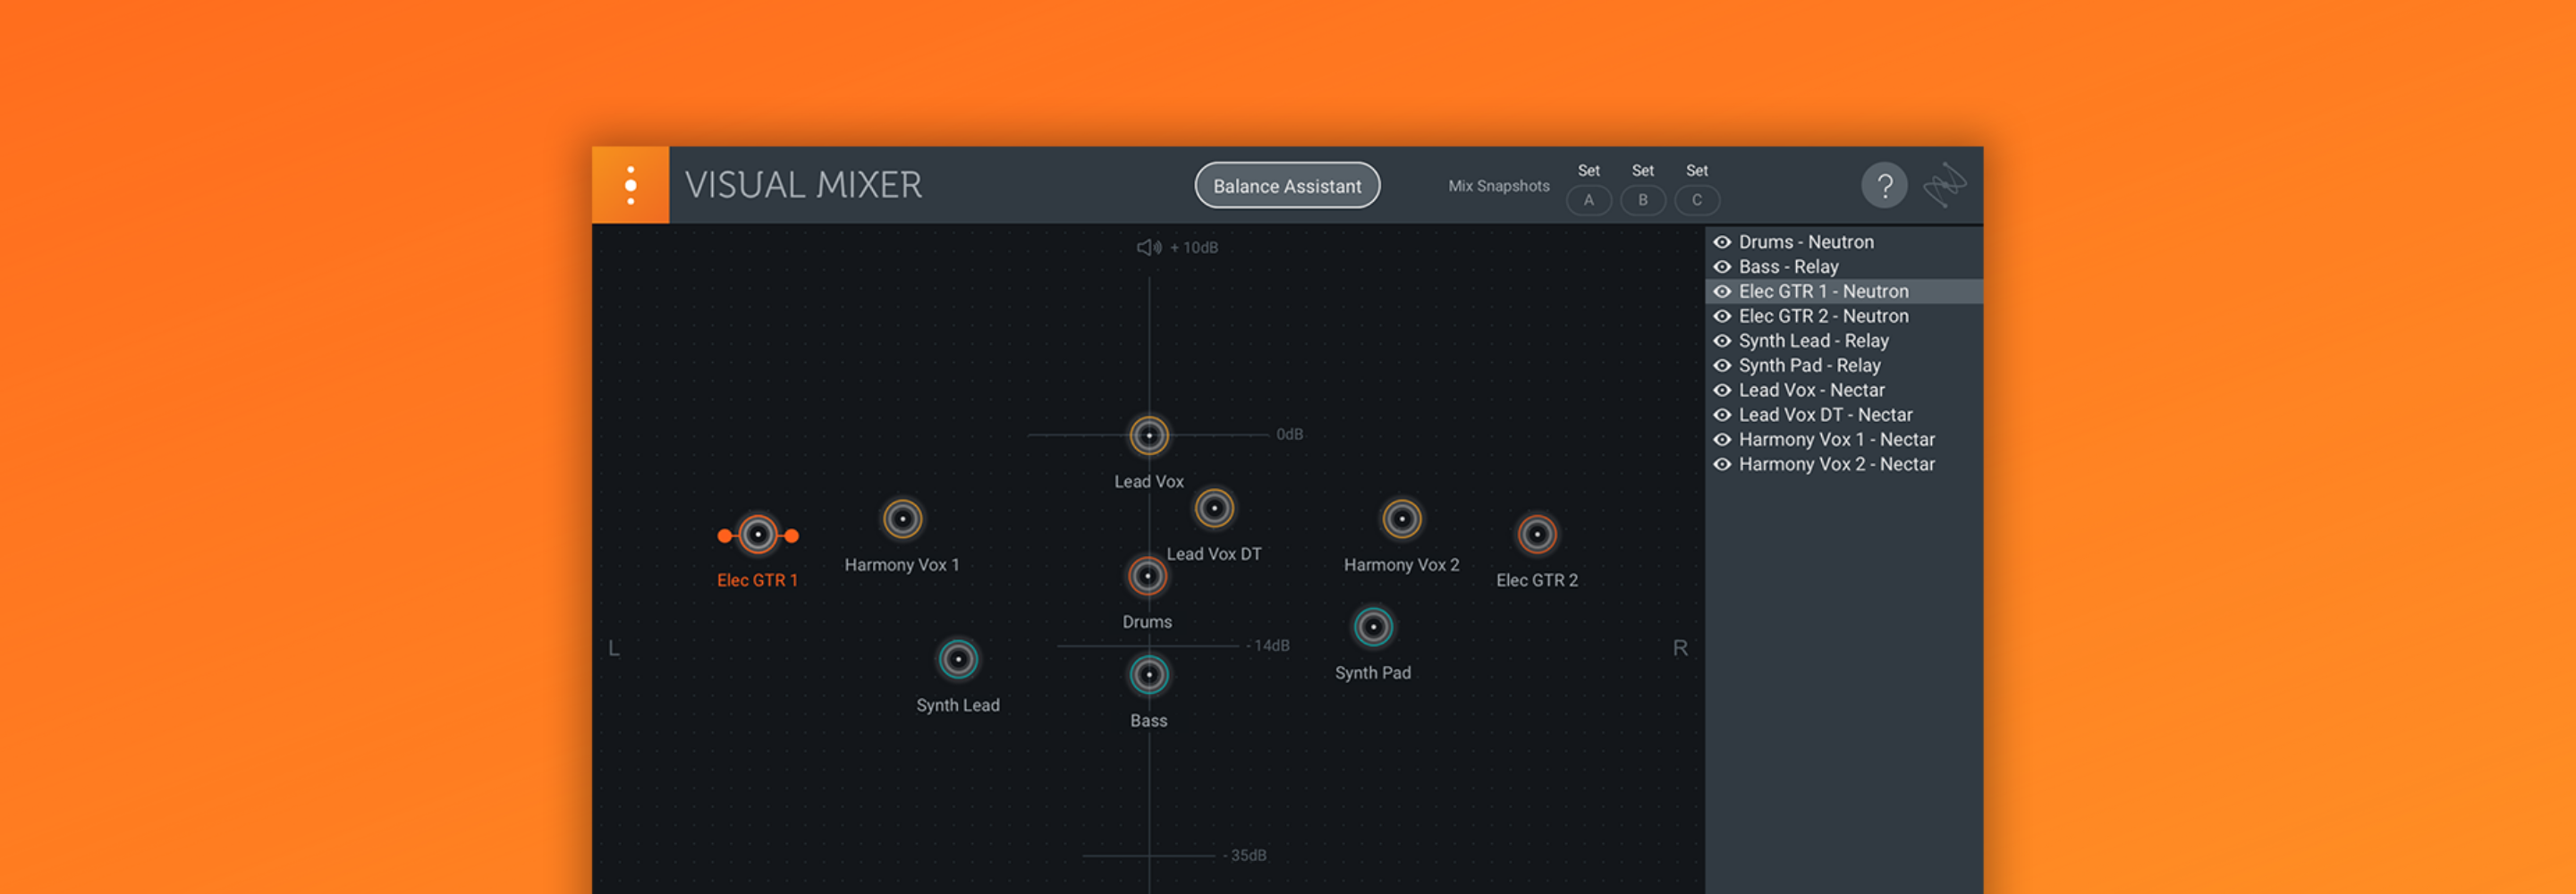
7 Tips for Mixing Sample-Based Music
From dusty vinyl to lossy downloads, here are seven tips for mixing samples alongside synths and recorded sounds.
Samples can make magic happen during the creative process. But they can pose some serious challenges when mixing. Samples can come from any number of sources, and some of those sources may not have been made with your mix in mind. A windy field recording layered with a dusty vinyl sample or low-quality Youtube rip are going to combine for a few headaches for an engineer. Conversely, a well-crafted Kontakt instrument might be tailored perfectly for an orchestral arrangement, but how will it work in a hip-hop beat?
We’re going to look at some of the challenges and advantages in mixing music with samples. Here are seven tips for mixing samples and sample-based music for a unified sound, like this:
Sample Mix
Follow along with these tips using the tools in iZotope


Music Production Suite 7
Watch as TOKiMOSTA shares how she samples sounds through field recordings and cleans them up using iZotope RX to create a cohesive, sample-based beat.
1. Listen to your samples
With every project, the important starting points revolve around which choices were already made. Why were these samples chosen, and what needs to be emphasized in them? Is the producer trying to impart a lo-fi flavor? Maybe the groove is more important than the texture, or vice versa. These questions will help you fix the real problems when mixing loops and samples without creating others.
Let’s take an example of a sample from Native Instruments’ LoFi Glow. This has texture and some grit, which could work for a lot of tracks, as the gritty sound can be what gives a sample its edge. However, in some mixes, that texture can be distracting, and might cloud up some areas in the mix where we need the space. We’re looking just for a softer sound in the keys, so we can clean up that texture with RX. We’ll get to the noise reduction in a moment, but let’s listen to this and try to get an idea of what it needs and what it doesn’t need.
2. Use sample noise reduction
iZotope RX gives us a lot of tools for noise reduction and audio repair. Vinyl samples often tend to have a lot of surface noise, especially when the original recordings were made long before clean digital production was available. Likewise, field recordings can often have unwanted rumble, or noises that distract from the producer’s intended palette. Remember what we said in the first tip: think about the decisions that brought the sample to this mix, and only remove what needs to be removed.
Our example track has a bass taken from Kontakt’s Scarbee MM with some vinyl noise and bit reduction from Bite. It’s easy to load into RX, and we’re going to clean the noise from it. Luckily, we can use the RX Repair Assistant to identify some suggestions for where to start.
Scarbee Bass
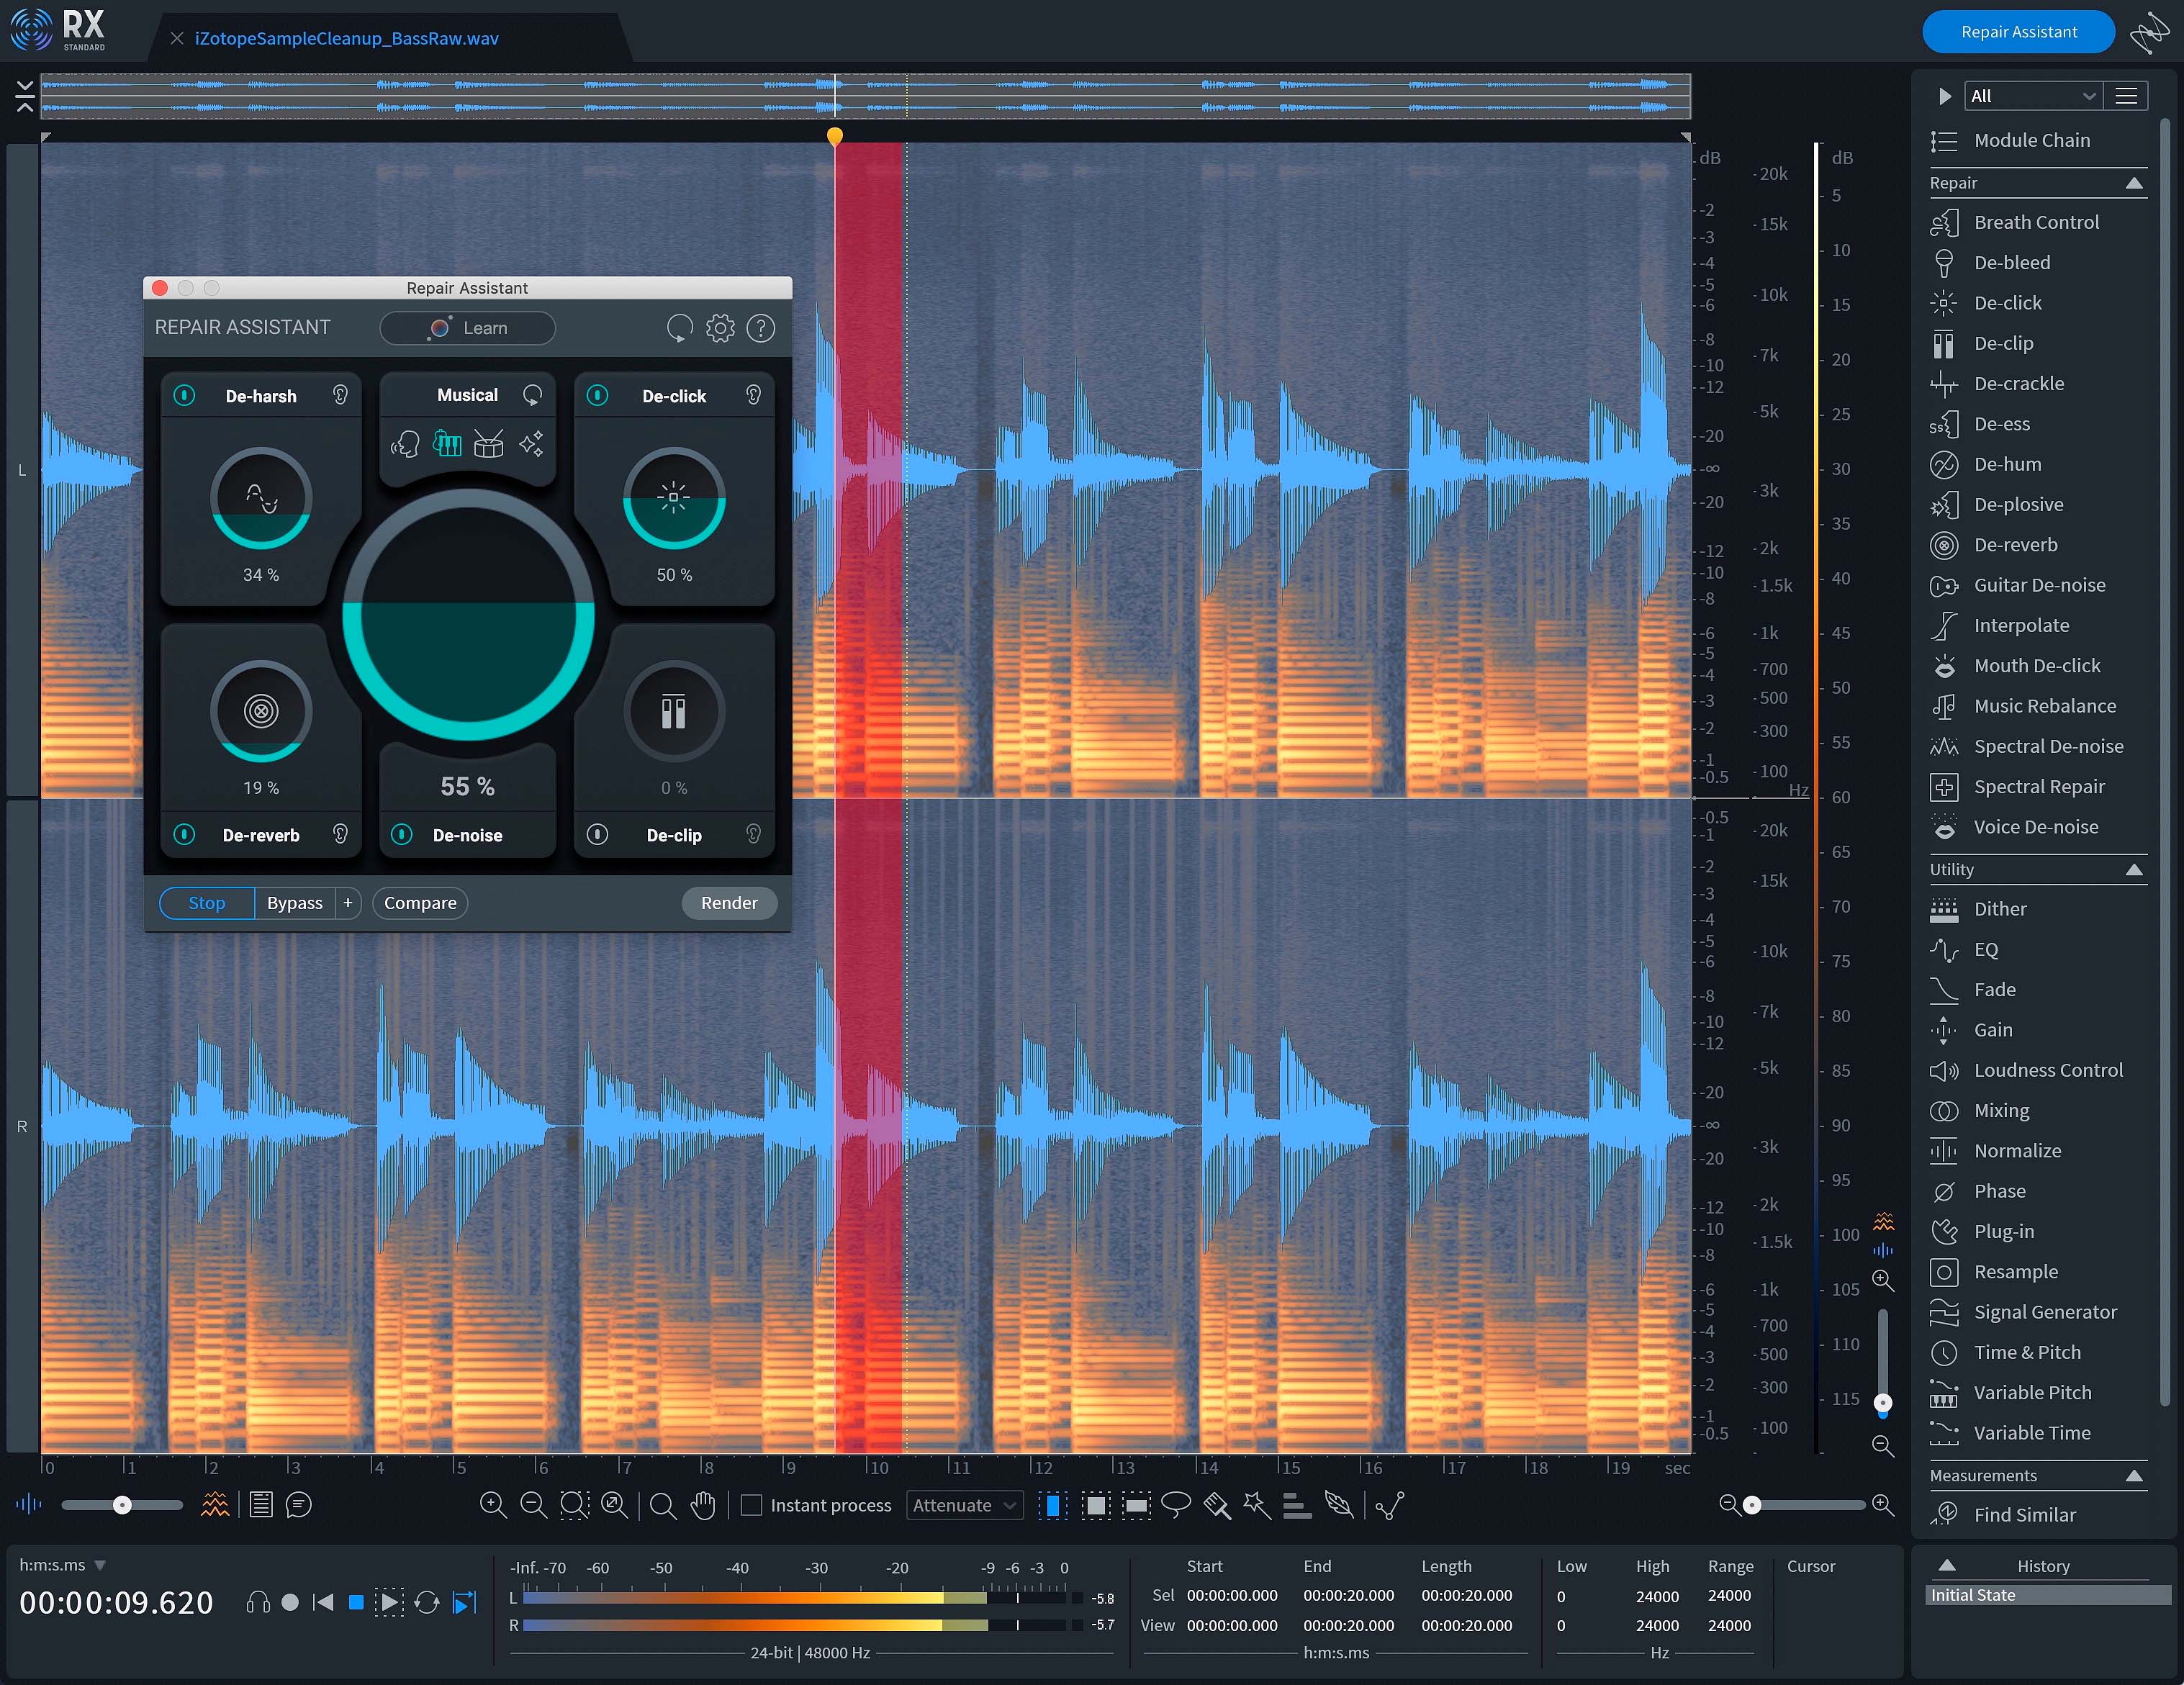
Cleaning up the Scarbee bass sample in RX Repair Assistant
3. Add tonal and textural support
Samples can have a wide range of tonal and textural additions to any track. But since many of them come from outside the digital realm, they can often have a muddy, or weak low end.
Our Scarbee bass sample is definitely improved after some RX cleanup, but it could use some help in the sub region. We’ve recreated the bass notes and played them through Massive X by Native Instruments, using a preset from the Bounce expansion pack that’s tailor-made for this kind of track.
Here’s how our bass sounds with the Massive X support.
Scarbee Bass
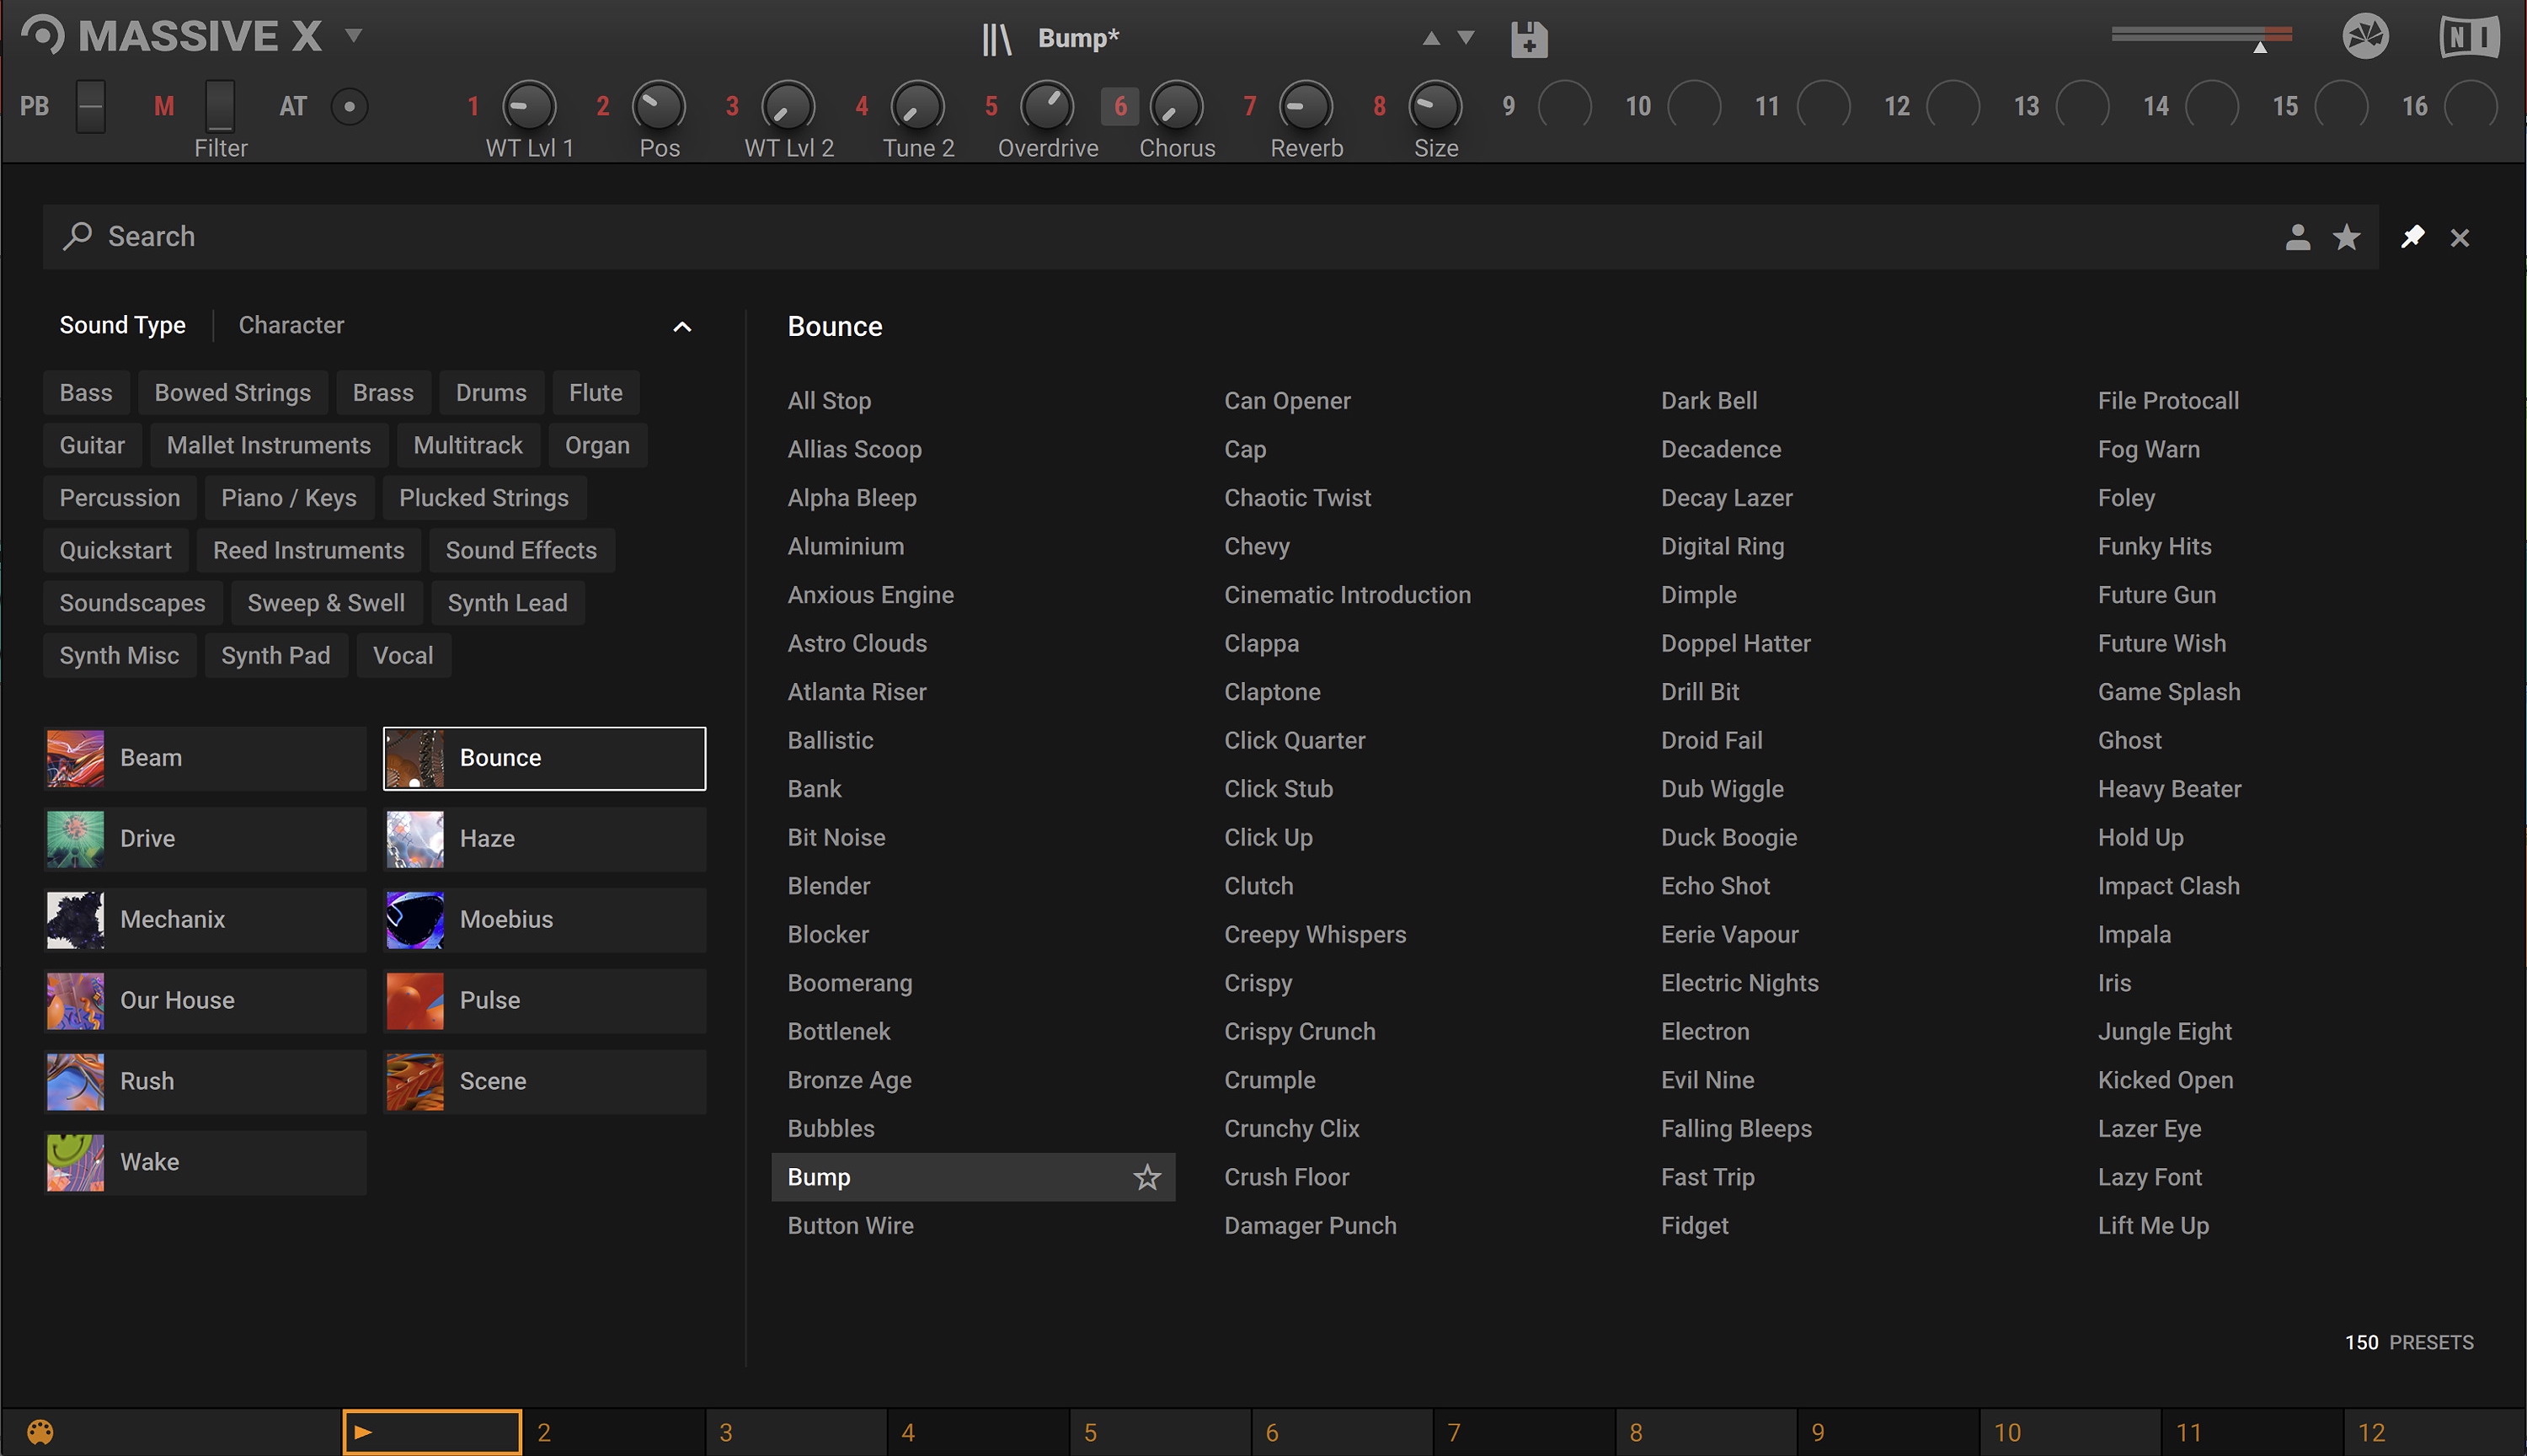
Recreating the bass notes and playing them through Massive X
4. Remove excess reverb and add your own to taste
One of the great features that RX has is the RX De-reverb module. Some samples are just drenched in too much reverb, and that can become even more apparent when it comes to EQing and compressing them in a mix.
We have a drum loop here that came from the Empire Breaks instrument in Kontakt. The break is perfect, but the reverb is going to get in the way of mixing it when we want to make it hit hard in the mix. So we’ll adjust the De-reverb setting that was suggested by the Repair Assistant, and then take it into our mix.
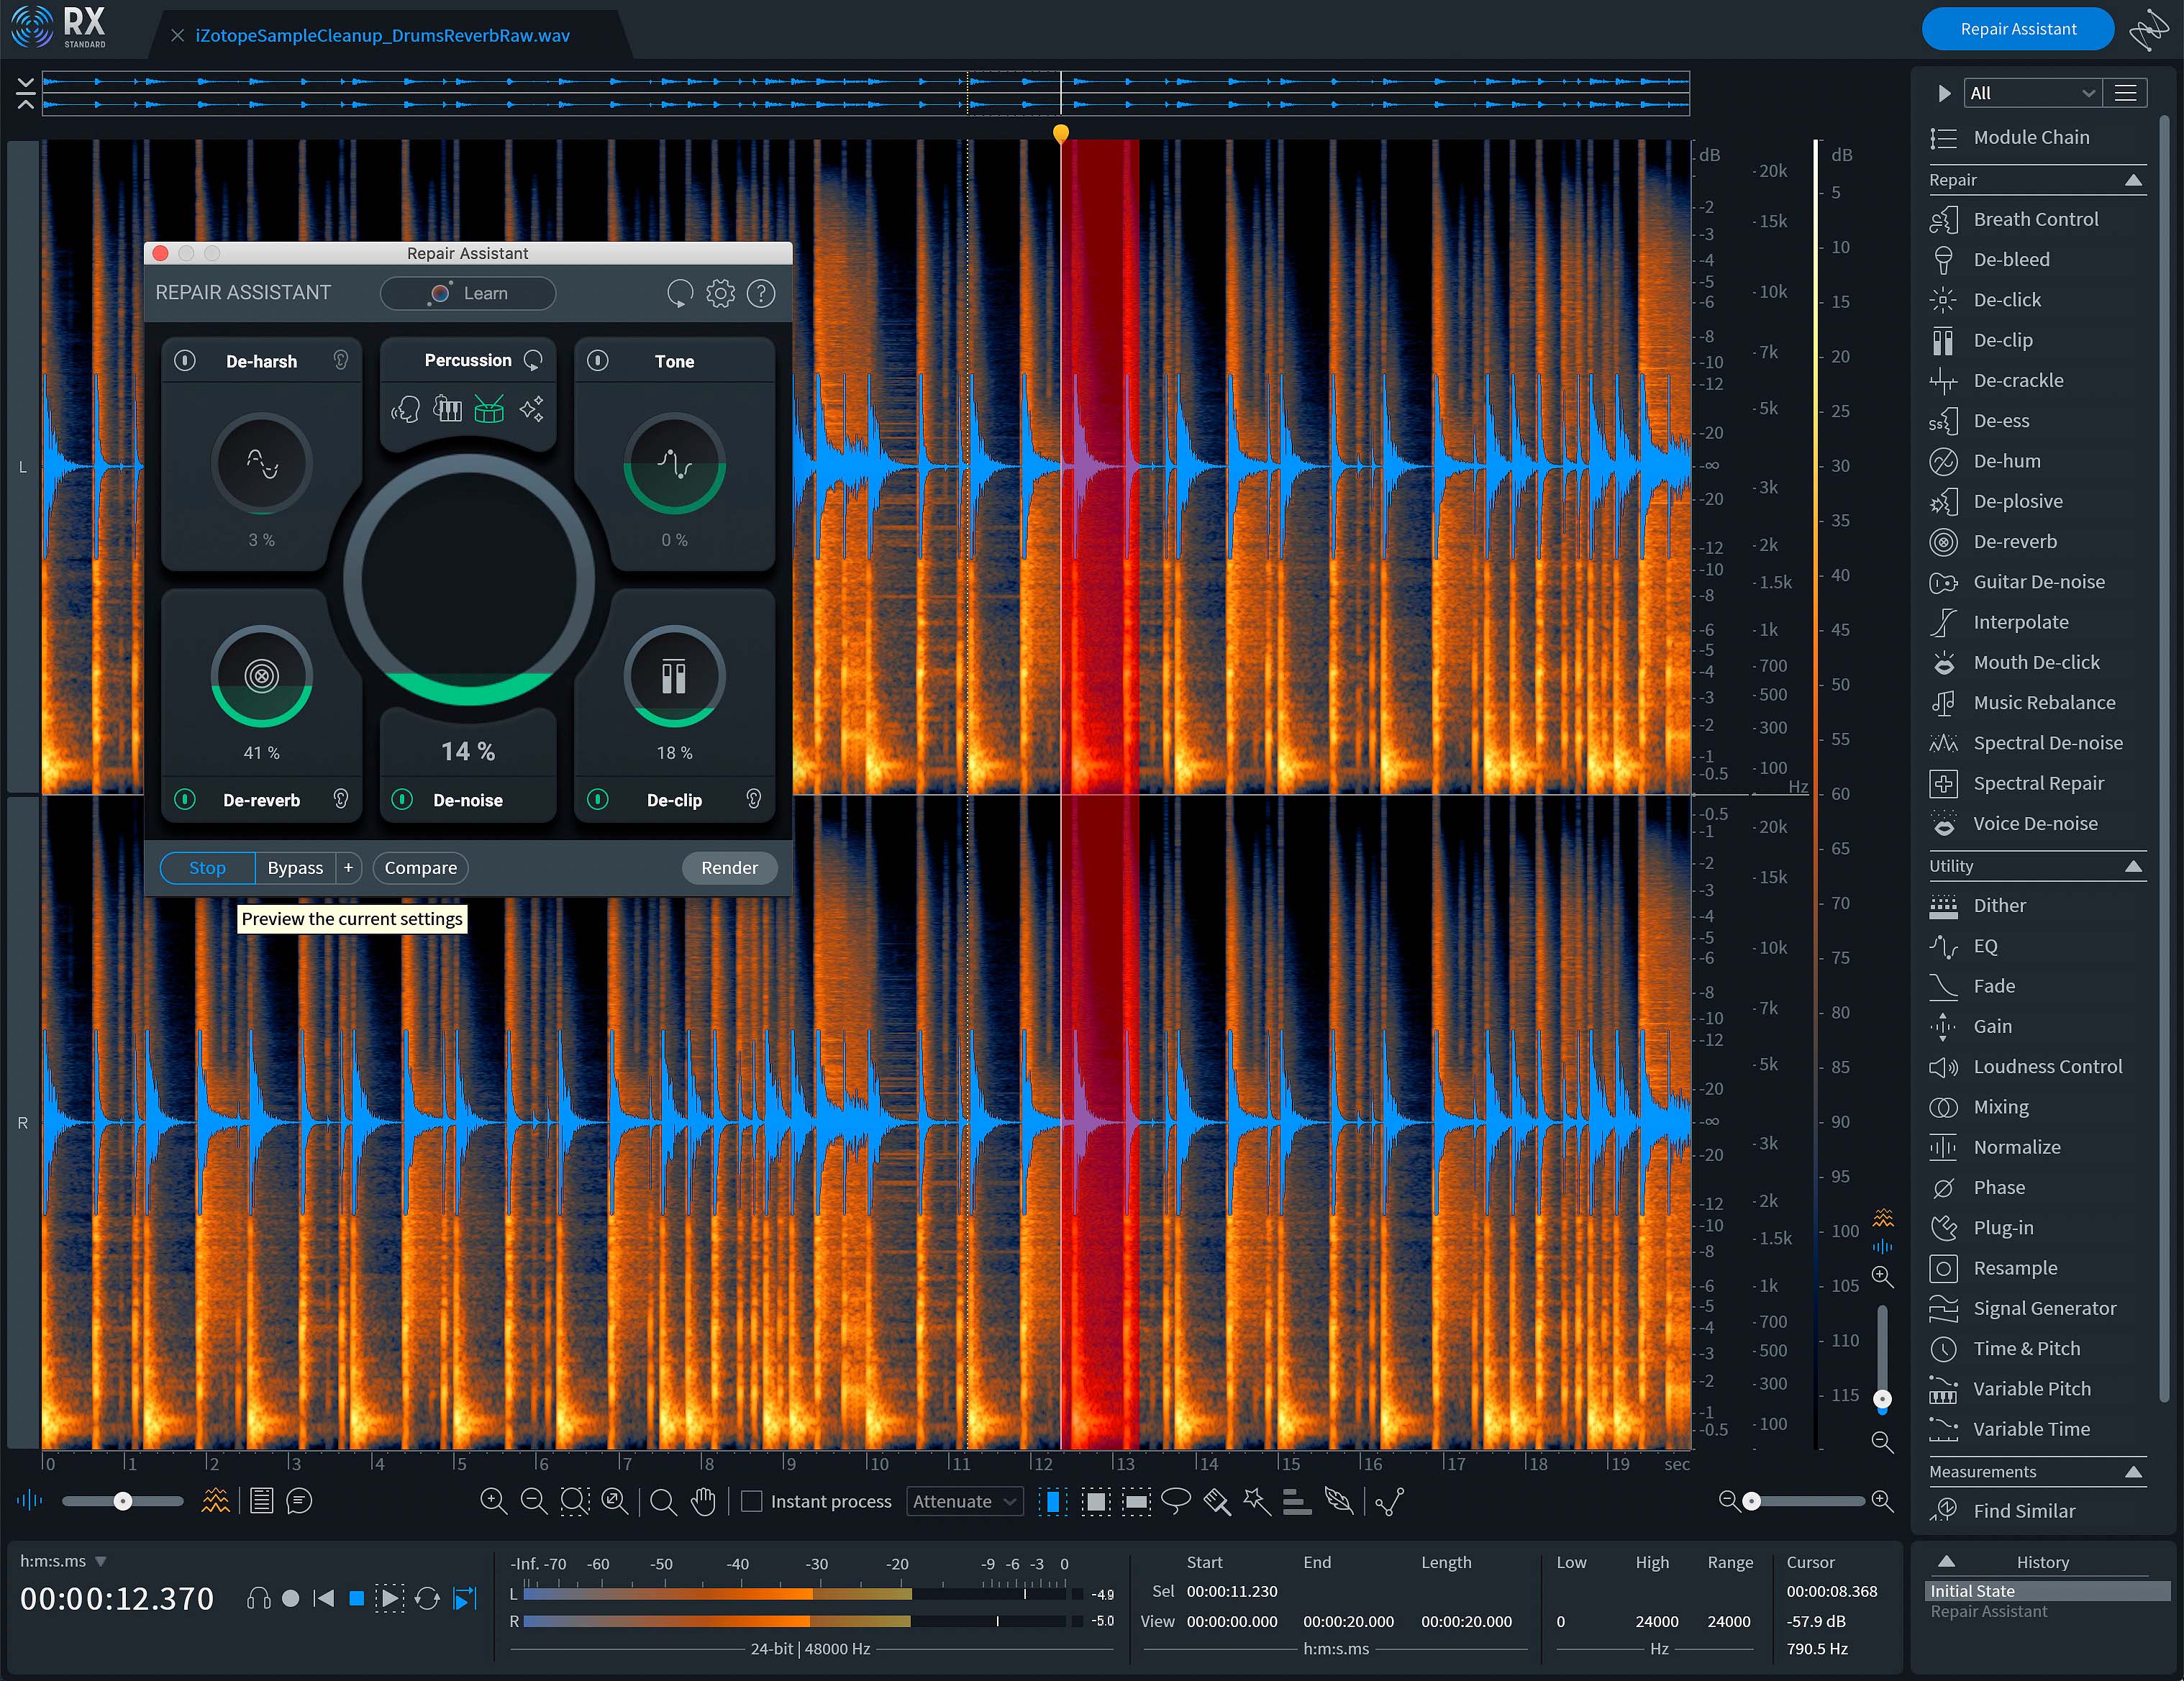
Using RX De-reverb on drum loop
Now that we’ve got the drum loop sounding a bit tighter, we can give it a bit more punch using Neutron, and then add a slightly less overwhelming reverb setting from Neoverb. It’s a beefier drum sound that matches our thicker low end from the bass line.
Drum Loop
And here's our reverb selection in Neoverb.
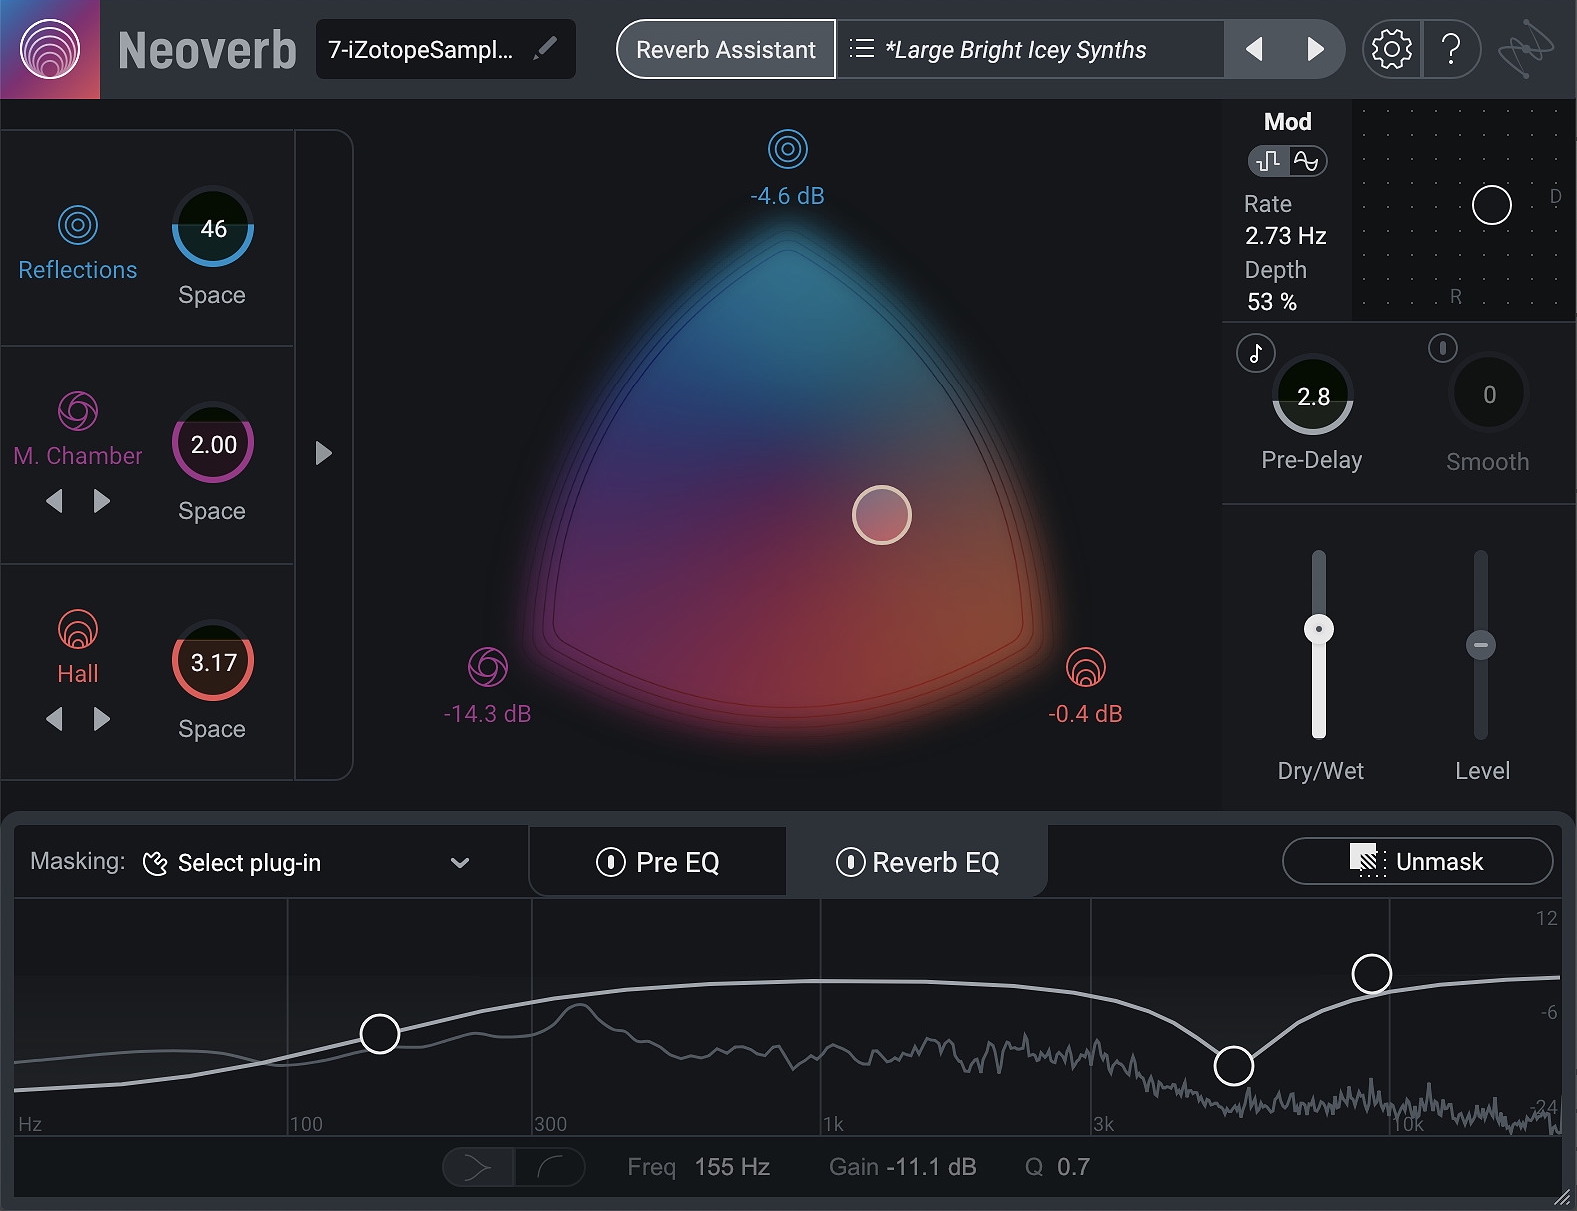
Using Neoverb to add reverb to taste
5. Unmask your samples to create clarity
The great thing about sample mixing is that it gives an artist the chance to combine sounds from anywhere. A drum kit from the 1950s layered over a synth from the 1980s can open some amazing possibilities. The infinite possibilities can also mean that situations that would have been prevented in recording arrive in our mix. A bass line might clash with a kick drum (also known as frequency masking), or two samples might be out of key.
A great tool to solve this is Neutron’s new Unmask module. We’re going to drop this on our drum loop, and feed it the signal from our newly added Massive X bass. Now we can see that the low end is clashing, and we can keep that area cleaner in our mix.
Unmasking Drums
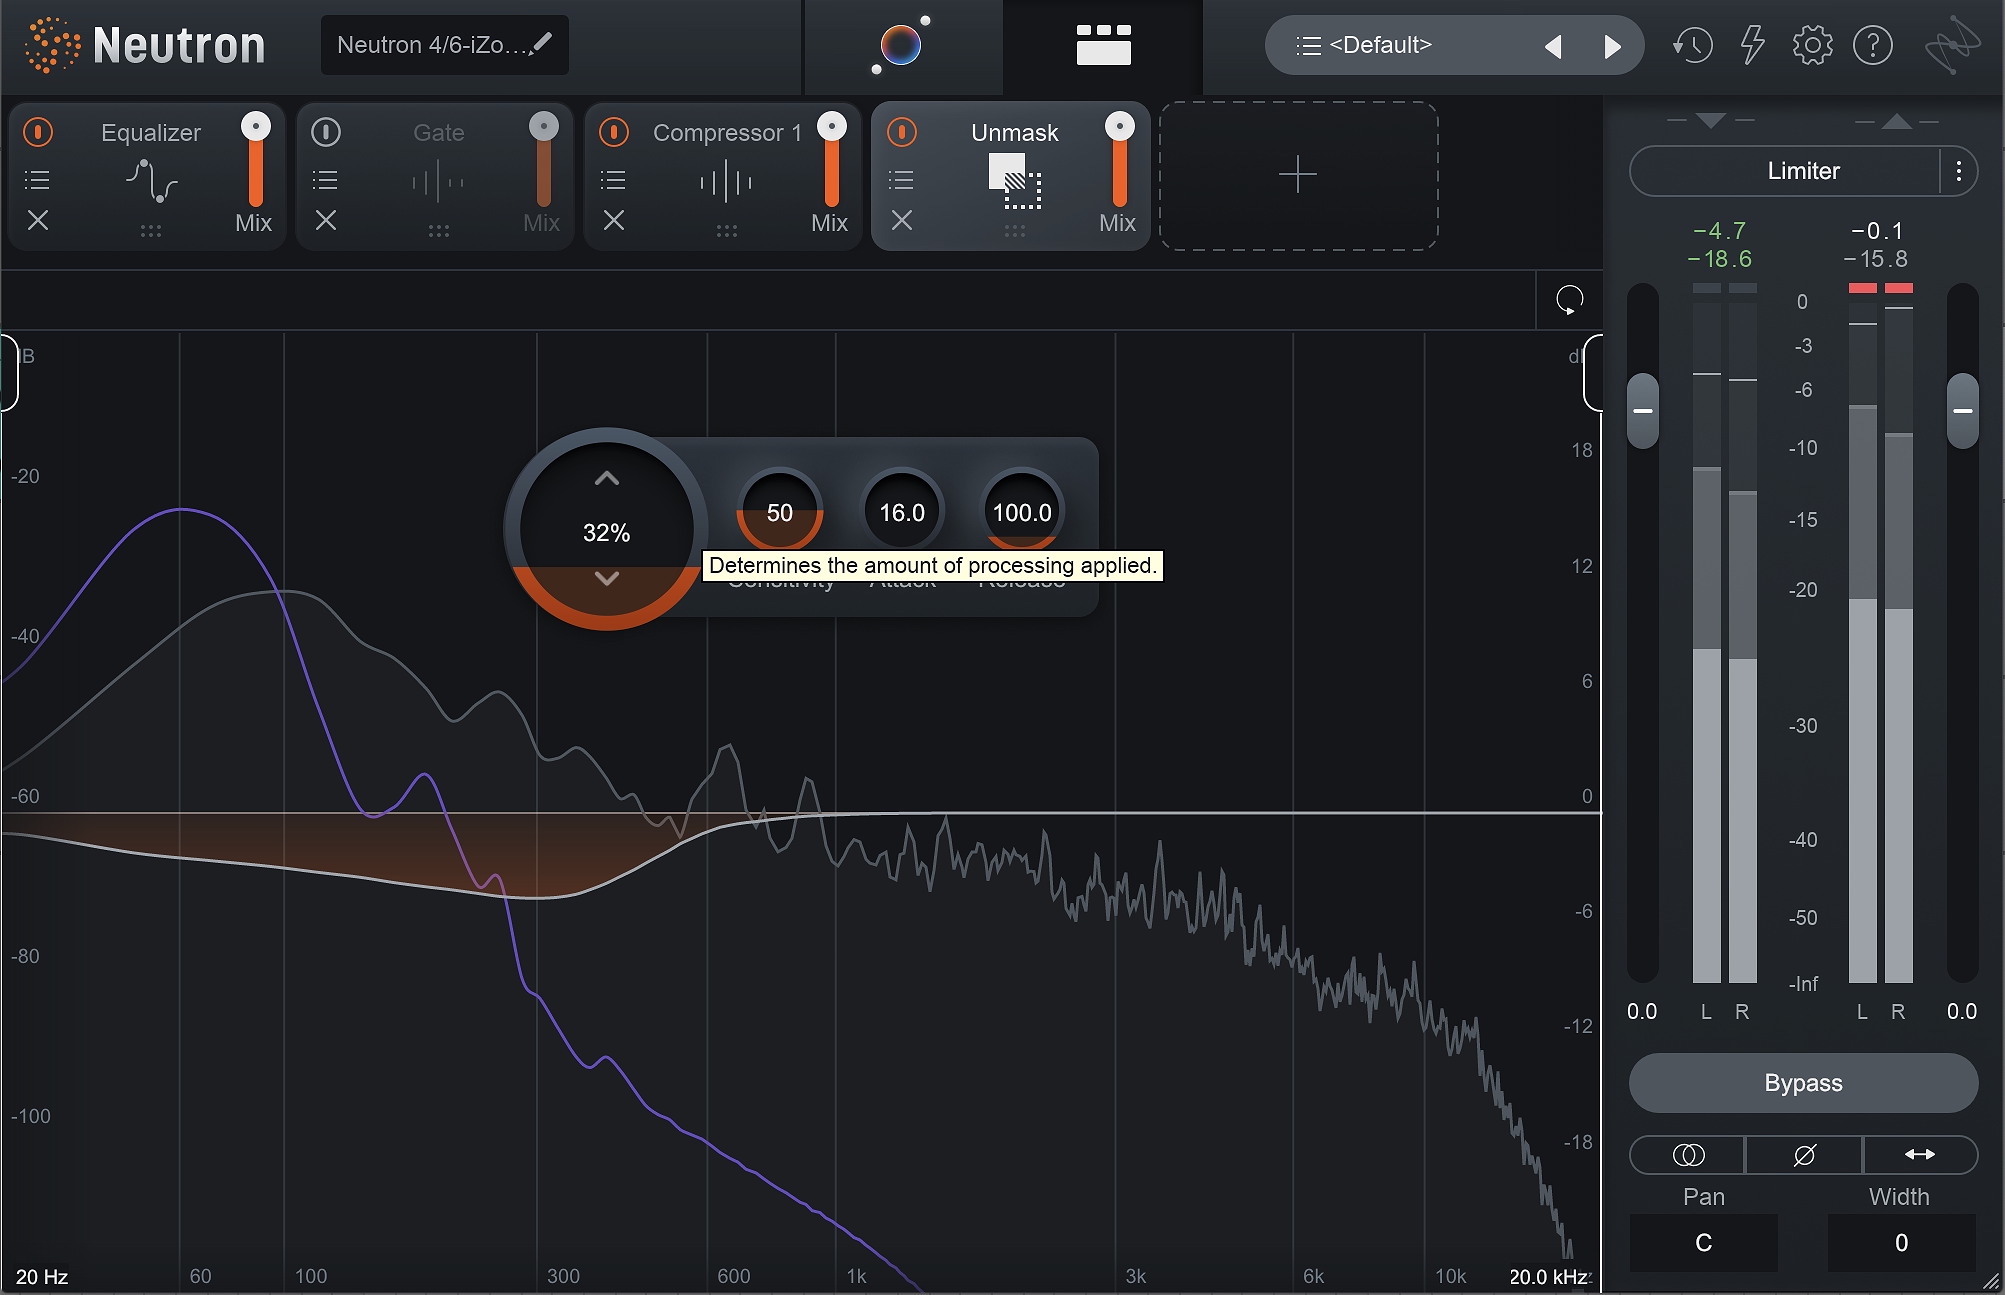
Unmasking the frequencies in the drum and bass samples
6. Shape your transients to add impact or smooth your sound
Sometimes our samples need a little smoothing out, or they might need some extra pop. This is where Neutron’s Transient Shaper can make a big impact. This key loop is nice, but it needs a bit of sustain, and the keys are a bit click heavy. We’re going to add the Transient Shaper in Neutron to give it a smoother ride, and a bit of a longer tail. Our drums could use a bit of extra emphasis, so we’ll drop the Transient Shaper on there too.
Transient Shaping Keys
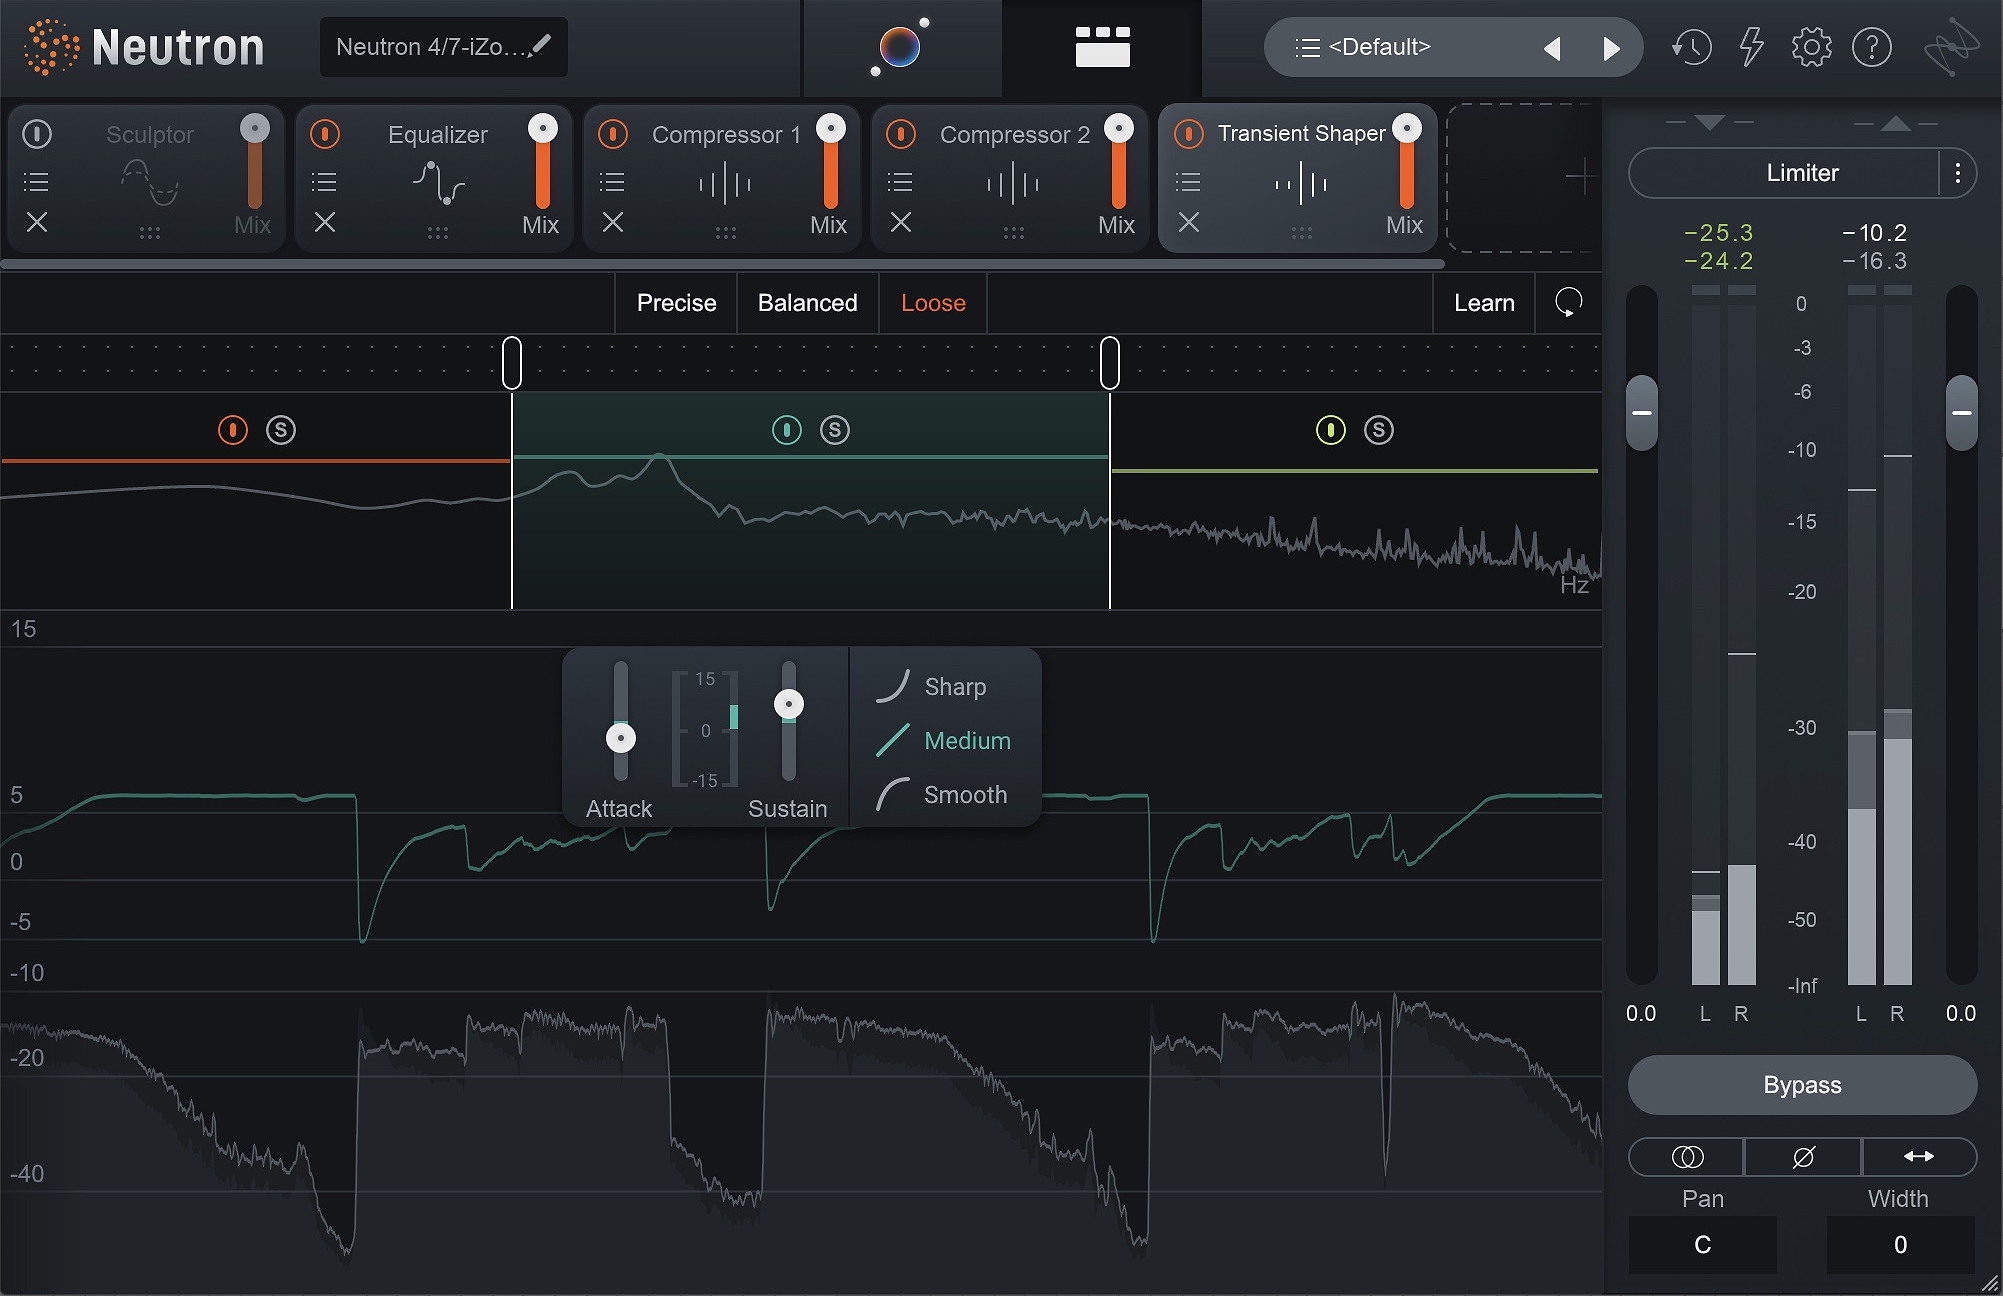
Using Neutron Transient Shaper to give the keys a smoother ride and a longer tail
7. Help samples work together with sidechain compression
When pulling together a mix made of samples from everywhere, it’s important to make sure they all gel together in a mix that feels like it’s cohesive. Using Neutron to unmask samples will help, as will some of the great sidechain compression options available in Neutron.
We want our drums to cut through nicely, and these keys need to sit a bit further back in the mix. We’re going to duck the keys with the signal from the drums, just to get them to work together nicely.
Sidechained Drums & Keys
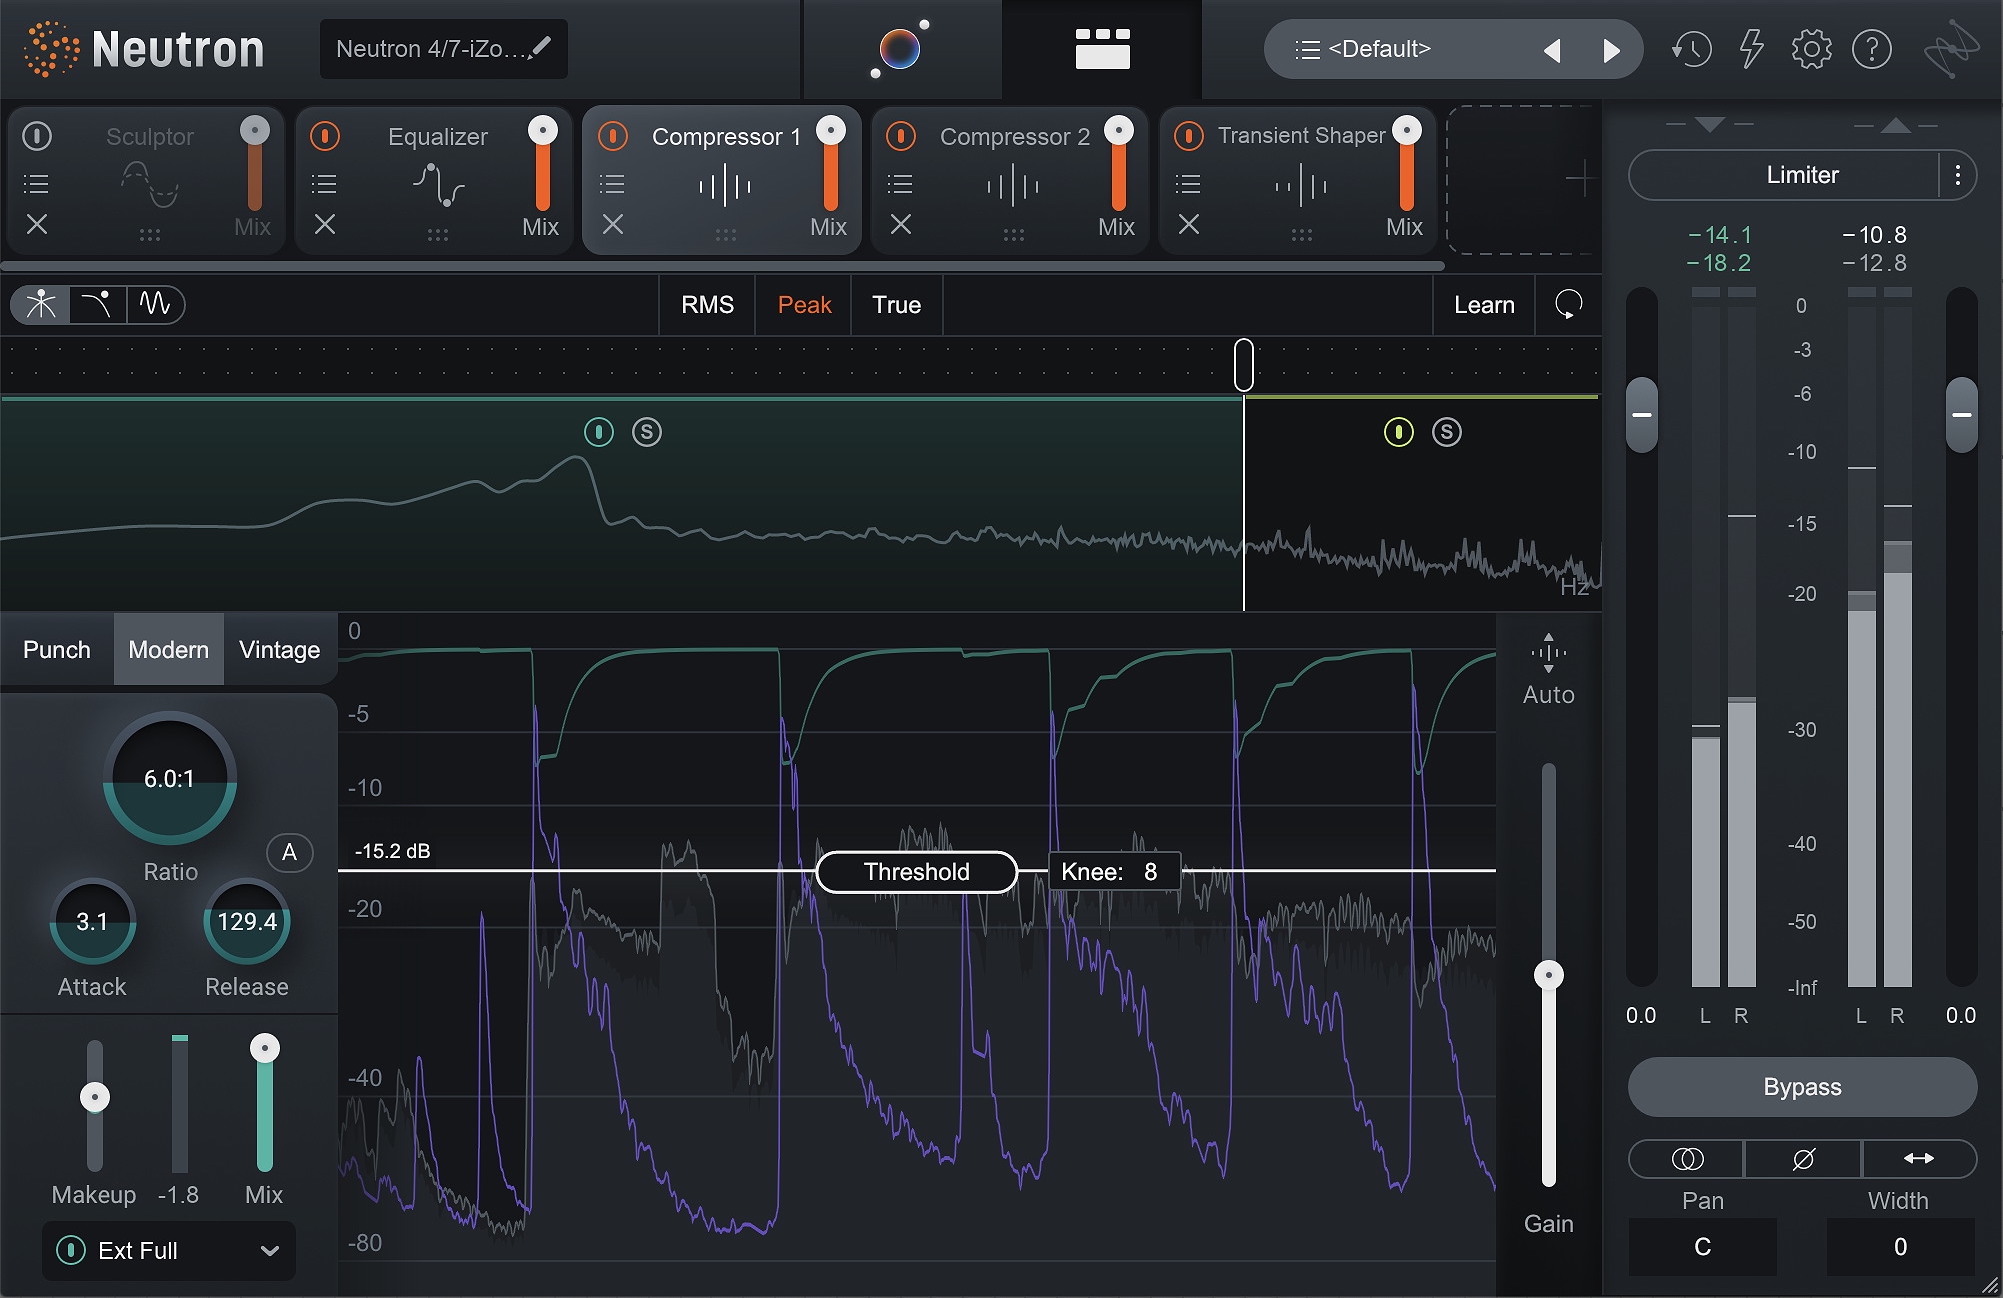
Using sidechain compression in Neutron to help our drums cut through the mix with the keys
Start mixing your samples
The results can be really rewarding when you have great ingredients and the tools to bring them together smoothly. Here’s a listen to what we had before, and how it sounds after some work in RX, Neoverb, and Neutron.
Sample Mix
We hope these mixing tips and tricks for sampled music will help you get a clean, cohesive sound in your next project. To learn more about mixing, check out iZotope's comprehensive mixing guide, as well as tips for hip-hop sampling from Native Instruments.
