Rulebreakers: How to Use Ozone Modules for Mixing and Production
Learn how to use Ozone, iZotope's flagship mastering software, in both your mixing and production projects, unlocking unique new possibilities along the way.


Ozone Advanced
Equalizers
Dynamic EQ
Ozone’s Dynamic EQ can be a great alternative to conventional compression or expansion when you need to target a specific frequency or frequency range. Try the upward mode to enhance drum transients, or the downward mode to tame sibilance or specific resonances. Also, be sure not to miss the Band Shelf filter shape for crossover-free multiband style processing.
Equalizer
The Ozone Equalizer is a great stand-in any time you need EQ, but also has some unique tricks up its sleeve. In digital mode, pop open the Advanced panel on any filter to reveal the phase slider, which allows you to freely adjust between linear (0%) and minimum (100%) phase. Linear phase filters can be great when EQing parallel buses, but sometimes the phase interactions of a minimum phase filter can provide interesting effects. Now you can have your cake and eat it too. Also, be sure to check out the Equalizer preferences for Soft Saturation mode which can emulate the effects of analog EQs.

Mixed phase and soft saturation modes in the Ozone Equalizer
Match EQ
Your imagination is really the limit with Match EQ, but here are a few ideas to get you started:
Match takes recorded on different days, or with different mics.
Match synths to vocals—or perhaps more interestingly, vice versa—for interesting blending effects.
Use the included presets to shape individual tracks or buses, limited by frequency if desired.
Vintage EQ
The Vintage EQ gives you the curves of the legendary Pultec EQP-1A and MEQ-5 and is at home on individual tracks and buses alike. Anytime you need some classic sounding broad-strokes tone shaping, give the Vintage EQ a try.
Dynamics
Dynamics
Ozone’s Dynamics module is incredibly deep, and entire articles have been written on the topic alone. That said, try using it for frequency-specific compression—its different detection modes and more traditional compression controls will give different results than the Dynamic EQ—to tighten up the low end of a bass, enhance midrange transients on a drum bus, or add some parallel high end sparkle to a vocal.
Maximizer
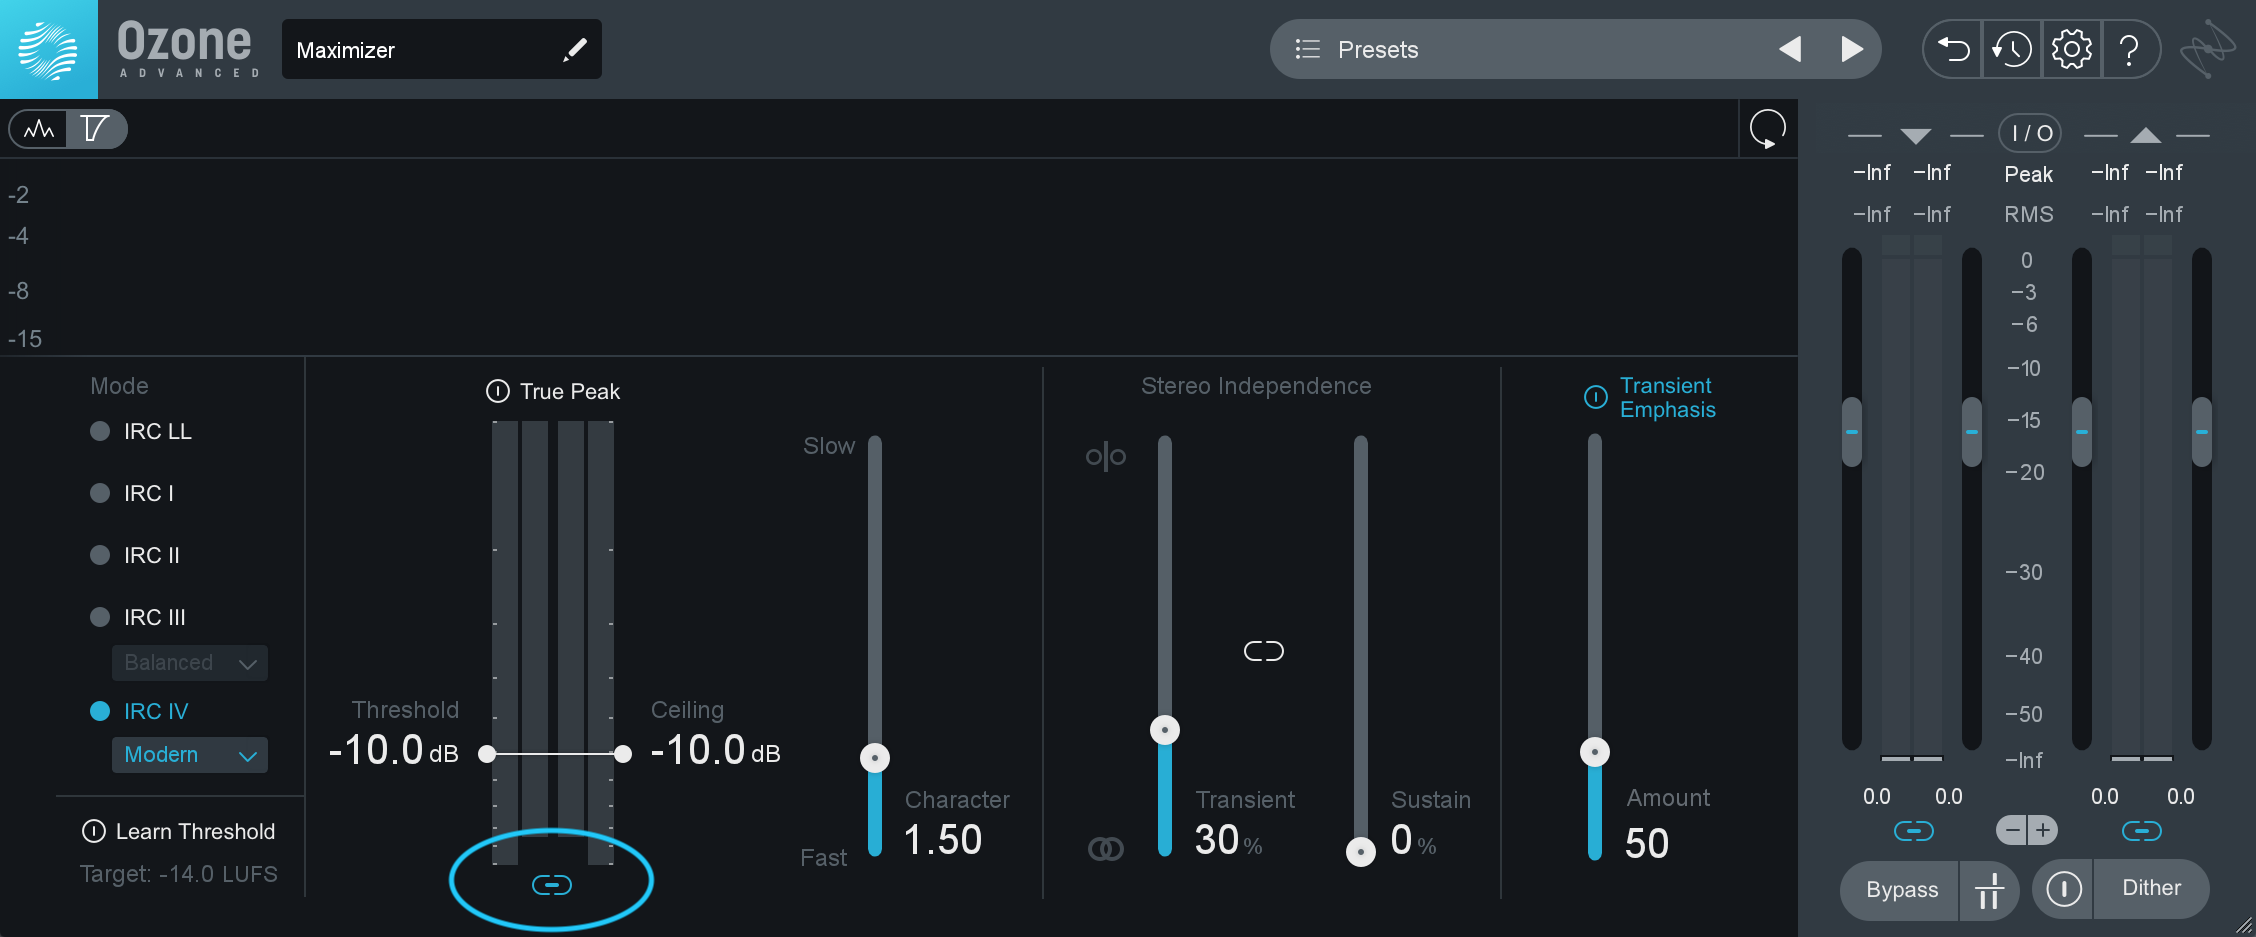
While it’s tempting to think of the Maximizer as strictly a mastering—or at least master bus—processor, it can also be put to good use in a mix. Try it on buses to add a little subtle peak level control before any master bus compression, and to lighten the load of any final mastering limiters. My top tip: use the “link threshold and ceiling” control to prevent any gain changes as you dial in just the right amount of limiting.

Ozone Maximizer link threshold and ceiling control
Vintage Compressor
If you’ve been searching for a great master bus compressor, the Vintage Compressor is definitely worth a try. It can do that gluey compression thing we all love, and also has multiple modes to help enhance the body or transients of a signal, or a balance of the two if that’s what you need. It’s equally at home on buses—try “sharp” mode on a drum bus for extra punch and “smooth” mode on a vocal bus for a thick, upfront sound.
Vintage Limiter
Ozone’s Vintage Limiter is another great bus tool. Use it to add some analog-style mojo to your sub-mixes while also providing peak level control to help out your final master limiter. As with the Maximizer, the “link threshold and ceiling” control is your friend.
Saturation
Exciter
Think of the Exciter like the more sophisticated cousin of


Trash 2
Vintage Tape
This is another one that can be part of a great master bus chain, right along with the Vintage Compressor, for a little extra glue. Try setting up a good static mix first, maybe with the help of Neutron’s Mix Assistant, then dropping in Vintage Tape on your master bus, and scrolling through the presets to see which one adds the most mileage to your mix. With only six controls, exploration can also pay dividends, so don’t be afraid to tweak!
Special processing
Imager
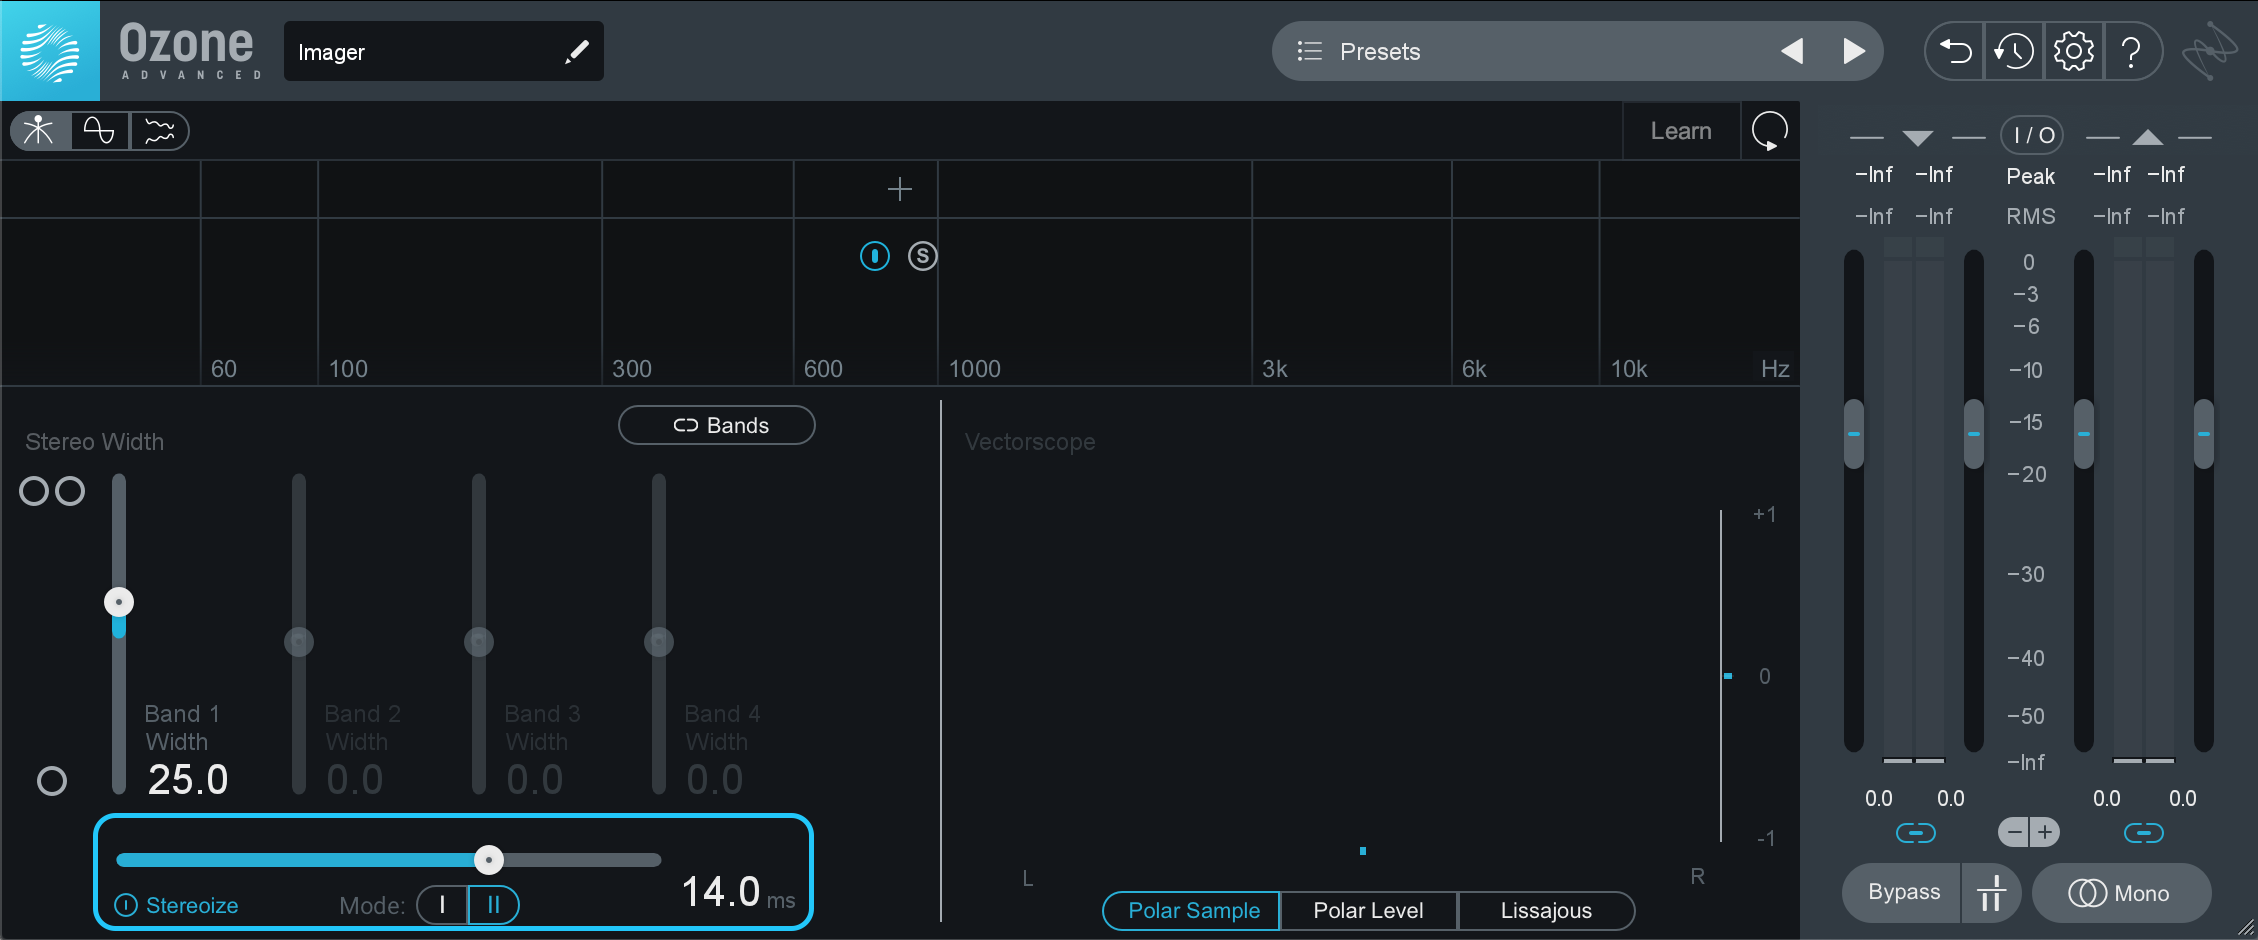
Ozone’s Imager is one of my favorite ways to stereoize mono sources. Try mode II—velvet-noise decorrelation—for particularly natural-sounding widening, and be sure to play around with the amount/time, listening to how it changes the focus of the sound as you do. I love this on everything from synths, to background vocals—really any mono source you need to space out around a centrally focused lead element.

Velvet-Noise decorrelation mode in the Ozone Imager
Low End Focus
Low end: the final frontier! Low End Focus can work wonders on a master, but that doesn’t mean it can’t be put to good use in a mix too. Try setting up a low end bus fed by things like kicks, floor toms, basses, low synths, etc., and using Low End Focus to punch it up or smooth it out before it hits your master bus processing.
Master Rebalance
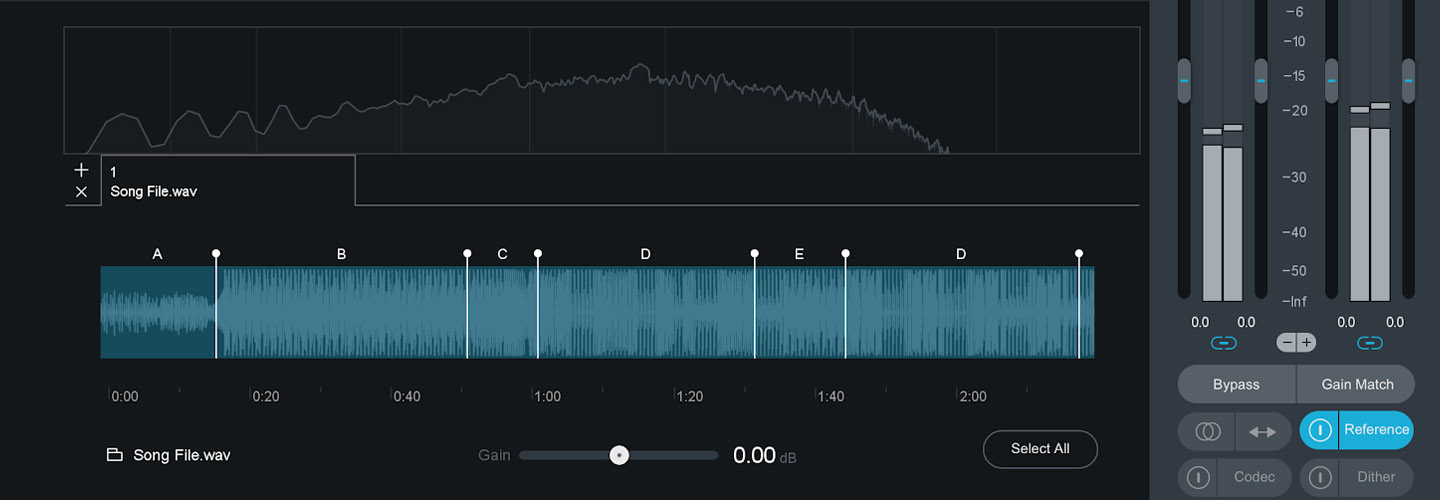
This one is for the sample flippers. In addition to all the usual sample manipulation techniques like filtering and dynamics processing, Master Rebalance can allow you to reduce or accentuate key elements and more cleanly get at just what you’re after. Don’t be afraid to stack multiple instances to control different elements, just expect that you may have to bounce things down as you work since the process is fairly CPU intensive.
If you’re interested in a tool that’s more specialized for this task, take a look at the


RX 11 Advanced
Spectral Shaper
Last, but by no means least, is the Spectral Shaper. There are oodles of uses for this in a mix, from advanced spectral-based de-essing to resonance suppression across the frequency spectrum. Anywhere you find you’re getting frequency buildups you can use it to selectively thin out problematic frequencies, sort of like an automatic, constantly self-adjusting, reductive dynamic EQ. Just be careful not to overdo it!
The takeaways
And there you have it, folks: some nifty and creative ways you can level-up your production and mixing workflows with all 14 modules in


Ozone Advanced
We can’t wait to hear what you come up with, so by all means tag us on your favorite socials to share your iconoclastic creations. Until then, have fun!


