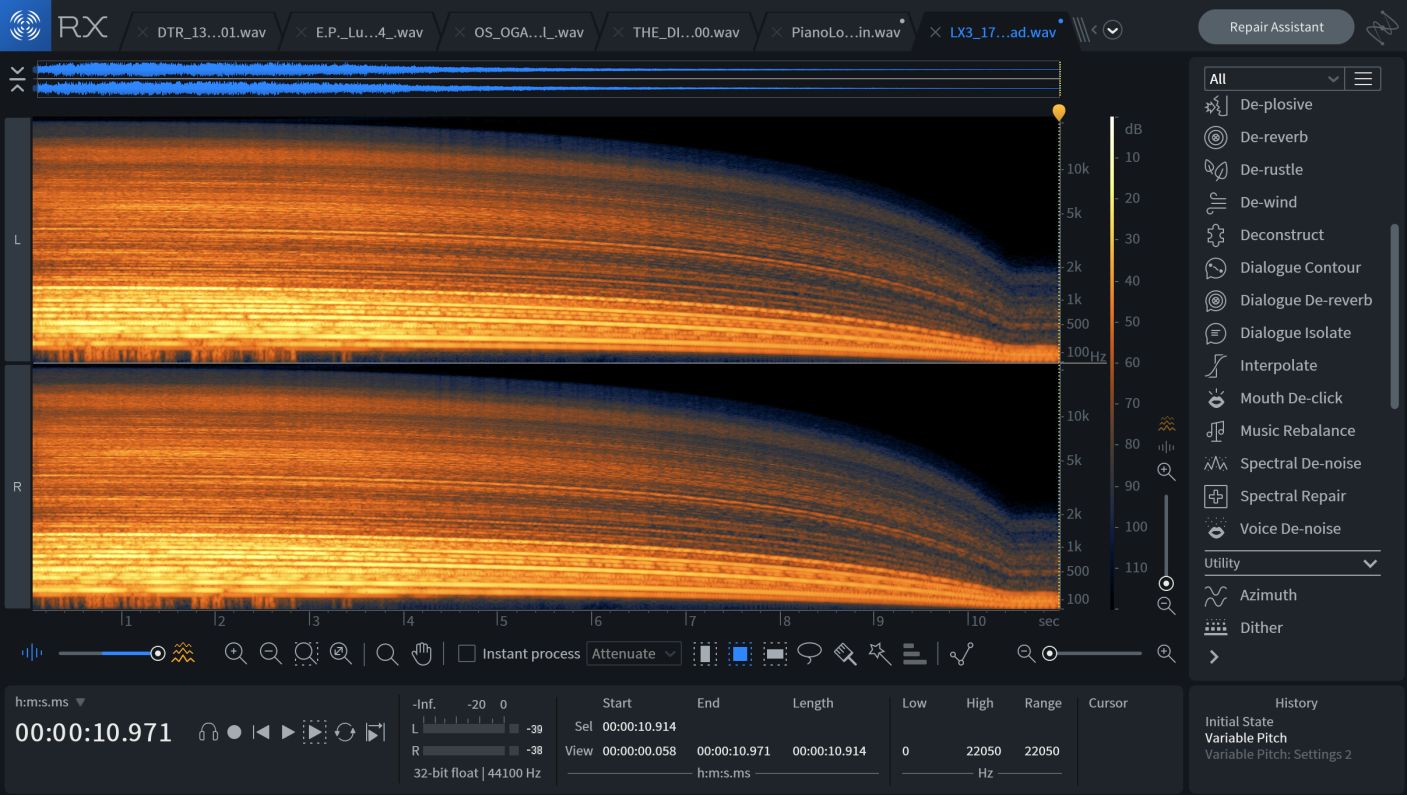
6 Practical Ways to Use RX for Music Production
There are many ways music producers can use RX to save time on long-winded tasks and to clean audio. Here are six!
RX is used by sound designers, those in film post-production, and dialogue editing the world over. With RX offering the ability to isolate vocals from songs and automatically detect noise in samples, it’s moved into the hands of creative producers too.
Today I’m sharing six of my favourite RX tricks for music production, along with audio examples for evidence. I suggest using a pair of headphones to listen.
What Is RX?
For starters, what is RX, anyway? Boiled down, RX is an audio restoration and repair software that can be used as a standalone editor, a series of modules in a DAW, or with RX connect. It alleviates unwanted sounds from audio (like clicks, squeaks, rumble) as well as enhances damaged files (from, say, wind) to a functional condition.
With more people recording outside of the studio thanks to mobile technology (like our very own Spire) and a growing need for polished, controlled sound in music, RX is becoming more valuable for producers.
1. Sample like a scientist
Part of what makes sampling so fun is working within the limitations of an audio source. There might be a singer’s grunt in a drum loop, a trumpet squeal at the end of a four-bar piano sequence, or an out of tune note that we somehow have to make work in the context of our song.
Occasionally, these imperfections add to the overall character of our music, but there are many scenarios where they also make producing a frustrating process. Unusual noises, clicks, and tones in samples restrict our creative options and often require some kind of sonic sacrifice to use. A drum loop with wondrous groove but lots of ambience might be too distracting at the forefront of a mix. If we tuck the drums further back to hide the noise, however, we lose their rhythmic power.
RX has a series of modules designed to remove these annoying sounds without the harmful signs of editing. I rely on De-click, De-hum, De-reverb, and De-bleed—which do what their names imply—to get rid of anything that doesn’t need to be in a sample.
Click removal
In the first audio example below, you’ll hear a percussion loop with some ticking sounds, followed by a cleaned up version that has been passed through De-click. It's a subtle, but important change, since further processing of the percussion loop will amplify the ticks and introduce unwanted consequences, which you will hear in the second example. The saturation and reverb smudge the ticks and make them hard to ignore, whereas the cleaned up version maintains a much tighter overall sound.
2. Remix anything by extracting stems with Music Rebalance
Mashups, you know, like the ones Girl Talk did, were what really got me into music a little over 10 years ago. Busta Rhymes rapping over The Cure? Lil Wayne blended with Sinead O’Connor? This was the stuff.
I took a stab at mashups myself, ripping acapellas from Youtube and mixing them with beats. But most of the vocals I really wanted were not available as acapellas, and if I did find an isolated version, it was marred with artifacts from shoddy editing. So when I first saw the promotional video for Music Rebalance, which allows you to easily extract individual stems from a song, as well as adjust their levels in the mix, I was overcome with excitement.
For the producers who remix, the DJs in search of stems, and the engineers that remaster old recordings, I can’t recommend Music Rebalance highly enough. Watch the video below to see how it works:
Note: though I am no copyright expert, you do need permission to distribute songs that contain parts of other people’s music. So before sharing your remix with the world, be sure to take the appropriate legal steps. Learn more about remixing and US copyright law in our article How to Remix a Song.
3. Keep your files clean of dust and dirt
Whether you grab your samples from Splice, old VHS tapes, or dusty records, a common situation often occurs: you come across what should be the perfect complement to your song, but there is a layer of noise baked into the recording that influences the music too much and masks other elements. You’re trying to make sleek and shiny club music, but can’t seem to escape the vintage charm that's eating up headroom.
You can try EQ and clever DAW editing to remove crackle but these moves often impact desired frequencies in the process. Unlike clicks (covered above), which are sporadic in nature, crackle is a continuous stream of irregular noise.
For this reason, you need a tool designed specifically for the job, like De-crackle, which removes crackle and preserves sound quality. Let’s listen to the before and after on a synth:
The processed version is noticeably free of crackle, allowing you to maintain the vision for your music and minimize frequency buildups. You also reduce complications with processing down the line—as we heard earlier.
4. Reference EQ settings of other tracks
We’ve mentioned the importance of using reference tracks as a means of guiding musical and technical process many times. Though we can easily identify great music, it's much harder to determine what makes it that way. Recording process, musicality, and dynamics all influence the gratifying experience great records provide. So does EQ, a topic I’ve written about in-depth for iZotope.
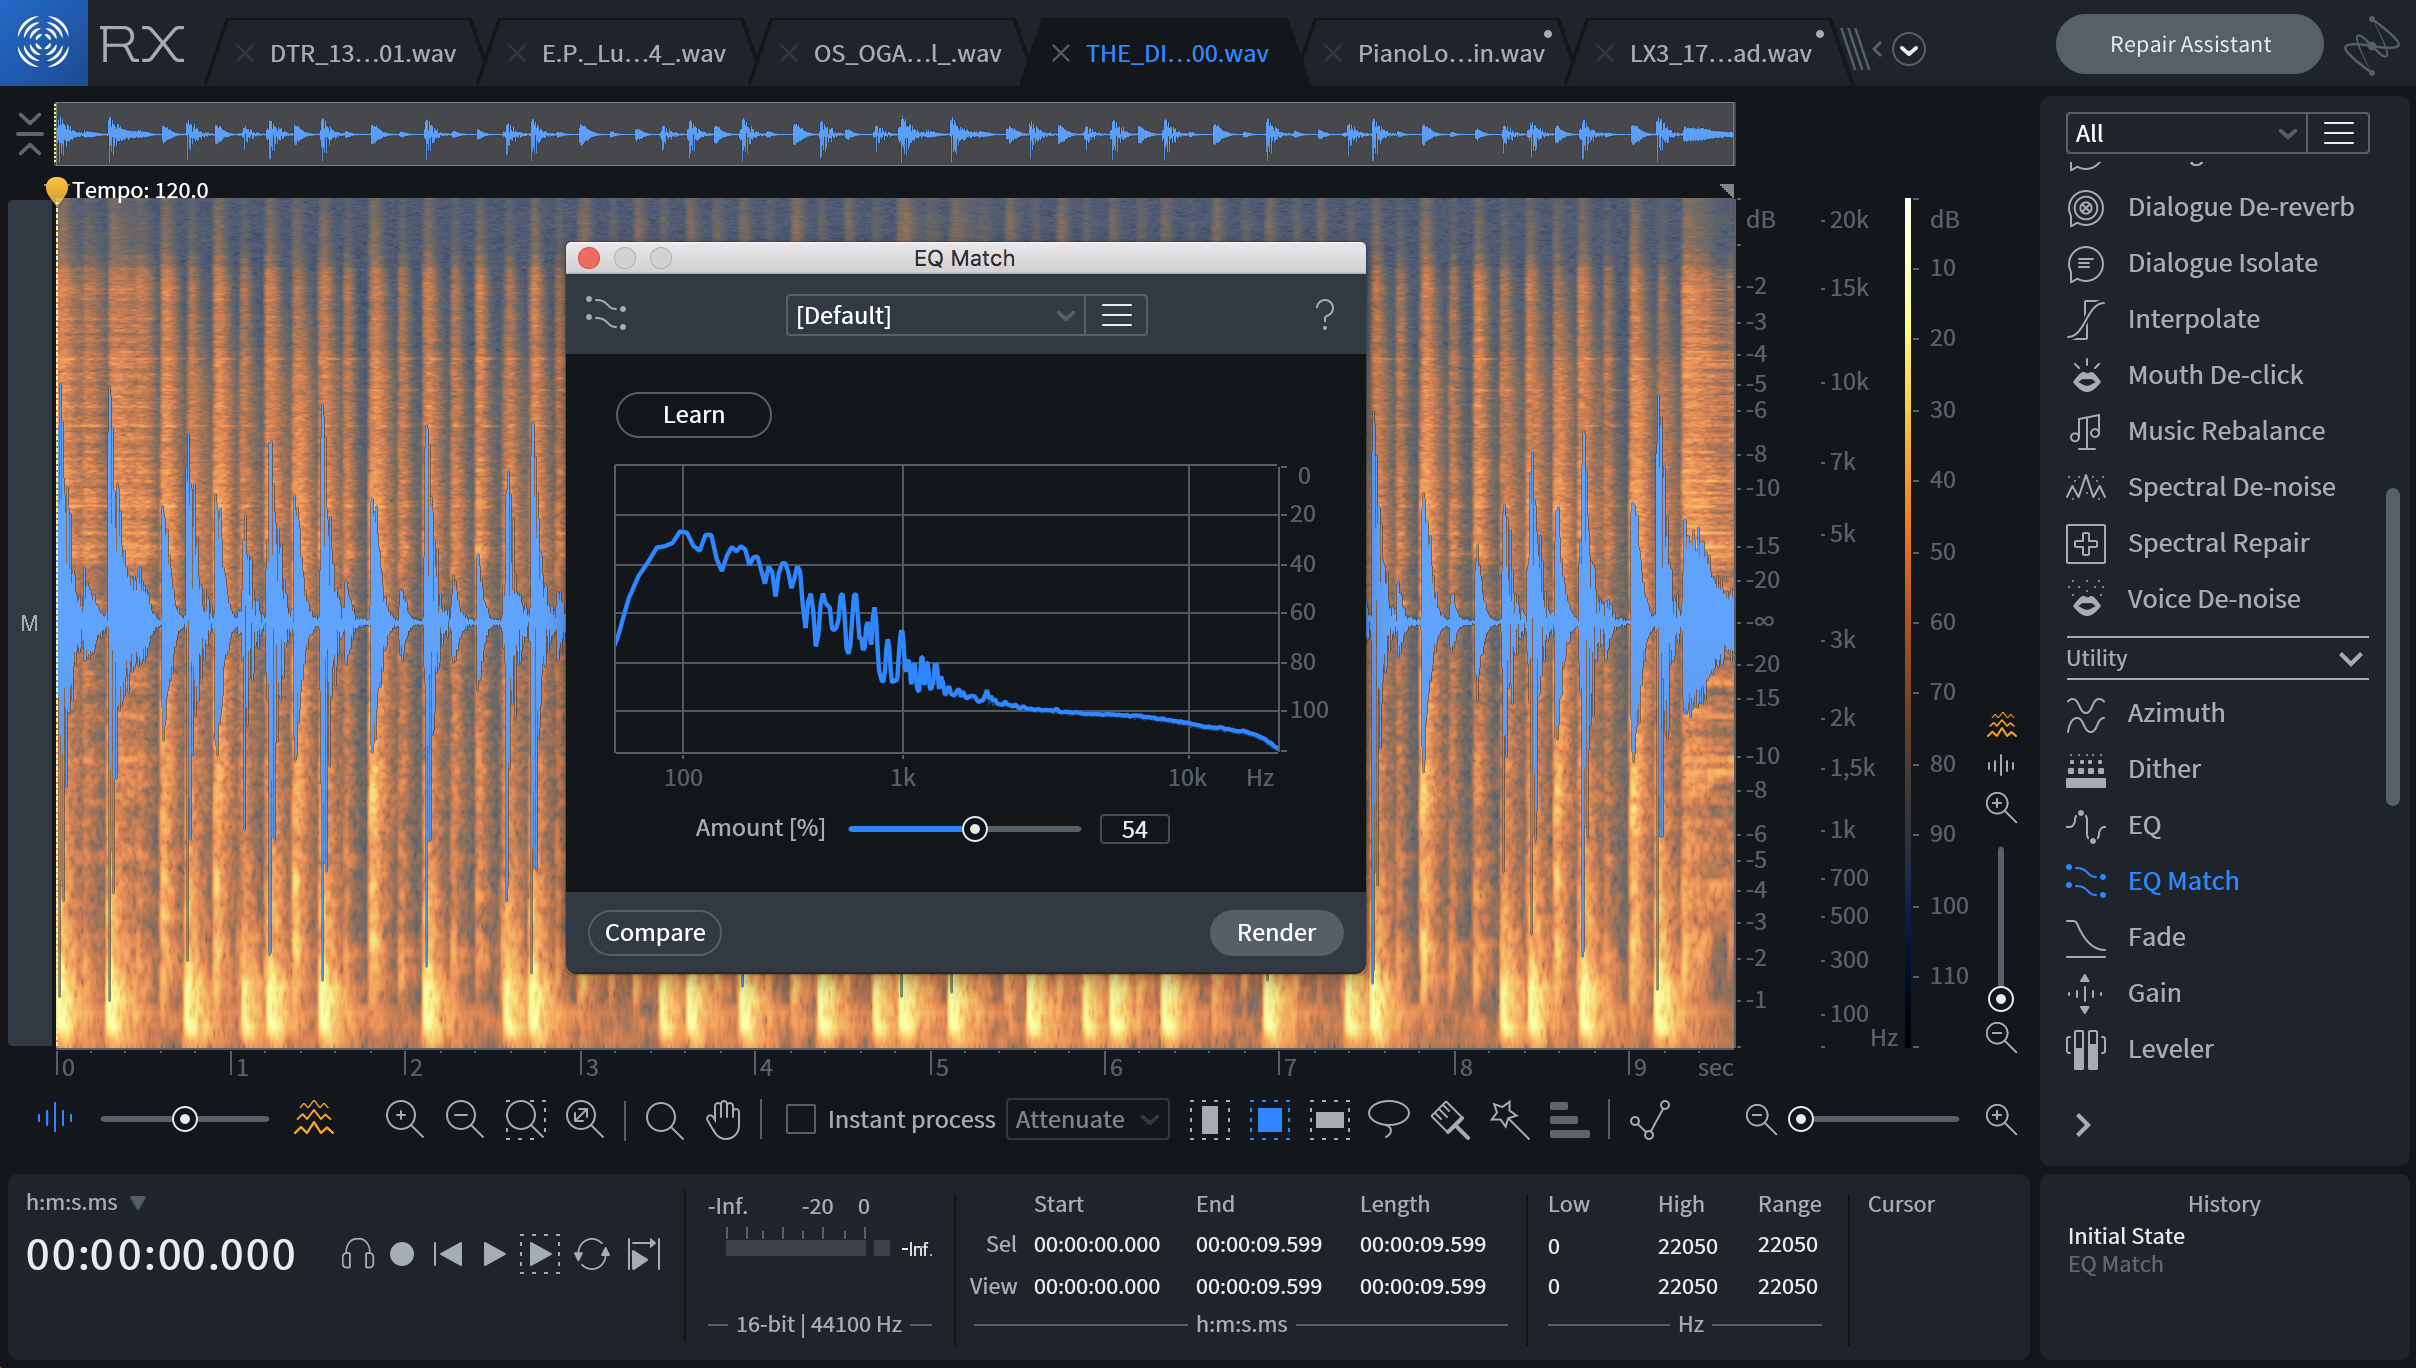
We can get insight into the EQ settings of our favourite songs and sounds with EQ Match, an RX Advanced module that analyzes the spectral profile of an audio selection and allows us to copy it to another.

EQ Match in RX
Listen to the audio examples below to get a better idea of how it all works. In the first clip, you’ll hear a drum loop that has lots of groove but not much punch. I used EQ Match to analyze the frequency content of a particularly hefty drum loop within the same genre and applied the settings I was offered to the groovy drums, which injected a subtle (but noticeable) boost of energy.
In this second clip, I used the EQ settings pulled from a warm, acoustic piano to smooth out the harsh treble of a digital piano. Though it still sounds digital (at least to my ears) it's full-bodied and more pleasing overall.
If you’re confident in your EQ abilities, but are looking to streamline your recording and production workflow, I have another trick for you. Say you have two different copies of the same recording: one has sloppy playing but a great overall tone and the other is musically flawless but lacking in character. With EQ match, you can copy the EQ settings from the former audio clip and apply it to the latter, getting the best of both worlds.
This is also convenient if you’ve been working in various studios and recording with various pieces of gear. Use EQ match to extract the spectral profile of one recording and apply this profile to overdubs for a feeling of uniformity. Will all the recordings sound exactly the same? Maybe not, but no one will be able to tell in the context of a song.
5. Clean up noisy vocals recorded at home
Though some surgical vocal editing will fall on the mixer, getting the vocal to a polished state is essential before working it into a song arrangement.
It pains me when I come across current blogs and videos that suggest removing mouth noises with a combination of volume automation and granular editing. These are very time-intensive and exhausting manual processes of yesteryear. Though they might work, for anyone spending their days editing vocals, you need tools with more firepower and finesse. This holds particularly true for vocals that are recorded in noisy home environments.
Enter Breath Control, Mouth De-click, De-ess, and De-plosive, which detect specific vocal noises and remove (or attenuate) them in a matter of seconds across both individual sections and entire tracks.
Many tutorials for these modules exist on the iZotope blog and you can listen and watch them in action in the video below. The GUI is actually RX 6, but the principles remain the same.
6. Batch processing edit pitch and time of loops
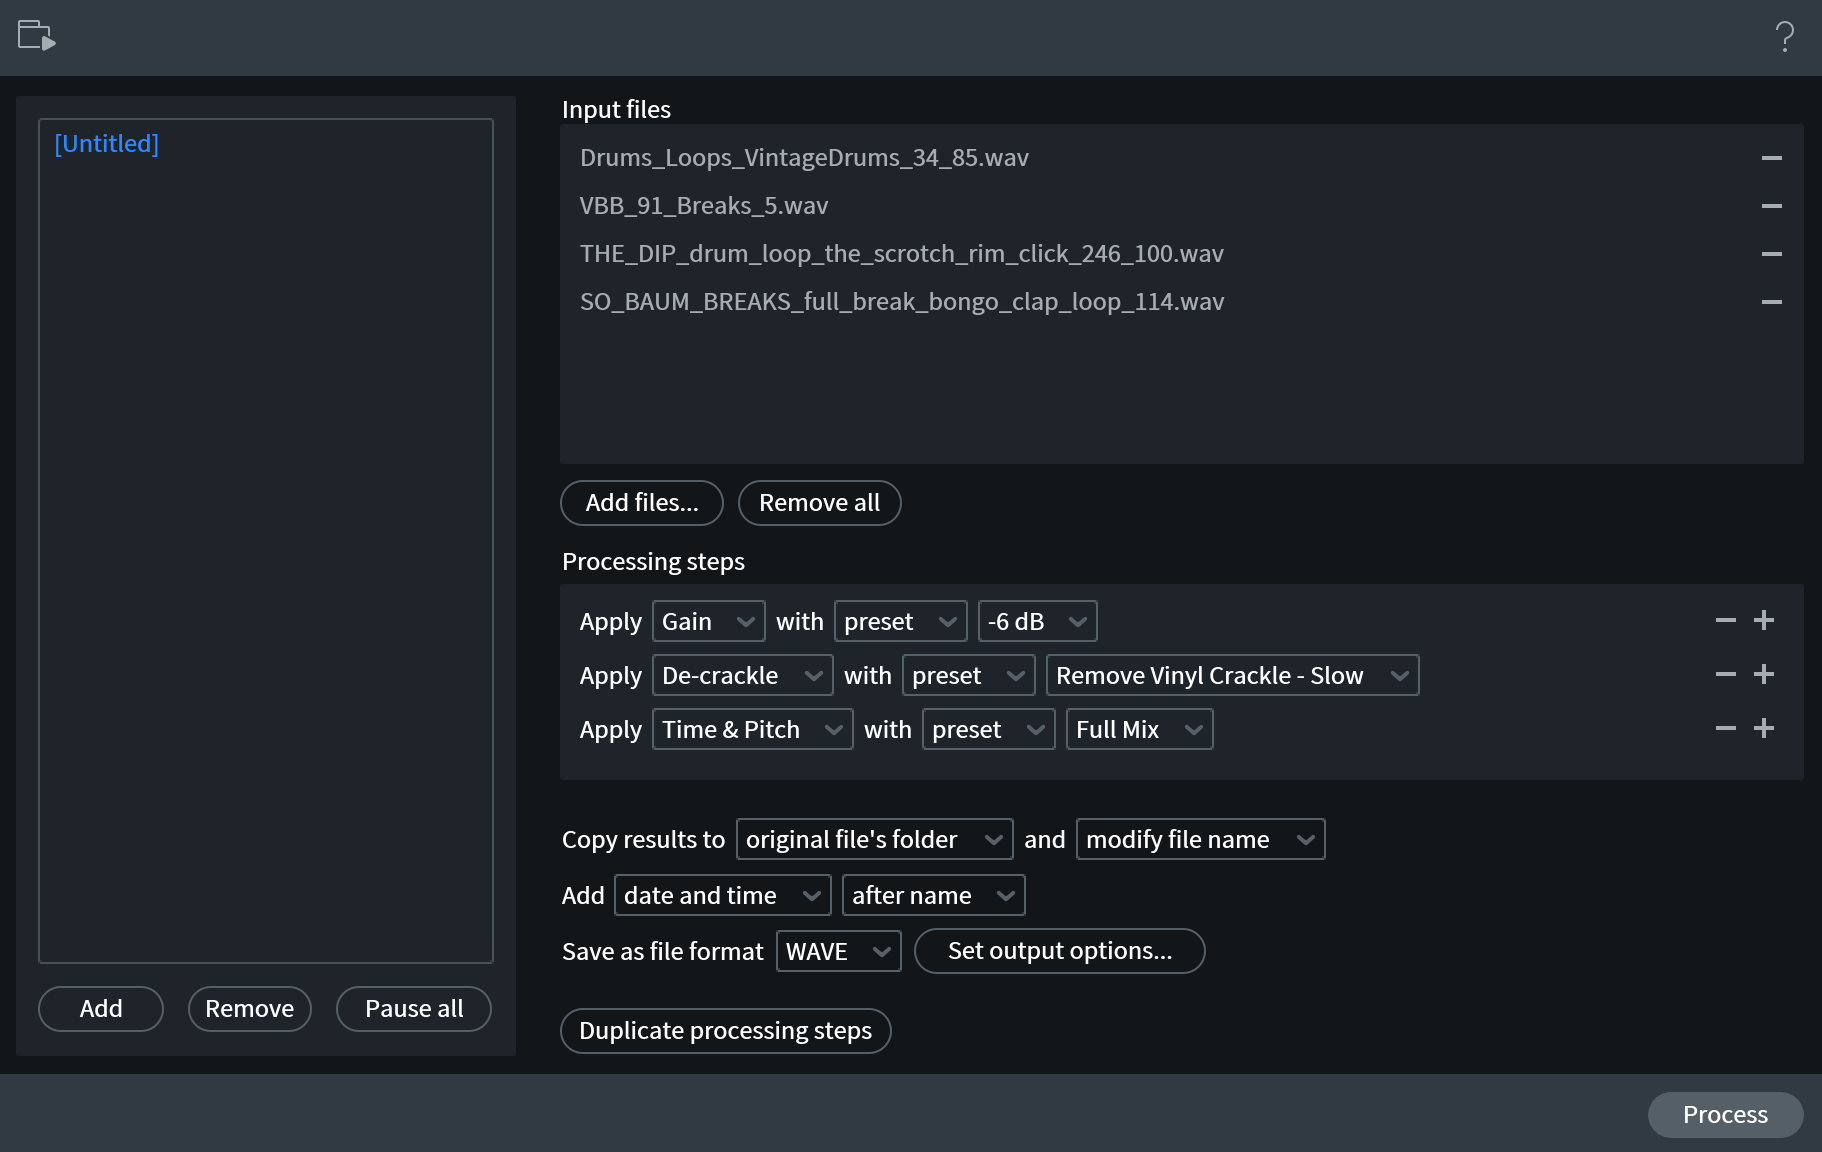
The Batch Processing option (accessible from the Window menu) is the ultimate time saver for producers working with many audio files and applying the same changes over and over again.

Batch Processing in RX
For example, if you are working on a project where a handful of files were recorded too fast and you need to slow them down, you can add them to RX's batch editor and make all the tempo edits simultaneously. You can also:
- Reduce the gain of instrument takes that were recorded too hot and are clipping
- Process multiple damaged audio files with the same noise reduction preset
- Convert the sample rate of many files at once
- Isolate the stems of multiple tracks you want to live remix during your next gig
Conclusion
As you explore RX in its full capacity, you will surely find additional tricks to use in your music. We only have so much space here (and you only have so much time!) so I listed six that I think are practical in modern production workflows.


