Live Effects Processing with Stutter Edit 2
Stutter Edit 2 allows you to create complex and intricate gestures with the push of a button. Read on to learn how you can electrify your live performance.


Stutter Edit 2
Kids these days…
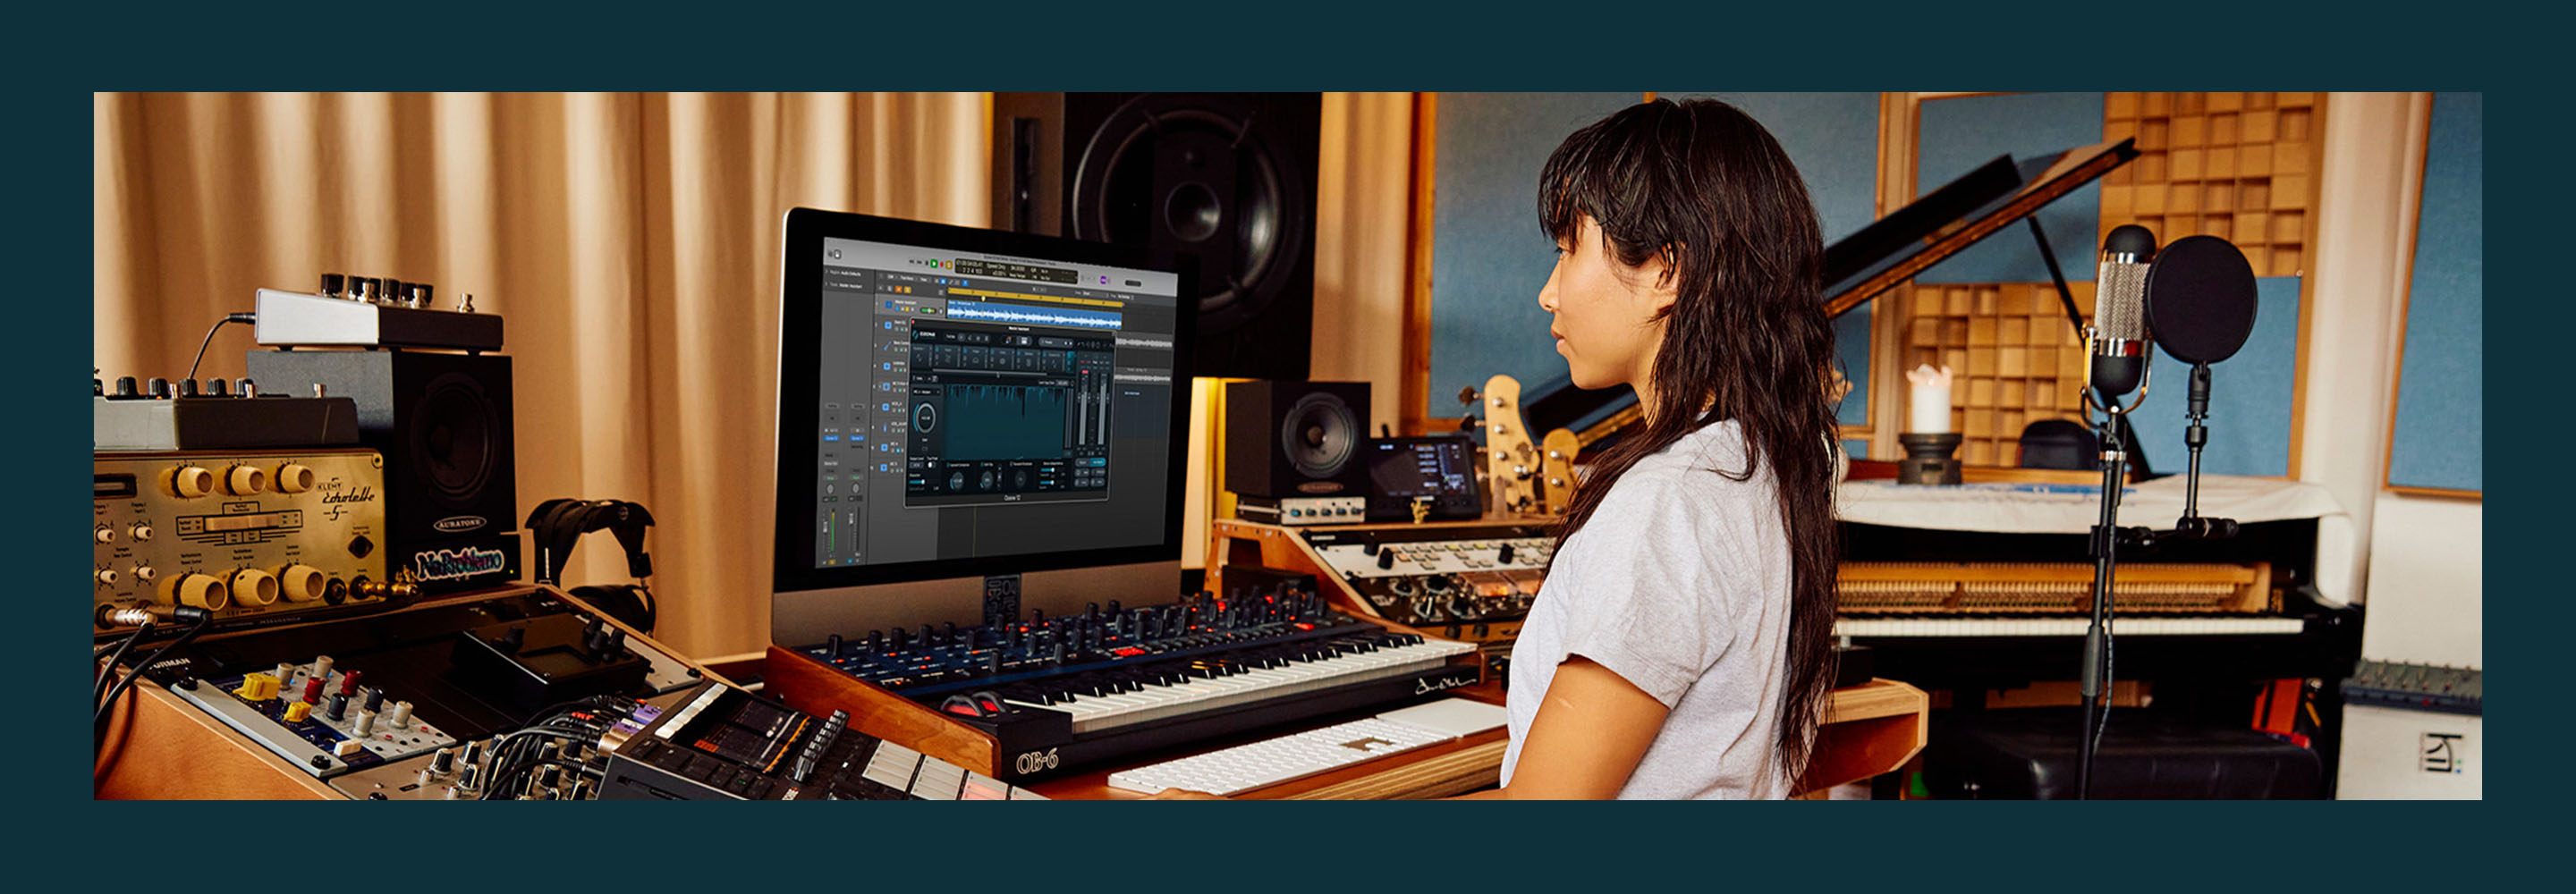
More and more people are integrating laptops into their live shows: for playback supporting a live band, integrating lighting and video elements, managing instrument and effect presets, or facilitating live performances with electronics. Many musicians are experimenting with live effects processing, aiming to bring a bit of that studio sound to a live performance.
As the technology of live performance evolves, the software options become more robust—like


Stutter Edit 2

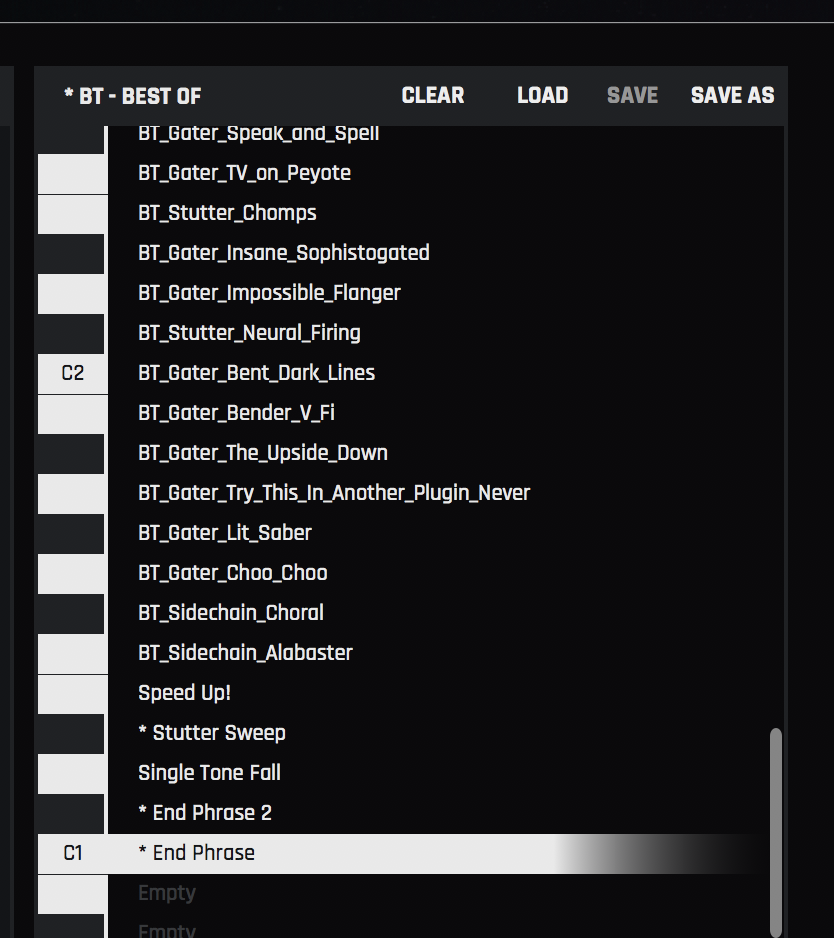
Swapping out gestures in Stutter Edit 2 is as simple as dragging and dropping.
Assigning gestures
To start, you’ll want to set up gestures so they work for you in real-time. Gestures are assigned to specific MIDI messages—notes, pads, etc.—that trigger


Stutter Edit 2
It’s very easy to move presets around on the piano roll by dragging and dropping, either from slots already assigned or from other presets found in the User or Factory Bank presets. Make sure that each gesture you’d like to trigger is in a place that’s useful in your performance, e.g. different notes of a MIDI keyboard, specific triggers on a foot controller etc.
In the video, gestures are assigned to adjacent pads on a Korg nanoPAD2, each sending the software a specific MIDI message. These signals trigger a sustained modulation, plus two gestures to embellish the ends of phrases.

For live performance, mess with Length, Release and Grid settings to dial in what works for you on stage.
Adjusting gestures for live performance
Since this will all be happening live, make sure that each gesture behaves the way you want it to. In addition to parameters which dictate the stutter and effects, other essential settings include:
- Length: How long do you need the gesture to be? Experiment with different settings in order to get what you’re looking for. The gestures need to fit inside the context of your piece, so something may need to be shortened or lengthened.
- Release: There are a number of ways to set the gesture to respond once
 receives an “off” message. Do you want it to continue the phrase until the end of the assigned length? Do you want it to stop the moment you take your finger/foot off, like a gate? Or do you want it to sustain until you trigger another gesture?
Stutter Edit 2
From the mind of BT, Stutter Edit 2 lets you create the famous “stutter” editing effect with one button to slice and dice your samples, tracks, and mixes. Elevate your productions and get a bottomless well of inspiration in a single plug-in. - Grid: Once Stutter Edit receives the “on” message, at which point should a gesture jump into action? This is a quantization setting that will allow you to trigger a gesture before it begins, without incurring synchronization issues. If you need more time or have your hands/feet busy, setting it to one bar might be useful. If you want a relatively immediate reaction, set it to 1/64.
If you’d like to program the gestures beforehand and just play along, you can send the device MIDI messages and sequences directly from the MIDI track you’ve set up to work in tandem with Stutter Edit 2.
Routing
In addition to the routing you need to do for


Stutter Edit 2
In order to hear both the dry and the wet signal simultaneously, you’ll have to place Stutter Edit 2 on an aux track, or else use a device like an Audio Effect Rack in Ableton Live, which will allow you to process the signal in parallel. This will allow you to dial in the amount of dry signal relative to the wet or processed signal and make sure your audience is hearing everything you want them to.
This can be especially important with live vocals where you want to continue to hear what’s coming out of someone's mouth while also hearing the Stutter Edit effect.
Use your imagination
Stutter Edit 2 is effectively a super deep LFO tool. You can apply stutters and movement to parameters in over a dozen different FX modules, and the movement you add to your music is only limited by your imagination. Applying a single envelope to multiple parameters can make a more expressive gesture, which can bring a ton of life to sounds on stage.
Use a MIDI controller to find combinations of parameters that change the sound in ways you want to recreate, and route them accordingly to put those sounds at your fingertips while performing.
Ready, set, g-g-g-g-g-ooooo!


Stutter Edit 2


