5 Tips for Mixing High End
Getting the treble to sit right in the mix is notoriously tricky, especially for beginners. In this article, we’ll help make it easy with these tips for mixing the high end.
Getting the treble to sit right is notoriously tricky, especially for beginners. Treble can get out of control quickly, which can be disastrous: too much top and your mix will harsh mellows around the world. Too little, and it will sound lifeless and dull.
To address the challenge of mixing high frequencies, we’ll provide five tips for mixing your treble—but first, we must define what the high end even is!
What is the high end?
The “high end”—or treble (another name for it)—is the highest frequency range we can hear. It ends right where your hearing does. Where it begins, however, is up for debate. Some engineers claim the high end begins at 6 kHz. Some say it’s more like 8 kHz.
Wherever you define its beginning, you should keep this in mind: your high end and high-midrange play in the same sandbox. Manipulating one can have a drastic effect on the other, so always be aware of how the two frequency ranges play off each other.
You can learn more about how to manage frequency buildup or masking in your mix by reading our article on “Principles of Equalization.”

iZotope Carnegie Chart
Jump to these tips:
- Choose your high end star
- Correct tonal imbalances throughout the mix
- Tame harshness in your high end star
- Sweeten your high end star
- Soften the high end of the other elements in your mix
Follow along with this tutorial using plug-ins like


Neutron


Ozone Advanced


RX 11 Advanced


Music Production Suite 7
1. Choose your high end star
You can’t have everything all the time. Moderation is key. Yes, these sayings are annoying to children and free spirits, but they’re absolutely true in mixing: not every element can stand out in the treble range. You have to pick your stars.
In pop music, the vocal usually reigns from on high. Instrumental EDM might favor particular lead synths. Modern jazz is likely going to give the high end to the drums. The genres all share one thing in common: someone has to stand out in the high end.
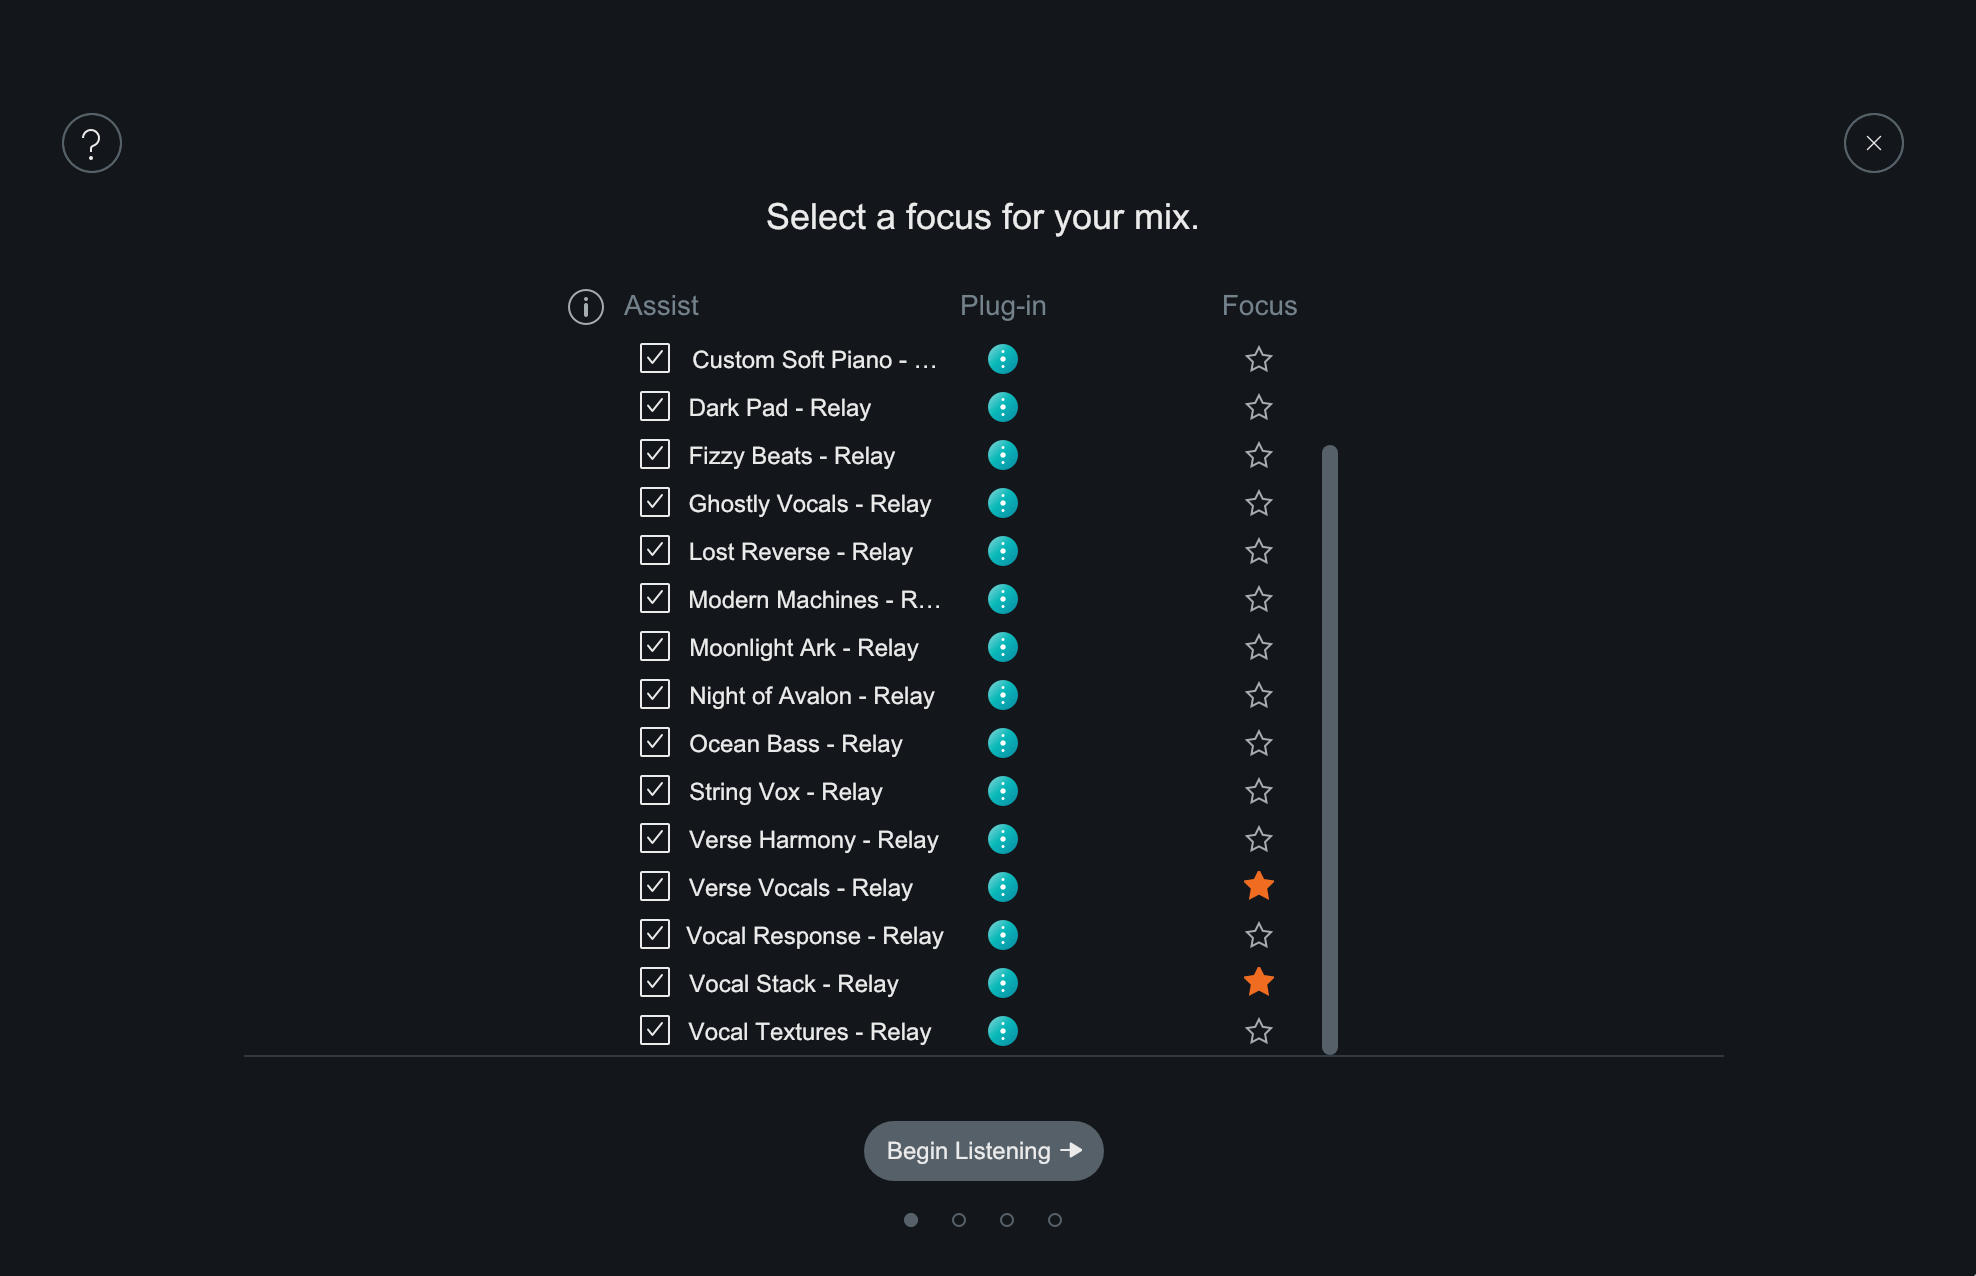
Choose your high end star
Pick your high end star, and everything else will fall into place.
2. Correct tonal imbalances throughout the mix
Mixing the high end is made simpler by achieving a good balance overall. Before you crank that treble, listen for issues between kick drums, basses, and other low-mid elements to avoid making decisions that harm the mix. You will set yourself up for an unnecessary challenge if you try to tame highs when lows and mids are suffering.
If you have a million things muddying up the low end, you might be fooled into boosting the top to compete—we all love a good smile curve, after all.
Conversely, a thin low end would make your highs seem overloaded in comparison, and you might needlessly dim the sparkle that ought to shine.
Achieving a good balance before adding anything to the pot will keep you from messing things up.
Now, how do you know if a mix is balanced? Experience is unfortunately the best answer—but experience requires time. If you don’t trust your ears yet, or you have sub-par studio acoustics, iZotope’s


Tonal Balance Control 2
In real-time, it will map your current session against a reference target to reveal where there is too much (or not enough) of a specific frequency band for a big picture view of mix issues.

Tonal Balance Control
This article references a previous version of Ozone. Learn about 

Ozone 11 Advanced
This can be quite helpful in training the ear—especially when paired with reference mixes, which can be loaded into


Ozone Advanced
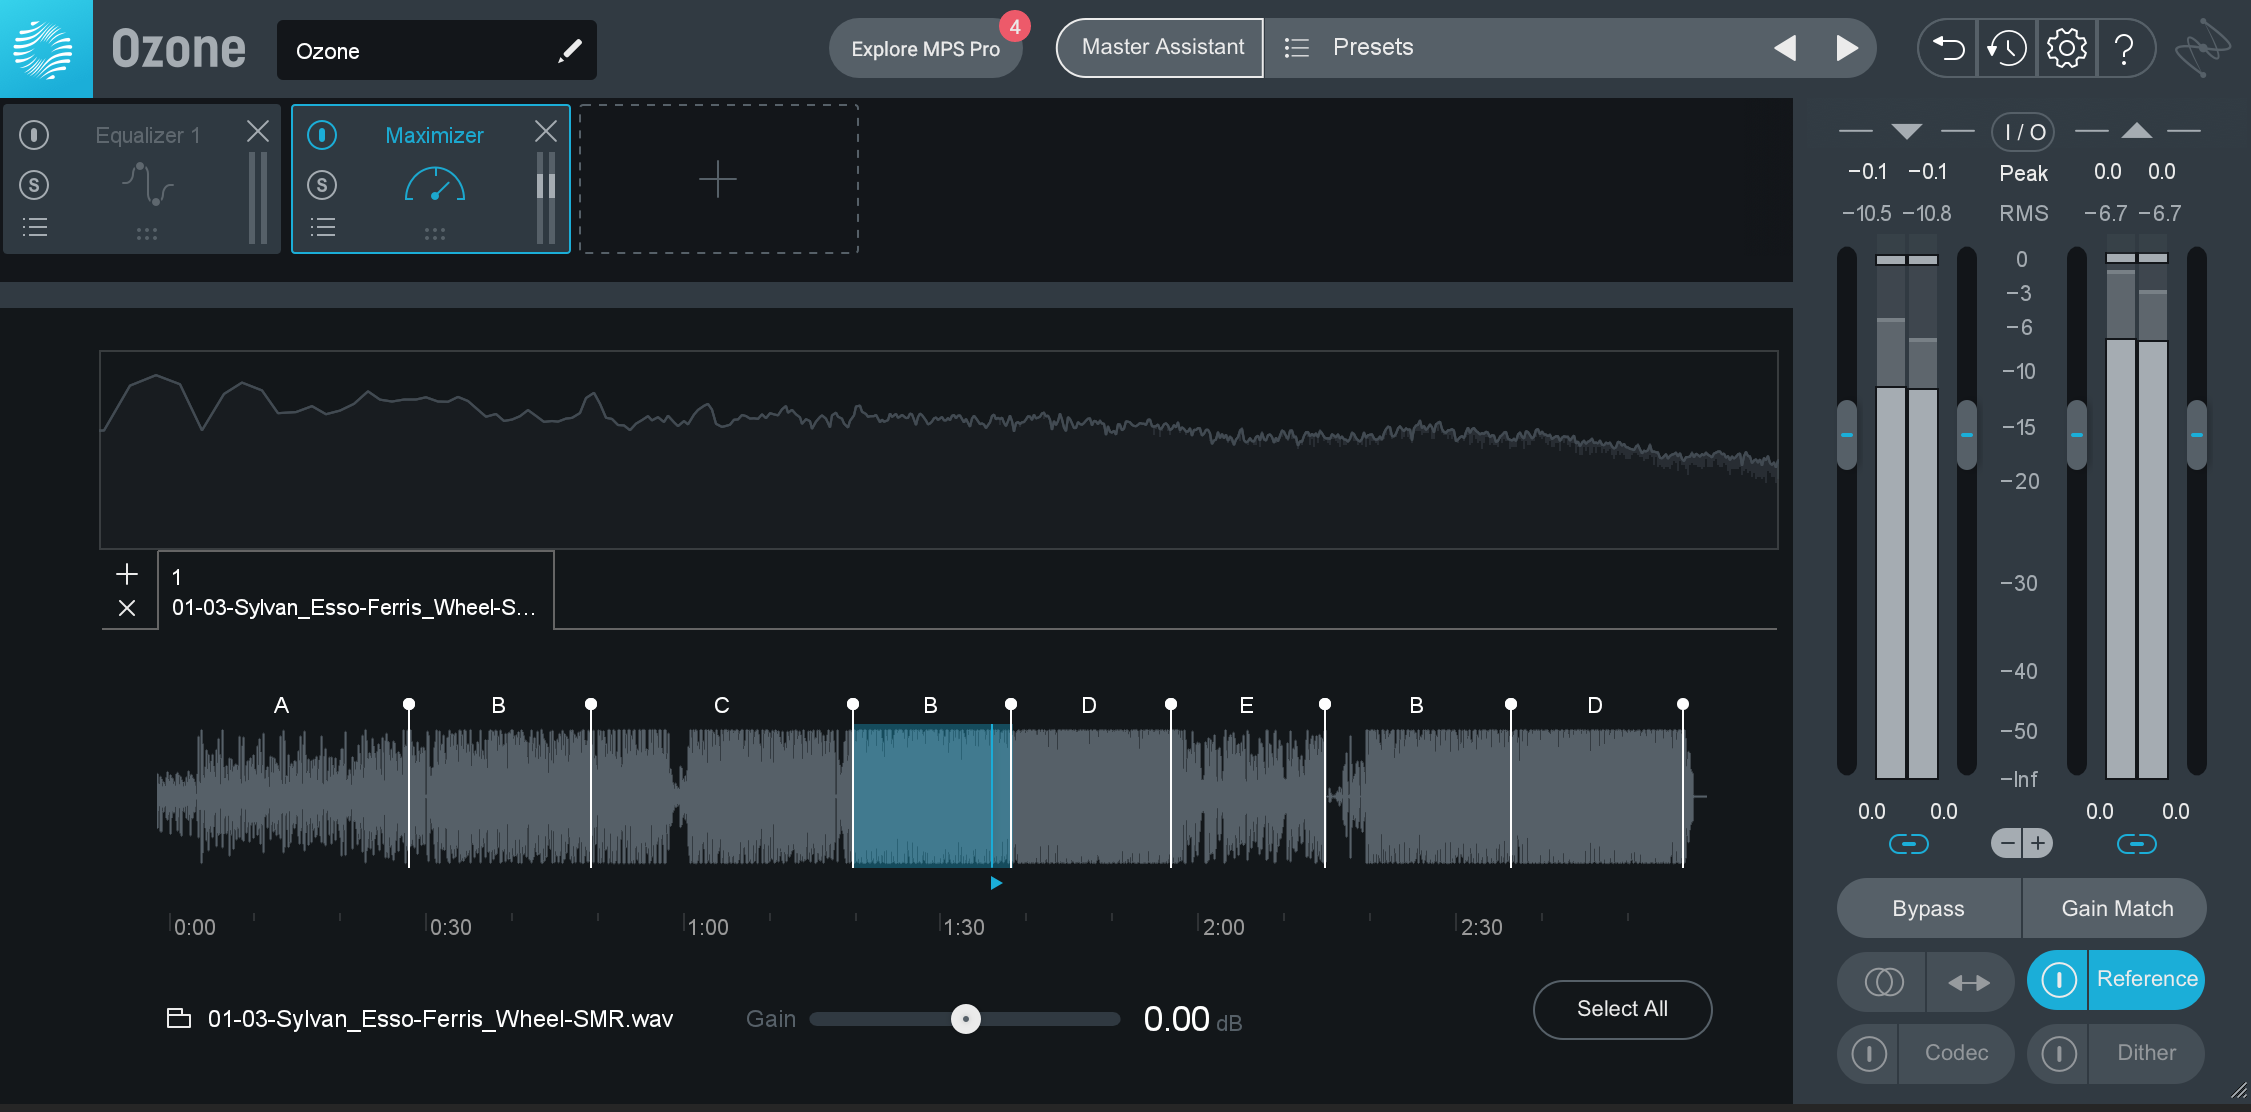
Ozone Track Referencing feature
Ideally you’d load your references into Tonal Balance Control and Ozone, training your ears to guide you all the while in achieving balance.
3. Tame harshness in your high end star
Remember what I said up top: high end can have a drastic impact on the high-mids—particularly the 3 kHz to 6 kHz region. We often perceive too much energy in this region as “harsh.”
When you boost the high end in your star track, you run the risk of adding undue harshness as well, so you constantly have to be thinking about ways to add brightness and taming harshness.
How to listen for this, and how to fix this issue, took me a great many years to achieve on a reliable and constant basis. These days, I do find myself fielding phone calls from producers asking me how I achieved a silky-smooth high end on a female pop vocal without triggering undue sibilance and harshness—but that took me over a decade of professional work before it became the norm.
I’d love to save you the heartbreak on this—and I will attempt to do so by providing something of a formulaic perspective in taming the harshness of a high end—but you must keep in mind that it is not a one-size-fits-all-approach. Everything is achieved in balance and context. Securing the balance and knowing your context requires ear training.
So, let’s say your lead vocal is your high end star. I frequently employ a de-esser first in the chain, operating in wideband. Wideband means the entire vocal will duck ever so slightly when the de-esser notices the ess.


Nectar 3 Plus


RX 11 Advanced

Wideband De-esser in Nectar
Try putting these early in your chain if you know you’ll be brightening up a vocal track. After manipulating the vocal with smooth high-shelf boosts and various other tricks we’ll show off in this article, I’ll often use some sort of de-essing process at the very end of the vocal chain as well.
It could be a multiband compressor set to operate only in the high-midband, like the sort found in


Neutron
This article references a previous version of Neutron. Learn about 

Neutron 5
It could also be Neutron’s Sculptor module, carefully tuned to the vocal as shown here:
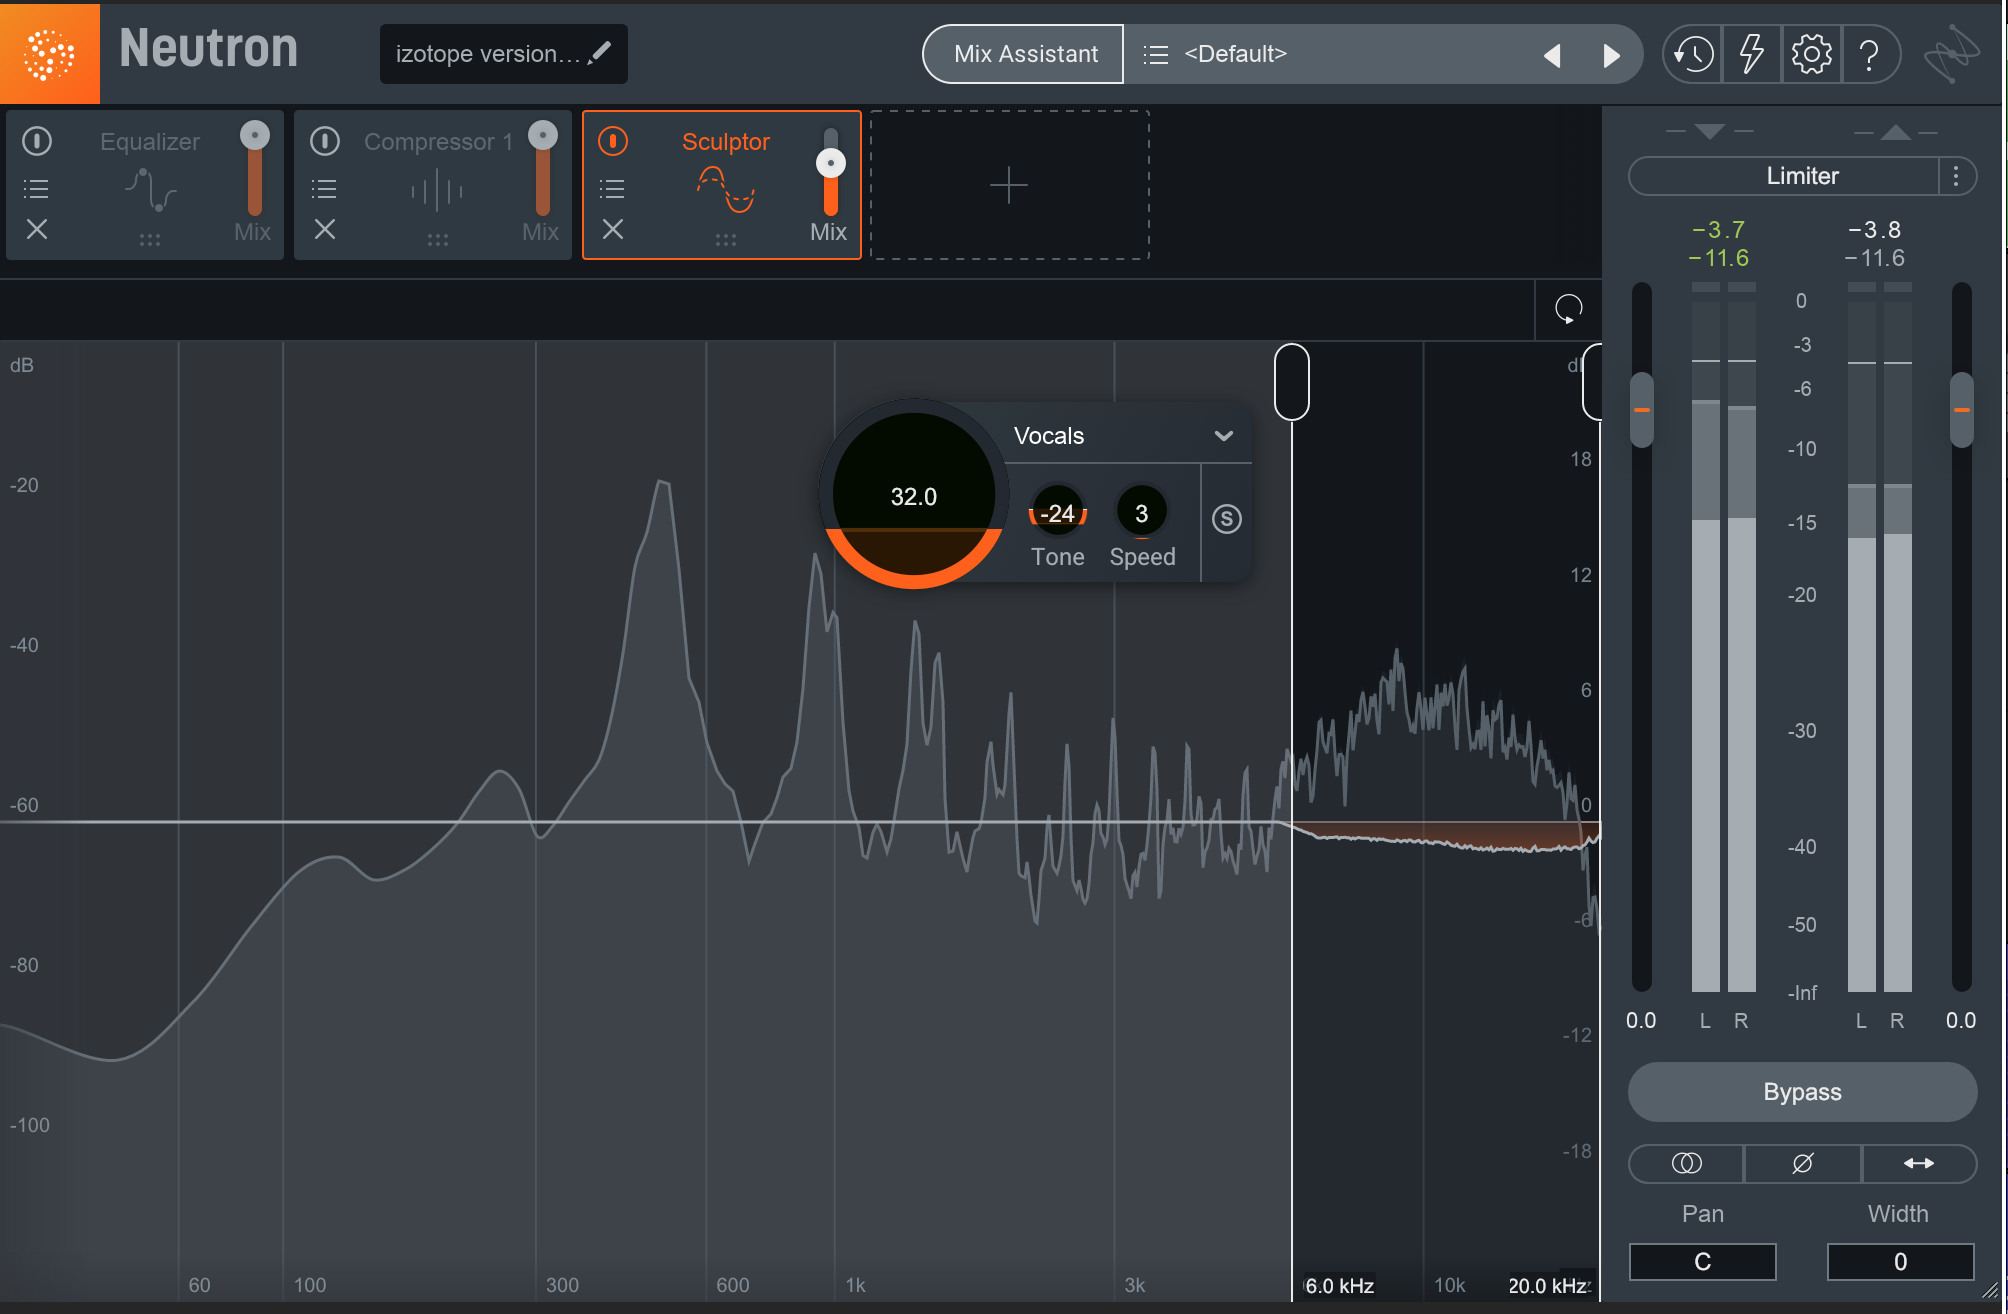
Neutron Sculptor for de-essing
Neutron or Ozone’s dynamic EQ can also work here.
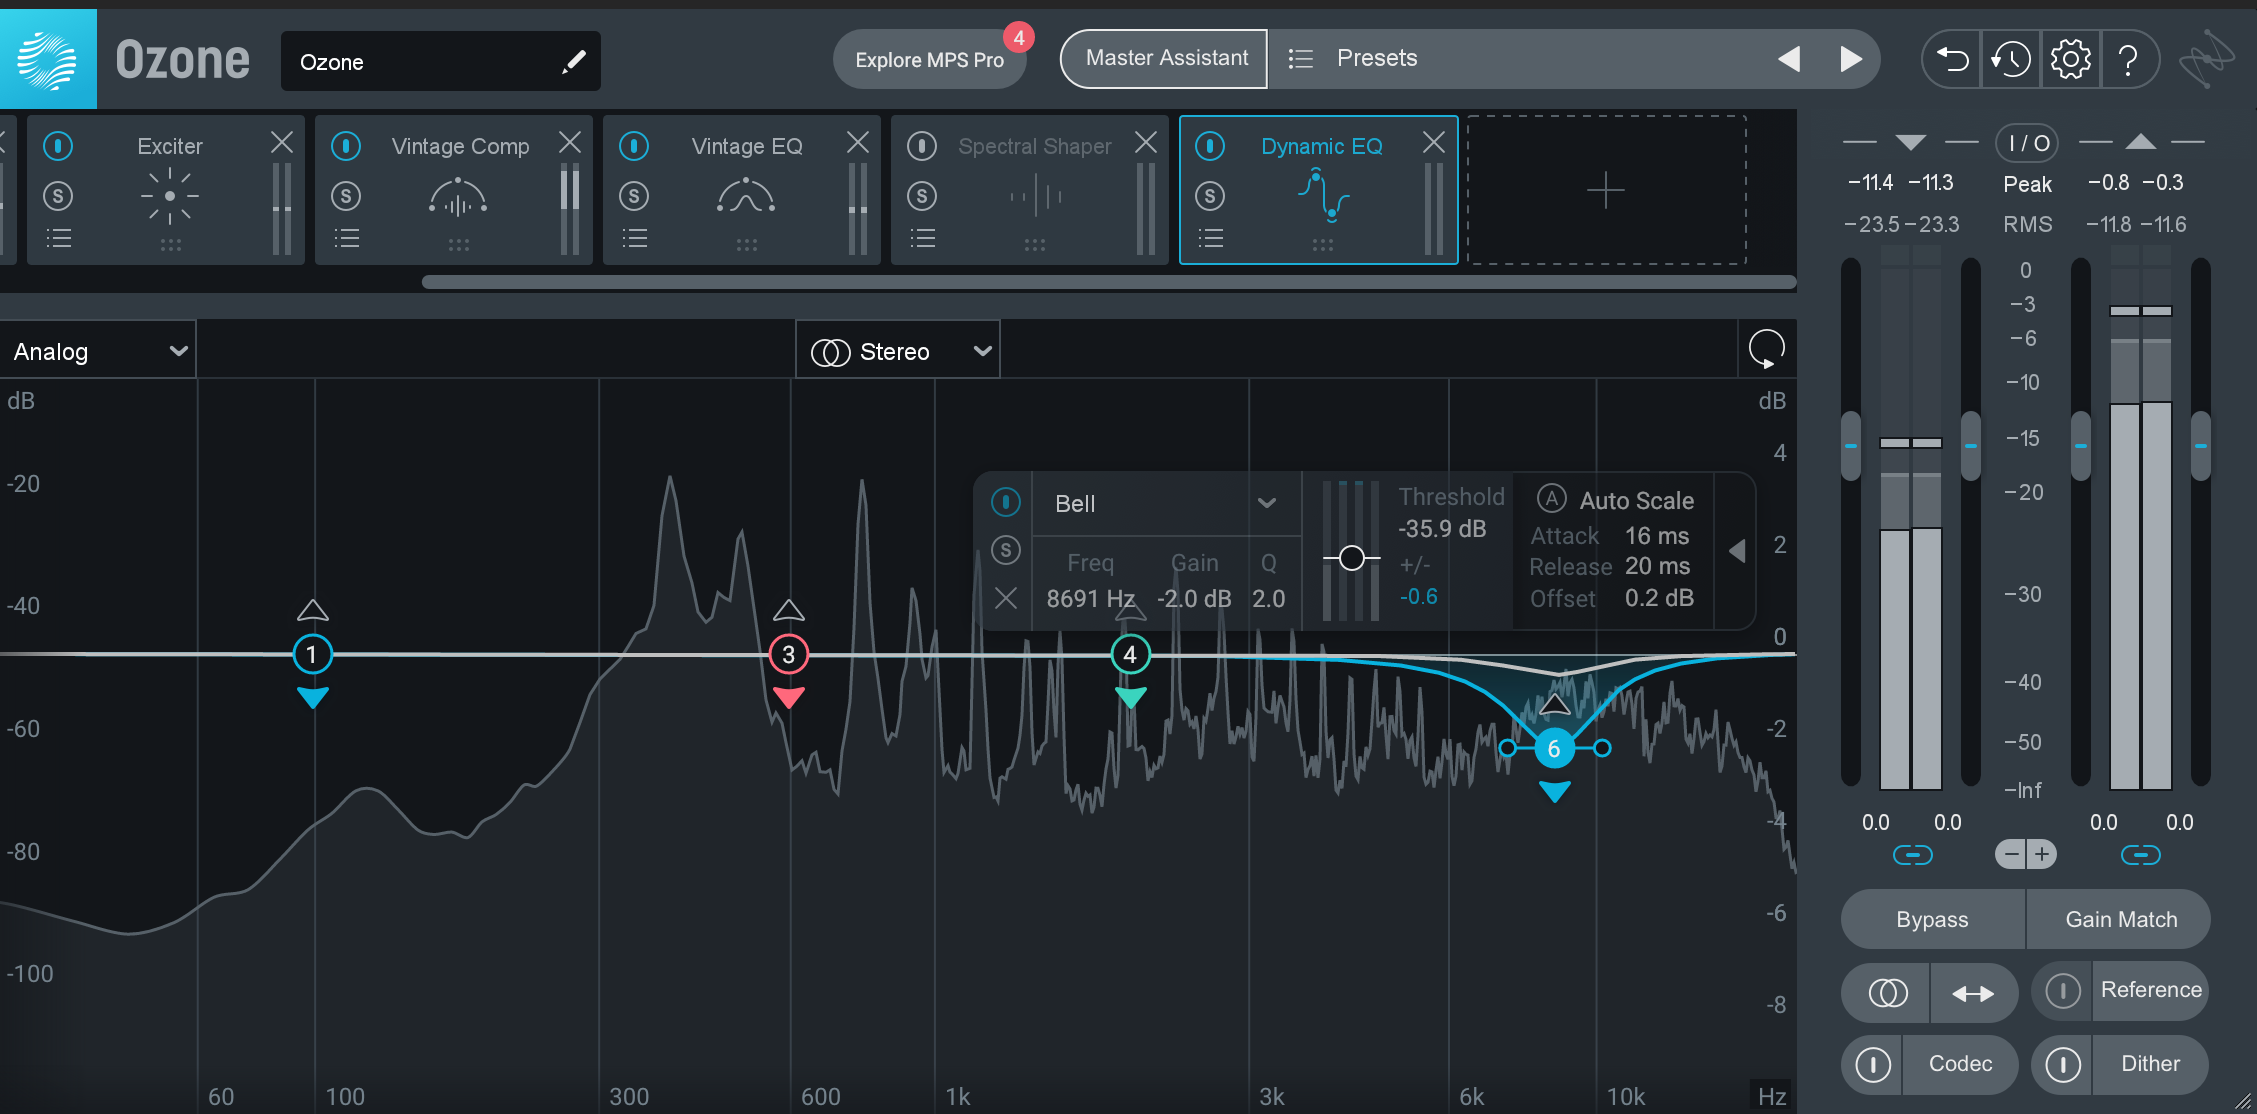
Ozone Dynamic EQ for de-essing
You could also play with the spectral shaper from Ozone! Different modules will yield different results depending on the vocal in question. As such, it can be worth experimenting with them to help get a sense of what works where.
If the high end star isn’t a vocal, but is a horn or a synth or sweet shimmery drums, I’ll forego the first de-esser, but I’ll still counterbalance high end boosts with band-specific dynamic processing for taming the harsh high-mids.
4. Sweeten your high end star
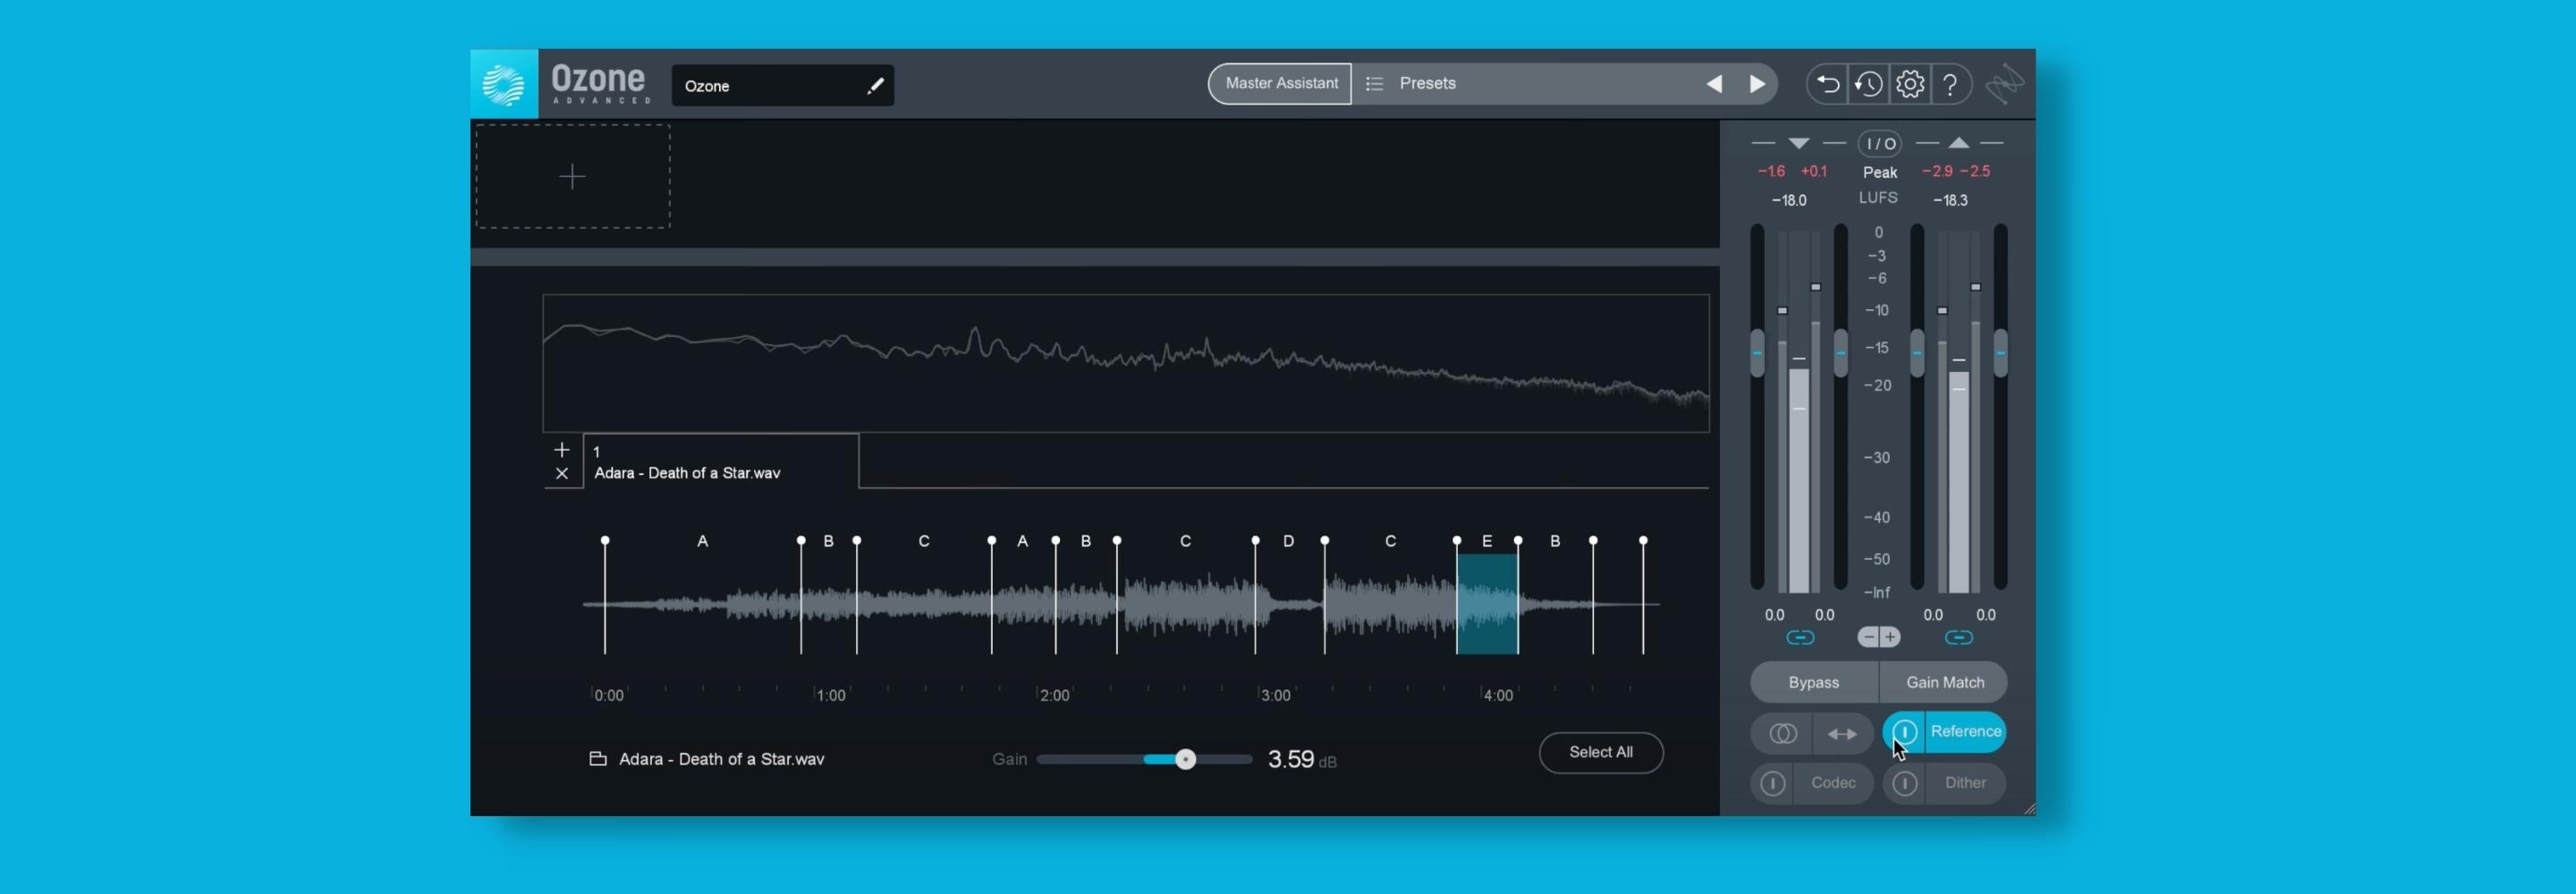
How do you sweeten your high end star? To illustrate on a vocal, I’m going to use “Death of a Star” by Adara. This will be a good example of some techniques at play, and also, what iZotope Music Production Suite plug-ins can do for your vocal.
Rather than barrage you with a million screenshots, I’ll show you a video. First you’ll hear the vocal in the context of the original mix, and then you’ll see what I was able to whip up with Music Production Suite products. After the video, I’ll break down each piece of the chain bit by bit.
As I’m working on top of an already mixed track here, no de-essing or RX’ing was required. The first thing I did was use Ozone’s EQ to lift some high end, because its curves and phase response are top-notch. With the EQ, I boosted some midrange, and cut out a little high-mid. Next came the Exciter which stimulated the high end enough for some shimmer, but also added a bit of warm texture as well. Analog and dual triode modes excel for this purpose. Be sure to click on oversampling!
After the exciter came the vintage EQ, for 2.2 dB of 16 kHz in a pultec style implementation. Finally, the multiband compressor for de-essing.
But that’s not all—I also used a parallel trick for exciting the high end further. I bussed the track to an aux return and slapped on some more Ozone, using an EQ to cut everything below the high end and boost the treble a little. Next came some saturation for warmth and sparkle, followed by some width enhancement to add more space to the high end (the space helps this aux from becoming too piercing and too harsh).
Further de-essing was needed on this parallel bus, so I used the same multiband compressor I had on the vocal.
Once I had the vocal chain in place, I played with it a little. In this case I had a reference to try to beat. If I was working a different mix, I’d use a reference provided by the client, or one of my own. You can hear multiple examples of this trick in action on the Dirt EP by Peach Face, or the single Opine by Adjective Animal.
A word of warning: if your high end star is not a vocal, this trick might not work—especially if the high end star is particularly transient, like a drum set. This trick introduces phase shifts that will negatively impact drums.
If you do find yourself requiring this sort of parallel sweetening on drums, go with a linear phase EQ, as this will eliminate the phase shift, though at the expense of latency and slight pre-ringing. To be honest, I’ve never had pre-ringing issues trying this with linear phase in the high end. Latency, however, can become quite annoying in the automation phase of a mix.
5. Soften the high end of the other tracks in the mix
Our final step is a balancing countermeasure. The other instruments may fight this bright high end star, creating head-shredding harshness as a result. So, you must take very careful, very subtle measures of softening competitive tracks.
Do not use a straight low pass filter on these tracks. That is usually overkill, and can really dull the impact of your mix. Instead, try subtle dynamic solutions, such as multiband compression or dynamic EQ.
This is easily achieved in Neutron. You create a dynamic high shelf cut like so:
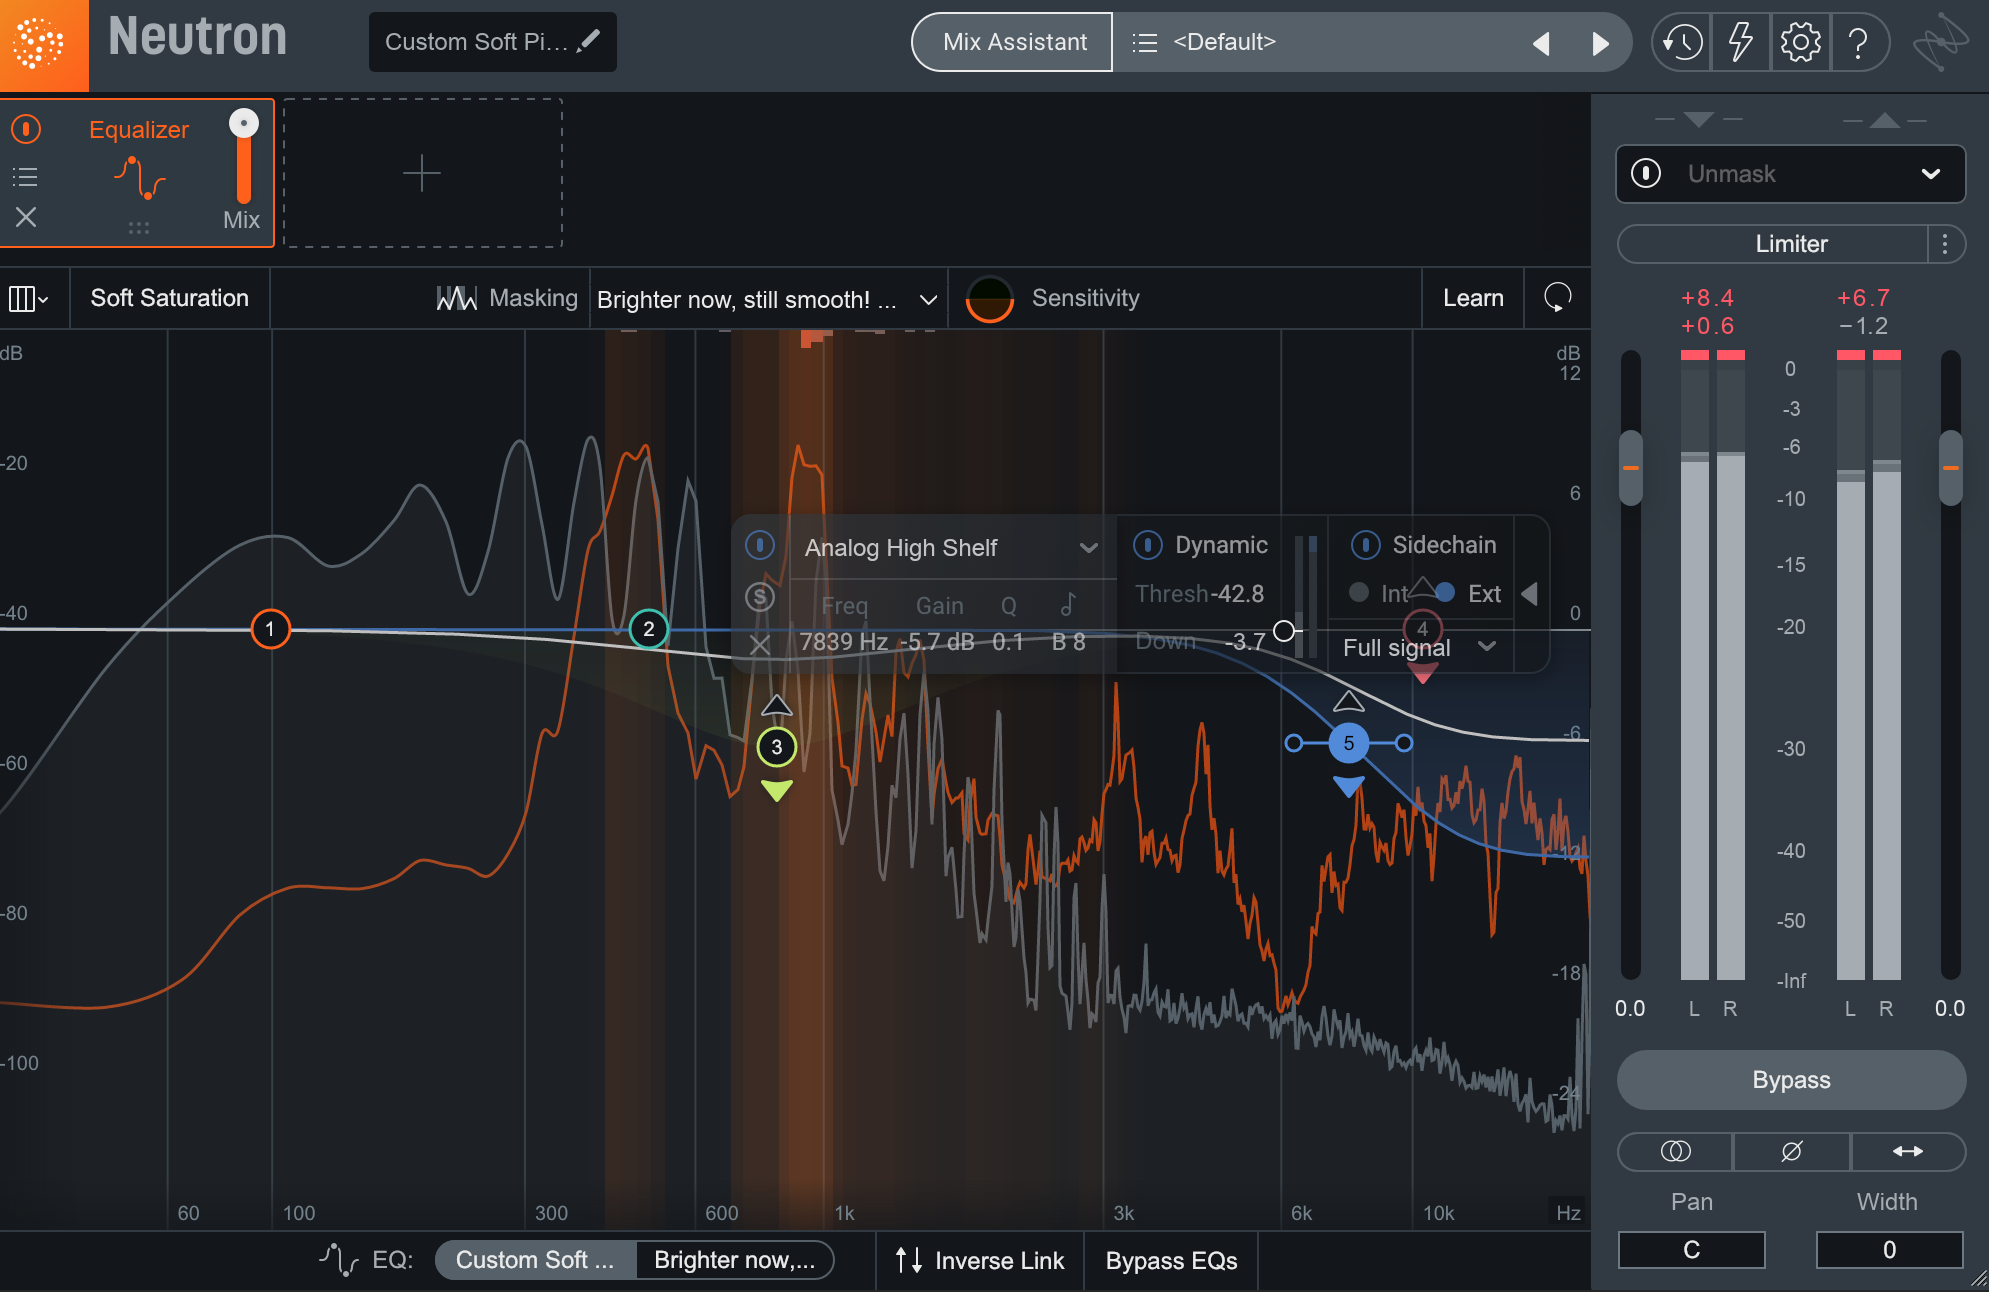
Softening the high end of other tracks with dynamic EQ
Just use your high end star as the sidechain input, and the conflicting track will soften when the high end star soars. Don’t go crazy here: it’s okay to let a little competition bleed through. You just want to soften the edges a bit.
Start mixing high end effectively
Every song calls for a different approach to mixing high end. The five tips provided in this article will give you enough guidance to tackle the most persistent high-frequency issues for a mix that feels balanced without comprising excitement—but always feel free to experiment! Experimenting is how we come up with new tricks to pass on to new generations. Share some of your favorites with us if you’ve come up with something new, and make sure to check out all of the plug-ins in this tutorial with your copy of


Music Production Suite 7
