
Vocal mixing cheat sheet: Your guide to a release-ready sound
Looking for clear, powerful vocals? This cheat sheet provides step-by-step instructions on EQ, compression, and more for a release-ready sound.
As engineers, we all want a polished vocal sound. But more than any other instrument, vocals cannot be reduced or described by a cheatsheet. Specific EQ adjustments will depend entirely on the vocalist's innate sound, the genre of music, and the overall mix context.
Yet the internet clamors for cheat sheets, so here we are, handing out prescriptions in advance for vocals we haven’t heard yet.
I kid, but I do hope – and think – this article will have real merit for you. You could call it a cheat sheet, sure. But I like to think of it more like a checklist: a list of steps and processors to go through on your way from rough vocal to hewn final product, offered to you in piecemeal segments.
Read on to learn how to mix vocals from start to finish.
Follow along with this guide using iZotope Nectar, a complete set of tools for mixing, producing, and designing vocals.
What you’re getting with this cheat sheet
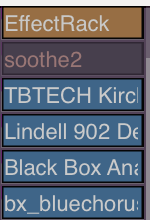
The following is a screenshot of a vocal mixing template, laid out in Reaper, as routing is quite convenient in that DAW: you can easily route one track into another.
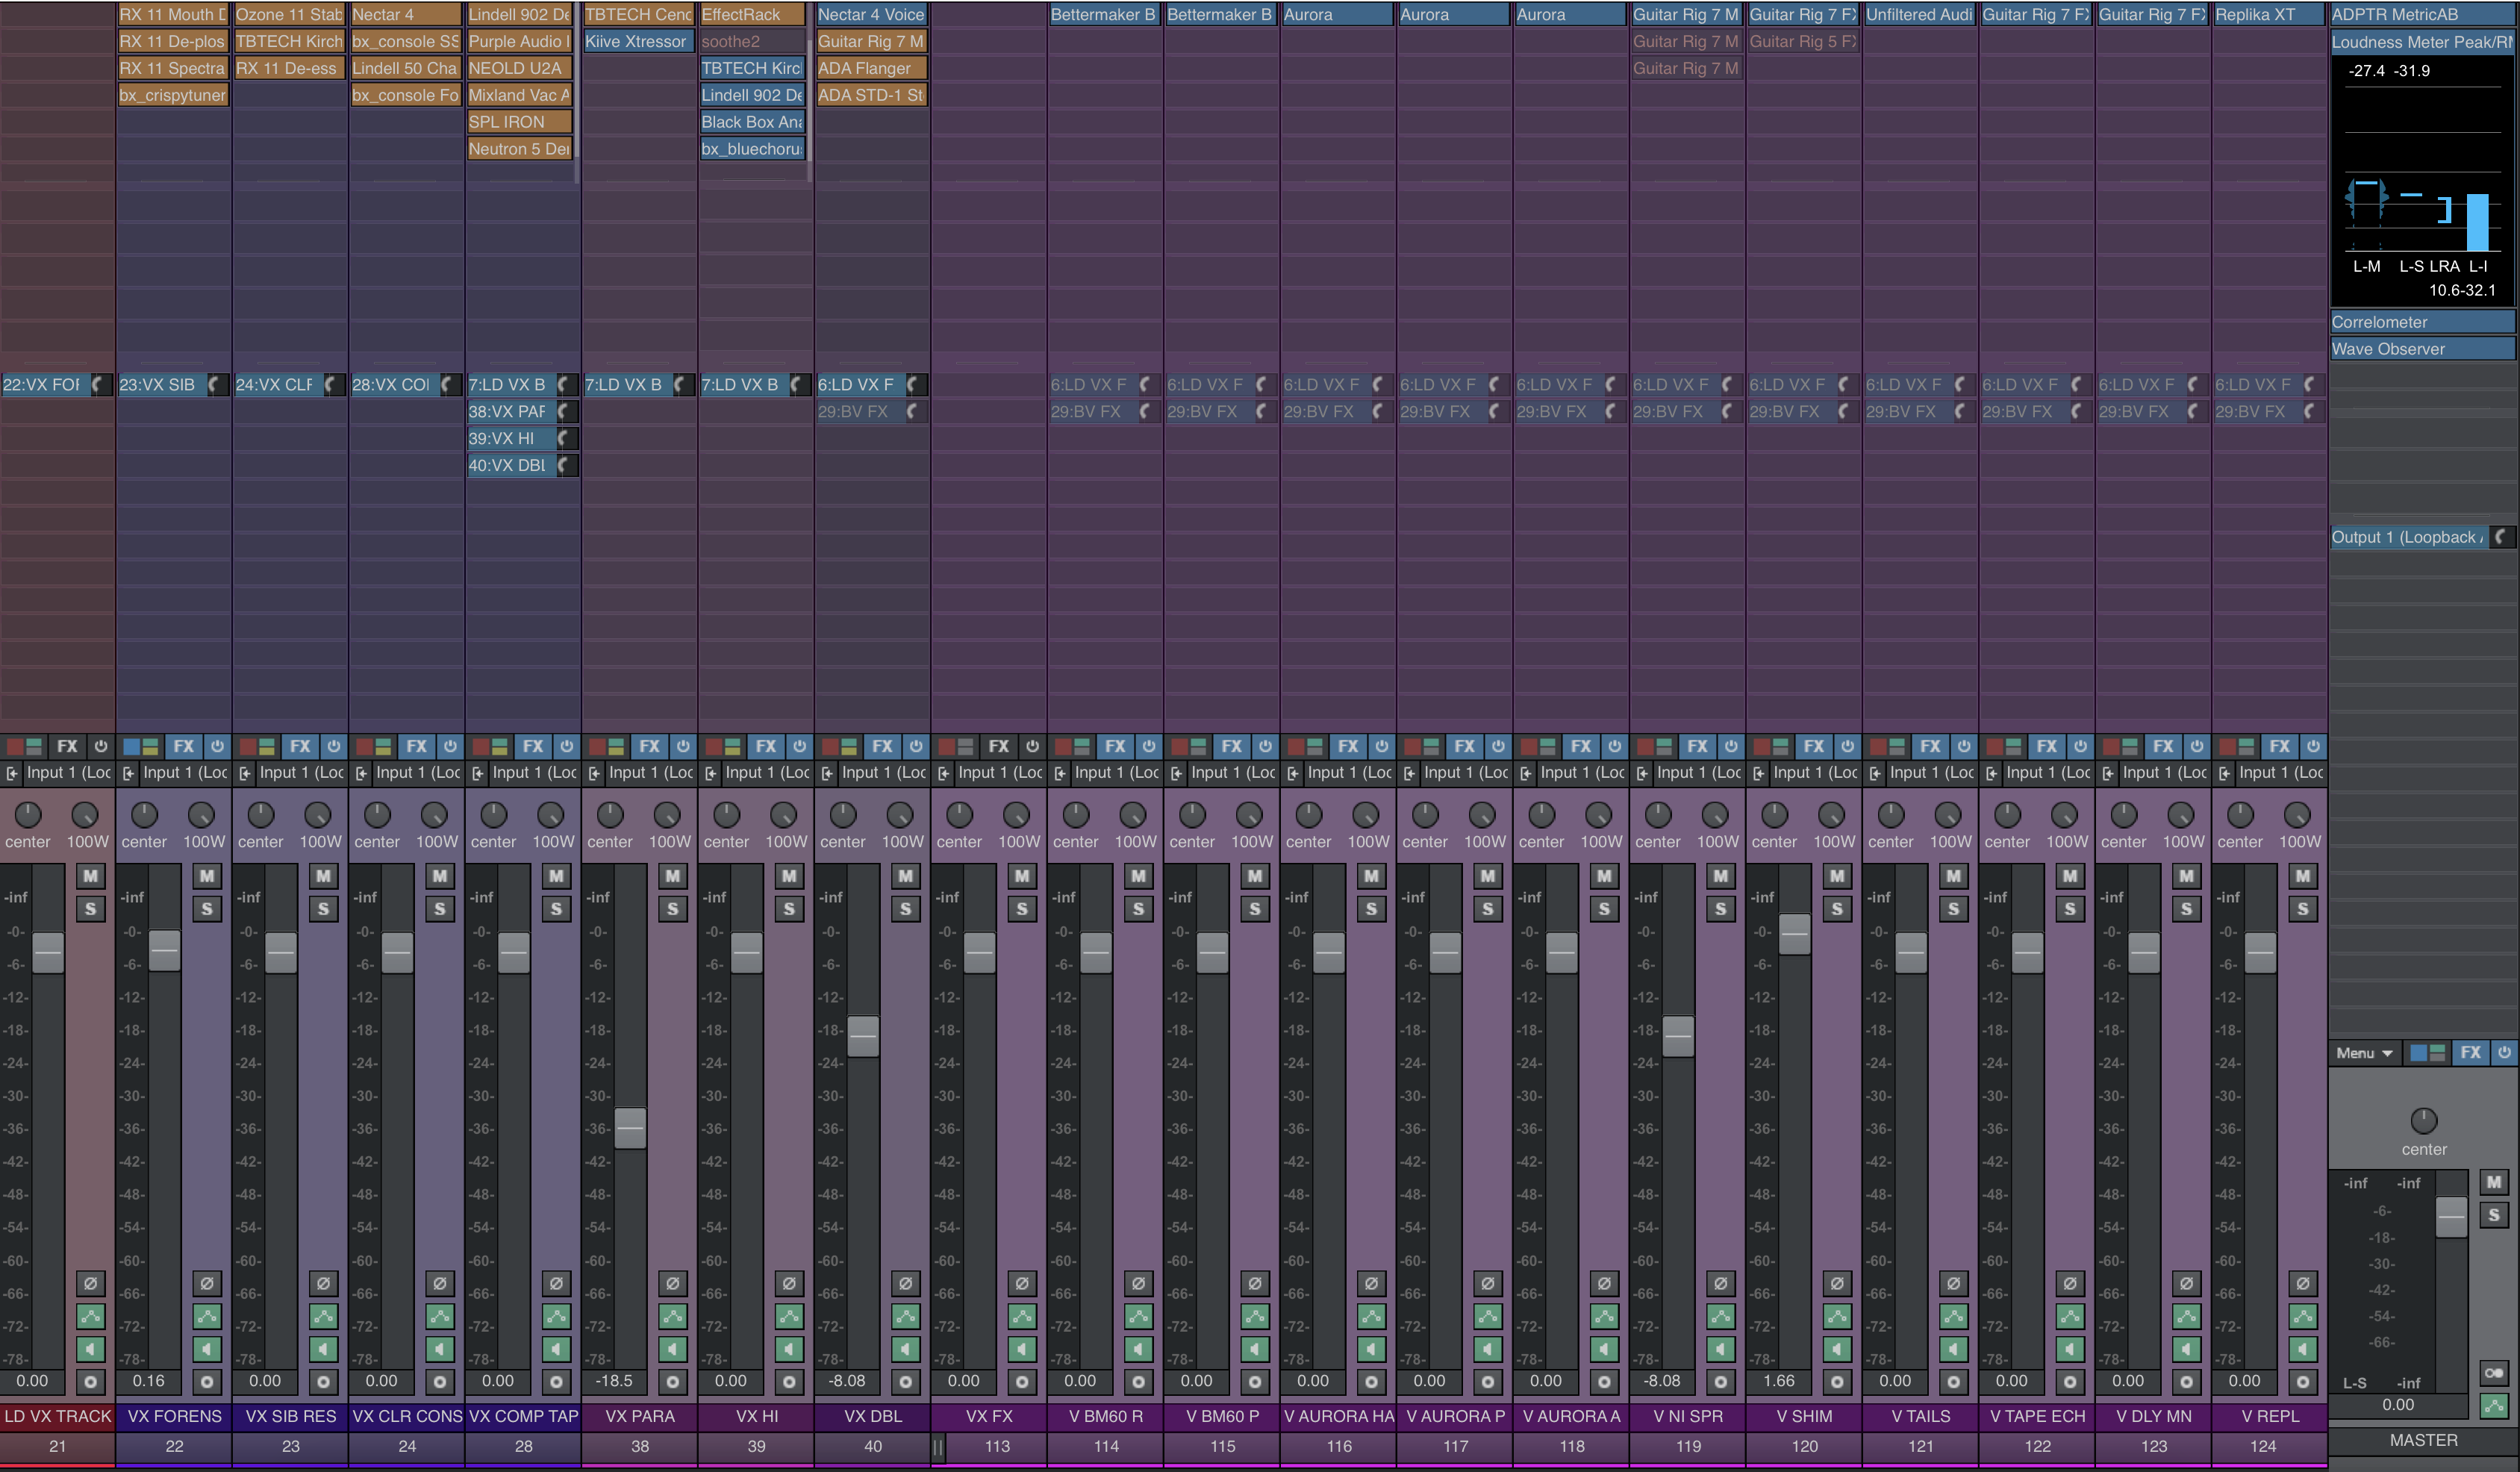
Vocal template
No matter the DAW, however, the principle behind this template – or cheat sheet, or checklist, or however you’d like to think of it – is applicable to your workflow.
And here are the principles:
All the way to the left, we have a raw vocal track. We’re going to keep it unprocessed for now, but route it to the track immediately to its right.
That track – and the three following it – each offer a block of processors designed to address one specific aspect of vocal mixing. They should all route thus: the raw vocal routes into the one immediately to its right, and so on, until we get to the last dark purple track. Then, the vocals route to a vocal submix.
Note well: do not use every single processor I’m showing you here. In fact, the fewer you use the better! They’re simply ready to go as needed. The goal is to switch them in and out quickly to see if they’re beneficial. If they’re not, leave them off!
After this, you’ll see three parallel channels: one for extra compression, one for high-frequency trickery, and one for unison doubling – common things that happen in a mix. You can send vocals to these channels as need be,
Next you’ll find a bank of reverbs and delays ready to go as needed. Just as with your parallel tracks, you can send signal to these tracks as needed.
All of these plugins come from Native Instruments, but again, the concepts are more important than the plugins.
The point of all this is to address specific issues with specific kinds of processors. This template lays it out all quite easily.
Work the chain as you see fit
By no means do you have to tackle these processes in order; they are merely considerations to take into account.
Yes, some of them are better handled sooner than others; if you know you’re going to tune a vocal phrase here or there, you might as well get it out of the way before it truly drives you mad. But you don’t need to follow this list from point A to B. In fact, something like de-noising shouldn’t be done until you have your compressors in, and definitely not until you’re judging the vocal in the context of the mix.
Okay let’s break it down piece by piece.
Track-based processing
First, let’s cover the processing we’d do to a basic vocal track.
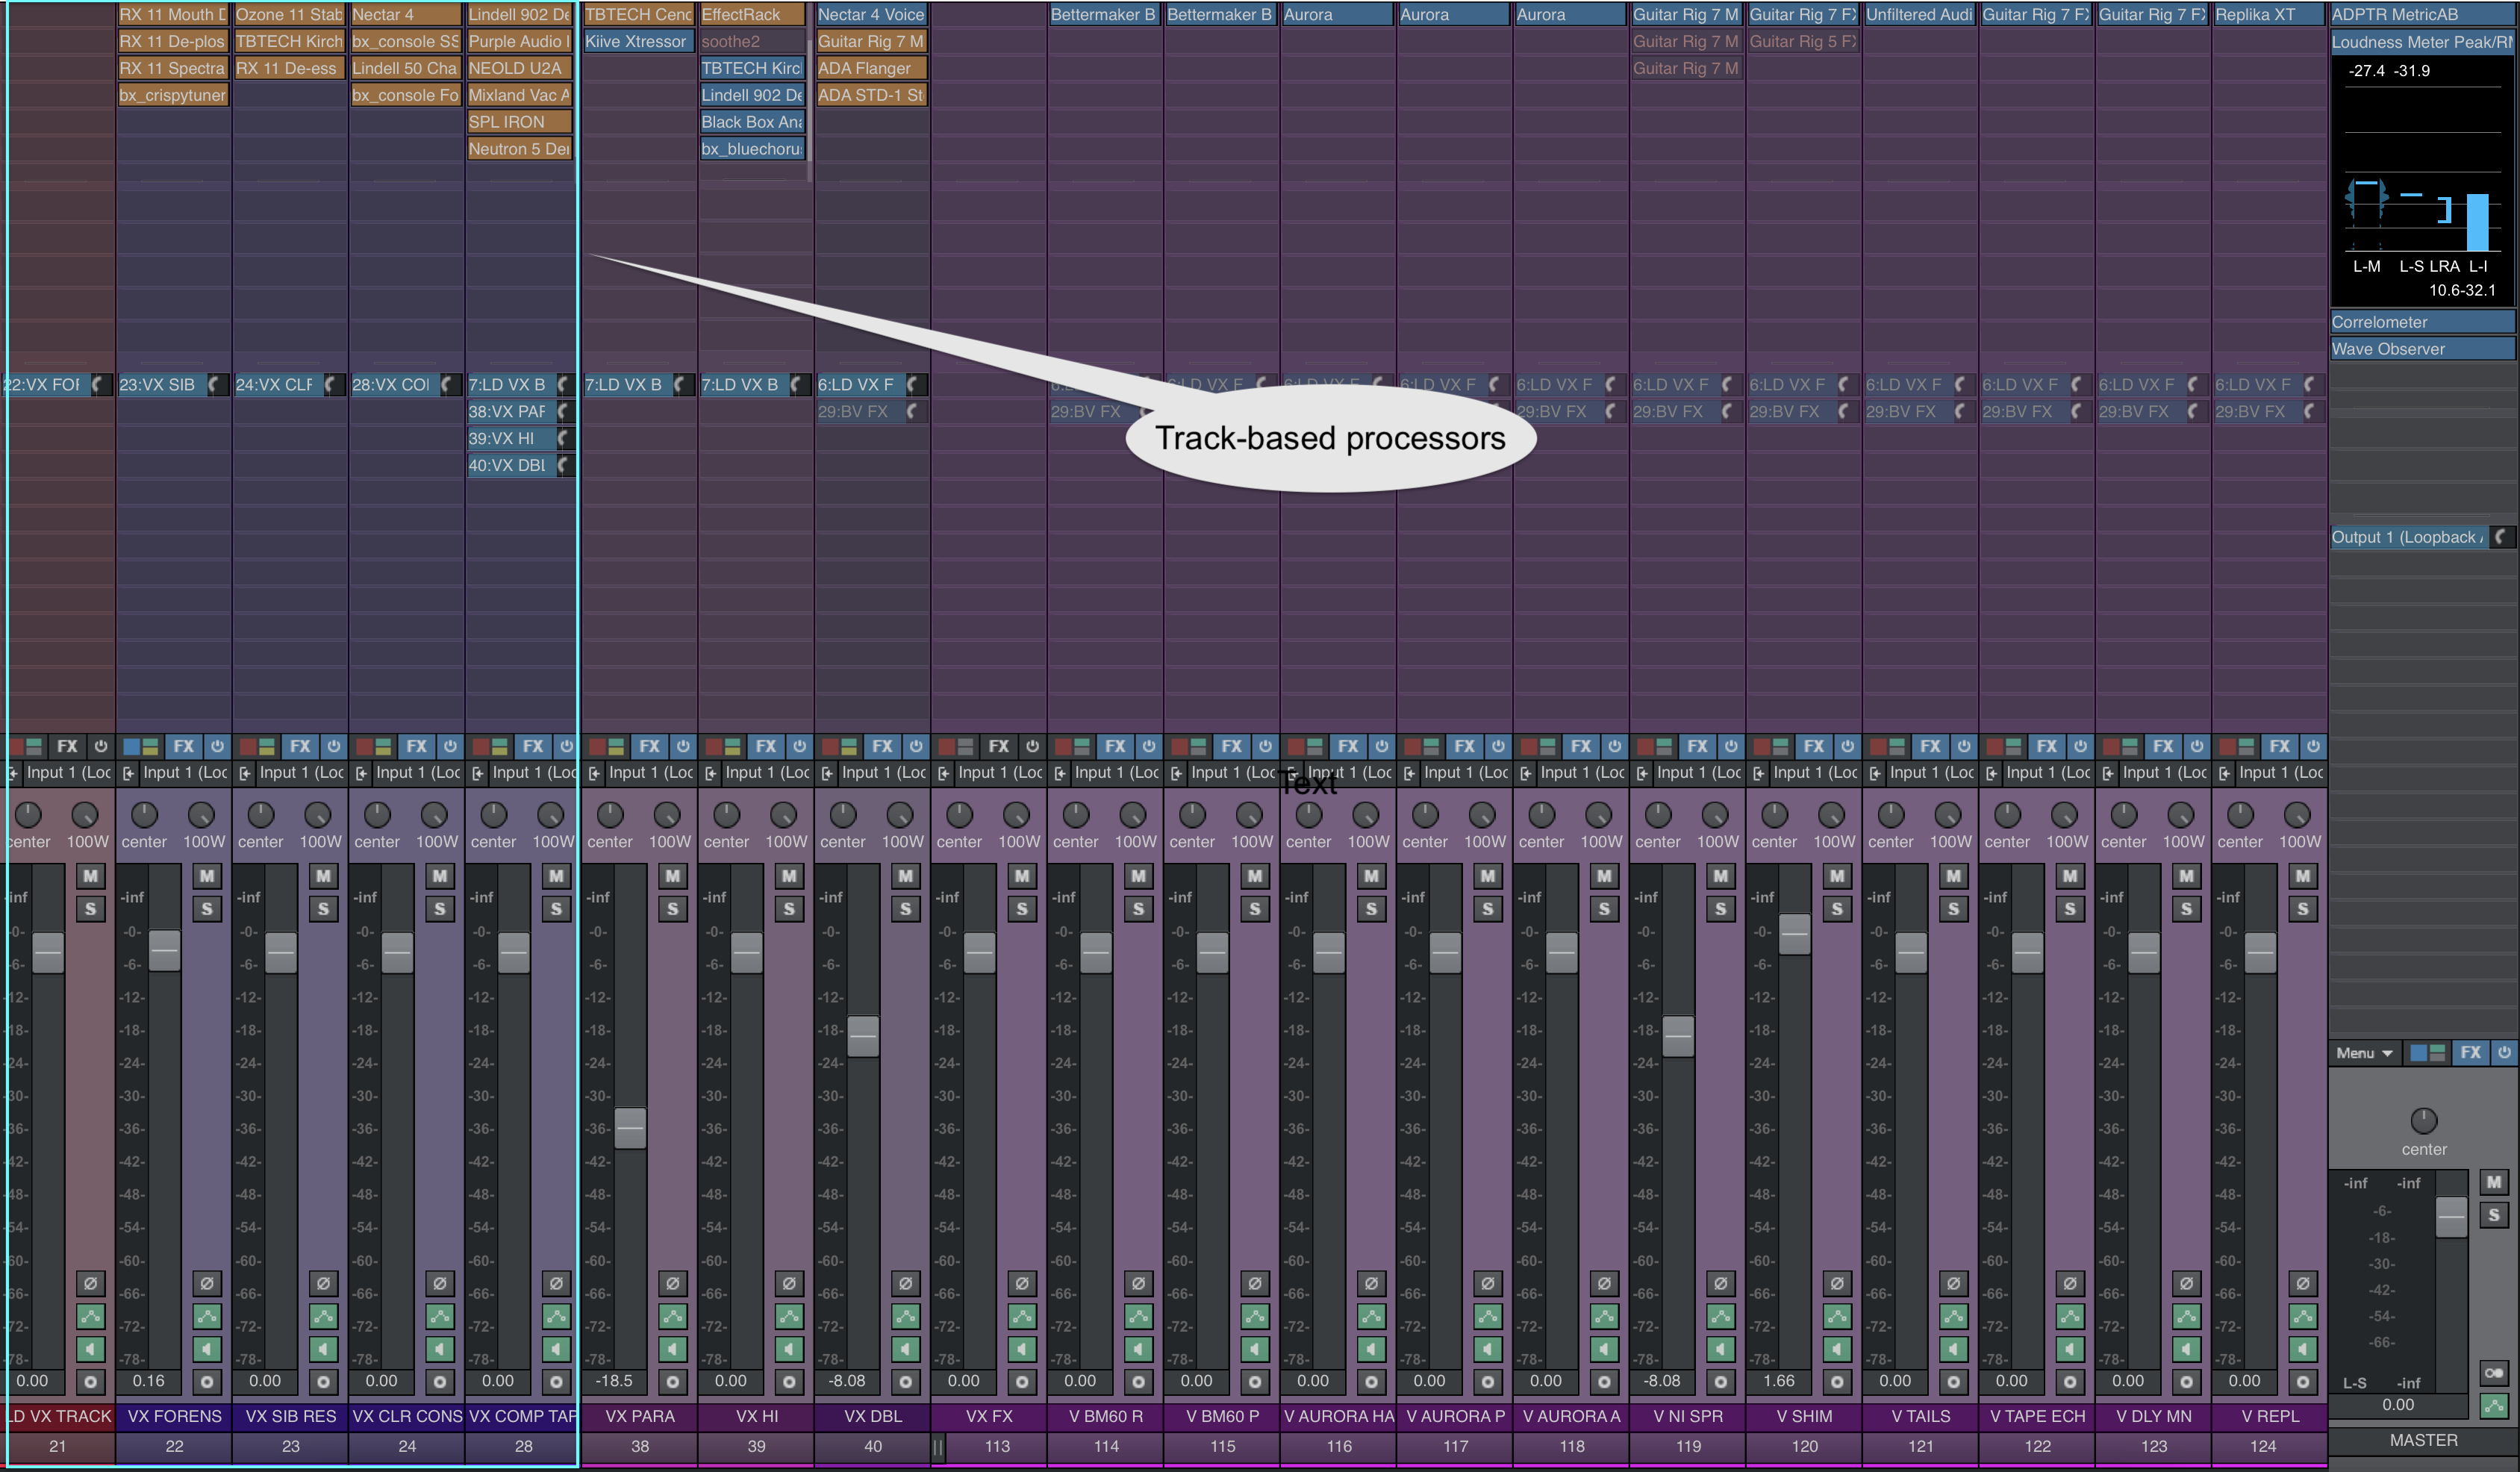
Track-based processors
1. Forensics (if need be)
Our first block of processors is forensic in nature – meaning, it’s for audio cleaning. I’ve got four processors to fix common audio problems.
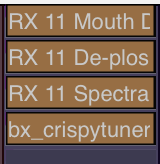
Plugins and modules used for audio cleanup
We’ve got iZotope RX Mouth De-click, De-plosive, and a Spectral De-noise on hand in roughly the order we’d use them. Only use these processors if you notice excessive clicks, plosives, or noise. They are strictly optional – as is the tuner.
For tuning, I’ve got bx_crispytuner here loaded, which has simple, advanced, and graphical tabs, depending on how deep with pitch correction you want to get:
The graphical interface is quite handy for fine-tuning really problematic vocals. If you’re used to other processors, like Melodyne, you’ll get the hang of it quickly. Conversely, you can use Melodyne here, or your DAW’s pitch corrector.
All of this is optional, and by no means should you default to using any of this processing. In fact, for tuning, it can be good to break the vocal up among two tracks – one that needs tuning, and one that doesn’t – and that way you can only tune the phrases that need them.
If you opt to go that way, simply route the two tracks into our next block of processors, which follow now:
2. Basic colorless correction

Colorless correction
A vocal may come with a number of tonal issues that need correcting right away, usually related to frequency. I’m talking about resonances and de-essing issues.
Here we’ve got a spectral de-resonator in the Ozone Stabilizer module, with these settings as default:
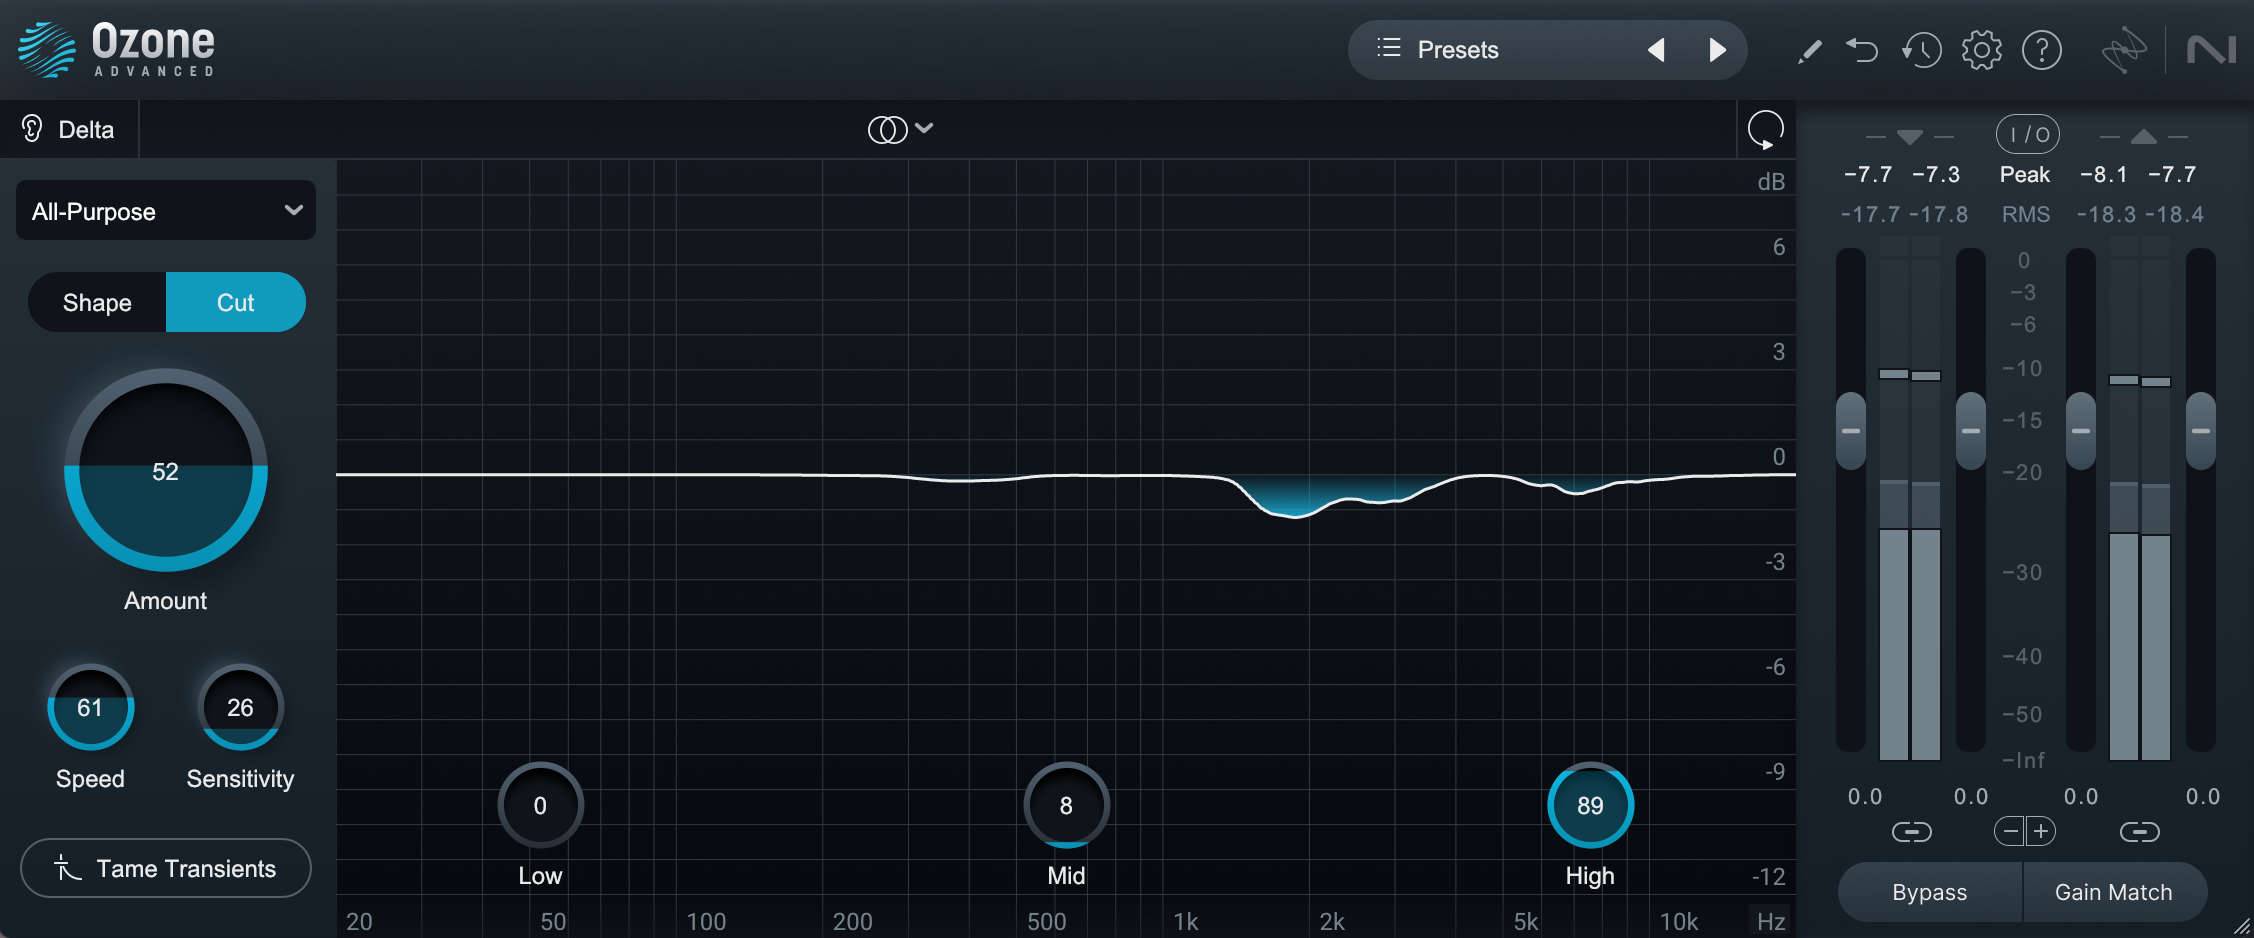
Ozone Stabilizer module
The point of spectral processors is to catch annoying resonances that may move around the frequency spectrum. Neutron’s Sculptor module offers a similar effect, but I prefer the Stabilizer in Ozone for its subtlety. You can use any one you like – Plugin Alliance’s friends over at Three Body Technology just released one of their own that’s quite good for this purpose.
Next comes a basic drag-and-drop EQ for static and dynamic cuts that might need to happen before we apply any color. You can use any tool for this you wish, including Ozone, Neutron, or Nectar. Here I’m using the Three-Body Technology Kirchoff EQ:

Corrective EQ with Kirchoff EQ
Now’s a good time to address common frequency issues that come up while mixing vocals. One frequent problem area are the low-end frequencies, typically below 100 Hz, which can cause muddiness and interfere with the overall intelligibility of the vocals. By applying a gentle high-pass filter or low-shelf cut to these unwanted frequencies, you can fight clashes and make room for other instruments.
Vocals can sometimes feel nasal or pinched between 500 and 1.2 kHz, depending on the singer; so that can be a cause for dipping. Additionally, vocals can sometimes exhibit harshness in the high frequencies, particularly around 5–8 kHz. If sibilance or harshness isn’t an issue, a gentle shelf in the air frequencies (10 kHz and above) can really open things up.
Here’s all that info condensed into some bullet points:
Possibly unnecessary low end: below 100–250 Hz, depending on singer
That annoying nasal quality: between 500 Hz and 1.2 kHz
Possible harshness: 5–8 kHz
Air and sparkle: 10 kHz and above
Finally, some de-essing at this stage is usually a good idea. You can do this within your dynamic EQ, in Nectar, with the Lindell 902 de-esser, or with the RX 11 De-esser.
All of these processes might turn this:
Into this:
3. Channel strip processing / color processors
Next come the colors we’d like to paint with. This means harmonic distortion, used subtly. I prefer to do this with Console emulations and/or a handful of dedicated processors.

Consoles and color
I like to keep an SSL flavor on hand for vocals, as the aggressive character of an SSL can help them cut more.

bx_console SSL 9000J
Sometimes aggression is not the thing we need – instead, warmth and smoothness is called for. Plenty of engineers here might employ a Neve-type console. In the Native Instruments world, I prefer the sound of the bx_console Focusrite SC for this purpose.

bx_console Focusrite SC
Hear how it sounds with similar settings compared to the SSL:
It sounds more warm and inviting than the SSL, does it not? Indeed, this Focusrite console strip traces its lineage to Mr. Neve, and it has that lovely smooth and creamy sound he’s often associated with.
Finally, a few tube-based solutions are provided. I’ve selected Maor Appelbaum Mastering & Hendyamps THE OVEN, the Black Box HG-2, the Bettermaker Passive Equalizer, and iZotope Plasma. All of these have their own flavors, helping to soften things or enrich things as need be.
Each of these saturating elements has an EQ component, and that is no accident: the idea is to bring out what we want with the EQs on hand. We’ve corrected what we don’t like, and we’re leaning into specific flavors to suit the vocal in order to give us what we need.
For instance, let’s say we’re working with this pop vocal again. I think the SSL is going to be what we want here, so I’ll go with those settings I displayed earlier:
I’m getting the feeling that some tube weight would be a good counter-ballast to the cut of the SSL. I can get that if I want from the tube processors I have going on here – and it might very well work.
Use your ears. During the course of this article, my quick flip through all of these tube processors didn’t give me the sound that I wanted on this vocal. Why? Because I didn’t necessarily need to add any more overt EQ moves. What I wanted, instead, was the dynamic color tubes can provide. More on this later.
Again, remember that we do not use all of these processors at once! In a typical session, I’m turning these plugins on and off very quickly to get a sense of their color in the context of this particular vocal, and if they don’t help, I turn them off right away.
Now let’s talk about compressors:
4. Comps of various flavors
We often wind up compressing vocals in the context of a modern mix – and we should use the innate color of compressors to flatter the vocals here.
In our compressor block, I’m offering classic color combinations and transparent options alike. We’ve got an 1176 style compressor and an LA2A, if we want to play them off each other (a classic trick). We’ve also got a different optical flavor in the Mixland Vac Attack, as well as a tube-based mu compressor in the SPL IRON.
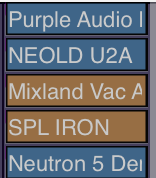
Color compressors to try out vocals
The process of selection should be much the same as described above – flicking in and out for box-tone first, although we’re listening to more than color. Here, we’re judging how the vocal is grabbed by the style of compression on offer.
Lean into subtle settings for your defaults in this template: low ratios, medium time constants, thresholds that grab no more than a dB or two of gain reduction. Rarely should compression on a vocal be obvious; we just want to see what flatters the vocal in the context of the tune.
The only exception to this would be our 1176 mod, the Purple Audio MC77, which is set with a quick attack time and an 8:1 ratio:

Purple MC77 compressor on vocals
In general, when you’re using this compressor on a vocal, you’re either catching peaks before another compressor, or trying to impart some of the fat, mid-forward coloration of the box. So, put something like the above settings into your A slot on the purple, and flip to something more conservative in your B slot (medium attack, medium release, low ratios).
Keep in mind, you do not need to compress all the time. Only compress if the vocal needs it! You can opt to skip any of these units if you don’t need compression – or use them well below the threshold if you just want their tone.
Finally, we’ve got Neutron here on more colorless duties. The vintage compressor can smoothen out a vocal without introducing too much color, and Density is also on hand to pin the vocal in place transparently.
Serial compression on vocals is often necessary to achieve maximum control with minimal sonic trade offs. And in this scenario, an upwards compressor like Neutron Density comes in quite handy: We’ve got our color comps doing their colorful thing, while Density can help keep the vocal front and center without changing its inherent feel.
Remember how I said I wanted a tube flavor, but not a tube EQ? Let’s try the classic combo of a Purple MC77 into a NEOLD U2A – the latter of which will help give me that specific roundness I’m looking for. This will be followed by Density to smooth things out even more.
Now we have a vocal that’s upfront and in your face – bright, cutting, yet rounded.
5. Final tweaking
After the compressor, I’ve got two more plugins for you: another simple drag and drop EQ (again, Kirchhoff works), and a de-esser.
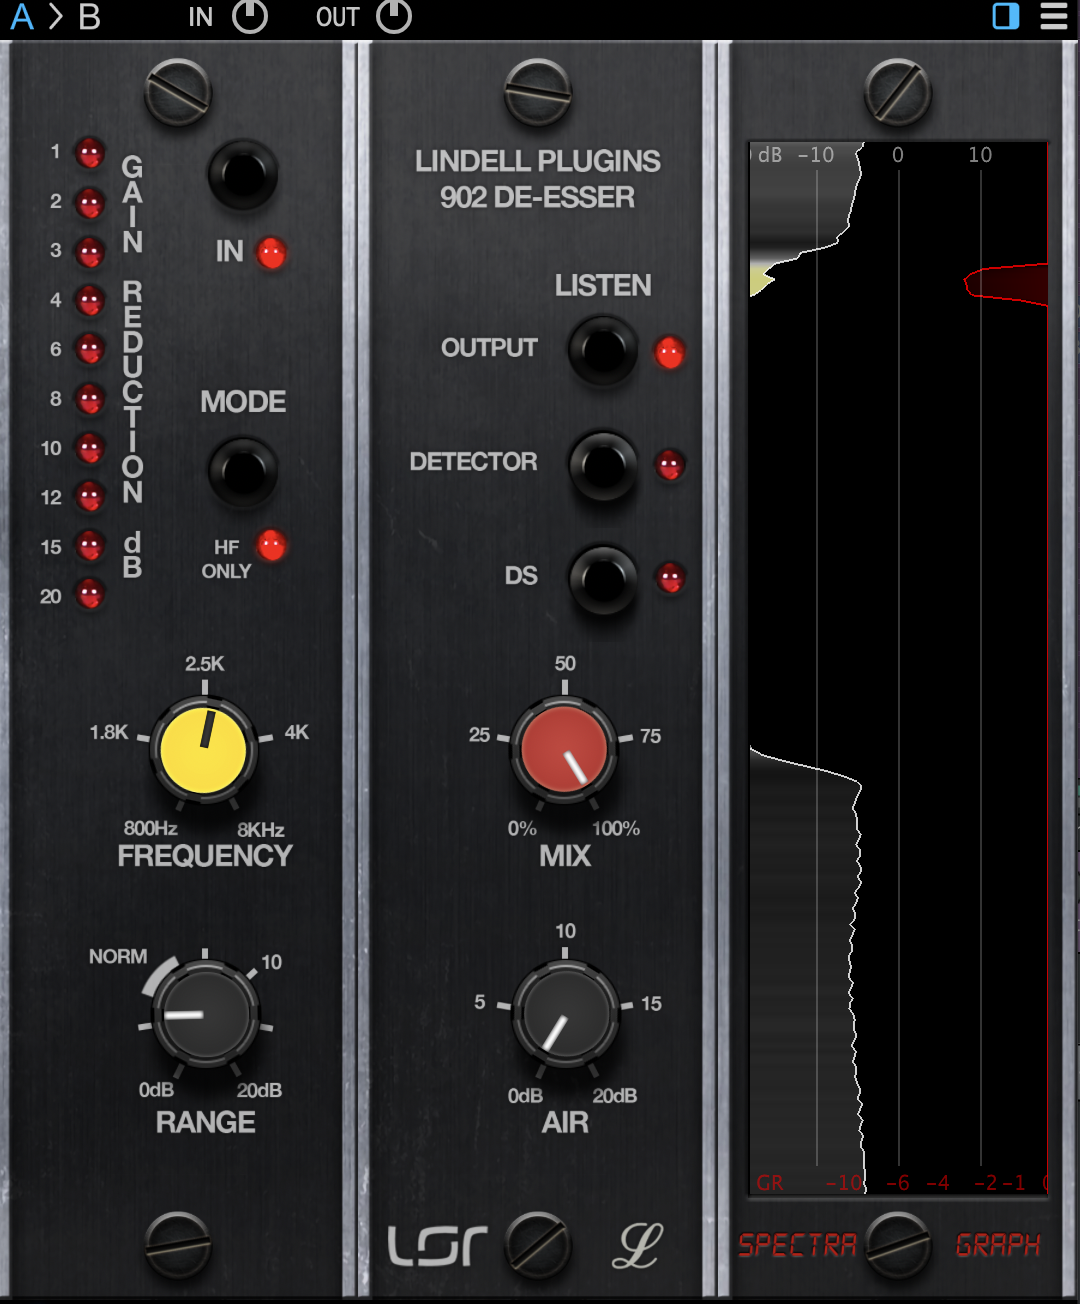
Lindell 902 De-esser plugin
Again, you can work the processors in this template in any order, but these two plugins are better utilized later in the vocal mixing process, when you’ve got your basic sound dialed in. All you have to do here is take out a little of what you don’t want with the Kirchhoff, and de-ess a little more if need be.
Small moves here are the goal. In my own workflow, I find I’ll be doing something small in the upper mids or highs, like this:

Adding a little more EQ to the vocal
Here’s where we are, with some de-essing and that high-mid cut:
Parallel channels
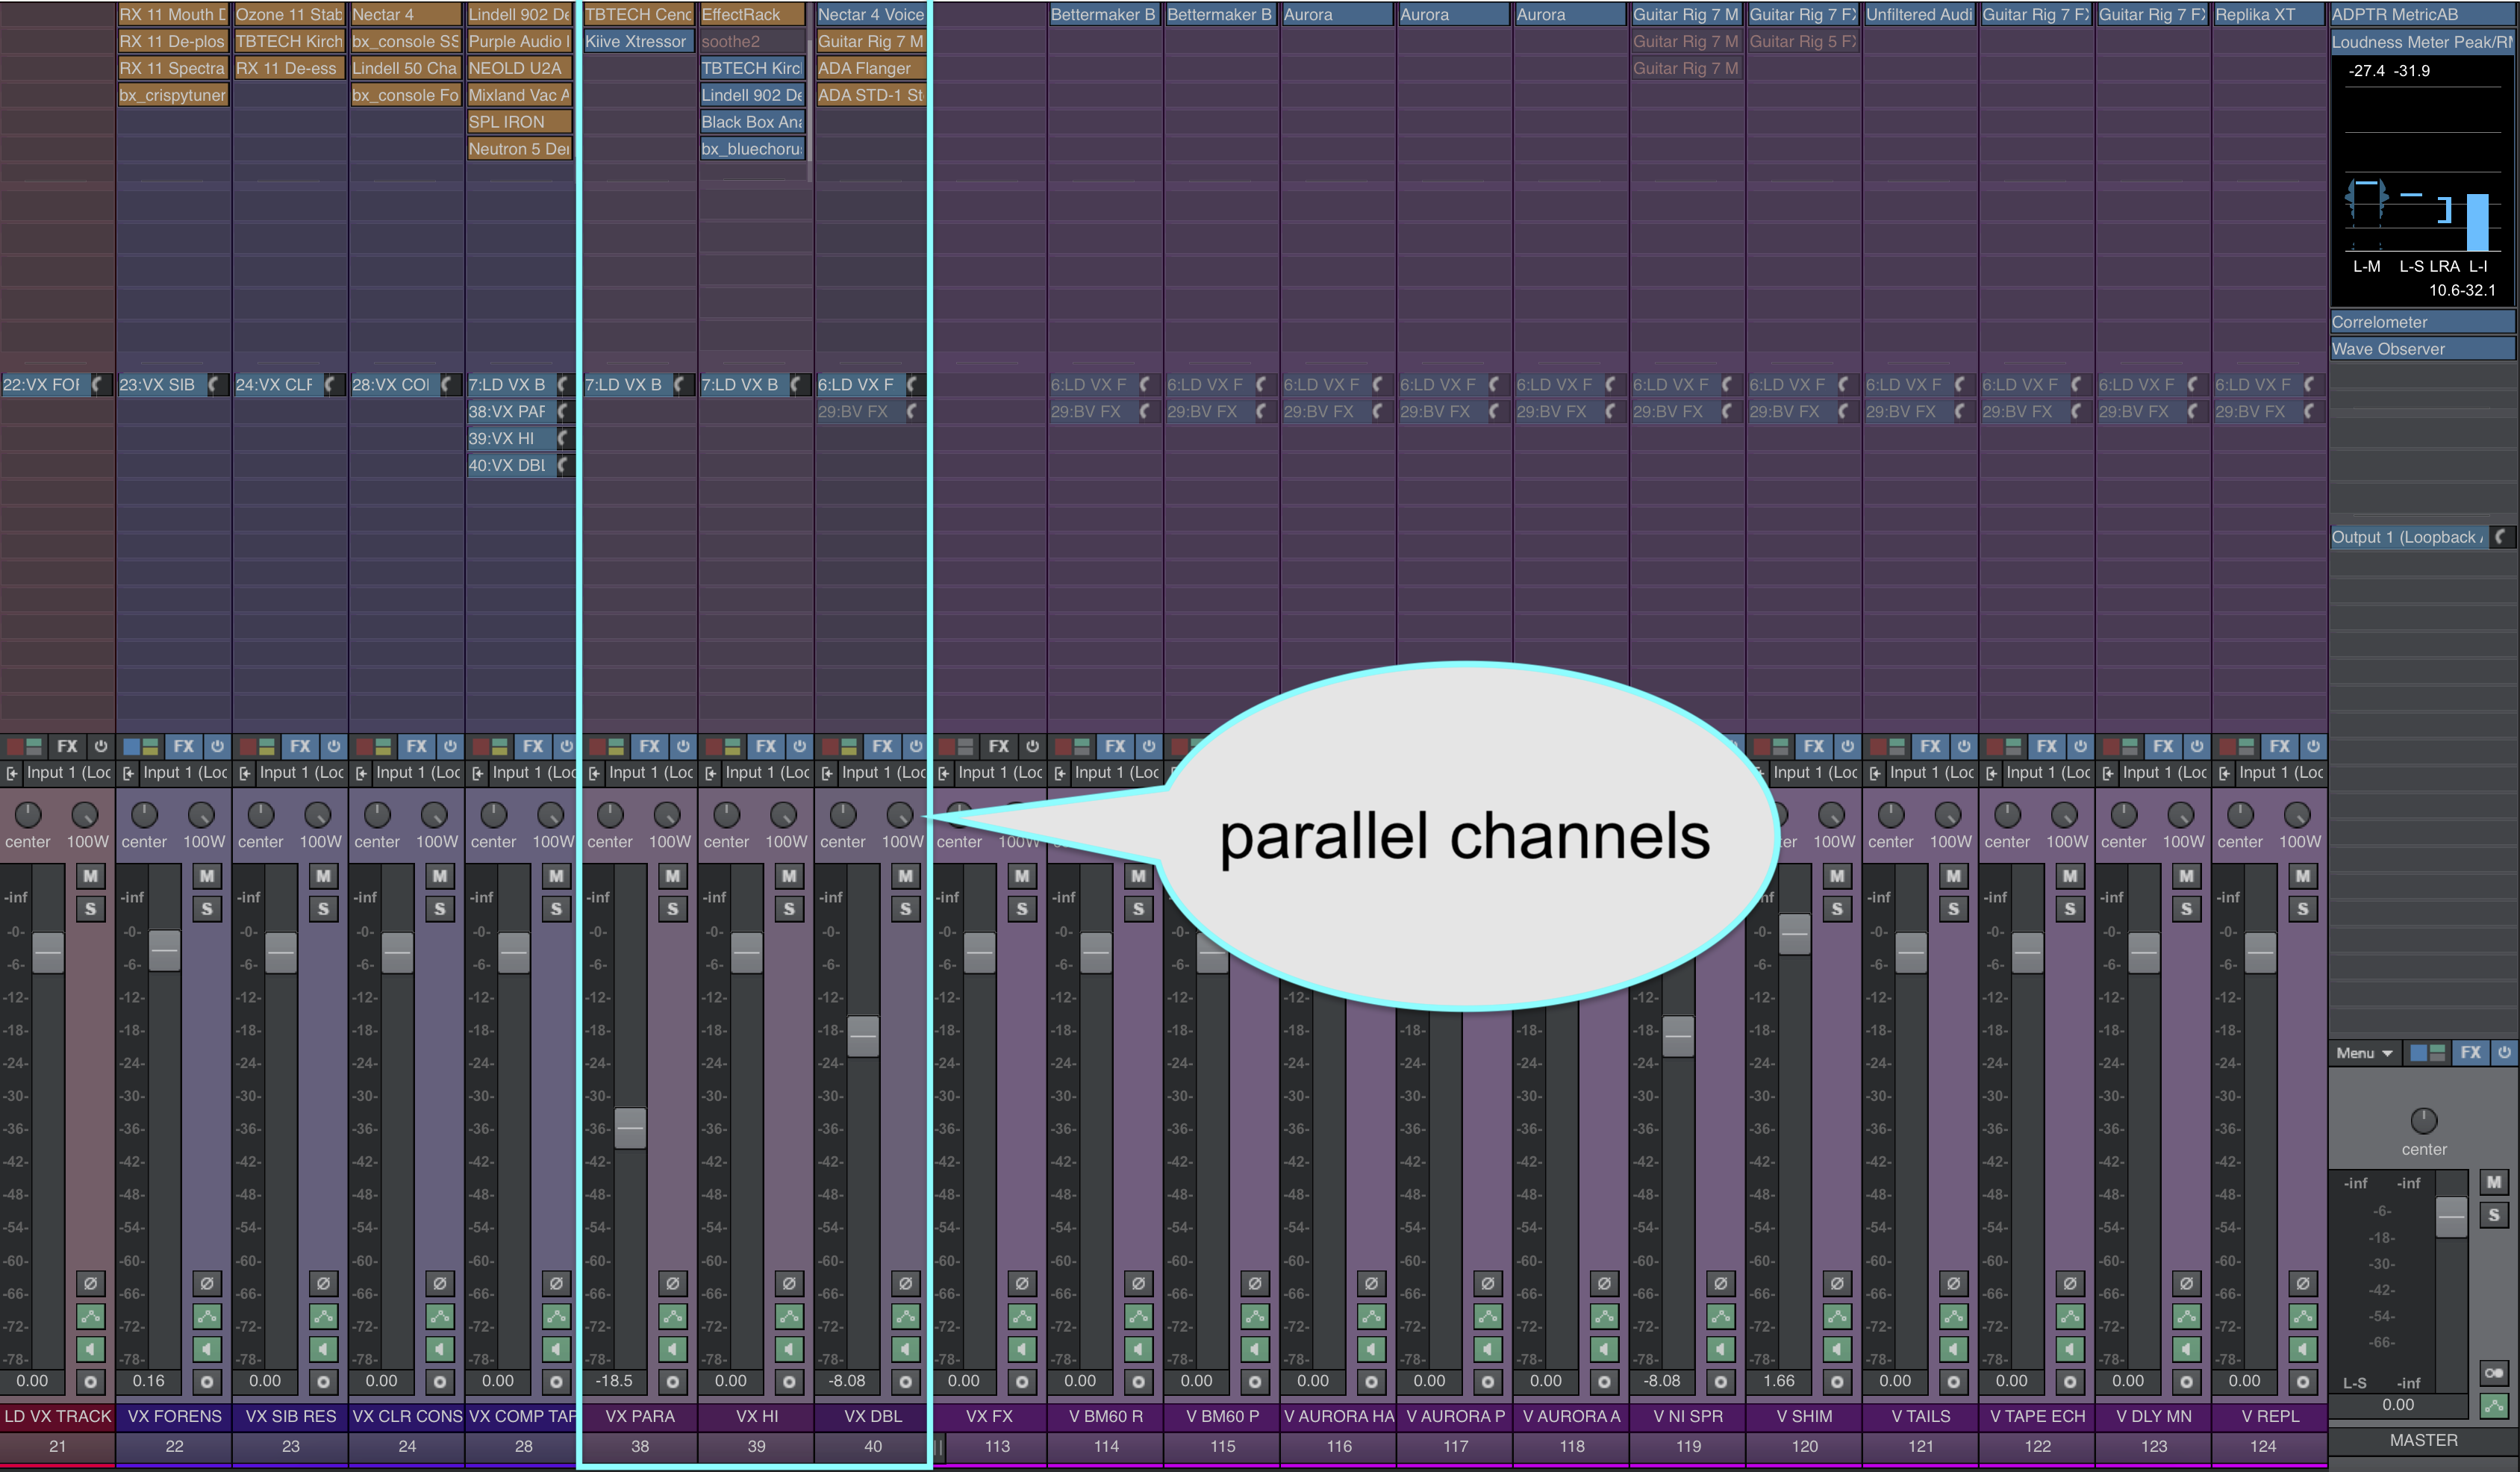
Parallel channels
I like to have at least three parallel channels on hand – and all of them could be duplicated if need be. By default I have a parallel compressor, a high-frequency emphasizer, and a doubler for unison vocals.
The doubling bus is the one that gets duplicated most frequently; it’s not uncommon on a pop or bedroom pop tune to have one style of vocal doubler for a chorus and a different one for a bridge.
1. Parallel compression
A parallel compressor can add extra meat, volume, aggression, or even control to your vocal. Frequently I find myself sending signals from the vocals to a parallel channel, and then automating the volume of this bus in and out as needed.
For instance, you could add some parallel compression as you transition to the chorus from a verse. Then, the vocal would have more weight and presence without seeming louder.
I recommend two plugins in our ecosystem for parallel vocal compression: a blue-stripe 76-style like the Cenozoix compressor if I need that mid-forward grit, and a Distressor emulation for something weightier. Here you’ve got the Three-Body Technology take on a blue-stripe 76, and Kiive’s Xtressor.
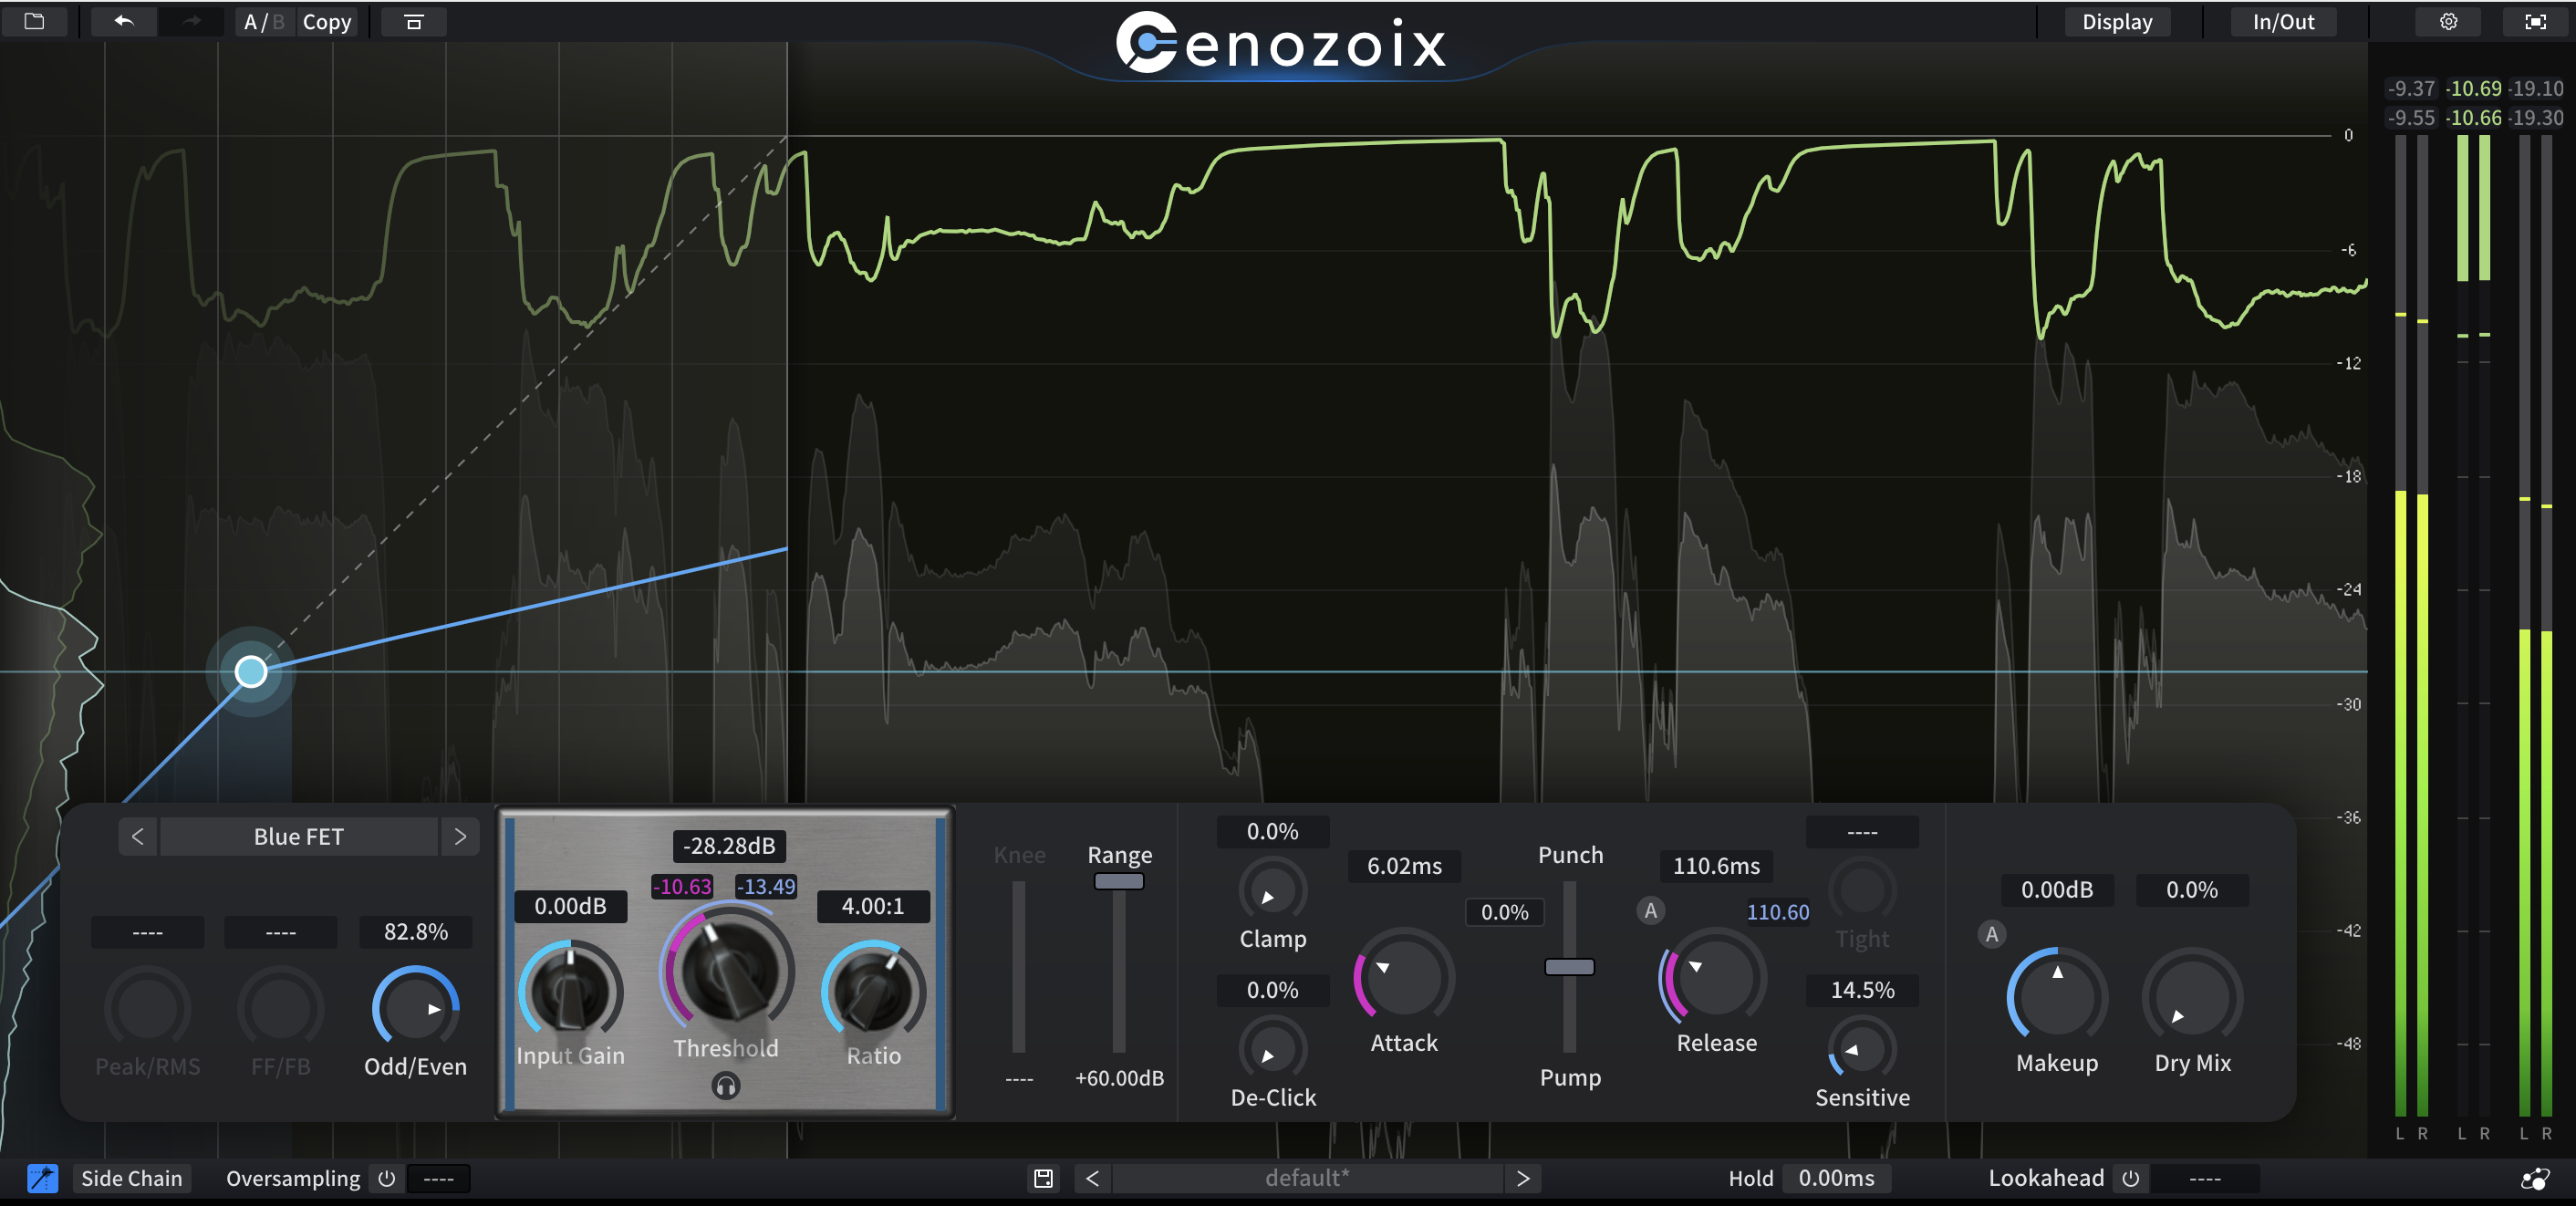
Using the Cenozoix compressor for parallel compression

Using the Xtressor compressor for parallel compression
2. Parallel high-frequency
This parallel channel reinforces high-frequencies, ideally without adding harshness or unwanted sibilance. You don’t always need it, but when it works, it really works.
We’ve got a drastic high cut up to 6k, followed by a de-esser, then some nice, smooth saturation with the HG-Q, and finally, a chorus pedal to smear the esses out a bit.
High-frequency reinforcement chain

High-frequency reinforcement plugins
Parallel high frequency reinforcement serves two purposes: it can help add brightness without harshness, and, because of the phase inconsistencies with the original track, we can “smear” the esses a bit, making them shiny yet not brittle – present but not so sharp.
3. The doubler bus
We often double vocals with modulation for various reasons. Perhaps we want a double-tracked feel to the voice, or maybe we want to evoke a specific sound – something like John Lennon’s classic tape effects, perhaps. Maybe we just want to differentiate the chorus from the verse by making the vocal feel more stereo.
For this reason, we can switch among different doubling effects, using the right one for the right section.
I’ve provided several doublers that help give that classic unison feel to the vocals, which can be automated in and out during different sections – or duplicated if you want to go from one doubler to another.
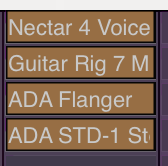
Parallel vocal doubler chain
Note the difference a specific doubler makes. Here’s Nectar’s Voice module:
And here’s the ADA Flanger:
Audio effects
I could write multiple articles about how to use reverbs, delays, distortions, and modulators as vocal effects. In fact, I have; you can find them all over the digital pages of iZotope.
The best advice I can give you now is to set up multiple effects processors in advance, placing them on their own unique buses.

FX returns
If you have favorite reverbs, and delays – plugins you’ve tested and now understand thoroughly – set them up in advance to save time. That way, if you know you want something that sounds like a long Lexicon hall on a particular vocal, you can easily route to something like the RC 48 right away, dialed in with a usable setting to get going quickly.
To anyone who thinks this hampers creativity, consider this:
Just because you have your effects ready to go doesn’t mean you can’t experiment. It does mean that you’ll keep the things you’ve learned from experimenting close by so you can save time and keep experimenting!
Listen below to our vocal with the Aurora reverb plugin and the Cascadia delay effect added.
Tips and tricks
Now that we’ve gotten our tools out of the way, it’s time for some tips and tricks for your “vocal cheat sheet.” Follow these guidelines and you’ll probably be better off in the vocal department.
ABR: Always Be Referencing
Always always always reference between your mix and commercial releases with good vocal sounds. This will keep your ear fresh. Here’s my default instance of ADPTR MetricAB:

Reference your vocals often with commercial releases
For sung male vocals, you can’t really do better than D’Angelo, Jeff Buckley, Chris Cornell, and Tom Yorke (at least, that’s what I think). Ferris Wheel from Sylvan Esso is another silky smooth performance, one that’s impeccably mixed.
You’ll find your own references. The point is to find them and hold yourself accountable to them.
Utilize different monitoring levels
As a rule of thumb, mixing at appropriately loud levels will give you the best overall peak into the natural frequency spread you’re working with. So, it’s not bad to EQ your vocals at safely loud levels.
However, some things are better checked at lower volumes: the level of your vocal relative to the rest of the music can often be judged better when listening back quietly. The harshness of sibilance also seems to really poke out at low levels. So, dial your monitors down when checking up on these issues.
Take advantage of translation checks
Mixing is not mastering: a mix best judged on multiple speaker systems, and even outside your place of work.
If you’re a headphone mixer, unplug your darn cans and just listen to the vocals on whatever you’ve got – even if it’s your laptop speaker. In conversation with a commercially released reference, this exercise will at least give you information on whether your levels, effect volumes, and sibilances are “correct.”
If you’ve got a full-range monitoring system, take the mix to the speakers around your house, your favorite headphones, your car, etc. Listen alongside references and take notes. This will only help you achieve a stronger vocal.
Take advantage of unfocused listening
Sometimes the best thing we can do for our vocal mixes is to throw our in-progress tunes into a playlist with other songs and put it all on in the background while you’re doing something else, like taxes or dishes. Let the music wash over you in an unfocused way and, when your song inevitably comes on, see if something horrifying pops out! This is a good way to catch stray errors.
When it comes to vocals: be sparing – and don’t mix in solo!
Always do more with less. Yes, I’m giving you tons of processors to choose from, but again, don’t use all of them! Learn when to use the right ones. And do try to use as little as you can get away with.
Lastly, don’t mix your vocals in solo! Sure you might need to identify the occasional resonance or sibilance in solo, but the vocal really needs to be heard against the music to be dialed in correctly.
That’s all for now. If you want to dive deeper into vocal processing techniques, please peruse the links below.