Have you ever had a vocal that was too loud or soft, but you don’t have the multitrack available? What about an unwanted sound in the percussion that you can’t seem to remove from a master? Or having a song that you’d like to remix?
The newly redesigned Music Rebalance module in RX 11 can help you reanimate an existing mix, prep your music for a remix, or create instrumentals and vocal stems with improved stem separation technology and machine learning.
In this article, we’ll learn how to use Music Rebalance in RX 11 to create stems out of completed mixes and loops.
Follow along with RX 11 to learn how to use this powerful software in your audio production workflow. But first, let’s answer a few questions.
What is Music Rebalance?
Music Rebalance is a module in RX 11 that allows you to separate the mix of a song into different stems, so you can process them individually. Music Rebalance is also available as an ARA-enabled plug-in for use in compatible DAWs.
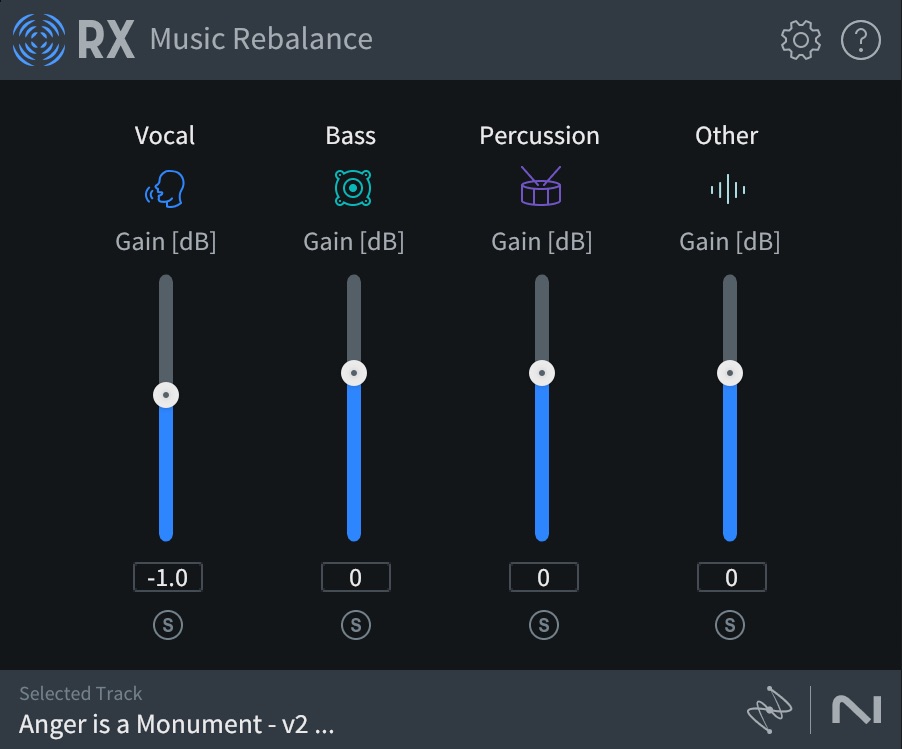
Music Rebalance now looks like this:

Music Rebalance in RX 11
Music Rebalance was one of the first widely-available tools to accomplish this task. However, since Music Rebalance first came to the mainstream, stem separation technology has grown at a lightning pace. We now have “Stem Sep” engineers employed at major studios. They have one job: to isolate stems in classic analog recordings for remixing in immersive formats.
Since this is our future, it’s important to have the best technology on hand. Have no fear: This newest iteration of RX features a Music Rebalance module significantly improved for our modern era. Music Rebalance now offers some of the most transparent “stem sep” technology on the market.
What is a stem again?
A stem is a group of tracks from your mix, usually lumped together by instrumental category. A bass stem consists of all the bass parts grouped into one stereo track. A vocal stem has all the vocals. A background vocal stem has all the background vocals. A drum stem has all drum parts. And so on.
Stems are useful in modern mixing scenarios to make tweaks on the fly without having to break out the whole mix. However, you often run into situations in which stems are not available. Music Rebalance allows you to make your own.
What’s new in Music Rebalance?
If you’ve used Music Rebalance before, you might be wondering what’s new in the most current iteration. Yes, the GUI is different. You’ll see the stems are now color-coded to make distinguishing between them easier. You’ll find mute buttons on hand to mute whole stems in real time.
Also, the separation slider is gone, replaced with a sensitivity knob for each individual stem. You can now decide to cast a wider net in fishing for vocals than for bass.
But still, there’s one undeniable headline:
Music Rebalance now does its job better than it ever did before. And that’s saying a lot. The original was great, and the redesign in RX 8 was even better. But time marches on, and so does technology. Improvements in machine learning to overhaul the neural nets at the base of this software, yielding a more transparent, discerning result.
How do you split the stems of a song?
Using Music Rebalance to split stems of your audio is easy. Let’s use a mix I did for Pete Mancini as an example.
Here’s an excerpt of the mix:
First I load the mix into RX 11. I open the Music Rebalance module and hit the “Stem Split” button.

Stem separation in RX 11 Music Rebalance
As we can see in the following video, these stems null with the original, meaning they add up to the same overall data:
How to use Music Rebalance in your audio
1. Adjust the level of a particular mix element within Music Rebalance
With Music Rebalance, you can easily adjust the volume of all the vocals, basses, drums, and harmonic information in a song with one fell swoop. Is this necessary? It can absolutely be necessary if a remix is not an option, or if time is a factor.
So how good is Music Rebalance at handling this issue? Well, I recently got a note from the artist Glorian to turn down the vocals in the first verse and chorus in a song. Since I was in the mix already, I did this in the conventional manner, opening up the mix and turning the volume down of the vocals.
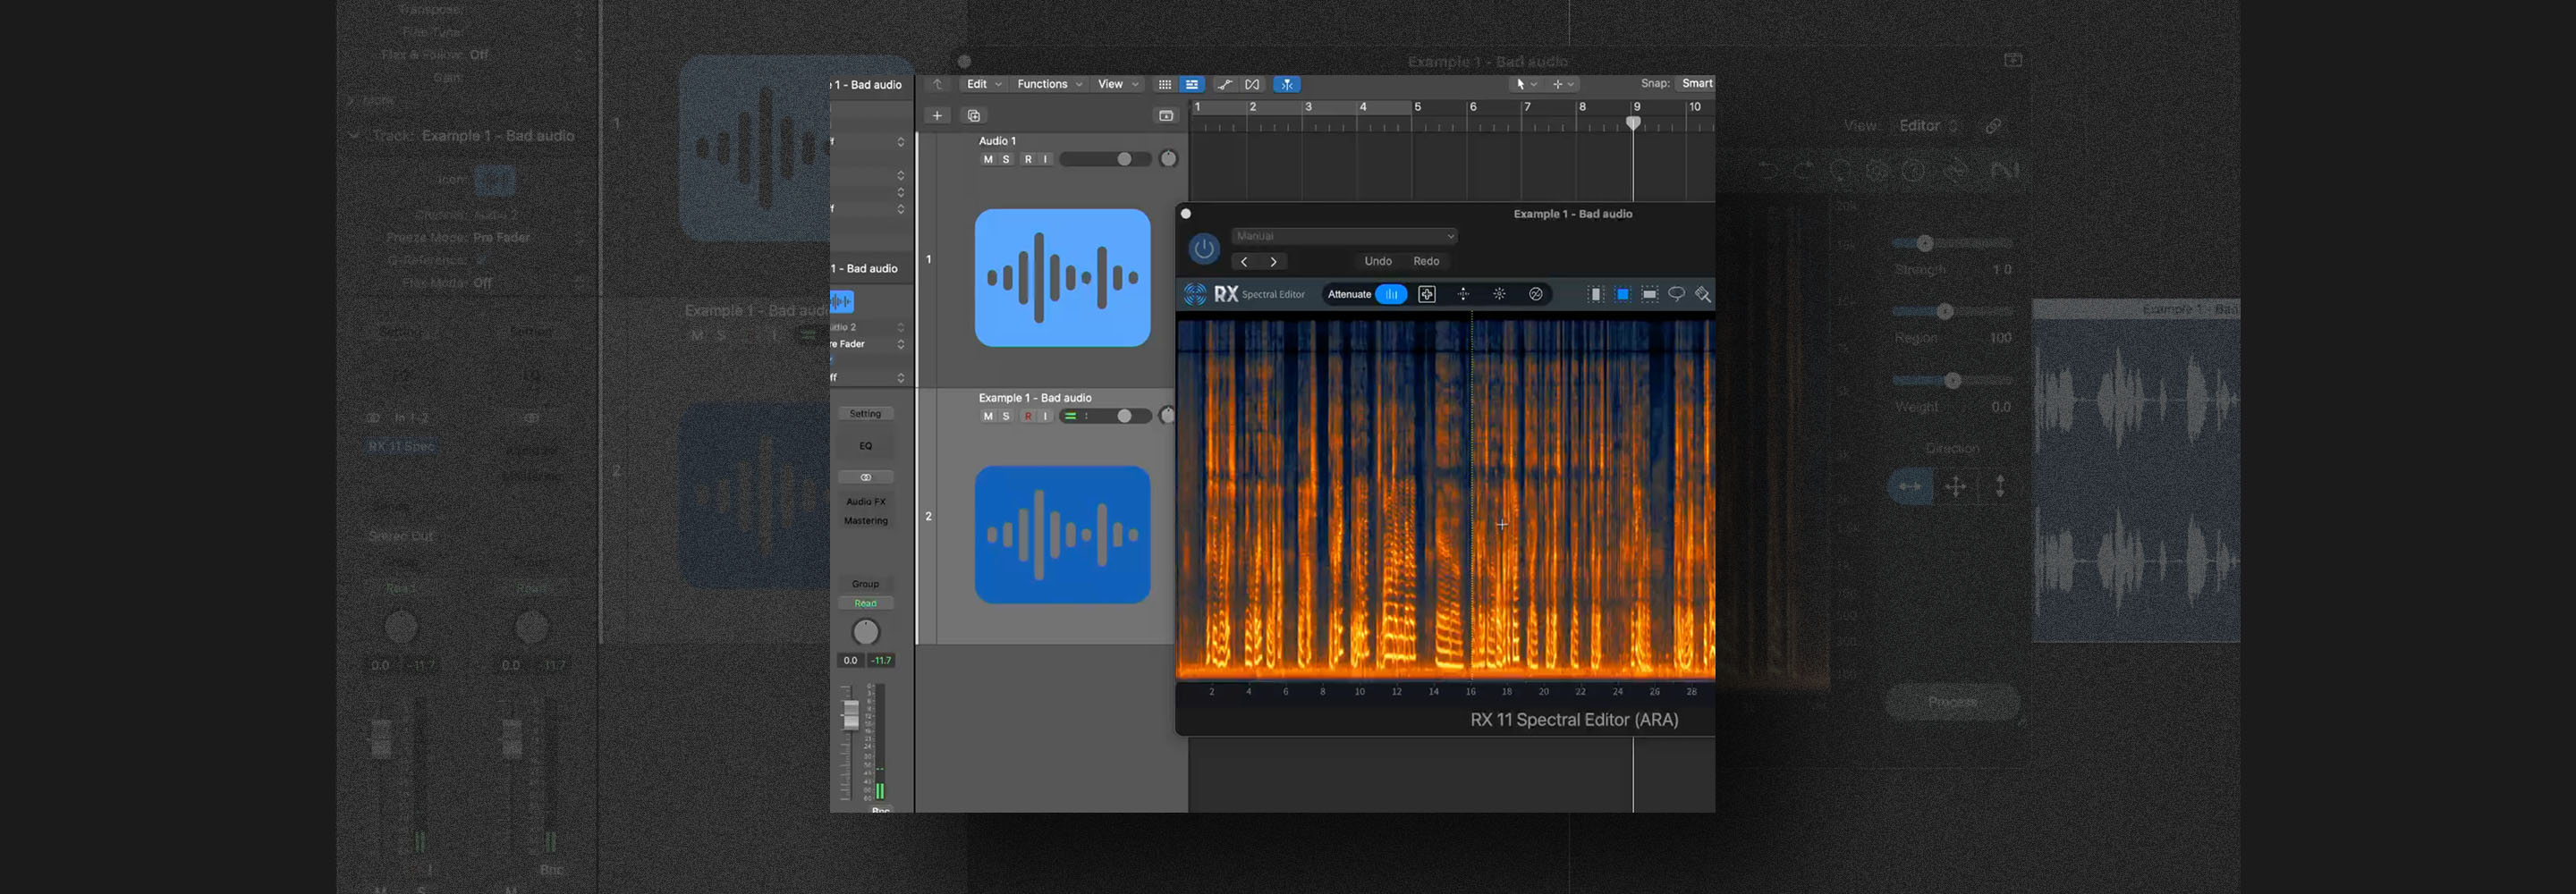
But this makes for a great experiment to test out the new tech. So, I also did the note with Music Rebalance’s ARA-enabled plugin in Logic.

RX 11 Music Rebalance ARA
2. Isolate a single mix element
Sometimes, one is unable to get access to the original music files, and one must use “Stem sep” technology like Music Rebalance to isolate an element for further downstream processing. Let’s use the bass guitar as an example.
Often, balancing the low end can be the most problematic part of any mix. As a result, mastering engineers have developed many techniques to correct this issue. Music Rebalance is one such technique.
I’ll volunteer a mix that’s entirely too bassy:
This is not the final version of this tune – this is a rough mix I did along the way with entirely too much low end. The final can be heard here.
Anyway, we have our overly bassy mix.
Here’s the bass stem after I run it through Music Rebalance:
As we know, the stems will null. So I just have to do careful processing to the bass stem to make the low end less flabby and more present. I’ll use Ozone, like this:

Using Ozone EQ to make the low end more present
3. Bolster an element in the mastering process
This is my favorite way to utilize stem separation technology, as it often carries the most transparent results. The principle is simple:
Instead of splitting out the mix into stems and manipulating each one, we will use the stems at very low levels in parallel with the mix to enhance aspects of them.
It’s true that even in our modern day and age, manipulating stems piece by piece can wreak havoc on the mix as a whole, taking us to an uncanny valley where things don’t feel real.
This problem is mitigated if we work as subtly as we can; and one of the best ways I’ve found to do that is to work very subtly in concert with the original mix.
Start using Music Rebalance for your productions
Now that we’ve shown you around the tech, the time has come for you to use Music Rebalance for your own creative purposes. Have fun with it – this is a brave new world.


