Mixing Audio for Video, Part 3: the Tools of the Trade
In Part 3 of the “Mixing Audio for Video” series we explore the tools of the trade—what you need to get the job done, and how to make the most out of what you already have.
Welcome to Part 3 of our Mixing Audio for Video series! As you may recall, Part 1 and Part 2 dealt with the basics of audio post production, terminology, roles, and workflow. This episode touches on the tools of the trade: what you need to get the job done, and how to make the most out of what you already have.
Let me say this up front—I may not mention your personal workstation or favorite set of plug-ins, and I’m sorry if I omit a platform that really works for you. The goal here is to show you a cross section of what’s out there, who’s using it, and how they’re doing it. Aside from that, if you’re trying to do anything with software that’s more than 10 years old, it’s time to spend a couple bucks and get an update.
DAWs
There are many options here. Plenty folks use Pro Tools, Logic, Nuendo, Cubase, Reaper, Digital Performer, or Audition to get the job done. Professional audio post mixers probably use Pro Tools more than any other DAW software at present. As with music production (in the US, at least) it seems like most studios have some version of Pro Tools, and most engineers know how to use it. The great thing about having your entire audio team on the same platform is the speed with which you can swap sessions between team members for subsequent steps in the production process.
Most Pro Tools users are working on Mac computers, though the PC version of Pro Tools seems to be every bit as stable as the Mac. Personal preference is important here as it is with your DAW selection. One distinction is important, however: since Apple prefers APFS formatting for SSD drives, you may find that PC computers can neither read-from nor write-to disks formatted in this manner. I always keep a spare external USB drive formatted Ex-FAT for PCs so I can trade files easily with editors or other folks on PCs.
Some folks use more than one DAW, depending on the task. For example: I use Logic to create, augment, or edit music because it ships with an extensive virtual instrument and sound set, and I can co-op sessions with other Logic users knowing that we will be able to open every session without having to buy additional plug-ins, as long as we stick to the native sounds. Then, I export my tracks as separate audio files and import them into Pro Tools, which I find much more facile for manipulating audio, and where I have established processes and techniques for editing and mixing. Whatever works best for you is the best solution.

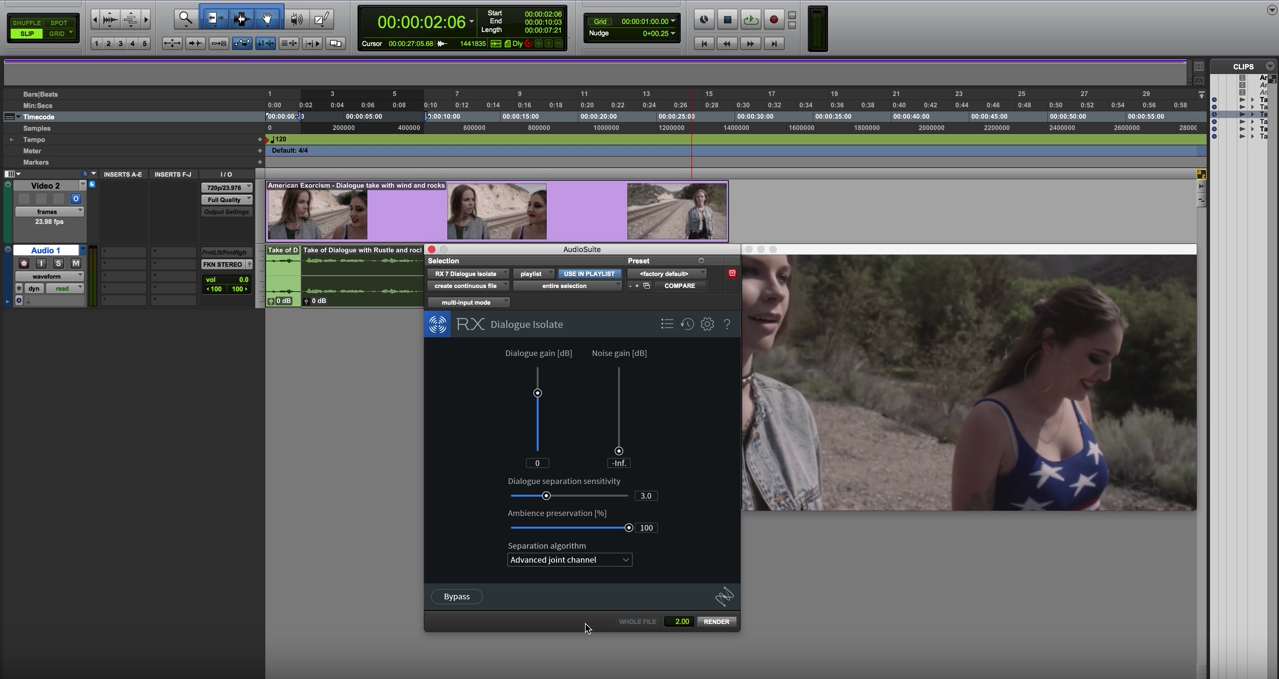
Pro Tools session with RX Dialogue Isolate open
Importing AAF/OMF files
Video editors will export a finished movie and an AAF or OMF file containing all the audio files and edits. This will allow you to import the audio edits into your session exactly as they were in the video editor’s session.
Make sure your DAW can handle AAF and/or OMF file import. AAF is an acronym for Advanced Authoring Format, which is a file format designed to include media and metadata into a single file, allowing cross-platform compatibility for import/export of audio sessions.
OMF (or OMFI) is an acronym for Open Media Framework Interchange, the precursor to AAF, but with greater cross-platform compatibility.
There are known issues when sharing sessions between certain platforms, but one of these formats should do the trick. Ask for both, if you can.
A well-prepared AAF or OMF file will allow you to share sessions among a handful of video and audio editing platforms.
Make sure you ask for handles of at least 2 seconds for each clip. That means each audio clip will have :02 more data on the beginning and end of each file than is visible in the timeline, in case you have to shorten or lengthen one of their edits or crossfades. It happens all the time.
When you open or import the AAF/OMF file, it will populate the timeline in your DAW with all of the audio edits created by the video editor.
Importing Video Files
Do not start working on the project until you have a finished and locked video edit. Otherwise you may have to shift things in time to match subsequent edits, and that can be very troublesome.
Use a video file format compatible with your DAW. This is important. Pro Tools, for example, doesn’t play well with MP4 videos. Decoding MP4s in real time takes all of your CPU cycles, and will leave you waiting for 10 or 15 seconds or more for playback to start after hitting the spacebar. Convert to ProRes 422 or something similar if you have to.
Make sure your session time code frame rate is the same as your source video! You don’t want to finish the whole project only to find out that the audio is slipping or losing sync with video after the first minute.
Import audio from the video into your session (this will give you a sync reference in case something gets moved downstream accidentally). Locking the video and corresponding audio track will help keep them in sync.
Session Layout
Sort tracks into groups:
- Dialogue
- B-roll
- Ambience
- Sound Effects
- Music
Use sub-masters for each group, and route the subs to your master record tracks for mixing.
I have created a session template that includes blank tracks for audio, sorting them into color-coded groups. My template also includes routing for the creation of dialogue, SFX, and music stem mixes simultaneously as I mix.
Why all the mixes? There will always be multiple deliverables for any broadcast or video mix, so it’s good to prepare for them in advance. I’ll get into those details in Part 4.
Plug-ins
There are many, many plug-ins on the market… and you should buy ‘em all! Actually, use your best judgement here, depending on what the tracks need to sound good. Most DAWs ship with plenty of plug-ins to get the majority of your work done.
Below are some of the basic plug-in tools for audio post. Detailed audio repair work is a topic for another discussion.
For dialogue, my sessions typically include the following plug-ins in order:
- EQ/filters
- De-esser
- Noise reduction
- Compression
- Post EQ
- Metering
EQ/Filters
If there is 60 Hz hum, or 3 kHz whine from a lighting instrument on set, here’s your chance to filter out anything that doesn’t belong.
Every dialogue track gets a HPF set to rolloff at somewhere between 60–90Hz as needed. There are no fundamental human sounds below that range, just noises, so let’s make it easier on the other processing in the chain and get rid of the noise first.
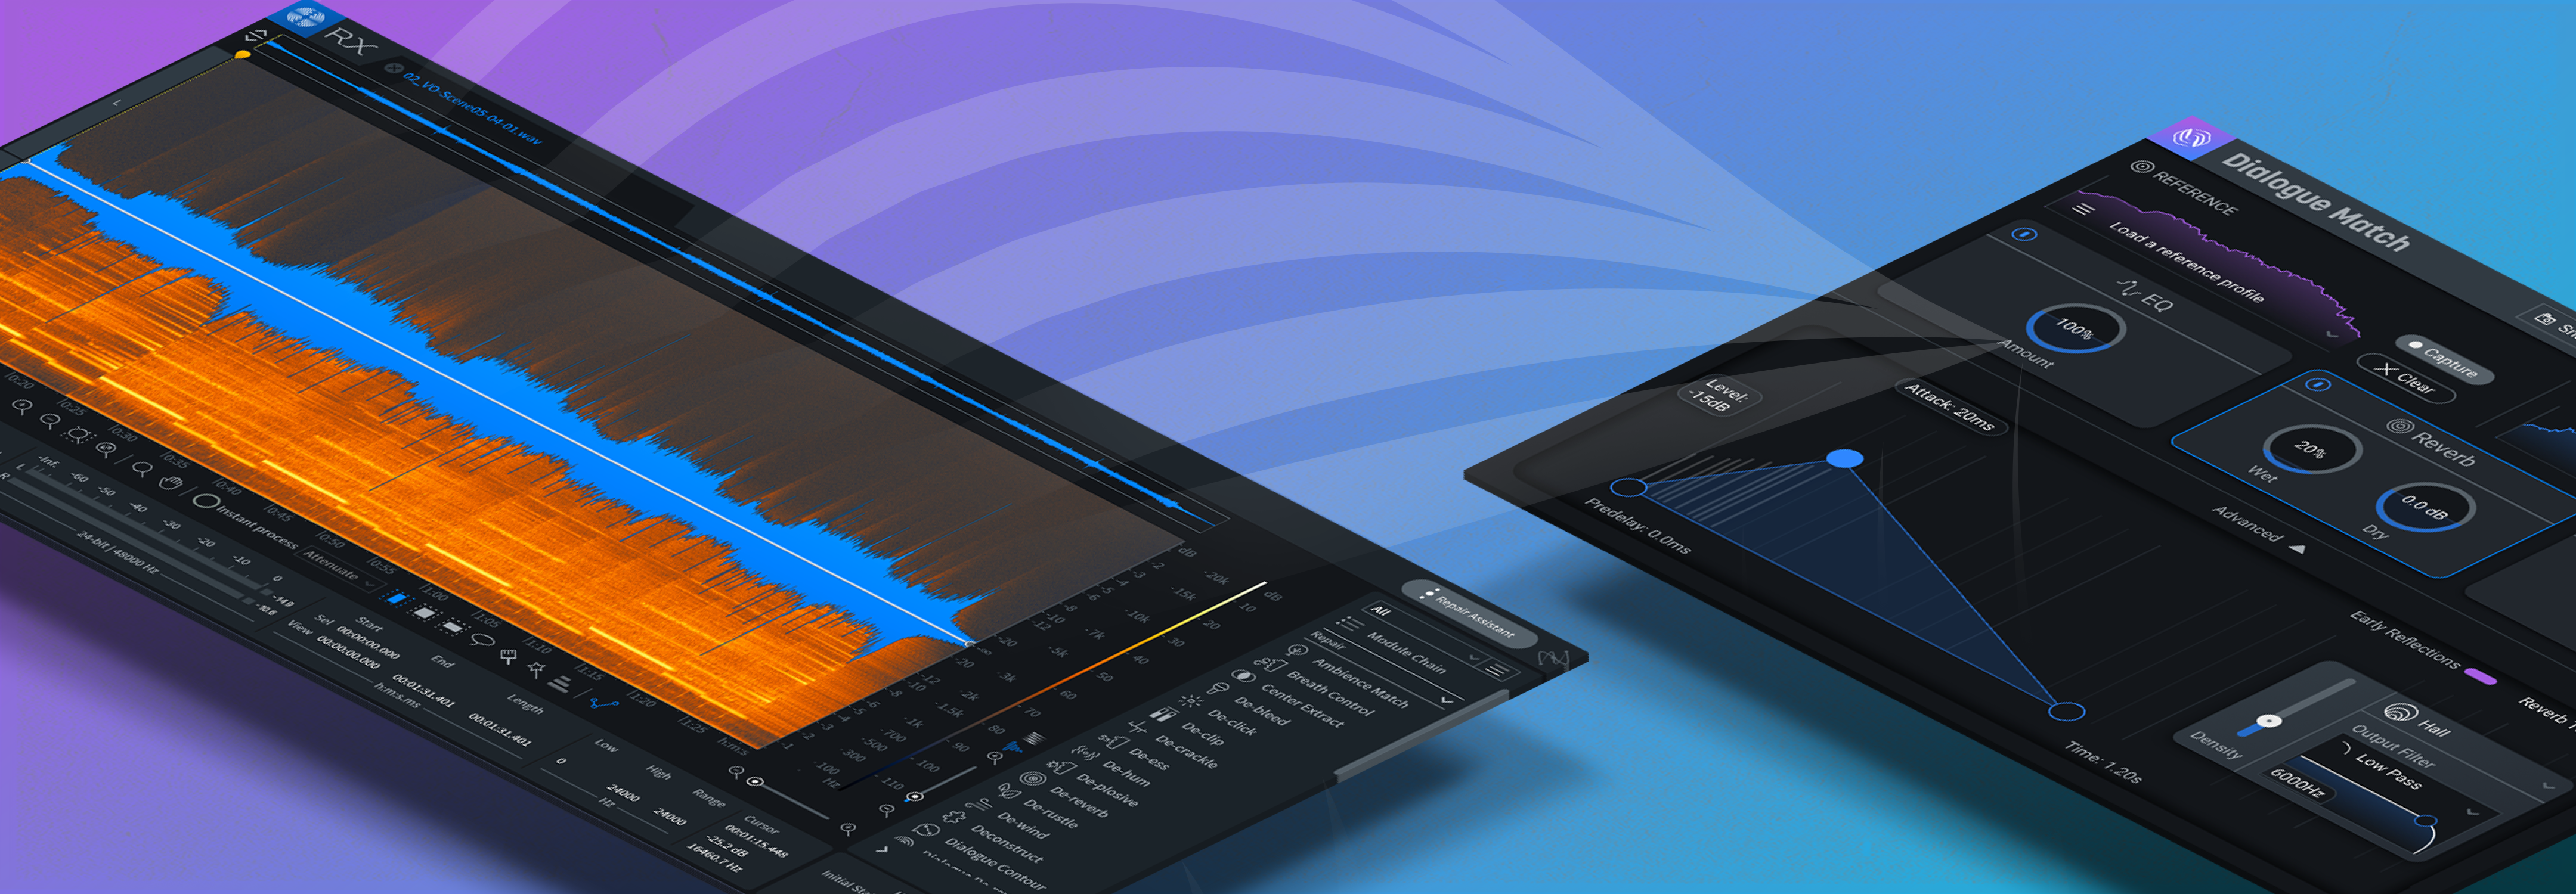
For particularly troublesome hum, iZotope RX features a tool called De-hum that does just that. New to RX 7 is also the latest in assistive audio technology, Repair Assistant, which can automatically detect and correct instances of hum (as well as clicks, clipping, and noise).
De-esser
Sibilance. That's the harsh high-frequency sound in speech that comes from S, F, X, SH, and soft C sounds. A good de-esser will dynamically de-emphasize the energy in the 3–8 kHz range by routing an EQ into the side-chain input of a compressor, turning it into a frequency dependent compressor focused on controlling specifically those sibilant sounds.
There are several really great de-essers out there; try a few different ones, they all seem to behave a little differently. I have four or five from different programmers for that very reason.
Noise reduction
Even in the best circumstances, you will find some kind of noise inherent in a field recording. Savvy production sound recording engineers will have tricks to minimize ambient artifacts, but persistent noise can come from so many sources - HVAC, hard drives, vehicles, wind, convention crowds, etc.
Then there are the human sounds—mouth noises, clothes rustling, popped Ps, and breaths, just to name a few. You can maybe edit or EQ some of these out, and patch with ambience.
There is a real-time plug-in from the RX suite that goes on every one of my tracks—RX Voice De-noise. This one plug-in handles all of the noise from consistent sources like HVAC, wind, and so on, and is able to learn and adapt to changes in the noise character in real-time.
To tame the other bits, I use the Audio Suite RX Connect module to transfer regions (or all of a sound file) to the standalone version of RX Advanced, which has a wide range of focused audio repair tools, like De-click, De-plosive, De-reverb, De-rustle, Dialogue Isolate, and many more. I don’t want to gush, but these things work near-miraculously. The process, is not real-time, however, but with patience comes good things.
Compression
As in a music mix, the individual elements of a mix must occupy a dynamically controlled space in the whole mix in order to focus the listener’s attention to the various elements. Since dialogue is king in the audio post world, we use compression to control music tracks and sound effects and allow the dialogue tracks to be perfectly audible above the other elements.
I’m not talking about crushing a VO track, but I do have a basic compressor setting that works well as a starting point for dynamic control. It’s simple - 3:1 ratio, 20 ms attack, 150 ms decay, and adjust the threshold for no more than -6 dB peak gain reduction.
Post EQ
Now that you’ve used a HPF, eliminated the S sounds, removed the hum and other noise, you may need to add back some of the mid-range or high end EQ, or maybe give the voices some body by turning up the low-mid frequencies. The main thing here is to try to have the voices sound consistent from one individual to the next. Pick one that sounds full, try to match the others to the frequency response of that model.
Metering
How loud is loud enough? Well, the Feds have a law for that. It’s called the CALM Act, and they are serious about how loud your TV programming can be. Especially TV commercials. Check this out.
This is something a stock stereo bar-type meter won’t help you accomplish. Find a good metering plug-in that reads decibels LKFS or LUFS. LKFS = Loudness units, K weighted, relative to full scale. (Where full scale means 100% modulation of audio signal. In other words, the audio is turned up all the way and can’t go any louder.) LUFS = Loudness units relative to full scale. Means essentially the same as LKFS.
A LUFS meter will tell you how loud your program is over time, and how high the peaks were. The real difference is that you can see what your average levels are over the entire length of the program (long term), as well as the short term average.
Of course, different productions require different LKFS/LUFS deliverables. More on that next time.
Upgrades
Upgrades are awesome—nothing like getting a new set of tools that works better and faster than the old ones, while giving you a whole new set of functionality… except when they break something else.
Case in point: Apple recently released an OS upgrade called High Sierra, replacing Sierra. Sierra worked just fine with all of the current DAW software and plug-ins, it was fast, reliable, etc. Along comes High Sierra, and I thought “Why not? It sounds a lot like Sierra, what could go wrong?”
Oh boy. Not only did it break Pro Tools (as of this writing the current OS version is STILL not approved for the latest version of PT), but it induced you to reformat your internal hard drive to the previously mentioned APFS format, and took away the ability to read/write to your earlier formatted disks.
In fairness, I should have read the online warnings before the upgrade. But, as an early adopter, there was no news out there yet regarding Pro Tools users. Sure enough, the day after I upgraded there were plenty of warnings about not doing what I just did. I blame myself.
The moral of the story: check with your DAW manufacturer for compatibility before upgrading your OS! Also check to make sure your plug-ins will continue to work with a DAW upgrade. This is a sensitive ecosystem, and a new life form can seriously disrupt the delicate equilibrium in your carefully pruned garden of software delights.
Summary
Today, we’ve touched on some of the tools of audio post, how to use them, and how to avoid falling into the shiny trap of being the first to upgrade to the latest and greatest. All this is geared toward giving you the best possible tool set to get your work done efficiently, and to keep everything sounding great.
We will wrap up this series in the fourth and final article, with a look into mixing techniques, deliverables, and what careers in audio post look like these days. Until then, thanks for reading, and keep everything at -16 LKFS!


