Mic placement 101: how to get a great sound
Whether you’re new to recording or a seasoned engineer, discover the best practices for mic placement and microphone placement techniques to help your recordings sound clear and professional.
Learn more about Microphone Placement in part 2 of this article.
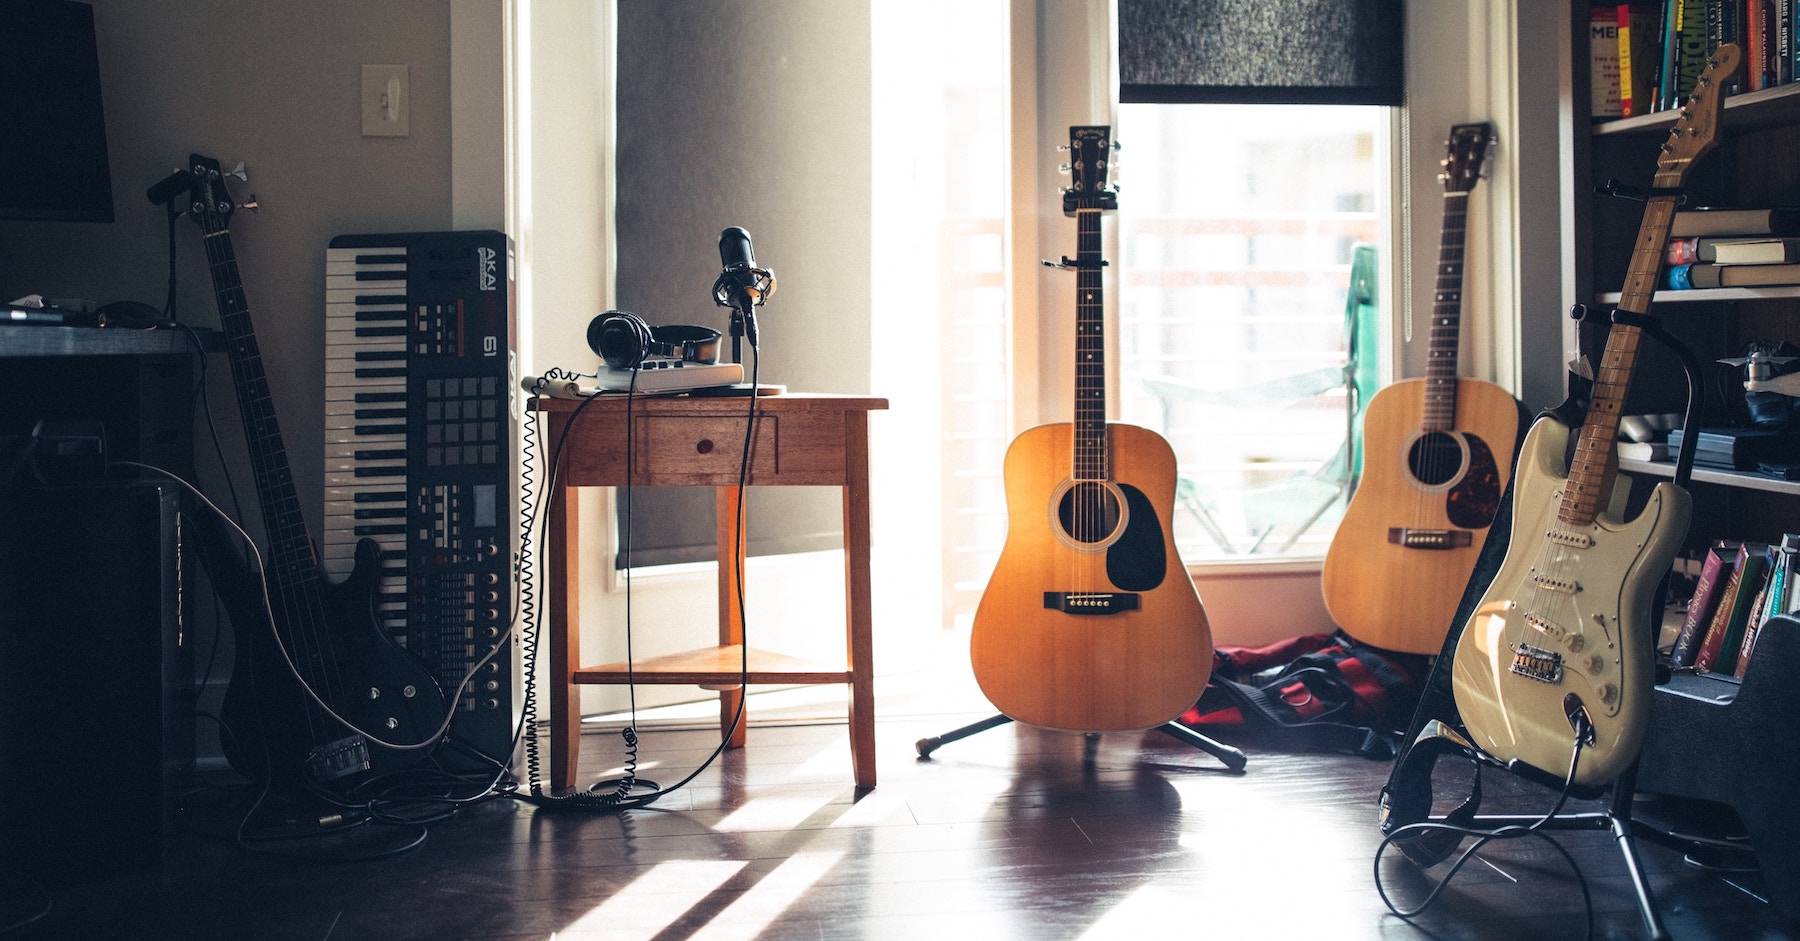
Microphone placement can be the difference between a great-sounding recording or the need to redo the whole session. In this article, we’re going to give you the best practices for mic placement, showing you how to mic vocals, guitars, and drums in the home-studio environment.
You’ll find plenty of pictures and techniques down below, but that’s not at all. I’m providing tons of concepts to keep in mind as well—principles that will help steer you to the best possible sound with the tools you have at your disposal.
As the saying goes, give a fellow a fish and they’ve got one meal—but teach a person to fish, they’ll feed themselves for the rest of their lives. So, think of this article like one long fishing lesson.
Microphone basics
Before I get into proper mic placement, let me cover some basic things about microphones themselves, so you can think quickly on your feet.
How microphones work
In all mics, a transducer is used to convert soundwaves into electrical energy. However, different mics utilize different types of transducers, and these transducers have different characters. We’ll cover four types of mics—though I’ll spare you the science of how they work.
Dynamic microphones
Dynamic mics are usually robust that can handle loud transients with ease. They are often insensitive to the room, so they’re a good choice for untreated spaces. Dynamic mics tend to emphasize the midrange presence of a sound thanks to their inherent resonances. They’re frequently used on drums, live vocals, and guitars.

Sennheiser e 609 Silver Supercardioid Dynamic Guitar Microphone
Ribbon microphones
Because of their construction, ribbon mics tend to be more accurate than traditional dynamic mics, but they are far more sensitive. Vintage ribbons can be damaged easily by phantom power, so never run phantom power into a ribbon unless the manual explicitly gives you the go ahead. Ribbons are considered more flat and neutral than other mics, trending towards the warmer timbres. This makes them fantastic for naturally bright sources, like trumpets, drums, electric guitars, and harsher vocals.

Royer R-10 Ribbon Microphone
Condenser microphones
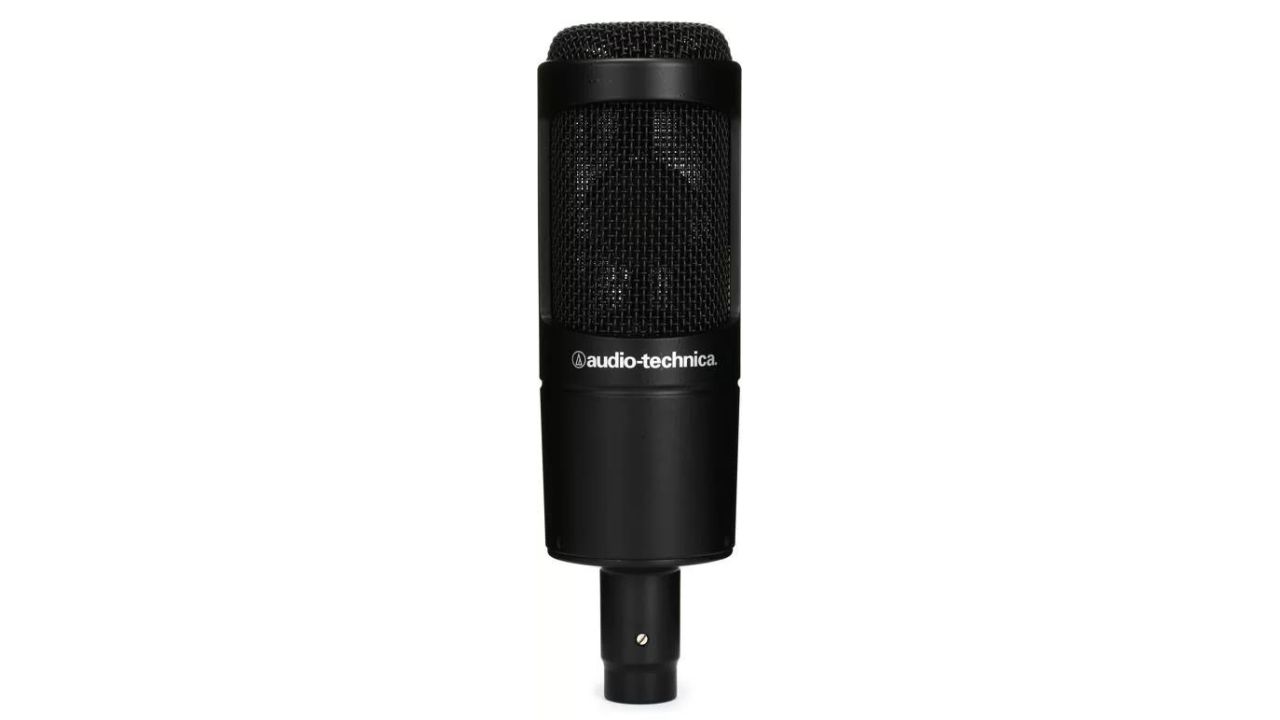
Condenser microphones require external power to run and offer lots of color, particularly in the highs and midrange. Due to their construction, they tend to be quite sensitive to your room—so definitely treat the space! Large-diaphragm condenser microphones are often favored for pop vocals because of their silky high-end. Small diaphragm condenser microphones shine on overheads and string instruments because of their fast, flattering response to transients.

Audio-Technica AT2035 Large-diaphragm Condenser Microphone
Back-electret condensers
I used to think of back-electret condensers as a niche subset, one relegated for consumer electronics. But since the proliferation of USB microphones, these guys have lept to the forefront of what you hear on a daily basis. So, they deserve their own little rundown, because they are almost exclusively what you’ll find in USB mics.
People say that a back-electret condenser mic can be every bit as good as a regular condenser. In my experience, they’re certainly every bit as bright and sensitive as their condenser cousins. But I have yet to hear one that offered the same warmth.

DPA 4006A Omnidirectional Condenser Microphone
Microphone polar patterns
Next, you ought to familiarize yourself with your mic’s polar pattern—or, which physical parts of the mic are picking up sound. Understanding polar patterns goes part and parcel with understanding mic placement.
Omnidirectional
In an omnidirectional polar pattern, sound is captured all around the capsule. Omnidirectional polar patterns tend to be more flat in frequency.
Cardioid
In cardioid, the signal is captured in a heart-like pattern around the microphone, with only minimal response at the rear. Cardioid mics tend to sound bassier the closer they are to a sound source.
You’ll also find further classifications of cardioid, like supercardioid, hypercardioid, and unidirectional. These adjectives are giving you a clue about how focused the sound really is in front of the capsule.
Figure 8
A capsule in Figure 8 will pick up sound at the front and rear of the mic, leaving the sides almost entirely dead. This polar pattern can be quite useful when trying to get separation among instruments or speakers.
Other considerations in mic placement
Technical knowledge only gets you so far. You also have to consider many variables when figuring out where to put up the mics.
The player-instrument dynamic
No two instruments sound alike. No two players sound alike. This makes every situation involving mic'ing an instrument unique. So, I like to think in terms of what the source is giving me and react accordingly: if the singer is bright, I’m going to think about which mics I have that complement their brightness. This also extends to placement, as I might place a mic closer to an innately brighter voice than I would if the voice were warm.
The demands of the song
If the song demands a bright guitar part, I shouldn’t try to undercut the brightness in my mic selection or mic placement. The extent to which I’d mitigate brightness would only be to shave out the harshest frequencies.
The opposite is true as well: if the song requires a thumpy kick—one without clicky distinction—this changes where I’d put the mics.
The room
The room is the most important consideration in mic placement. Sure, you could bring out a fancy laser to measure the angles of all your mics for phase coherence. But if the room sounds terrible, such precision will only net you a precisely terrible sound. Yet in the same terrible room, a highly-insensitive dynamic mic right up on the sound source might give you everything you need without much trouble. It’s about knowing what you’re working with and reacting accordingly. Proper room treatment can also help your recordings (more on that in our room treatment tutorial).
If you’re in an unfamiliar room, walk around while clapping your hands to listen for flutter echoes. Hiss like a snake to judge how bright and harsh the room is going to be. Vocalize a big “ooh” from the top of your range to the bottom to ferret out any weird room resonances. All of this will give you good information.
If you have the luxury of time, try a few places in the room for test recording. Find which one sounds the best for the matter at hand, and set up there for the actual session.

The room is the most important consideration in mic placement
Important microphone concepts
More than the specific examples I’m about to give you, this is perhaps the most important section of the blog, so do not skip these concepts.
On axis versus off axis mic’ing
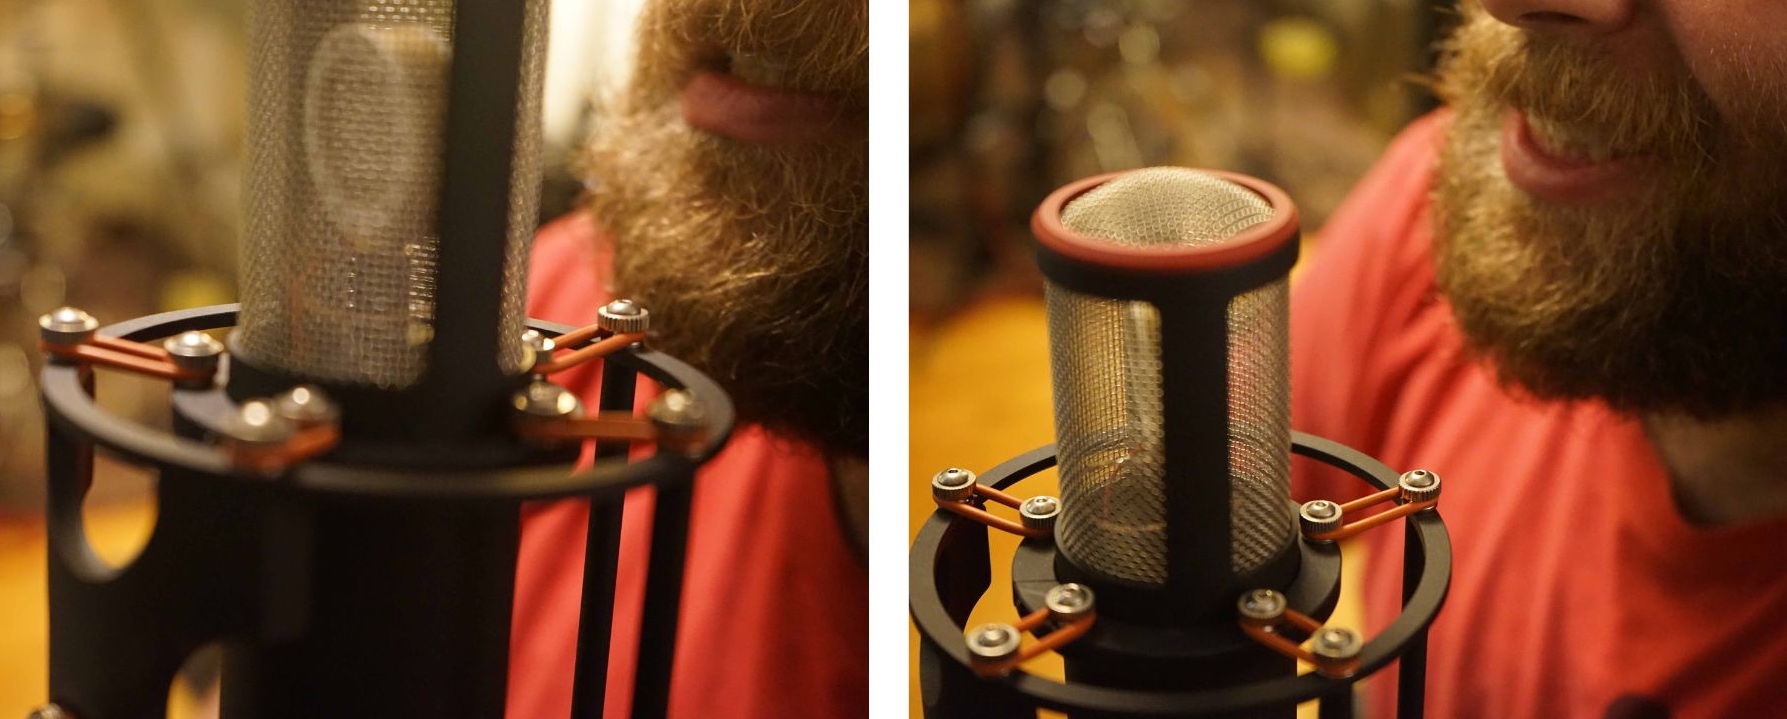
When a mic’s capsule is pointed directly at the sound source, we call this “on axis.” When a mic’s capsule pointed not directly at an instrument, but angled off ever so slightly, we call that off axis.

On-axis vs. off-axis microphone placement for vocals
An on axis sound is generally going to be more bright and more focused than an off axis sound. I’m underlining this for emphasis, because it’s a shortcut to getting you what you want:
Is the singer too sibilant and harsh? Try turning the mic slightly off-axis to their mouth. Is the guitar too dull coming out of the amplifier? Check to see if you’re mic'ing the cab on axis. If there’s any angle in the mic'ing whatsoever, try going straight on the cab.
Proximity effect
The proximity effect describes what happens as you move a mic physically close to the instrument you’re recording. With a cardioid microphone, the closer the mic sits to the instrument, the more low end you’re going to get in the signal.
This is an incredibly powerful concept for adding body to thin-sounding vocalists or guitars. It also serves you well in shaping the lows out of a naturally boomy sound. If the guitar amp is too full bodied, don’t tell the guitar player to change their tone dials; instead, try moving the mic farther away from the cabinet.
Phase between multiple microphones
Say you've got a drum set, and you want to use two microphones to get a stereo sound. Here’s the thing about that: the soundwaves off that drum set will arrive at each mic independently.
This concept is the building block of phase relationships—and it’s crucial to multi-mic'ed instruments like drums. If one mic is farther away from the snare than the other, you might get a weird, thin, washy snare as a result.
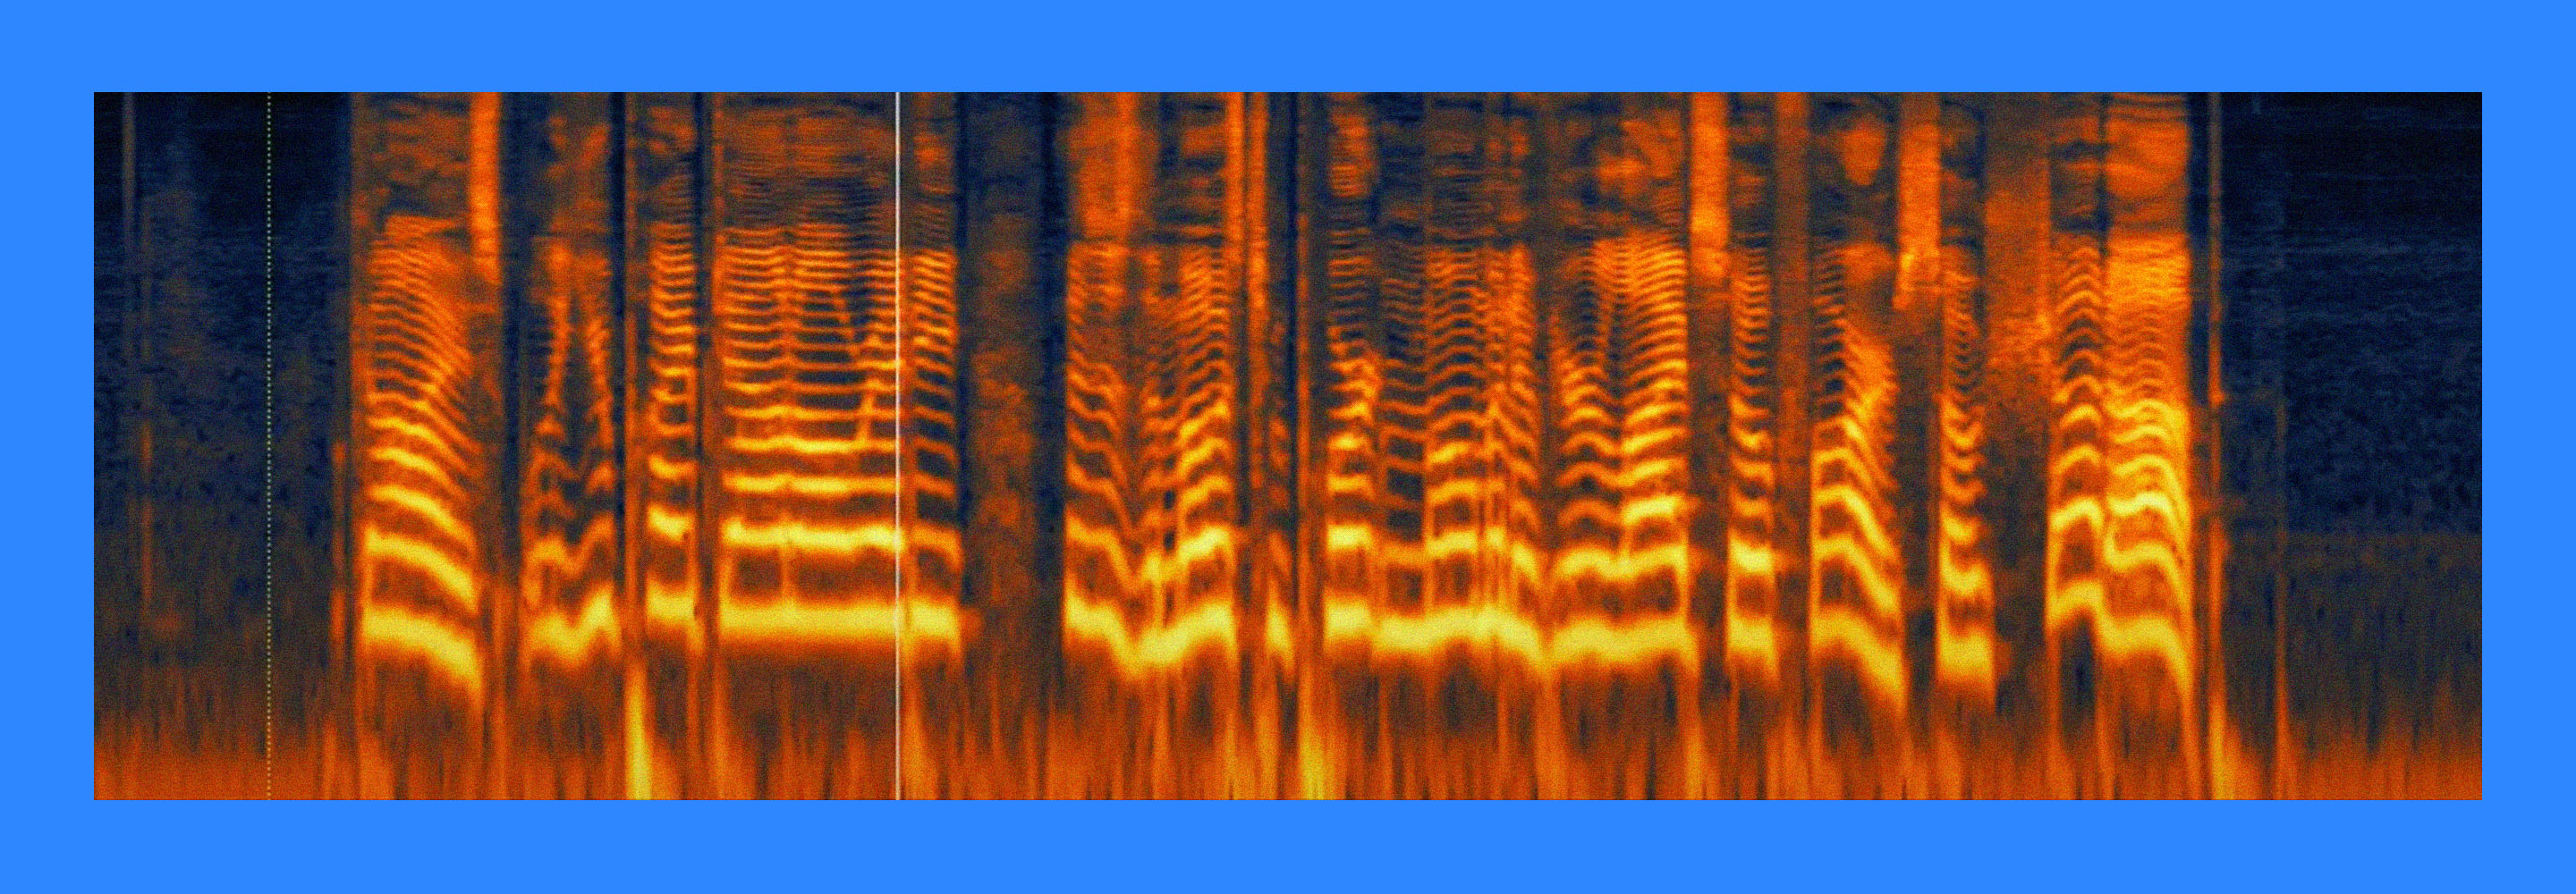
Consider a drum kit captured with two mics. This is what it sounds like:
That’s a good phase relationship. I can simulate a bad phase relationship by delaying one of the channels 1 millisecond—which is roughly tantamount to moving one of the mics away from the other by a 1.13 feet.
That’s pretty weird, right? Set the mics up really bad, and the whole kit could sound out of phase.
Now listen, I could write a whole article—who knows, even a book—on how important phase relationships are to drums. But we’re already like a thousand words into this thing!
So let’s move on to the main event: basic tips on microphone placement, particularly in the home studio.
Learn more about Microphone Placement in part 2 of this article.

