Acoustic Room Treatment on a Low Budget
Is your home studio too reverberant to get pro sounding results? Learn the basics of acoustic room treatment, and get started treating your room without breaking the bank.
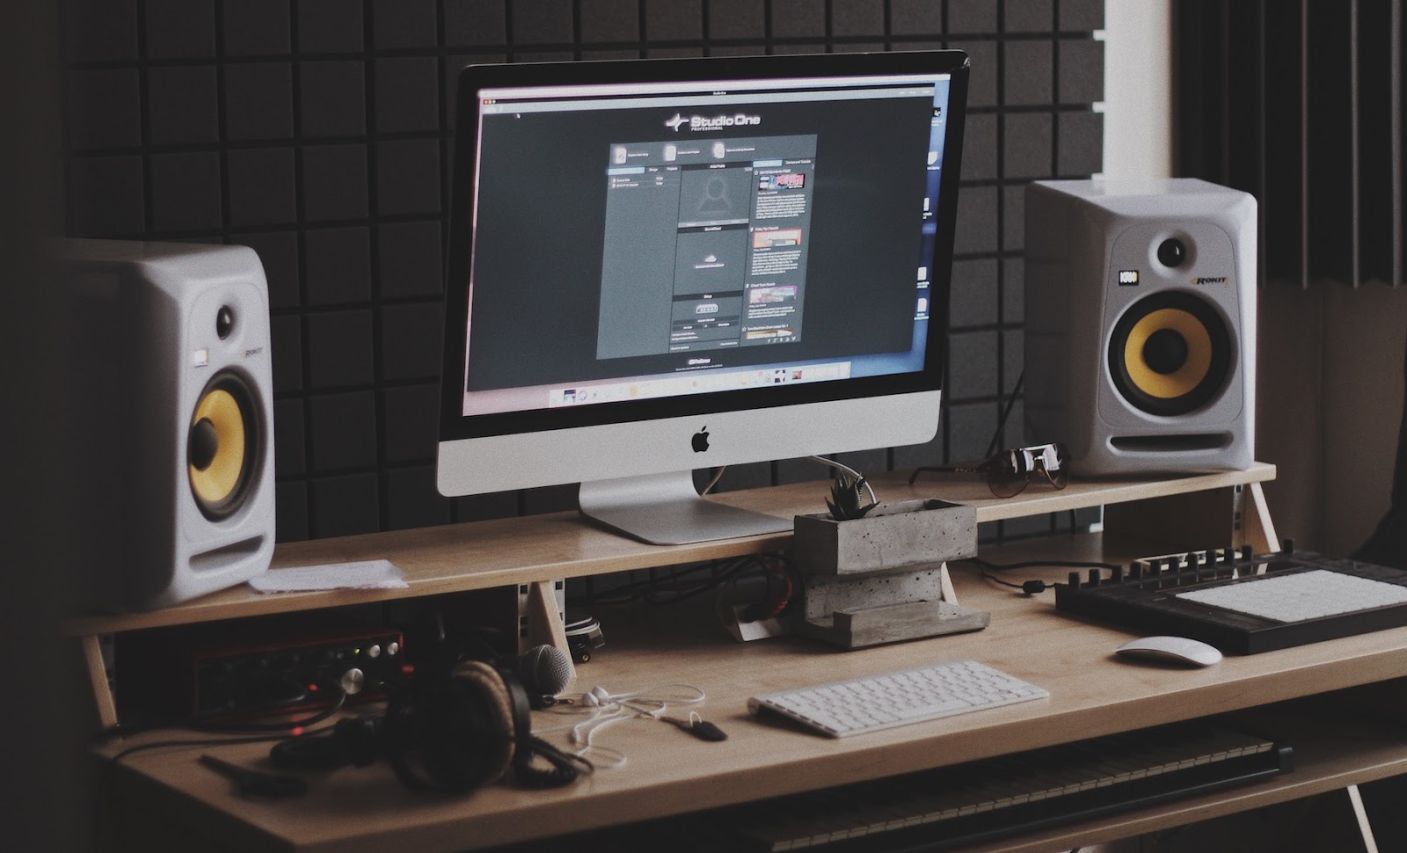
What makes a home studio turn from a bedroom setup to a professional one? What do all professional studios have in common? The answer, undeniably so, is the access to a soundproofed and acoustically treated recording and mixing environment.
If you make a sound in your home studio, do you hear a lot of unwanted reflections, ringing, or reverb? That means the room is poorly suited to recording and mixing, and the sound you record or hear in the room is going to be tainted with artifacts that are extremely difficult (or even impossible) to fix after the fact. Professional studios spend thousands of dollars attempting to deaden and treat the environment, but luckily, with the right amount of materials and time, you can achieve a similar product without digging too deep into your wallet.
Soundproofing vs. treatment
Before we go into too much detail about acoustics, it’s important to note the difference between soundproofing and treatment.
Soundproofing is the act of isolating one environment or room from another. Soundproofing a room would involve, for example, blocking any gaps going in/out of the room with heavy, dense material and sealing any openings that would allow sound to leave the room. The benefit of this is the ability to record sounds or listen to music in the room without any of the noise bleeding out into potential neighbors or roommates houses/rooms (and making sure no sound comes in).
Acoustic room treatment, on the other hand, aims to control the sound reflections in a room in order to allow for better recordings and mixes.
Both of these are extremely valuable, but neither one does the job of the other. It’s important to be able to distinguish between both in order to know what you need to buy in order to complete your home studio.
Absorption vs. diffusion
There are two techniques to acoustically treat a room. The first of them, absorption, is used to actively remove reflections and deaden a room. The problem with just using absorption is that it can sometimes make a room sound uncomfortably dead. This is where diffusion comes along.
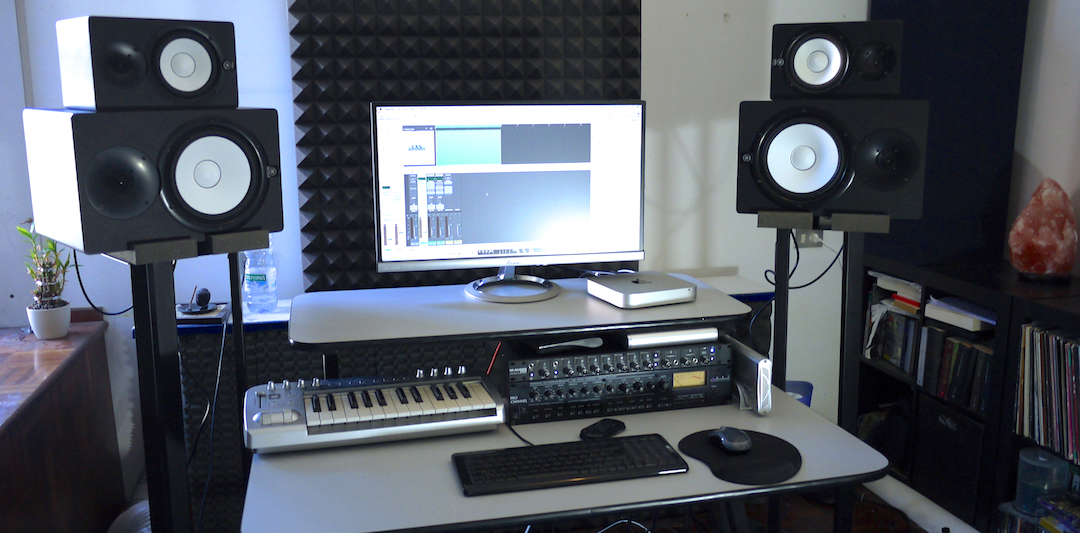
Leaving a room untreated, reflections can get trapped in any one particular area of a room, and as a result, some frequencies get amplified while others get canceled out. Diffusers work by scattering these reflections and preserving the natural tone of a room as much as possible.
Nowadays, most acousticians and musicians agree that when looking at any home studio environment, absorption takes priority. If you’re looking to spend any money on treating your room, absorbing frequencies (especially bass frequencies) is of paramount importance.
Diffusion
A common misconception is that diffusers are just as if not more important than absorption. Maybe it’s because they look cool, with all of their weird shapes and jagged edges?
The fact of the matter is that, while diffusers do greatly help the sound of a room, they don’t do nearly as much as absorption panels do.
Diffusion material is often extremely expensive, and while there are some “more” affordable options for diffusion panels, if you’re running on an extremely tight budget, you may want to hold off until you have all of your absorption needs covered.
Where to buy cheap material
Unfortunately, well-known sound absorption traps and panels are expensive. A full package for a studio recording sound absorption set could cost you $800 or more.
Before you look at any set of panels, the first thing you need to do is take care of the bass frequency response in the room. You can buy a highly-rated 4-pack of floor/ceiling bass traps here.There is a smaller option—and if you have space, you’re definitely going to benefit from spending the extra $20 on the bigger ones.
You can buy a 12 pack of cheap sound wall absorption panels here. They come in different colors, too.
And if you’re looking for diffusion panels, the same company, Foamily, has an option for wall panels that help to diffuse as well as absorb sound in the room.
While these aren’t top of the line, they’ll definitely help with capturing stray frequency responses in the room if you’re on a budget.
If you’re feeling extra creative and have some extra time on your hands, creating your own sound panels is a unique and inexpensive way of giving your studio a personal touch. There are plenty of trailblazers you can find online that can lead you through constructing you can create a much cheaper version of store-bought sound panels by yourself! This man built them for $22 a panel.
And here’s a video of someone creating ones for $26 a panel.
Acoustics Insider goes into great detail to describe the different types of sound panel absorption material you can buy if you’re going the construction route.
Conclusion
Treating your room doesn’t have to be an expensive journey! And if you haven’t done so yet, you’re bound to hear the difference immediately. Research which path is the right one for you, and take the time to feel out how each new panel helps to improve the quality of sound sources in your home studio.
