5 tips for using multiple EQs when mixing audio
Want more control over your mix? Discover 5 powerful EQ techniques for using multiple EQs to shape your sound and achieve professional results.
We've explored the power of layering reverbs to create rich, immersive soundscapes in a mix, but what about a similar approach with EQ? Can using multiple EQs actually improve your mix?
In this article, we'll dive into five essential EQ tips for effectively shaping your sound using multiple EQs, giving you greater control and sonic flexibility.
Follow along with this tutorial using iZotope Ozone EQ, a powerful EQ that has everything you need to tune your mixes with laser precision.
1. Different EQs for cuts and boosts
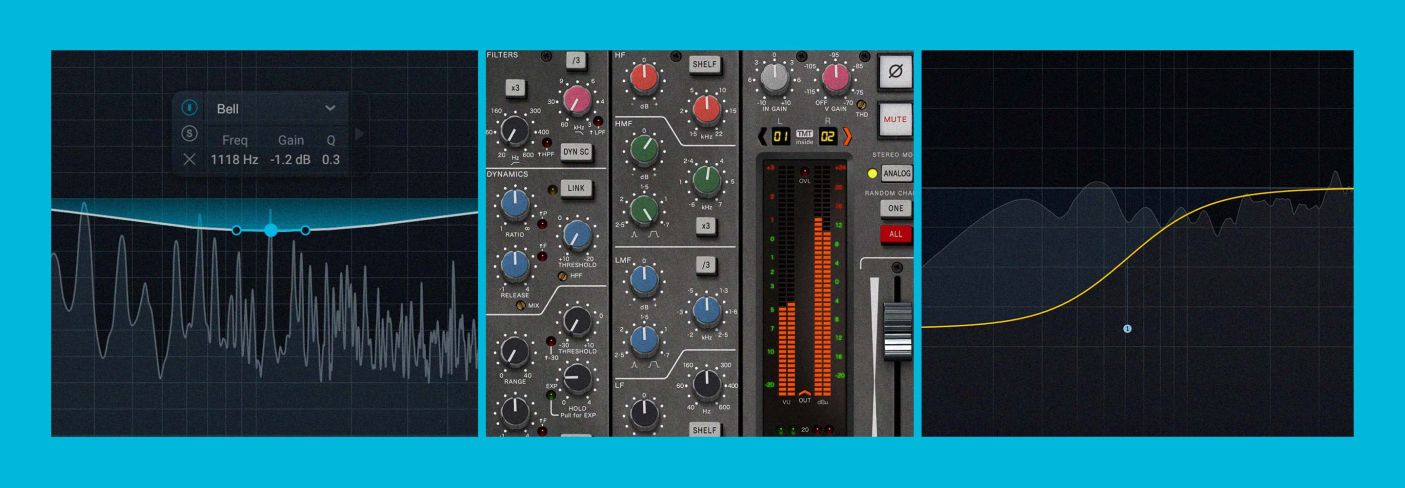
The world of plugin EQs can be roughly split into two categories: pristinely transparent processors that alter the sound as little as possible; and colorful monsters that truly mangle your sound in fun and interesting ways.
It’s no surprise, then, that these pristine digital EQs are suited towards attenuating unwanted frequencies: make a cut with a transparent linear-phase EQ such as iZotope Ozone or Three-Body Technology Kirchhoff-EQ, and you’re less likely to affect other frequencies, or incur artifacts.
Similarly, boosts might benefit from the sonic mangling of colorful EQ: the non-linear characteristics of a console EQ or classic emulation might enhance the boost wonderfully – especially if you’ve already cut the nasties out with something clean and transparent!
You can see where this is going:
Try using a surgical, transparent EQ for subtractive purposes and something with more character when adding to the signal.
The opposite can also be true: after a significant boost on an instrument, an annoying resonance now may grab your ear. If you used a hardware emulation EQ for the boost, you will certainly get the color you want, but not necessarily the controls to pinpoint problematic frequencies. So you do the opposite: take out the resonant sucker with something like TBT Kirchhoff.
But what do we mean by color and character?
Software engineers model classic hardware because of their imperfections – their distortions and idiosyncrasies.
Now, it’s important to make your own associations with the tools at your disposal. But people have noted the following observations throughout the years:
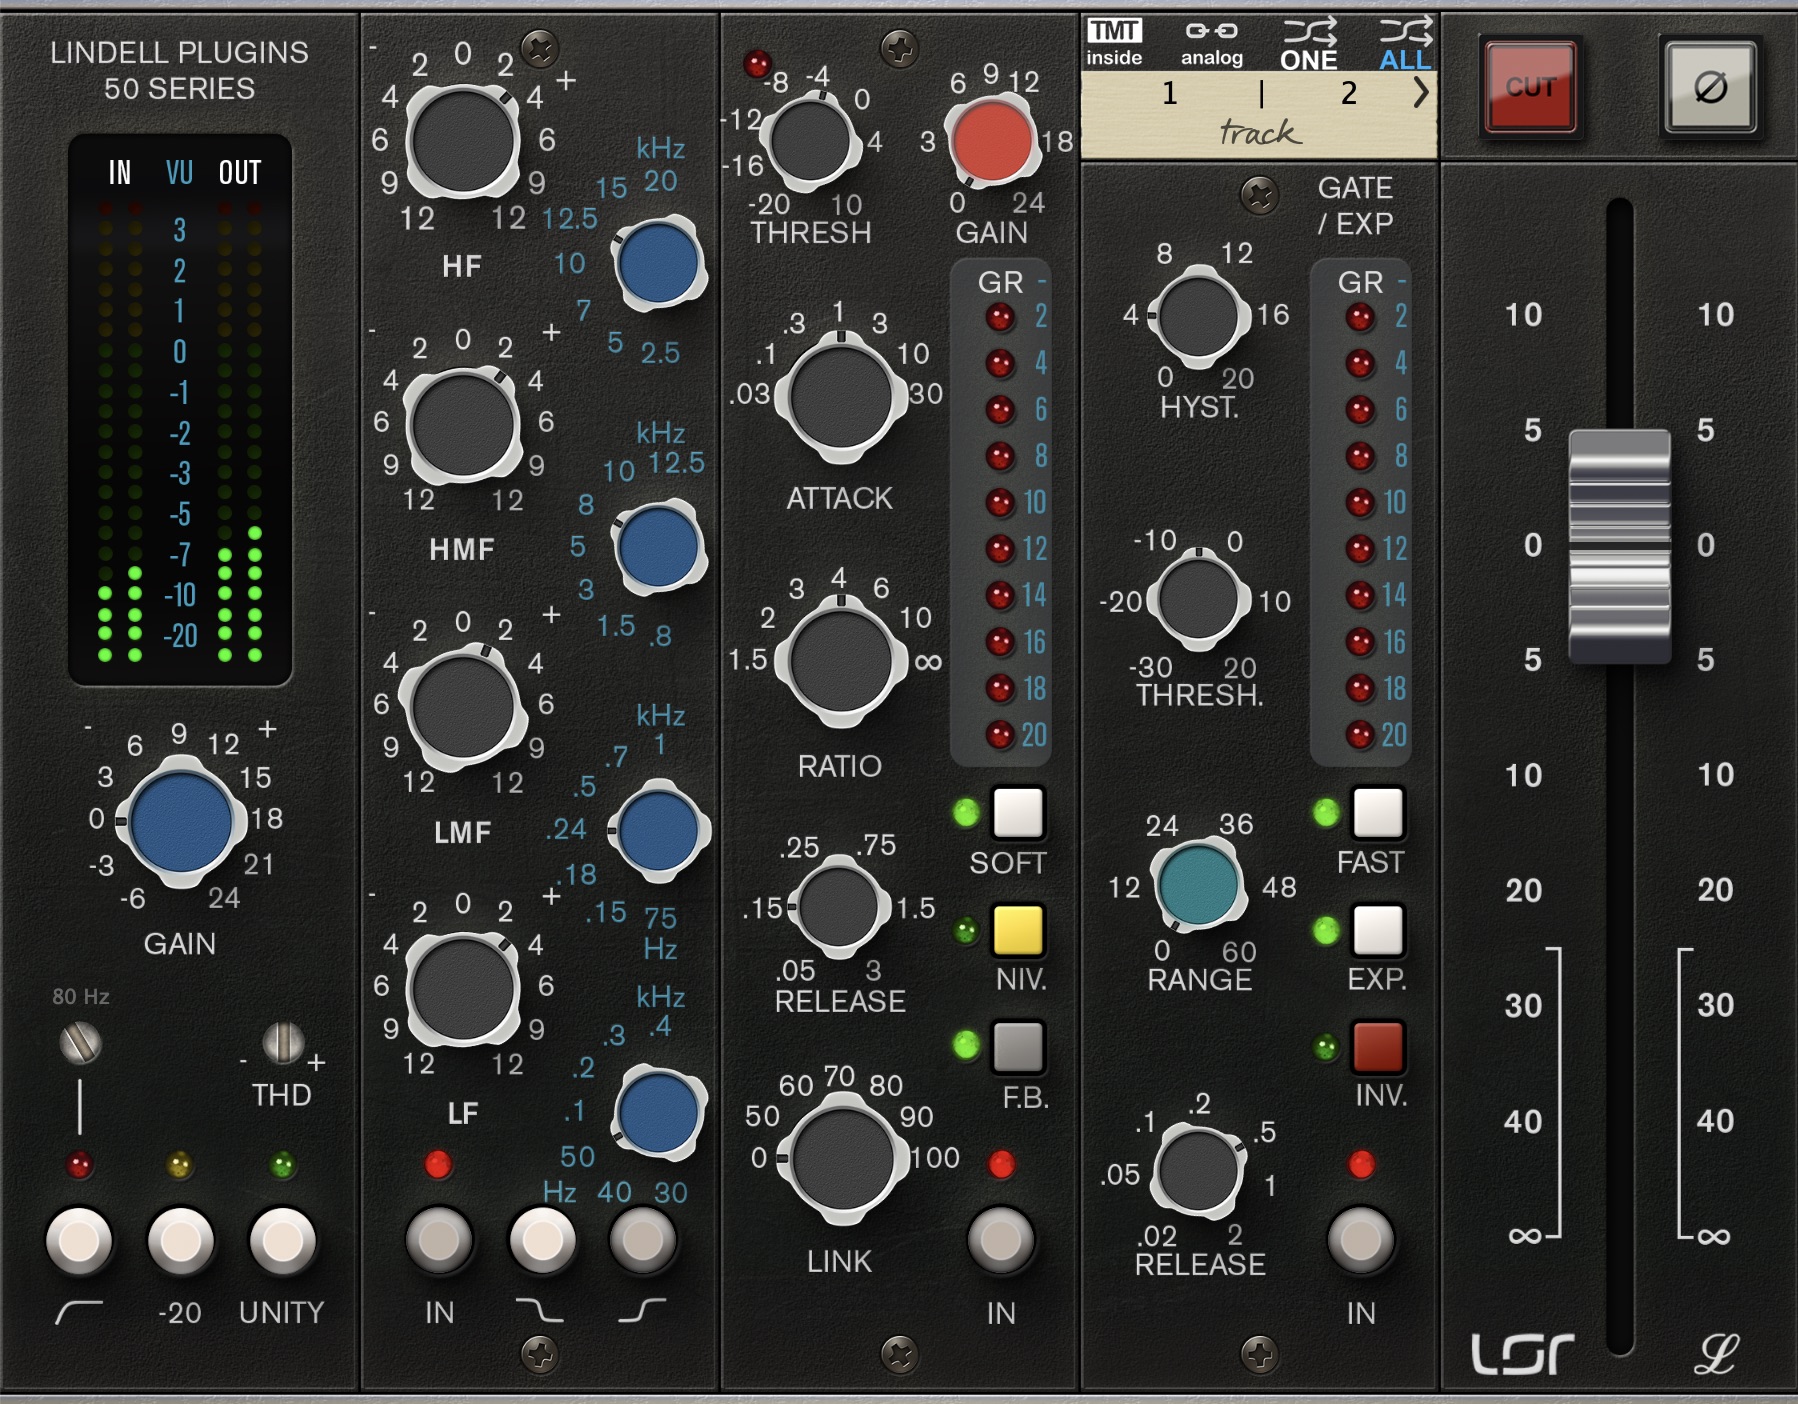
Lindell 50 Series EQ
The sound of an API style EQ like the Lindell 50 Series is often characterized as “clean,” “punchy,” and “fast” – fast, here, used in reference to how transient material feels after the EQ process.

Lindell 80 Series EQ
The sound of a Neve style EQ like the Lindell 80 Series is often described as “warm” and “creamy.”
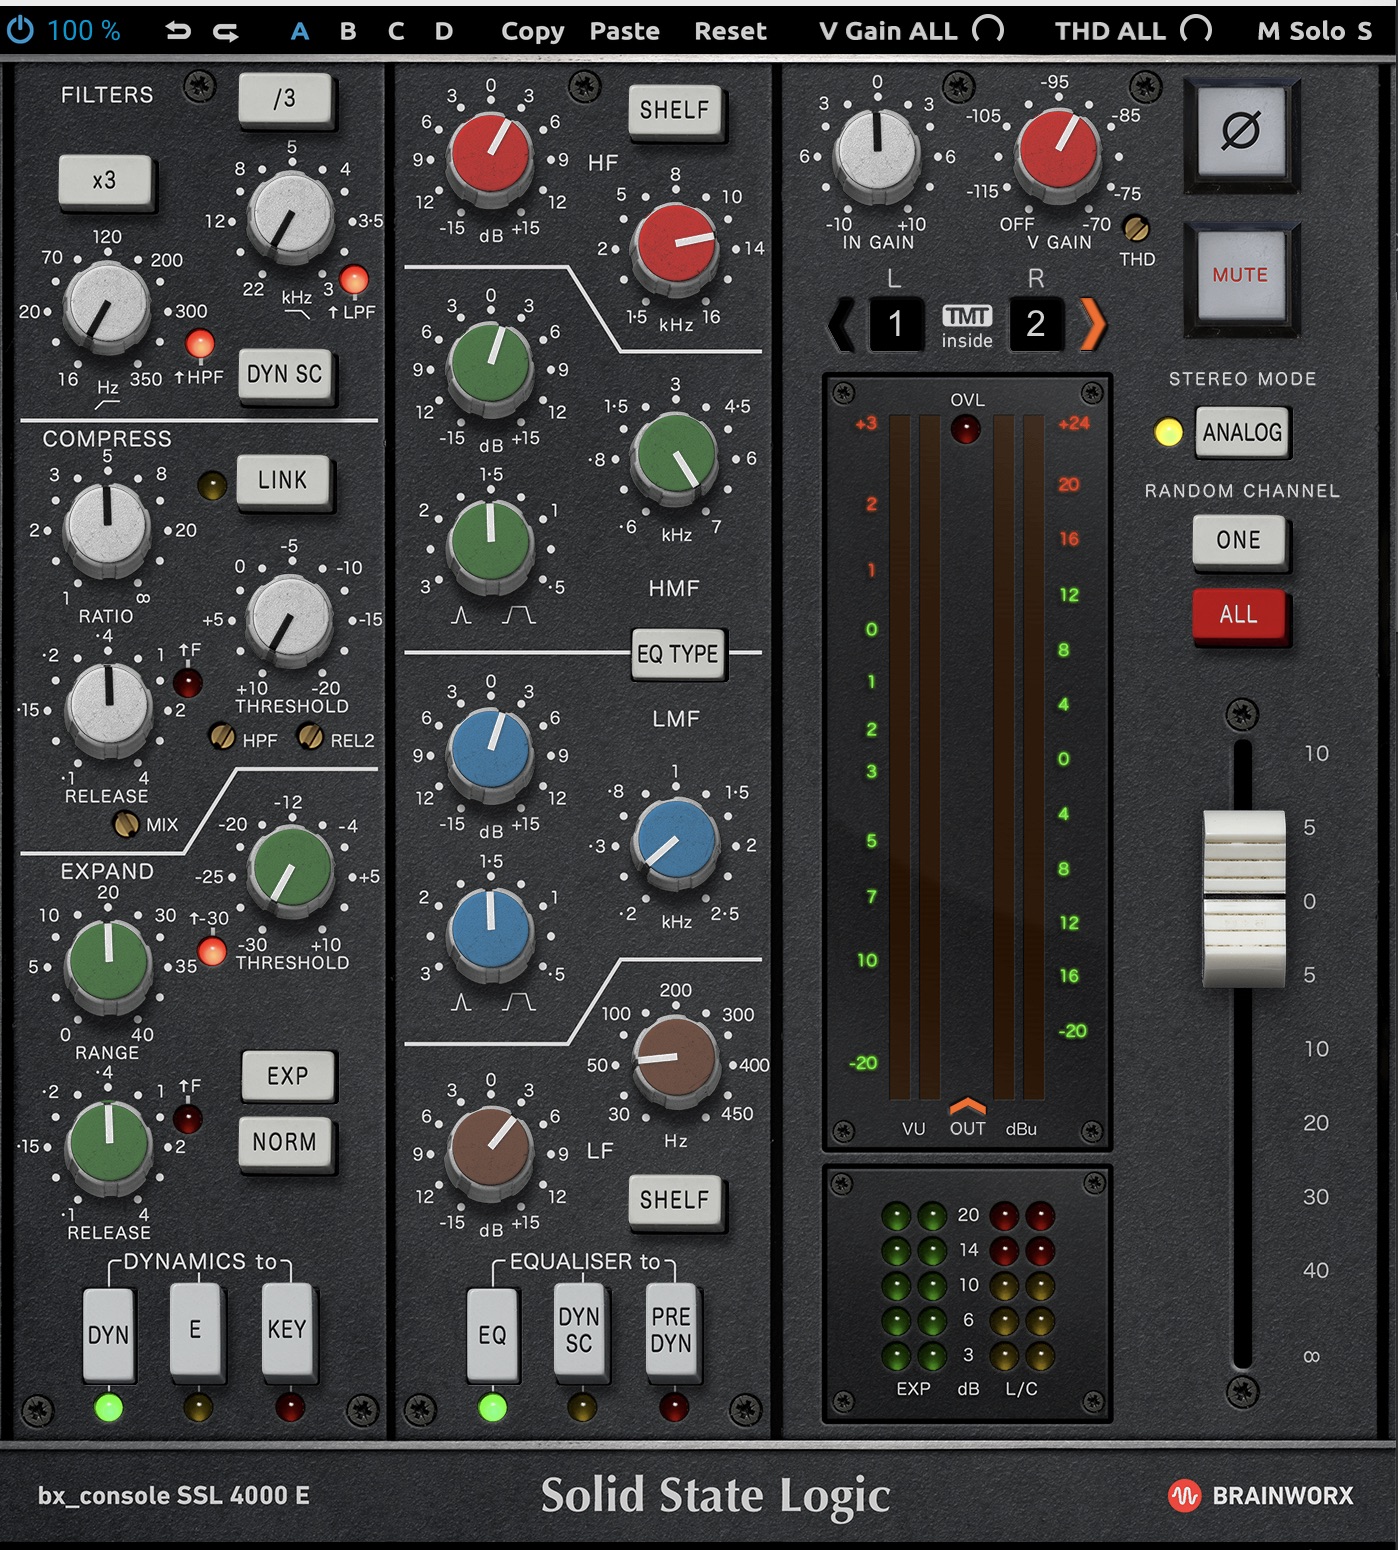
bx_Console SSL 4000 E EQ
An SSL console EQ such as the bx_Console SSL 4000 E is often categorized as “sharp,” “cutting,” “grabby,” and “aggressive” – and that latter word is actually a compliment: when you need a drum hit, guitar, or a vocal to stand out, the SSL can make your mix.

Bettermaker EQ232D
The sound of a Pultec-style EQ such as the Bettermaker EQ232D is often considered “soft” and “pillowy” – though its highs can also add a kind of aggression, especially when paired with an 1176-style compressor.
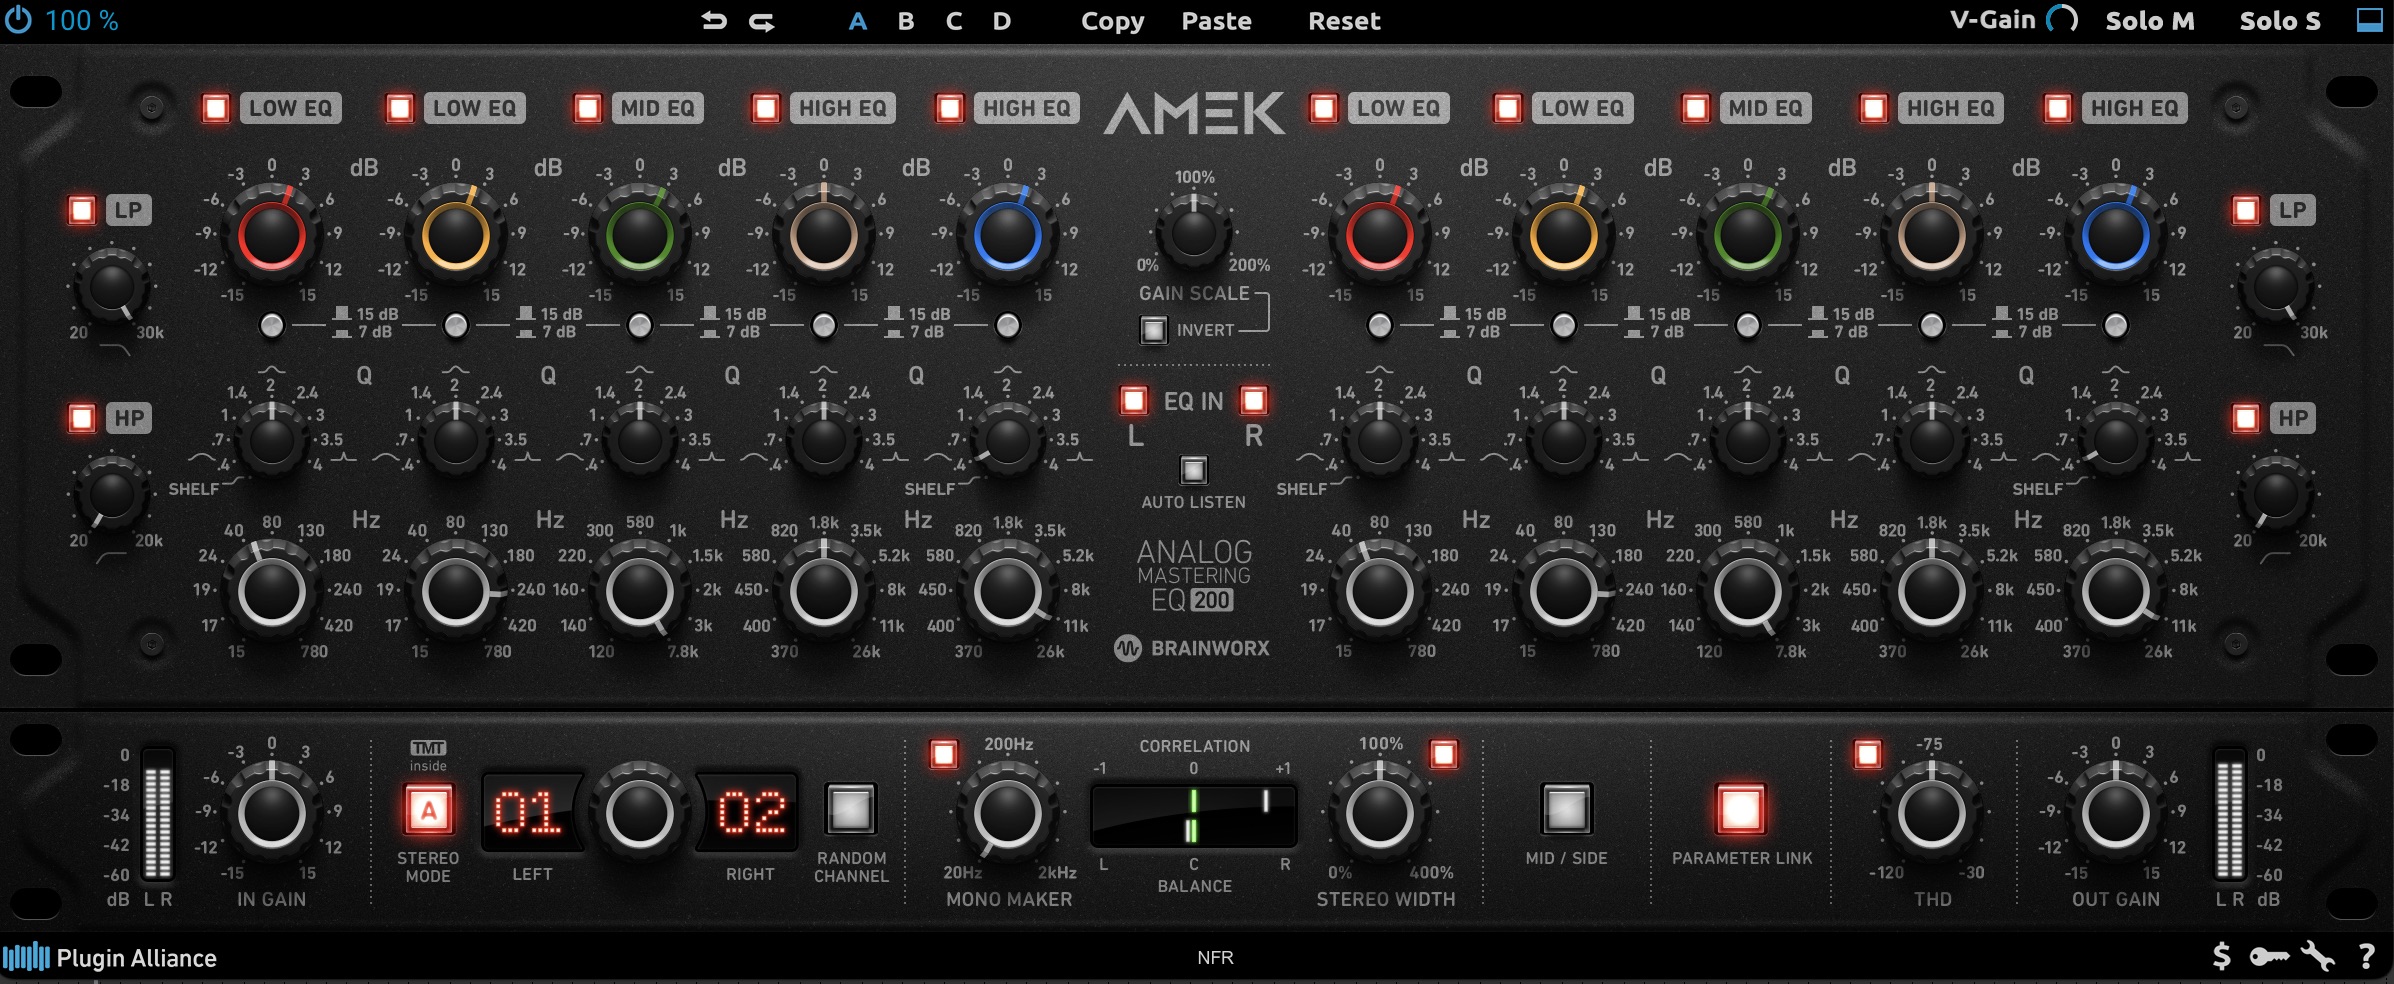
AMEK EQ 200
The sound of a classic GML or Sontec equalizer is often called “euphonic” or “sweet.” Engineers say great degrees of boost/cut are achievable before the units sound unflattering.
To illustrate all these colors in action, here’s a drum recording, presented raw, and then put through each of the pictured plugins, with settings as close as we can get them:
2. Use multiple EQs to shape other effects (pre and post)
Before we send sound through a tone-altering effects processor (a distortion, a reverb, etc), we often use an EQ to remove parts of the signal we don’t want to excite. It is equally useful to employ an EQ after this kind of processing to shape the signal even more, and, if necessary, attenuate any harshness introduced.
This concept is built into a multi-panel processor like Ozone, which affords you two EQs that you can place either side of the Exciter module.
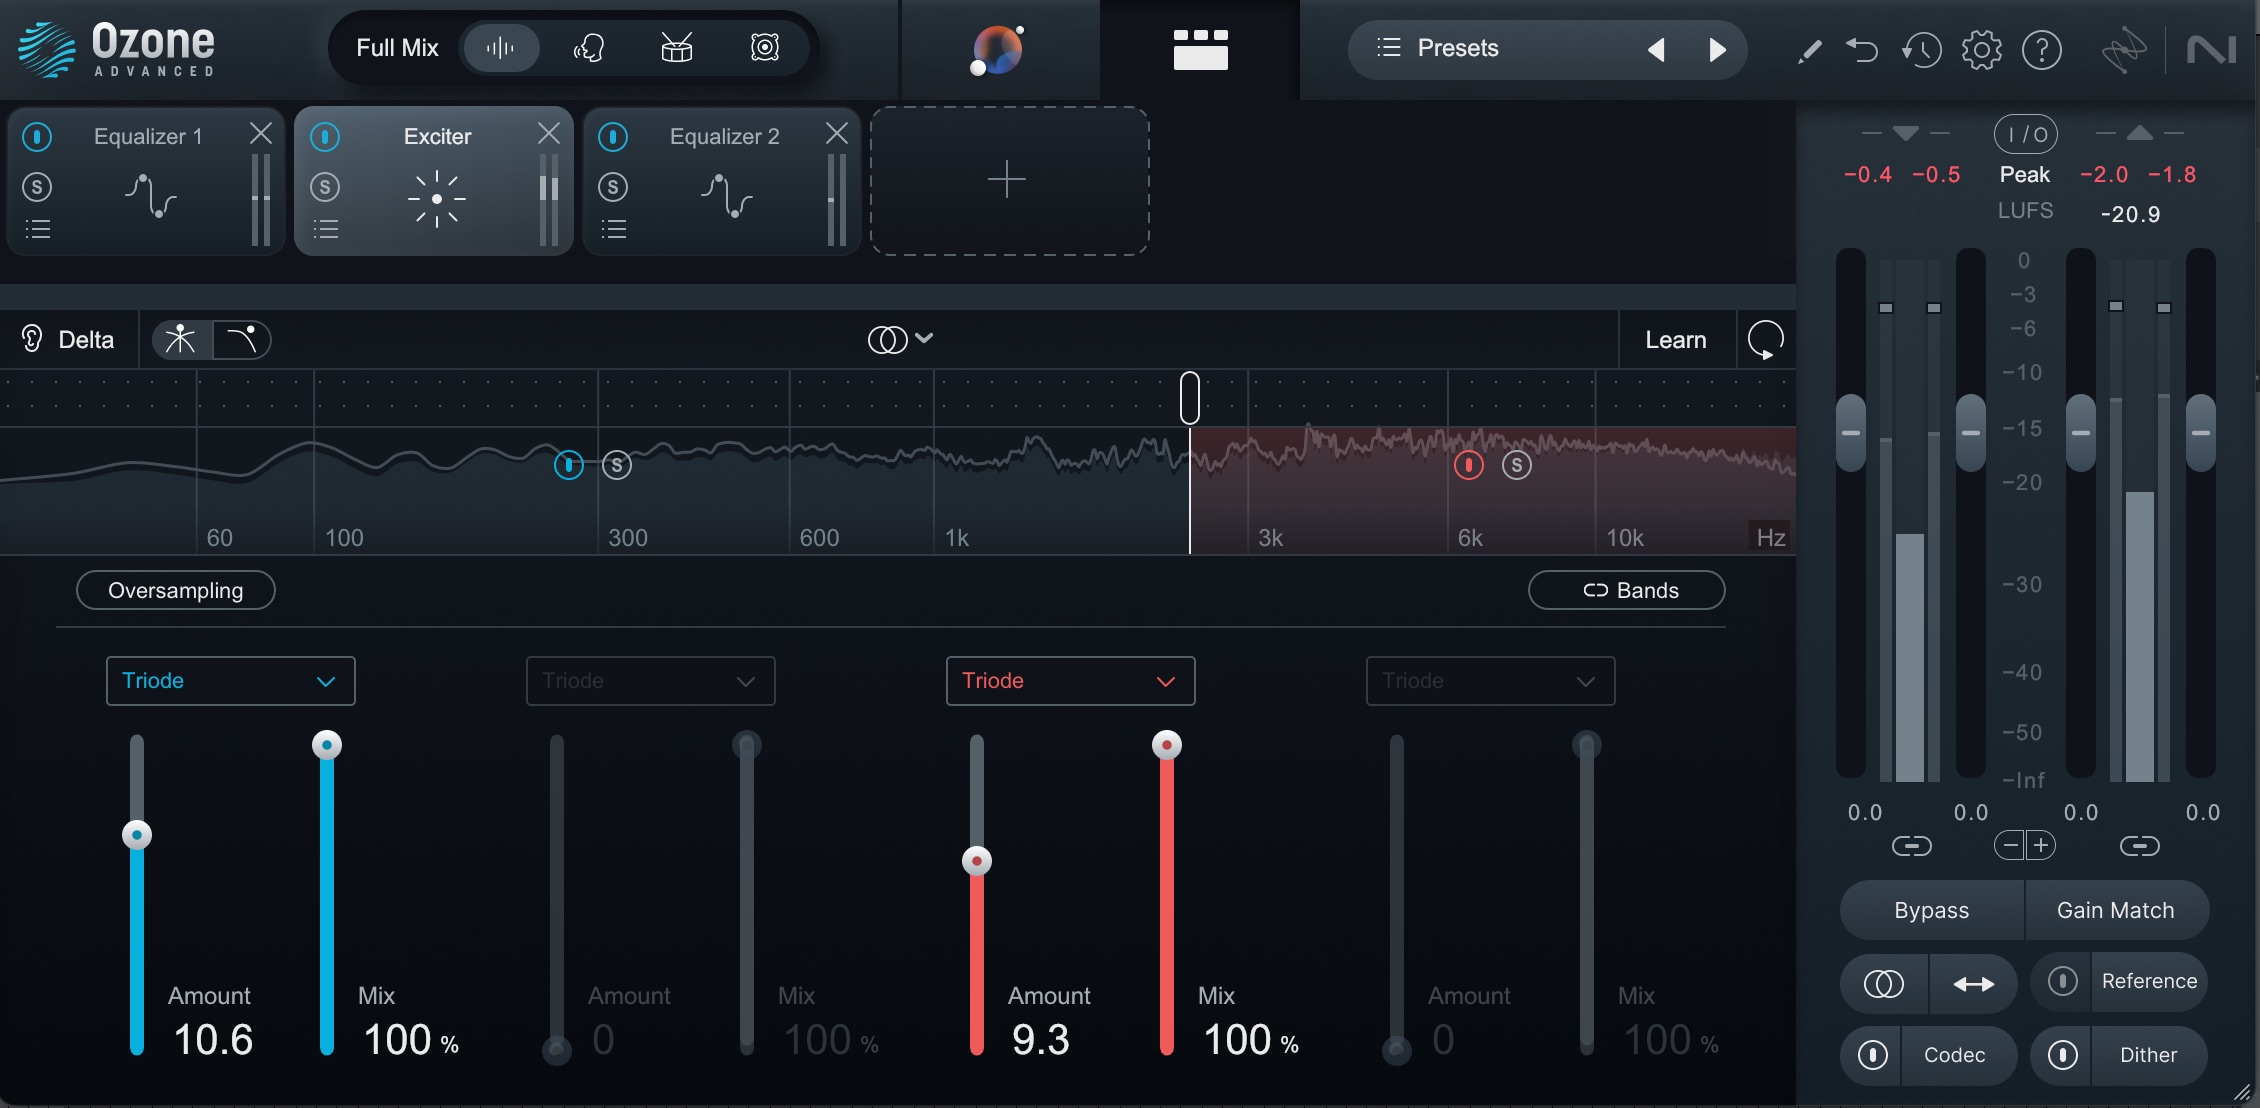
Ozone modules - EQ Exciter sandwich
You may want to use dual EQs with ambience effects too. Taking out mud on the way into a reverb – and then adding some low-mids back after the reverb – can be a great way to add fullness without flub.
Observe a vocal going straight into a reverb:

Vocal going straight into a reverb
The reverb is too muddy at present. So let’s try cutting a bunch before the reverb:

Vocal EQ before reverb
And let’s put some of what we took back in, using a combination of EQ and saturation with the Black Box HG-Q.

Vocal EQ after reverb
What we have now is much less bloated, yet still warm.
3. Spread the boosts over multiple EQs
Instead of using a single EQ for a considerable high shelf boost, try a few smaller shelves across stylistically different plugins. By combining the characteristics of each, you get something not unlike the effect of a signal passing through various hardware components that alter its harmonics.
You’ll need some headphones or monitors to hear the difference in the following audio example. The drums in the first example utilize a single shelf in Kirchhoff starting at 2.5 kHz. The second example makes use of three shelves: the Black Box HG-Q at 2.5 kHz, the bx_console SSL Console 9000 J at 5 kHz, and finally, the Lindell 80 Series at 12 kHz.
Notice how the upper-midrange is more excited in the latter example – especially on the snare crack. This is one way to add character to drum loops and other pre-packaged sounds.
PLEASE NOTE: caution and nuance is the name of the game here. If you shelve everything in your mix, the brightness you originally sought out will be much closer to brittle. Only a few elements need to be bright for an entire track to feel bright.
4. Don’t skimp on the submix
It's common practice to group similar-sounding tracks together into a submix – an auxiliary track where you can apply processing on a macro level. This is a good spot for adding some extra EQ to achieve a sense of balance.
For instance, you might want to add a gentle high-pass filter to your guitars to keep them out of the way of the drums. You can also automate this effect filter, going for a more sizable cut on the verses and taking it out in the choruses.
An EQ can also be used to reduce masking among submixes: if your synths overlap with the guitars, it can be simpler – and less destructive – to rectify the issue at the macro level, instead of carving your beloved sounds to shreds track by track.
Listen to the difference between these two mixes:
The difference is subtle but important: we’re using a gentle cut in the latter example across the guitars, strings, and keys:
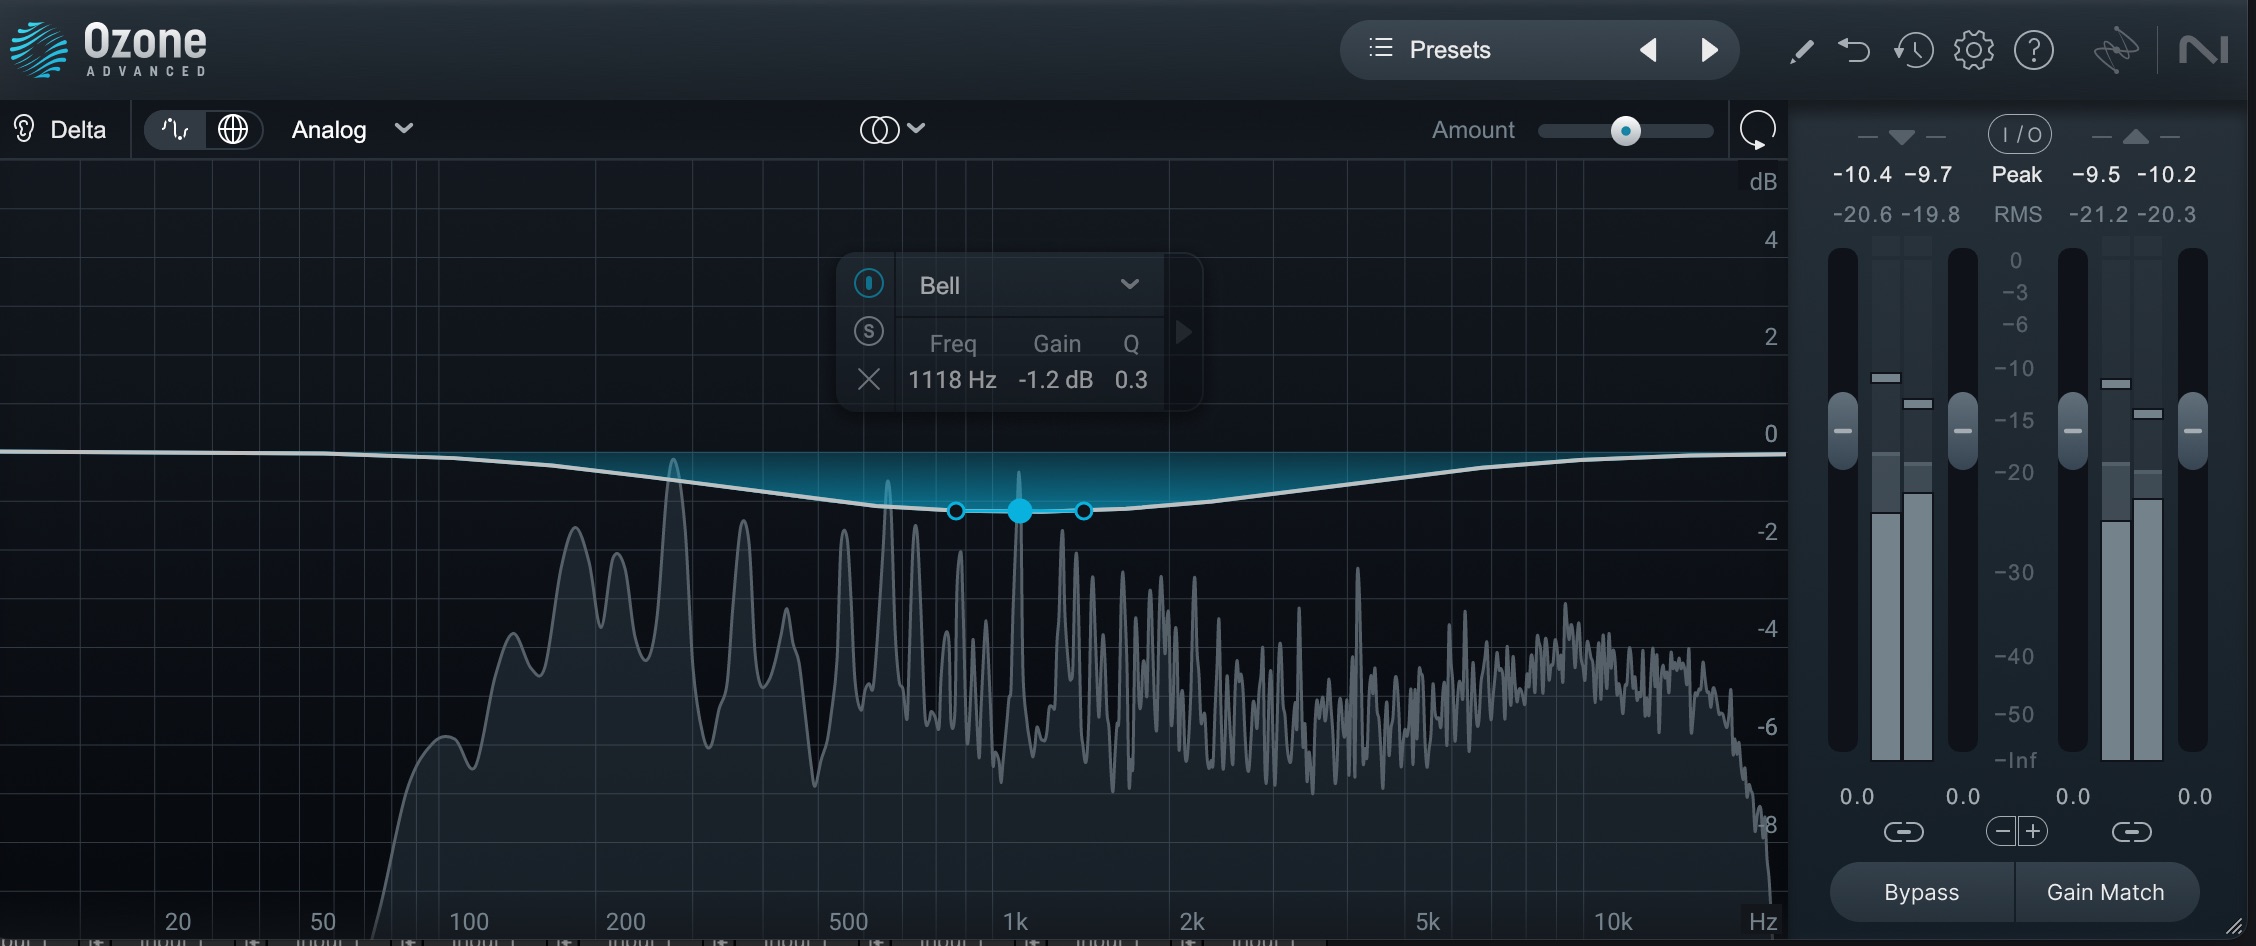
Using EQ across the instrument bus to make it less honky
We’re staying true to our original mix, but we’re doing some light sculpting at the bus level to tamp down some grating frequencies that ought to belong more to the drums.
5. Try narrow dynamic cuts, followed by a static character boost
As we mentioned in another article, it can be helpful to use dynamic EQ’s to get rid of annoying resonances in a guitar, vocal, drum bus, or literally anything else.
But there is a problem with narrow dynamic cuts: the more you use, the more unnatural the results.
To some degree, you can rectify the hollowing effect of multiple narrow cuts by applying a flattering boost with a character EQ immediately after. Observe the following guitars:
Some upper-frequency resonances are ruining the fun for us. Ultimately we can take them out with dynamic EQ, like so:
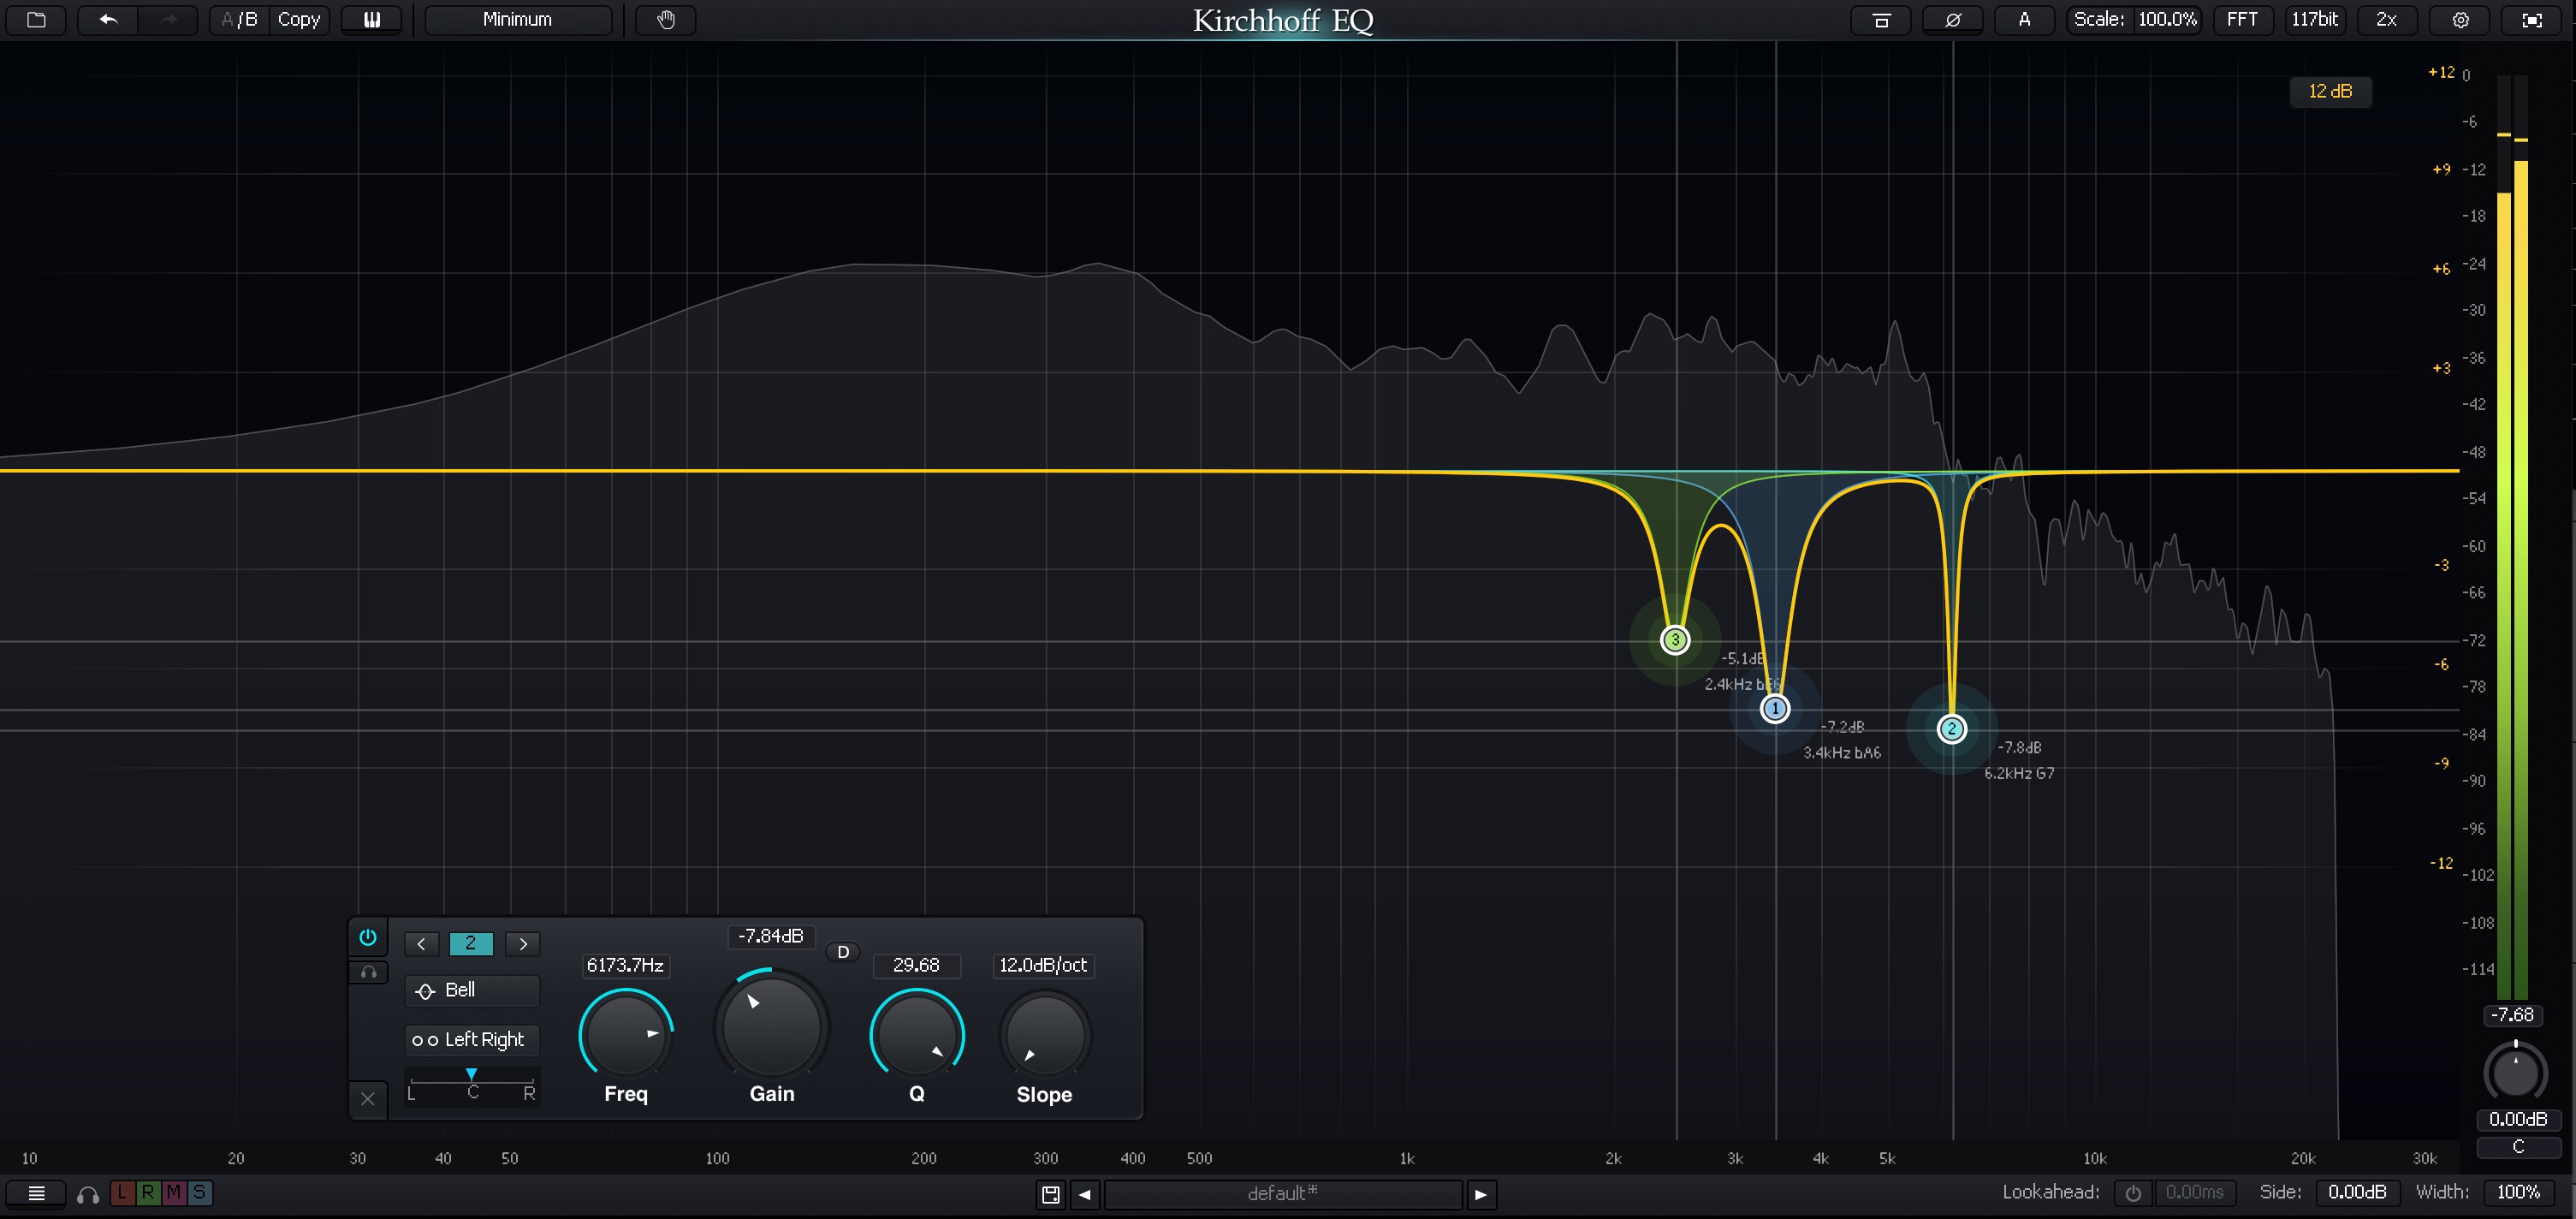
Guitars, more cuts more problems
But that leaves something to be desired, sonically speaking.
So, let’s process these dynamic guitars with a boost from a console EQ – in this case, an SSL style EQ:

SSL boost after dynamic cut
Now we’ve got the cuts we need, with a little life restored thanks to a second, colorful EQ.
Dare to use multiple EQs in your mix
There are other scenarios where having multiple EQs working together will benefit your mix. As you well know, this changes from session to session and what you did yesterday won’t necessarily work today. Luckily, EQ is one of the simpler tools to experiment with, so I encourage you to chuck them at your insert to discover new ways to use them.