How to EQ Vocals: 9 Steps for EQing Lead Vox
We developed a simple checklist for how to EQ vocals. Follow these nine simple steps and you’ll have a framework for EQing vocals.
EQing vocals: it’s necessary, folks. The act comprises a large swath of what we do, or want to do, and learning how to EQ vocals efficiently—with maximal benefit and minimal harm—is a practice that takes years to perfect.
To get you on your way, we’ve developed a simple 101 checklist. Follow these simple steps and you’ll have a framework for EQing vocals. Every vocal is different, and your tools may change from mix to mix, but this overarching plan of action should help you organize your approach as you make your way forward.
1. Listen to what you’re given
Though perhaps obvious, this is the unavoidable first step of how to EQ vocals. No two vocalists are going to sound exactly the same. Sometimes takes provided for the lead might differ drastically in timbre, depending on all sorts of factors. One cannot make determinations about how to EQ the vocal without listening to it first, not just for a few moments, but for the duration of the song, to weed out any surprises. Jot things down with a notepad if you like, or just listen. In this stage, you can make decisions that contribute to the next two steps, outlined below.
2. Determine what needs evening out
Vocals will have innate assets and inherent drawbacks. It’s your job to bring out the good and obviate the bad. As you hear the vocal, you can make decisions as to what, exactly, is bad, and needs to be treated. Does the vocal sound harsh and “spitty” in the upper registers? Is there a weird nasal bloom that can be mitigated with some midrange tamping? How about the low-mids: is there too much proximity effect?
There’s also the matter of sonically-different takes being jammed into the same comp—repair jobs waiting to happen. Make note of these too, for they might require their own, independent processing.
Here, we’re only using our ears. No tools have been touched yet. You’re sketching the general problems, even if you can’t recognize specific frequency ranges quite yet. Soon you’ll start to make your actual cuts, but first, another step:
3. Define your intention
Now it’s time to analyze the vocal alongside the song, and to envision what you want out of it. Will it be loud and upfront? Buried and subdued? Present and trebly? Round and warm? Answer these questions, and learn (or, make educated guesses as to) what that means EQ-wise.
Sometimes artists will have requests for how they’d like their vocals to sound—pointing to a certain reference track, a specific effect, or the overall balance in the mix. These are to be considered as well!
4. Think about your downstream processing
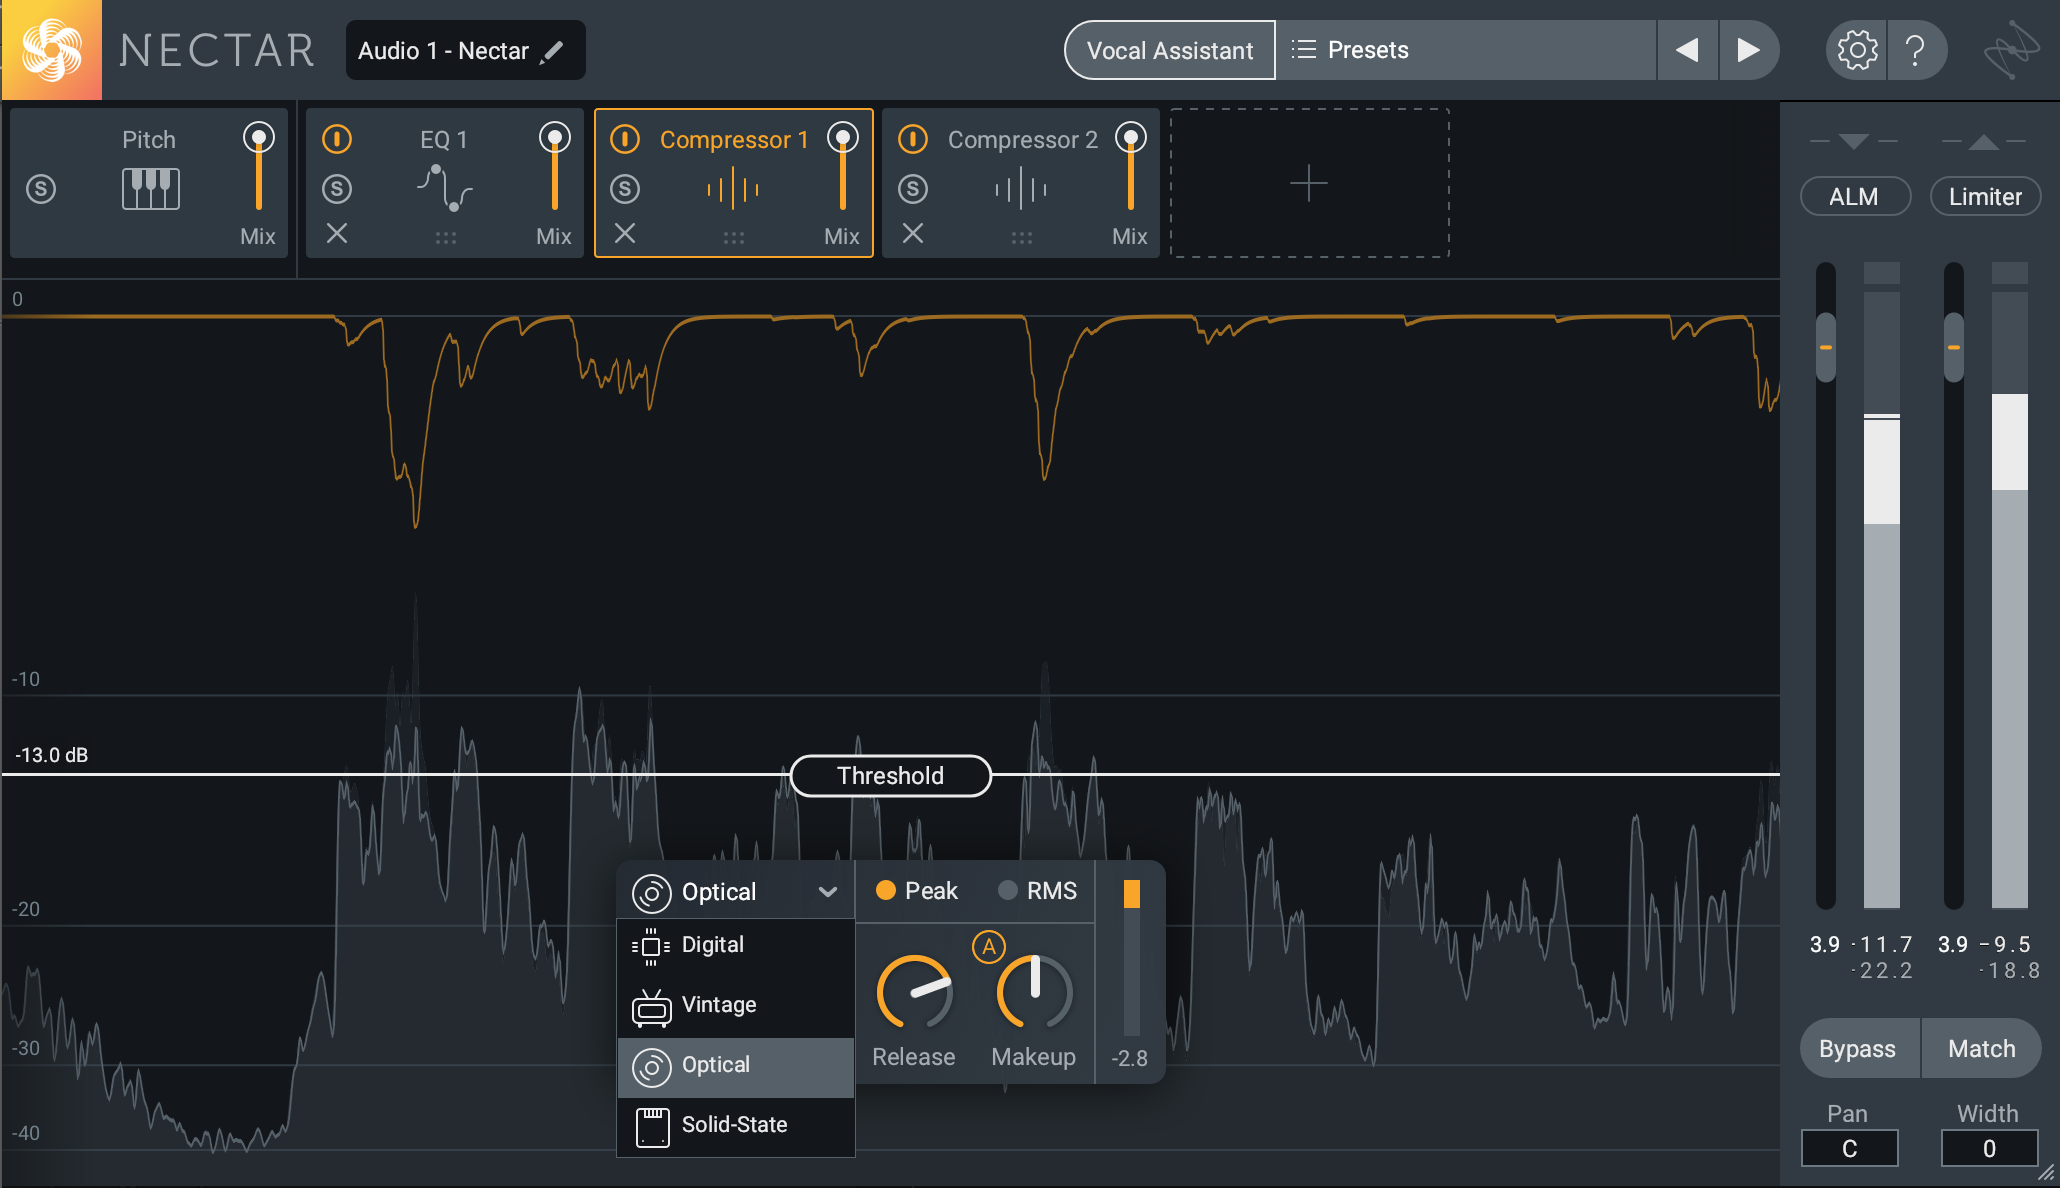
If you’re a beginner, this is something you’ll need to learn: you must always keep downstream processing in mind. No one process makes or breaks the chain in most audio scenarios. Although EQ is extremely important to a vocal, it’s going to work in concert with everything else, including compression, harmonic saturation, and effects. The reverb and distortion might be easier to picture from the get-go. Compression, and how compressors change the sound, might be harder to envision right away. You’ll need to familiar yourself with multiple compressors—and I suspect you will throughout the years. This article about four different types of compressors can help you learn to identify sonic characteristics.
On vocals, I work regularly with opto-emulations, FET emulations, and compressors only found in the digital world (


Nectar 3 Plus
It’s important to consider these processes as you make your choices: a vocal with an aggressive high-end might respond differently to downstream compression than one with more pronounced warmth. Or, if you’re using an analog mod, the compressor’s emulated circuit path might have its own tonal characteristics. These must be kept in mind.

Nectar 3 Compressor modes
5. Commence repair work
Remember those out-of-context phrases which may have poked out? Takes recorded at a different distance from the mic (or even, as is sometimes the case, with a different setup entirely)? Now’s the time to sort them out. You can use a process like EQ Match in


RX 11 Advanced
How you go about doing this is entirely personal, so long as you’ve identified the troublemaker and done what you can to make it congruent.
6. Take out resonances
Now we begin working in earnest at carving our sound. Remember Step 2, in which you determined what needs evening out. At the end of that tip I told you to sketch out the general problems, even if you can’t recognize specific frequency ranges quite yet. Now, you can start to pin them down. If your ears aren’t there yet, put up an EQ with a spectrum analyzer—such as the one in Nectar 3—and identify the problematic EQ areas. You can also make use of the Nectar’s Vocal Assistant to suggest subtractive EQ cuts. Make the subtlest cuts that will suffice when possible. Sometimes, due to the nature of the cut, you may need to add a gentle boost before or after that cut. It depends on the vocalist.
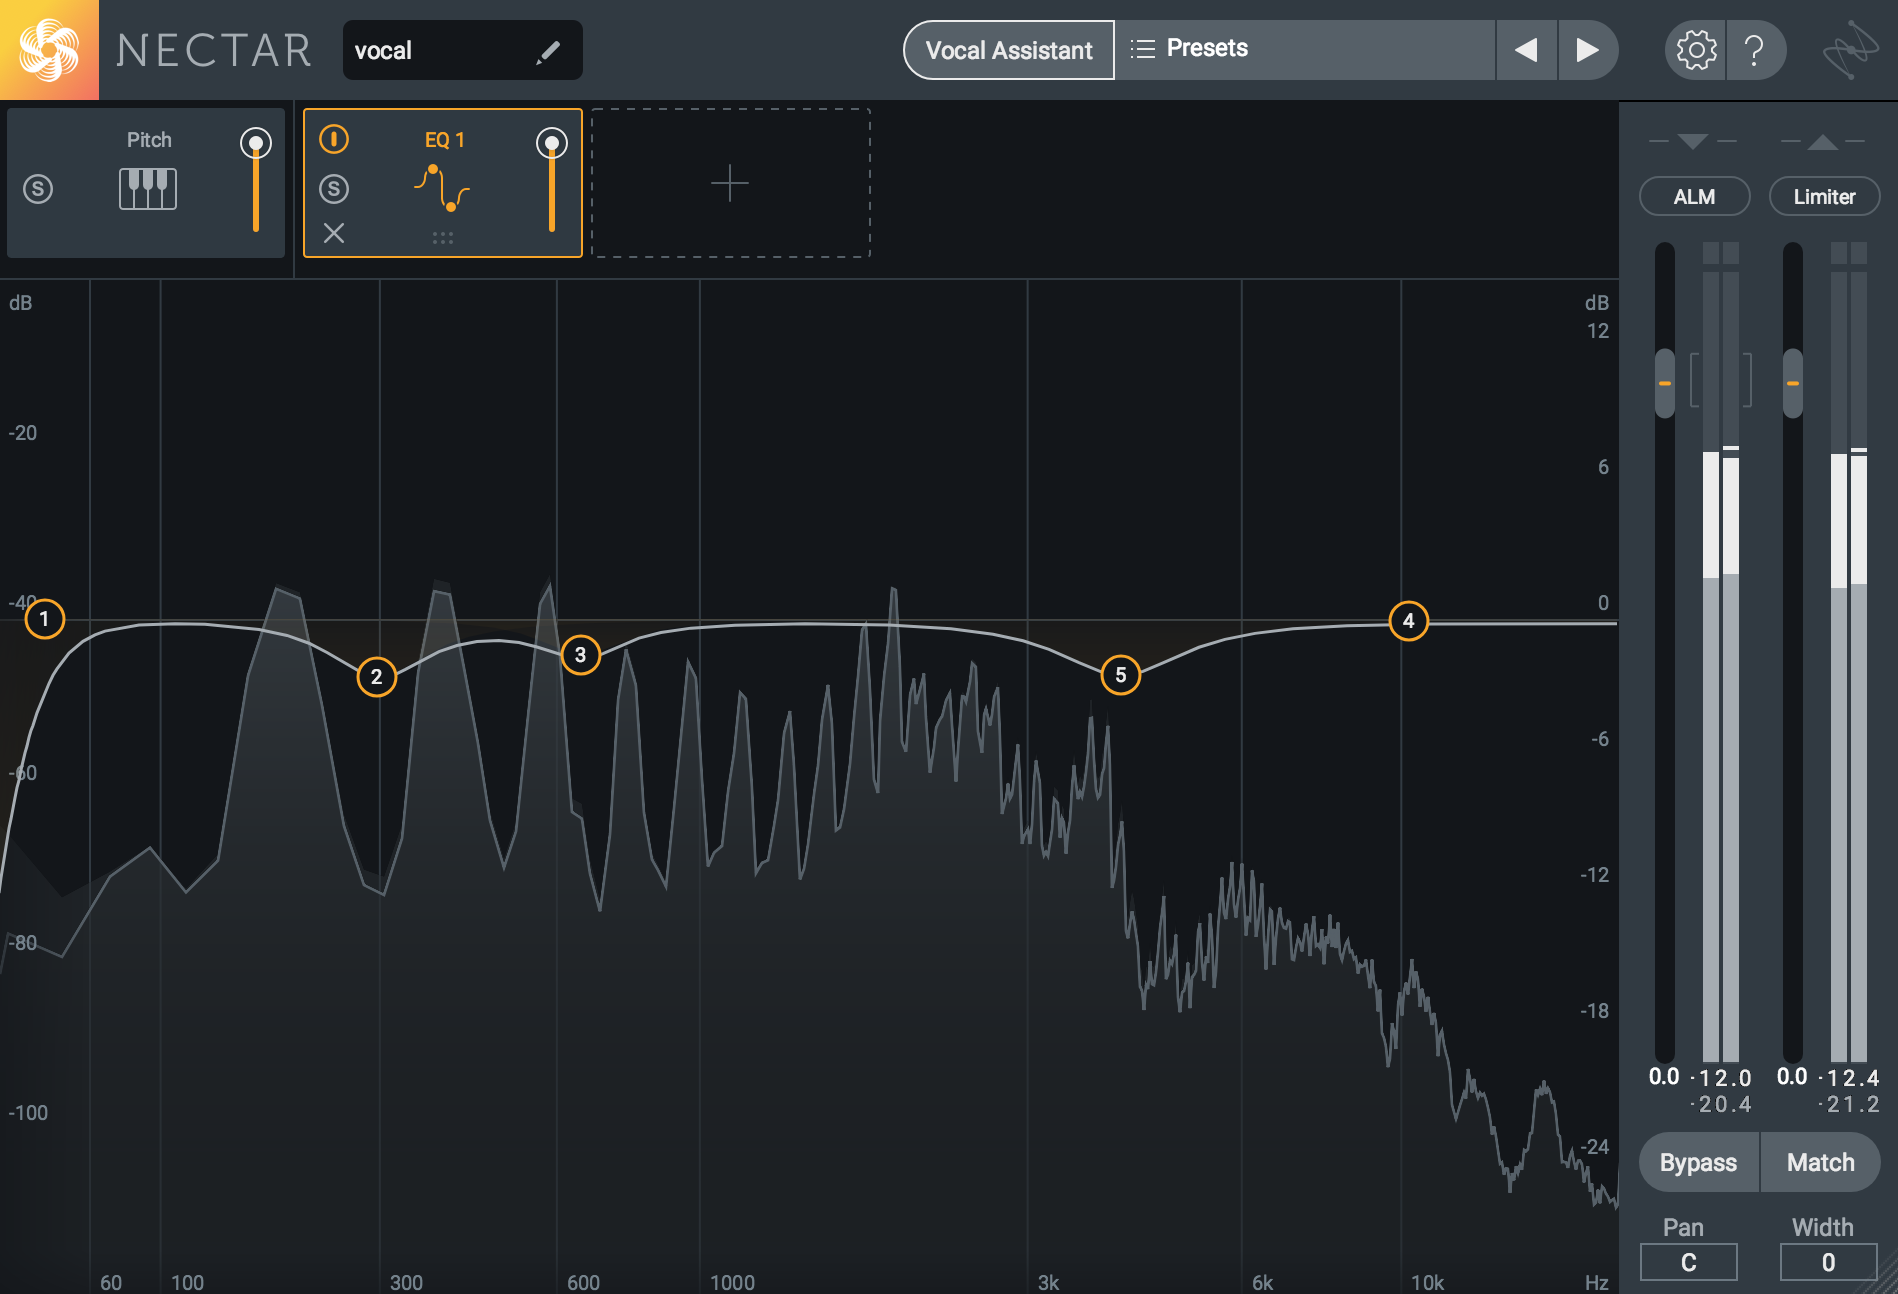
Every vocalist has a harmonic signature. Take me for example: I’ve sung into all sorts of microphones, through all sorts of chains, and yet, I constantly have to address the same three frequency ranges in my voice: 300 Hz, 700 Hz, and 4 kHz. There’s too much of these ranges going on. I suspect it has to do with the architecture of my face. An EQ on my voice might look like this, when it comes to cuts:

The EQ module in Nectar 3
If you work with the same client over and over again, you’ll begin to recognize similar signatures. For instance, I’ve mixed a couple Leland Sundries tunes over the past year, and have begun to notice that the lead vocals requires hardly any sibilance control at all—his voice just doesn’t produce harsh esses. However, he does need some tamping down around 600 Hz.
7. Add bumps that cut over the mix
As the previous tip is related to Step 2, this one goes back to Step 3—the intention of your mix. If you’ve done this successfully, you know what you want out of your vocal. You know if you want top-end presence for intimacy, or if you want a rounded flair for warmth and grit. Now it’s time to commute those desires into actionable choices, such as shelving the highs up a little bit, or adding bumps here or there in the midrange.
Again, how you do this depends upon the vocalist in question, your specific intentions, and how their voice takes to EQ. If, for example, you wanted to give it more of a vibey, analog warmth, you could get there with the following dynamic EQ decision: orchestrate a dynamic high shelf to cut ever so slightly the louder the vocalist gets. So, a 3 dB gain in level could get you a 1 dB reduction of 8 kHz and above, on a gentle slope. For added emphasis, key this dynamic shelf to the low mids, which you can do in Neutron 2.
How you do this also depends on where you want to place your compressor. Some engineers like to cut with one EQ, compress, and the boost with a new EQ following the compressor. Some prefer to do it all before or after the compressor. Some switch it up from song to song. This is another plea for keeping the quality and character of your compressor in mind as you equalize.
8. Check against the mix for conflicting frequencies
Throughout the process, you must make sure your vocal isn’t meshing badly with other necessary elements, such as the snare, or an important harmonic instrument. You can use your ears to carve out space—and many of us do, sometimes soloing the vocal with the problematic instrument to better isolate the issues and make the appropriate decisions.
However, if you’re not there yet, you can use something like the Unmask feature in Nectar 3’s Vocal Assistant to create an EQ curve on the other instrument (not the vocal), so it stays out of the vocal’s way. Simply place


Relay
9. Take out harshness and esses with dynamic EQ
We haven’t talked about the esses, because different engineers have different philosophies in dealing with them. I prefer to de-ess up top, before I brighten, but others go about it differently. Some prefer to go in stages, boosting highs with a shelf, then de-essing, then compressing, then repeating the whole process.
Likewise, the decision of whether to use clip-gaining, a dedicated compressor, or a dynamic equalizer for the de-essing process is a matter of personal preference. One thing is for sure though: how you handle these harsher, peaky frequencies is a decision you have to make sooner or later. I personally prefer to do them before any broadband compression, as compression can exaggerate sibilance. I prefer clip gaining and wide-band de-essers to dynamic EQs for de-essing, and I prefer to handle issues immediately.
The discussion, though, does bring us into the question of dynamic EQs and how to use them. Often, between 2–3 kHz, you can experience a harshness that needs to be tamped down. However, cutting it outright takes life out of the track. Here dynamic EQ can be a great boon, as it gives you some of that frequency before tamping it down, so it’s apparent, but not overly so. It’s also worth noting that you can experience a similar bloom in lower, honkier frequency ranges (300–400 Hz or so), as well as nasally ones (600–800 Hz or so). So do keep in mind that you can use this technique on those ranges. Neutron 2 gives you more control over attack and release than Nectar 3, but Nectar 3 has an intuitive and effective dynamic EQ, as evinced below.

The Gate module in Nectar 3
The takeaways
It is our hope that these steps provide enough specifics to be useful on how to EQ vocals, and yet, enough generality to ensure you can apply the steps to every vocal. The aim is to organize your methodology into a list of sequential applications. That way, you can be smart and efficient as you move on down the line with each process. May these tips serve you well!


