How to Use Compression in Mastering
Audio compression is essential in mastering but not every song needs it. Learn how to effectively use compression in mastering using techniques and audio examples in this guide.
Although audio compression is crucial in every mastering engineer’s toolkit, its application in mastering is more nuanced and intentional. After all, its true power comes from understanding why, how, and when to use it (hint: not always).
In this article, we’ll explore what compression is in the context of mastering music. We’ll also go over several compression parameters and dissect how they can each affect your mastering chain in different ways. More importantly, we will go through a few A/B listening examples of these compression techniques in action.
By the end of this article, you’ll have a more intentional approach when applying compression in your mastering chain.
Follow along with this tutorial using iZotope


Ozone Advanced
What is compression in mastering?
There’s a misconception that compression makes music “louder,” hence the idea that it’s essential to every mastering session. But based on the name alone, it does quite the opposite. Compression tightens and contains the dynamic range of audio signals that go beyond a specified threshold. And in the process of compressing this dynamic range, one of the typical byproducts is restored headroom, which then allows you to bring your mix up. You’re essentially turning down your mix, so you can turn it up after the fact.
With this in mind, compression doesn’t always play a role in every mastering session, because not every song needs it. Although you can achieve loudness through compression, you do so by pulling back the transient energy that’s present in your mix. And this effect may or may not be beneficial to your mastering chain. It takes a discerning ear to determine whether it serves the music or not, so patience, critical listening and restraint are key.
Compression in mixing versus mastering
Although compression is used frequently in both mixing and mastering, its application couldn’t be more different.
In mixing, where you deal with multiple individual tracks—each representing individual elements in a production—you’re able to isolate the effect of compression to one specific element, whether it’s the vocals, kick, guitar, etc. As a result, you can be more heavy-handed with the processing.
In mastering, however, you’re essentially applying the compression to the entire approved stereo mix. So the impact of your processing to the overall sound is magnified.
Like with all things mastering, subtlety with your application of compression is crucial.

In mixing, you’re able to isolate the effect of compression to one specific element. In mastering, however, the compression is applied to the entire stereo mix
Compression versus limiting
Although they both process audio dynamics using similar parameters (e.g. threshold, attack / release times, gain, etc.), compression and limiting have several key factors that set them apart from each other. The main difference is the ratio by which the dynamic range is contained (“ratio” determines the amount of gain reduction applied to a signal once it passes a set threshold). Limiters operate within a higher ratio—typically over 12:1—with the main purpose of containing peaks past the output ceiling to prevent clipping while increasing loudness.
In the context of mastering, limiters are ubiquitous to the signal chain as it is the final stage of control against clipping and distortion. Compression, on the other hand, takes on a more creative role in mastering and is best reserved for specific use cases, several of them we will go over with a few listening examples below.
Understanding transient shaping
Compression is essentially the art of transient shaping—the manipulation of the envelope of an audio signal. This envelope is made up of 4 components: attack, decay, sustain, release (ADSR). You modify the energy of your transient attack (sharpness, duration, energy) in relation to your audio signal’s decay, sustain, and to some extent, the release. When we say that not every song needs compression in mastering, we typically refer to this sonic trade-off you get when containing these transients in favor of your music’s sustained energy—clarity versus density, for example. Later on in this article, we will go through a few listening examples of compression-in-action to give you a better idea of how these trade-offs sound in the context of mastering.
There are many ways you can manipulate the ADSR envelope using these standard compression parameters: threshold, attack/release, ratio, knee, makeup gain, sidechain. You can learn about each of these parameters in Audio Dynamics 101, or go on an even deeper dive in our Pro Audio Essentials course. But for now, let’s go through a few of these parameters and understand how they impact your mastering chain:

Compression parameters in Ozone Dynamics Module
- Attack time - Lets you set the amount of time (in milliseconds) for the transient energy to react and become fully compressed after exceeding the threshold level. In mastering context, this gives you the ability to change the relationship of various elements in a production that have varying dynamic characteristics. For example, a longer attack time will compress the bass guitar while allowing the kick’s fast transients to come forward. Whereas, a faster attack keeps the kick drum in check, resulting in the bass being more upfront in the master.
- Release time - Lets you adjust the amount of time (in milliseconds) for the compressed dynamics to recover gain once the input signal falls below the threshold. A longer release time yields a smoothing effect due to the gradual release of compression across time. A faster release time can be more helpful with achieving increased perceived loudness, but if not set carefully, would be more prone to distortion and would yield a more aggressive tone and an unwanted pumping sound.
- Knee - Lets you determine how abruptly the compression is introduced to the audio signal as it approaches your set threshold. With a soft knee, there’s a gradual onset in compression as it reaches the threshold, resulting in a smoother overall sound. Soft knee is often favored for its smoothing effect on vocals and signals that have a longer-term envelope. With a hard knee, the onset of compression is more abrupt as it crosses the threshold, thus resulting in a brighter, more aggressive tone. It’s great for maintaining the edginess in hard-hitting genres such EDM, rock, hip-hop, to name a few.
- Sidechain - Lets you fine-tune the behavior of your compressor based on how its detection filter is set. De-essing is a classic example of sidechain compression—the compressor only engages when it detects sibilant frequencies. In the context of mastering however, sidechain compression is often used to hide the effect of compression, resulting in a master that sounds smoother and more transparent. A common example is using a HPF to remove some of the very low frequency signals that tend to drive the threshold of compressors more aggressively.

Detection filter used to engage sidechain compression
Examples of when to use compression in mastering
Add glue/density
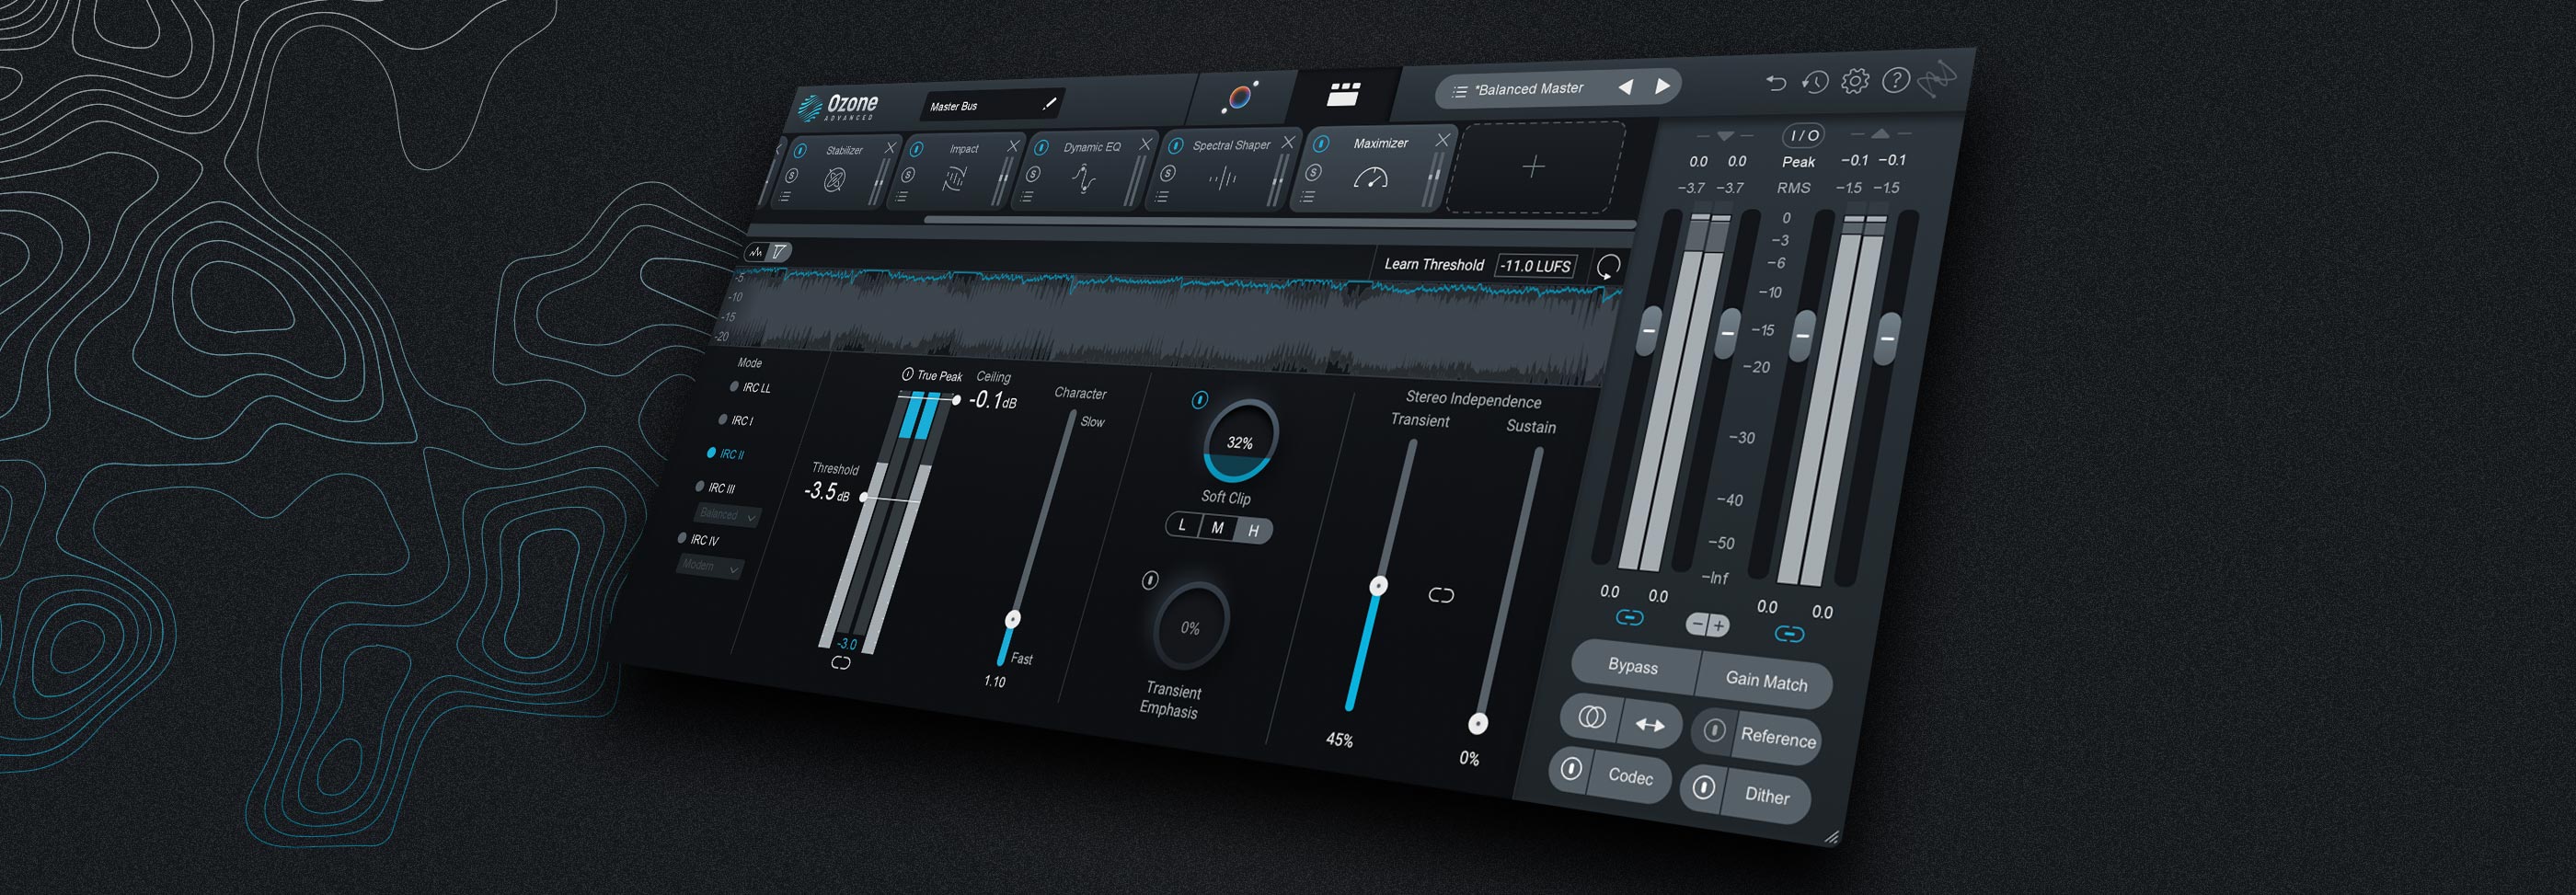
When we hear compression in mastering, we often do so in the context of adding “glue” to a mix. But what does this mean exactly? This “glue” typically refers to the general thickening of a sound when the transient energy in a mix is compressed in order to give way to the music’s sustained energy. Going back to our discussion of “sonic trade-offs” when using compression, the trade-off in this case is the lessening of the clarity in the individual elements in order to make the whole music sound denser, fuller, thicker—hence the term “glue”. A thoughtful blend of a faster attack time (to hone in on the transient energy), longer release time (for a smoother, natural sound), and subtle amount of makeup gain should help get you towards this sound.
Let’s listen to an A/B comparison of the same mix before and after adding glue/density using compression:
Before and after Adding Glue/Density with Compression
Notice how you’re hearing less of the details in the individual elements after compression is applied. Instead, you hear a fuller, tighter production. By taming the transients, the resulting sound is denser and bigger. The “glue” quality also has the added benefit of adding more power to the vocal performance which complements the song’s pop funk genre.
Add punch
Another common application of compression in mastering is adding “punch” to the master. This punchy quality is often associated with percussive/rhythmic elements—usually the kick or snare—and refers to the power associated with a dense yet impactful attack from these instruments. You can achieve a punchier master through the careful application of a slightly longer attack time (to let the transient energy/impact breathe) and a longer release time (for density and smoothness). But for better results, it’s best to take advantage of sidechain compression as well. It allows your compressor to add punch/impact while hiding the action of “compressing” the mix. You’re essentially getting the best of both worlds—achieving a punchy master while reducing the sonic trade-off of reduced clarity that’s often associated with compression.
In our A/B listening example below, listen to how the sidechain compression (detection filter set to highpass) helps add punchiness to the snare while letting the rest of the production breathe and retain clarity.
Before and After Adding Punch with Compression
After carefully applying compression, you can hear more weight and fullness to every snare hit. And thanks to the sidechain detection set to highpass, the punchy compression focuses accurately on the snare, and isn’t being influenced by the prominent energy from the kick drum. The resulting sound is a master that sounds fuller and punchier without sacrificing the clarity, space and energy that’s present in the mix.
Improve rhythm and feel
You usually don’t think of rhythmic improvements when you’re within the stereo limitations of mastering, but it’s certainly doable with the help of compression. In the mastering world, this is often achieved by tightening elements that tend to drive the rhythm and feel of a production: the kick and bass line. Compression is an effective tool for tightening the relationship between these two low-frequency elements. Adjusting your attack time can drastically alter how these two elements relate with one another, particularly because of how different their envelopes are (kick being a highly transient signal, whereas the bass is prominently a sustained energy). You can improve on this further by engaging split-band compression—you enable a frequency-specific band so that it zeroes in on the desired range of frequencies you want to compress.
Let’s listen to how compression improves the groove of a song by adjusting the relationship of its prominent synth bass line with the kick drum.
Before and after Adding Groove with Compression
If you listen to the music before compression, you’ll hear how the prominent synth bass line and its extended sustain tend to mask and overpower the impact from the kick. By zeroing in on the low frequency range and setting the attack time to target the bass’ sustained energy, the kick drum is able to come forward and sound punchier. The resulting master has a tighter, more in-the-pocket groove.
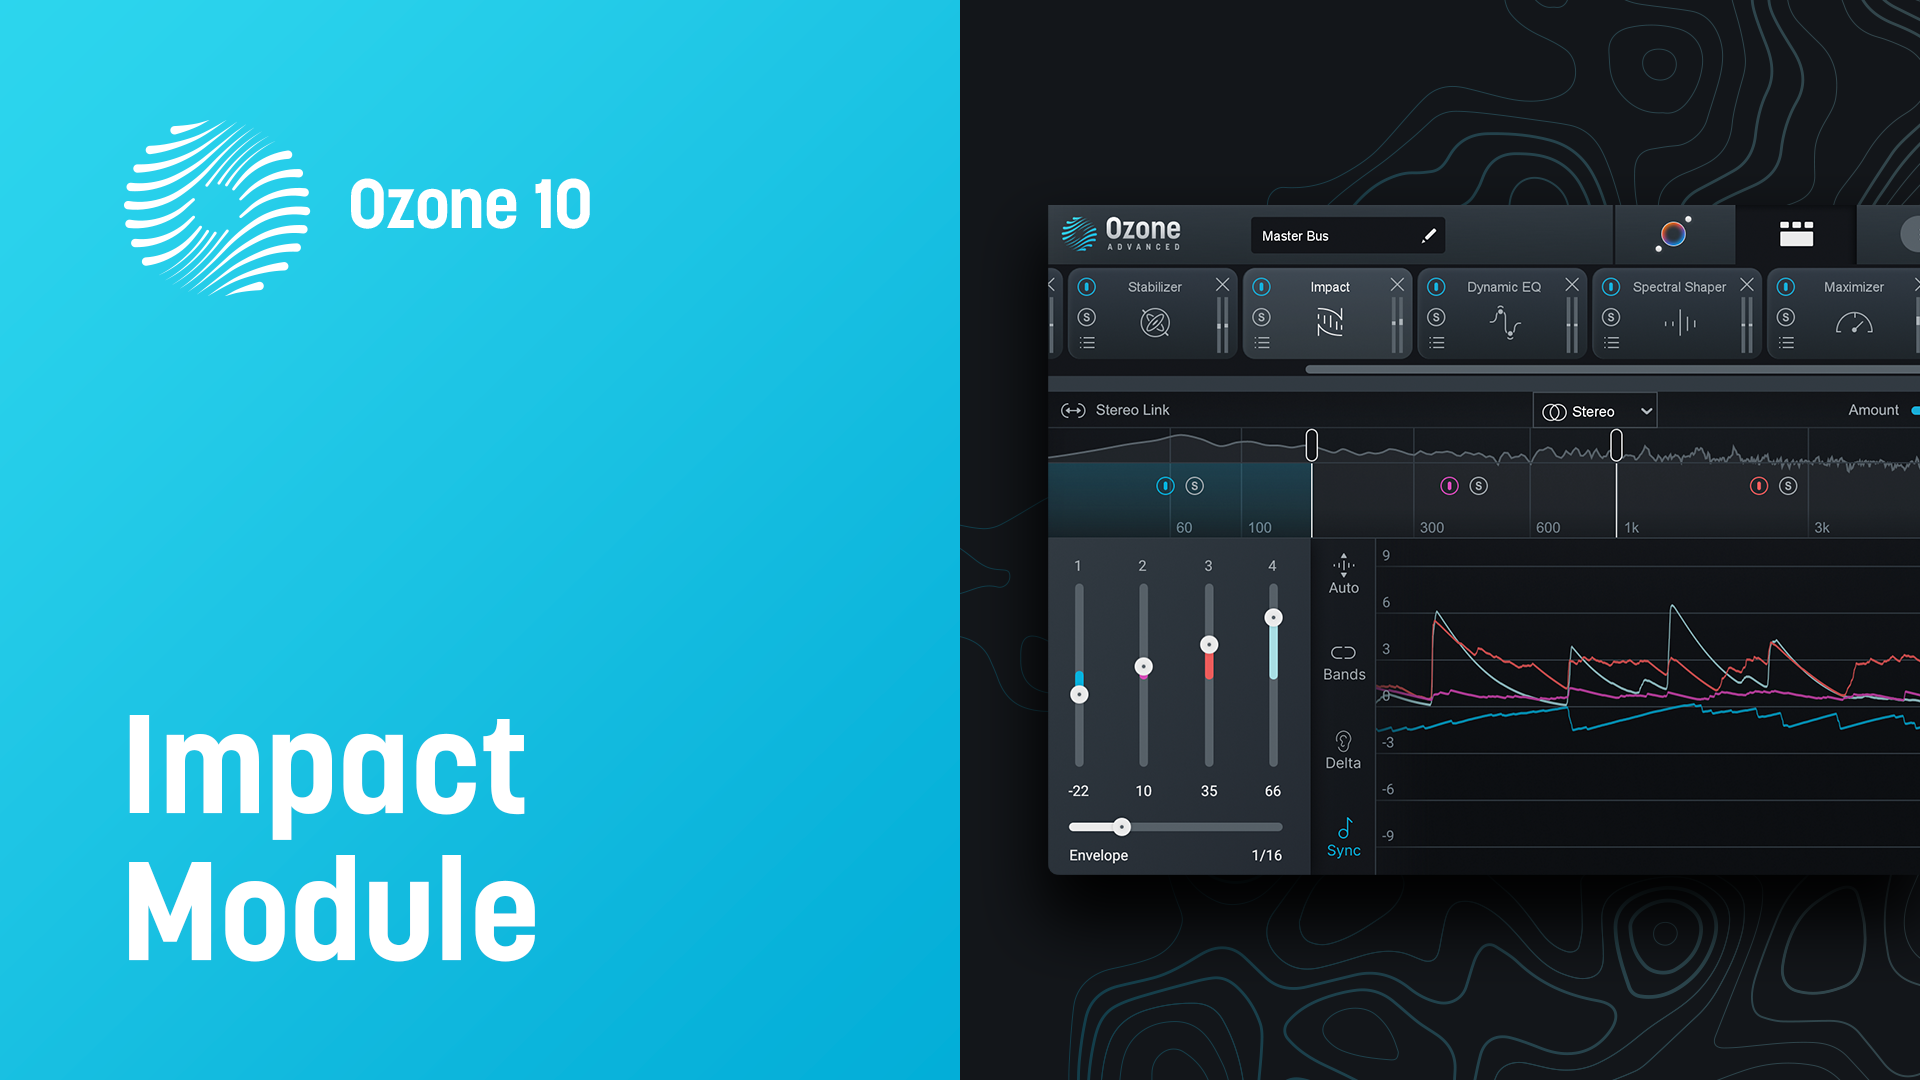
Ozone 10 Impact Module
An intuitive, outcome-driven approach to compression
There’s great power in understanding how every parameter in your compressor works. But admittedly, compression is one of the more challenging mastering techniques to learn. It can take months, even years to fully grasp what every parameter does. However, this learning curve shouldn’t take away from letting your creative juices flow freely. Ozone’s new Impact Module allows you to harness this power of compression by approaching the process with a more goal-oriented workflow.
The Impact Module allows users to intuitively apply compression/expansion on microdynamics (transients) across four frequency bands. It also has the added ability to process dynamics based on the rhythm of your music, therefore enhancing the musical movement in your master. No matter the experience level, you can use this module to breathe life into your master by intuitively adding punch and dynamic space, or gluing your track together for a thicker sound.
The Impact module can also be set intelligently by the Master Assistant in order to do multiband microdynamics match to chart-topping hits or a chosen referenced file.
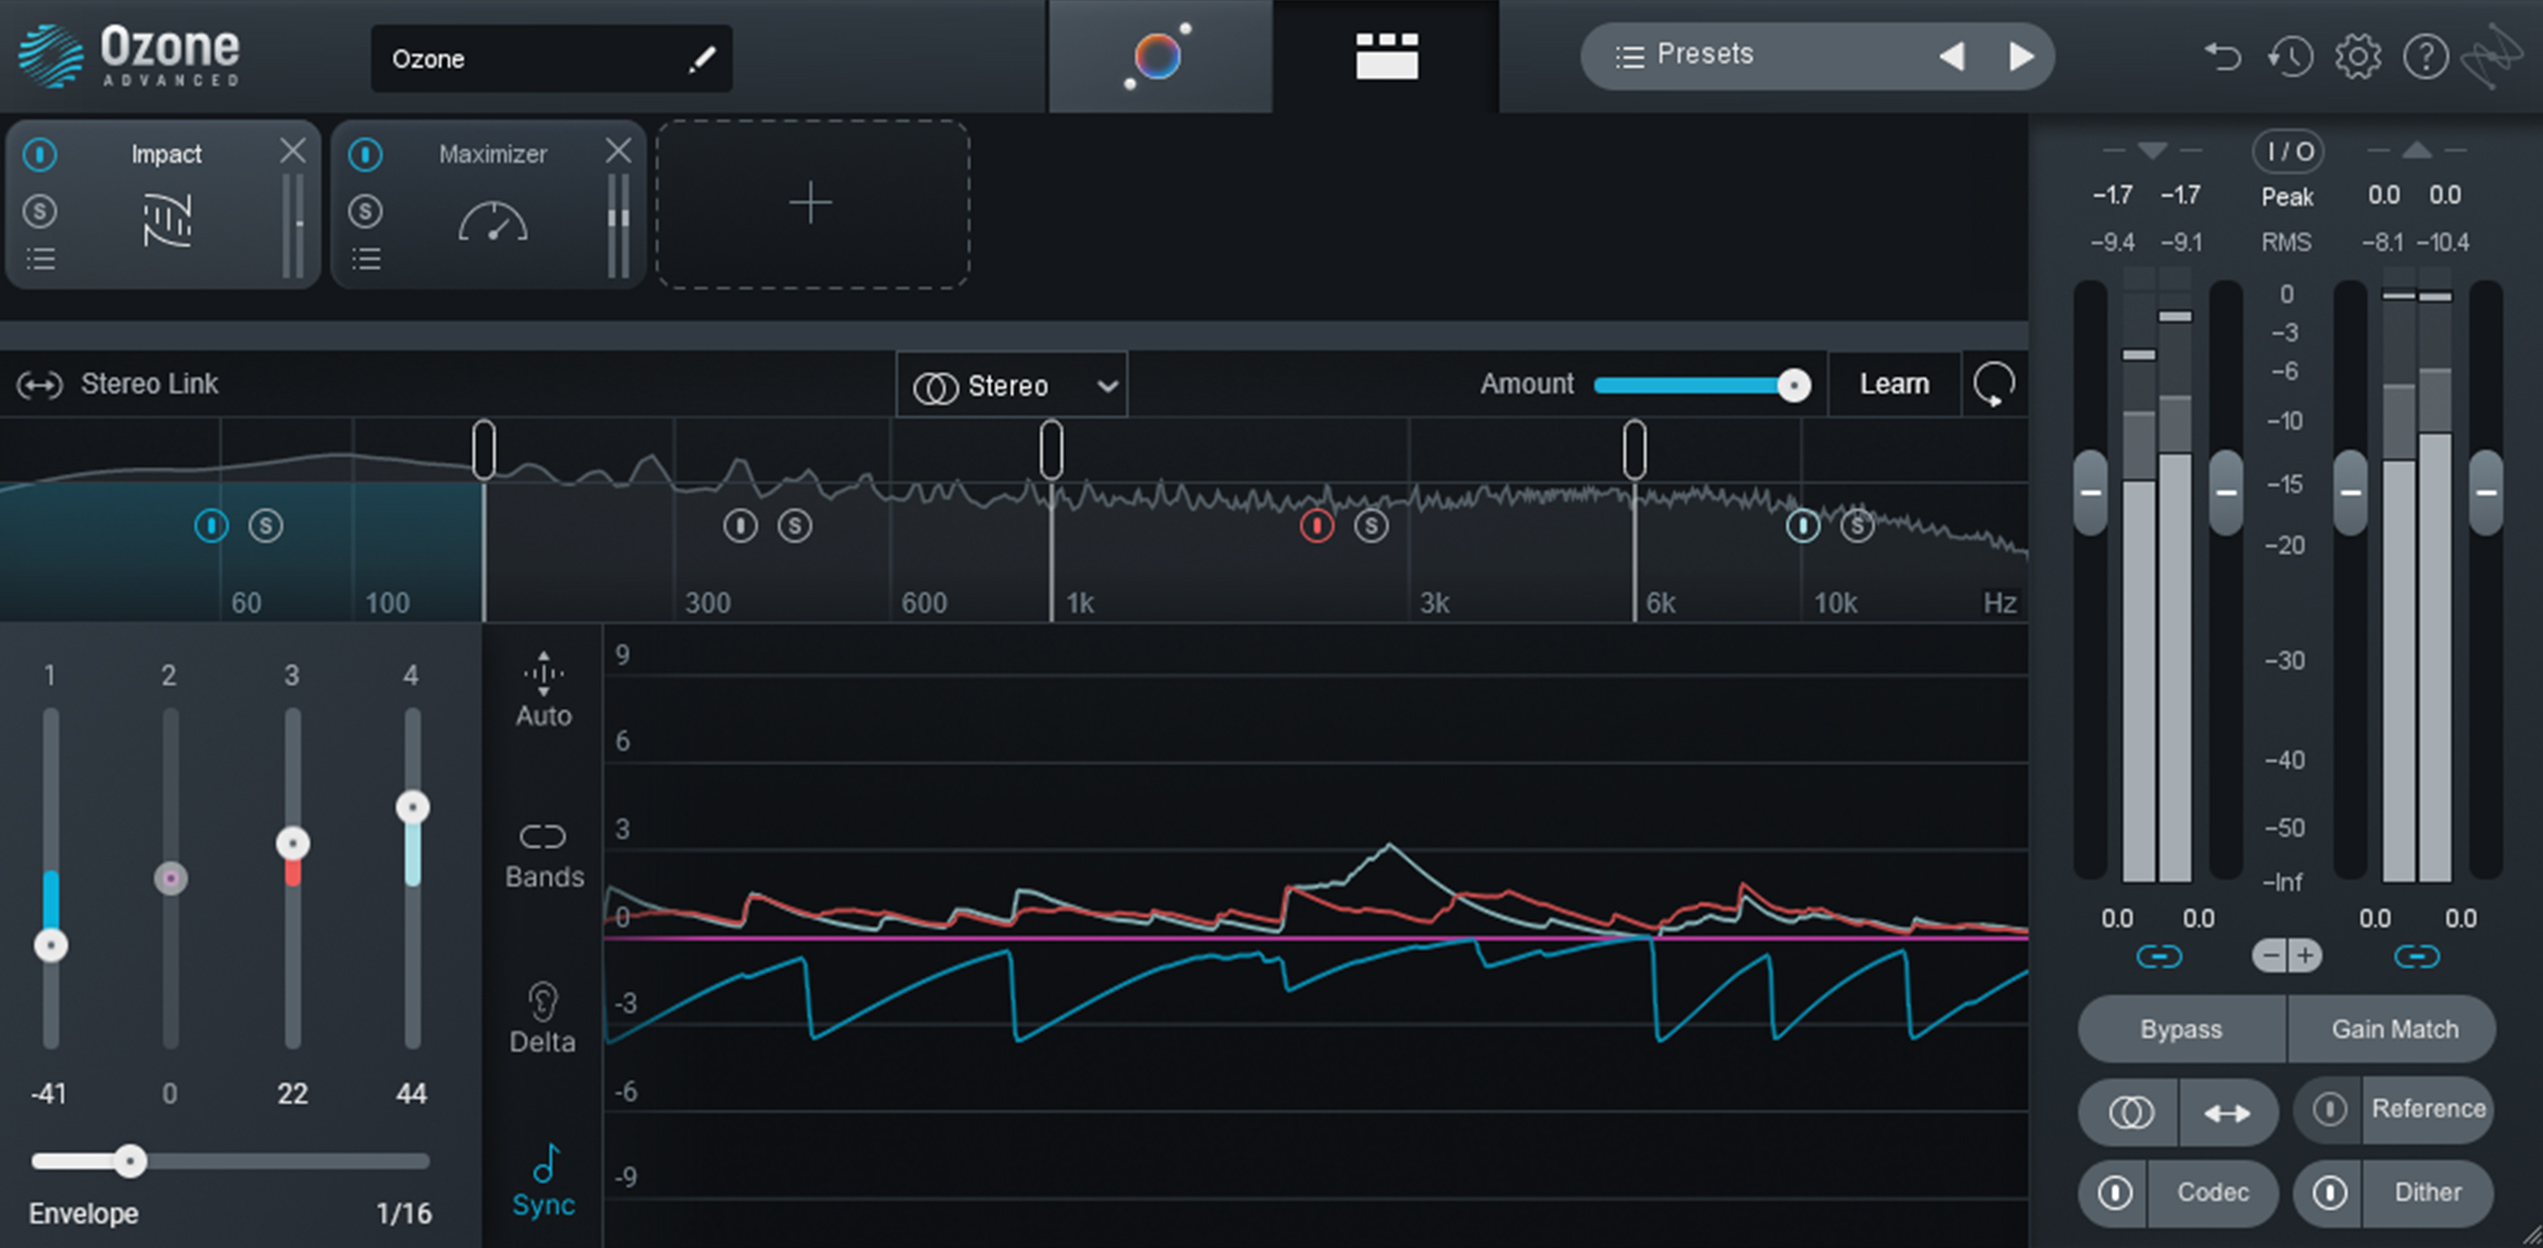
Ozone’s new Impact Module allows you to harness the power of compression in a more intuitive, outcome-driven approach
Start learning compression today
Compression is certainly a powerful tool in every mastering engineer’s arsenal. However, with great power comes great responsibility. Unlike limiting, it’s important to note that not every song needs compression at the mastering stage. Due to the sonic trade-offs that naturally occur when applying compression in your mastering chain, it must be used with intention in every session—whether it is to add glue/density, add punch/impact, tighten the groove/rhythm to your masters, etc. Admittedly, compression is one of the more challenging mastering techniques to learn, but that shouldn’t stop you from being creative with your workflow.
With the help of Ozone’s new Impact module, you can apply compression more confidently in your productions, all while learning the ropes as you gradually develop your mastering skills.
To aid you in your mastering journey, all of the A/B listening examples used in this article are available as hands-on mastering exercises. You can access these compression exercises by checking out our mastering course, available to


iZotope Music Production Suite Pro: Monthly
