7 Simple Life Hacks to Make Audio Production Easier
Audio production can be a grind, but it doesn’t have to be. In this article, we cover seven ways to waste less time and work more efficiently and productively.
Audio production can be exhausting. Obviously we love it, but the endless hours and sleepless nights spent staring at a screen can really add up.
In the past, I’ve experienced this frustration myself, and know that certain negative music production habits made it worse. Many of these negative habits come from the fact that we’re so excited to work that we don’t take the time to set ourselves up for success.
Personally, I can remember catching myself standing at my desk using my trackpad and laptop speakers for hours. I’m sure some of you can empathize.
But if you’re not working in the most optimal way, you’ll inevitably have to spend more time to get the same amount of progress, and the production process can become long and arduous. By wasting a second here or there thousands of times, the total project can take hours more than it could.
However, with a few basic quality-of-life improvements, we can eliminate those little time-wastes, work more efficiently, and relieve some of that exhaustion.
In this article, we’ll discuss several ways to make the grind of audio production easier and thus more productive. There’s no one “right way” to work in audio production. However, any of these hacks can make the process less stressful, more engaged, and more productive in the long run.
1. Use a mouse
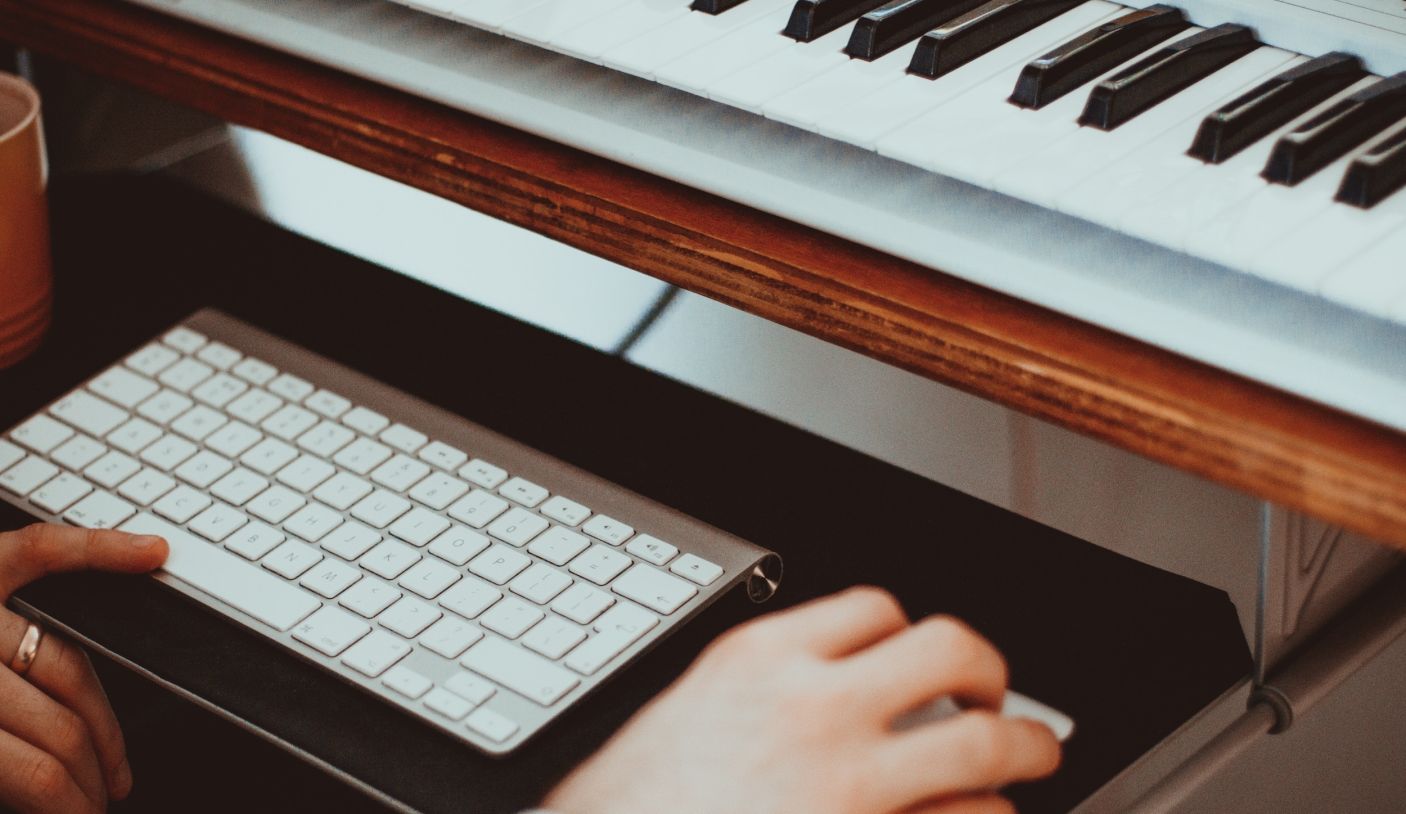
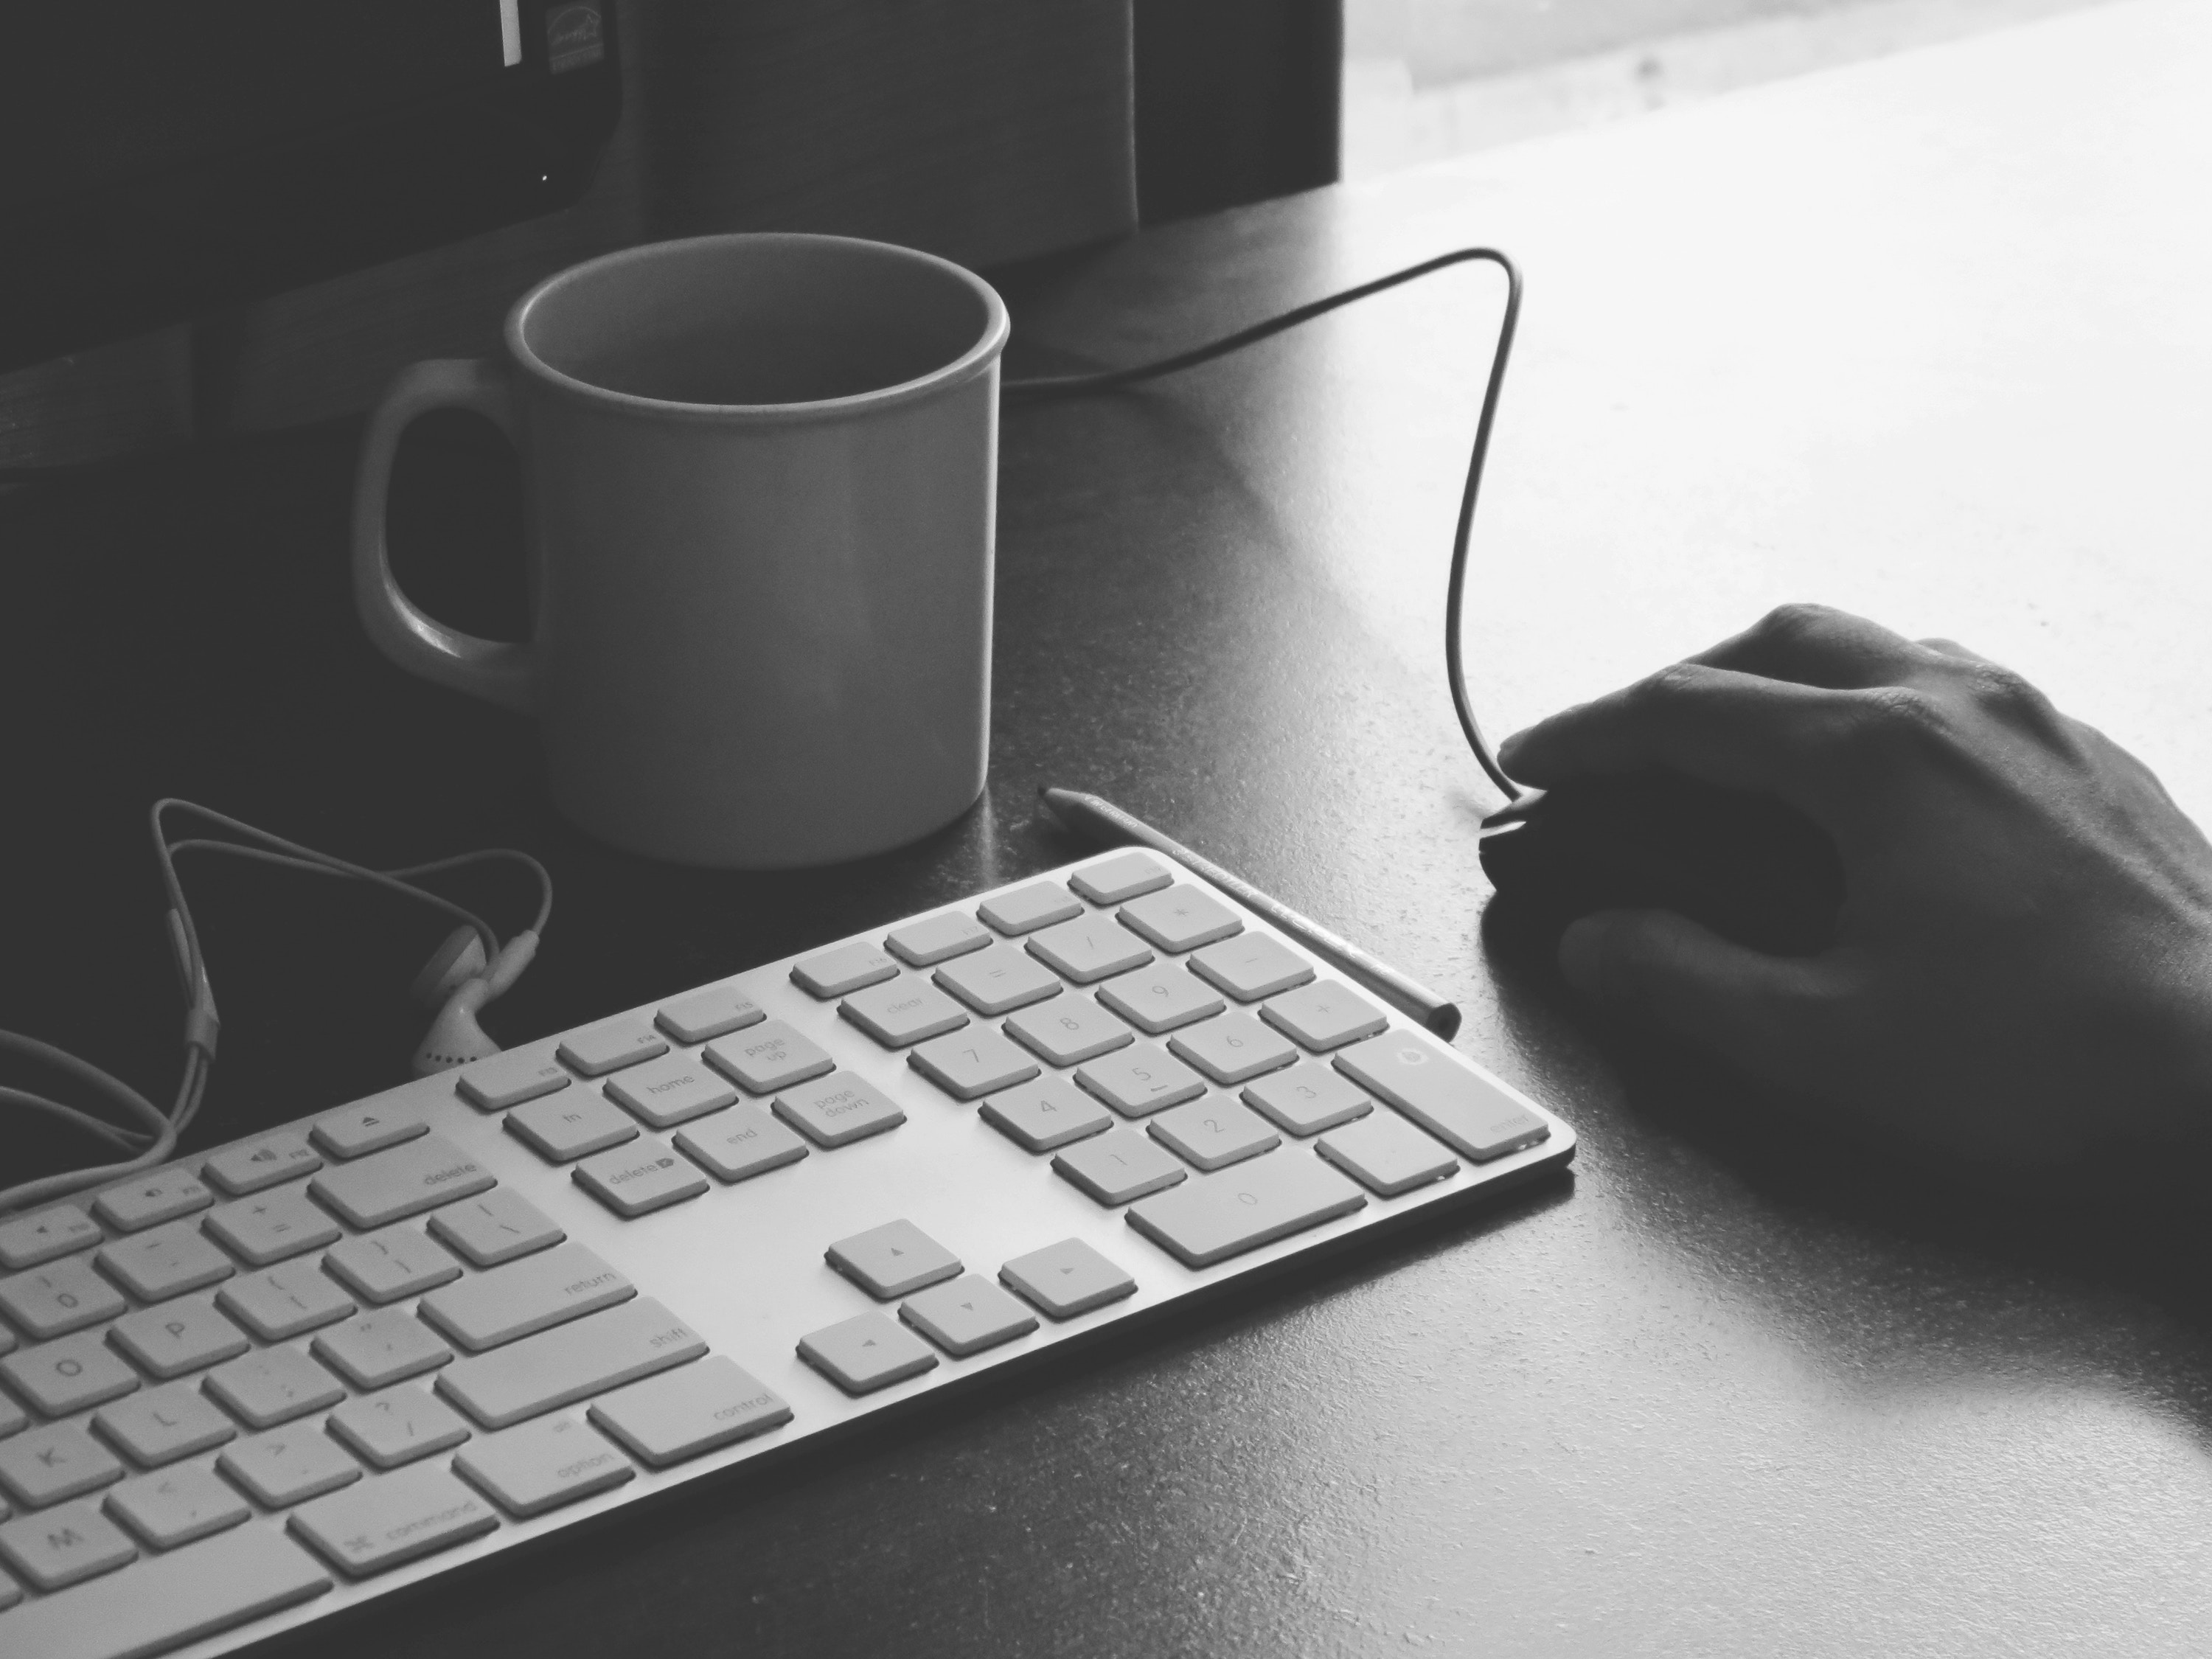
As meaningless as it sounds, using a mouse can actually be a complete game changer in your working speed. Don’t scoff at this; I definitely did when I (as a lifetime trackpad warrior) heard the same thing.
Obviously, there are times that we need to work on the go, times that it would be too cumbersome to work with a mouse. And by using the trackpad a lot, you’re bound to become faster and more accurate with it.
However, if you have the time to be working at a desk, a mouse can revolutionize your workflow. The goal of this article is to eliminate tiny, time-wasting moments, and one of the most common things you’ll be doing while working is moving your cursor around the screen.
With a mouse, you’ll have your entire arm and wrist to move the cursor, which saves you having to move your finger multiple times on the trackpad. Even if you have your trackpad sensitivity set super high, it still takes more time to do things like right click and scroll on a trackpad than it does with a mouse. The dedicated right click button and scrolling wheel on a mouse are much more efficient.
You may be thinking, “Really? To shave off a fraction of a second? I think I’ll stick with my trackpad.”
Believe me, I thought the same thing. But think about how many times you move your cursor, click, and scroll while working on a track. These tiny moments of time wasting compound and make the process of finishing a track much longer than needed.
Try working for a few days with a mouse and see if it fits your workflow. I did a few years ago and now I feel like I’m in quicksand using my trackpad.
Use a mouse
2. Use a bigger screen and/or multiple screens
The scroll wheel on a mouse can help make scrolling quicker, but what if we didn’t have to scroll much in the first place?
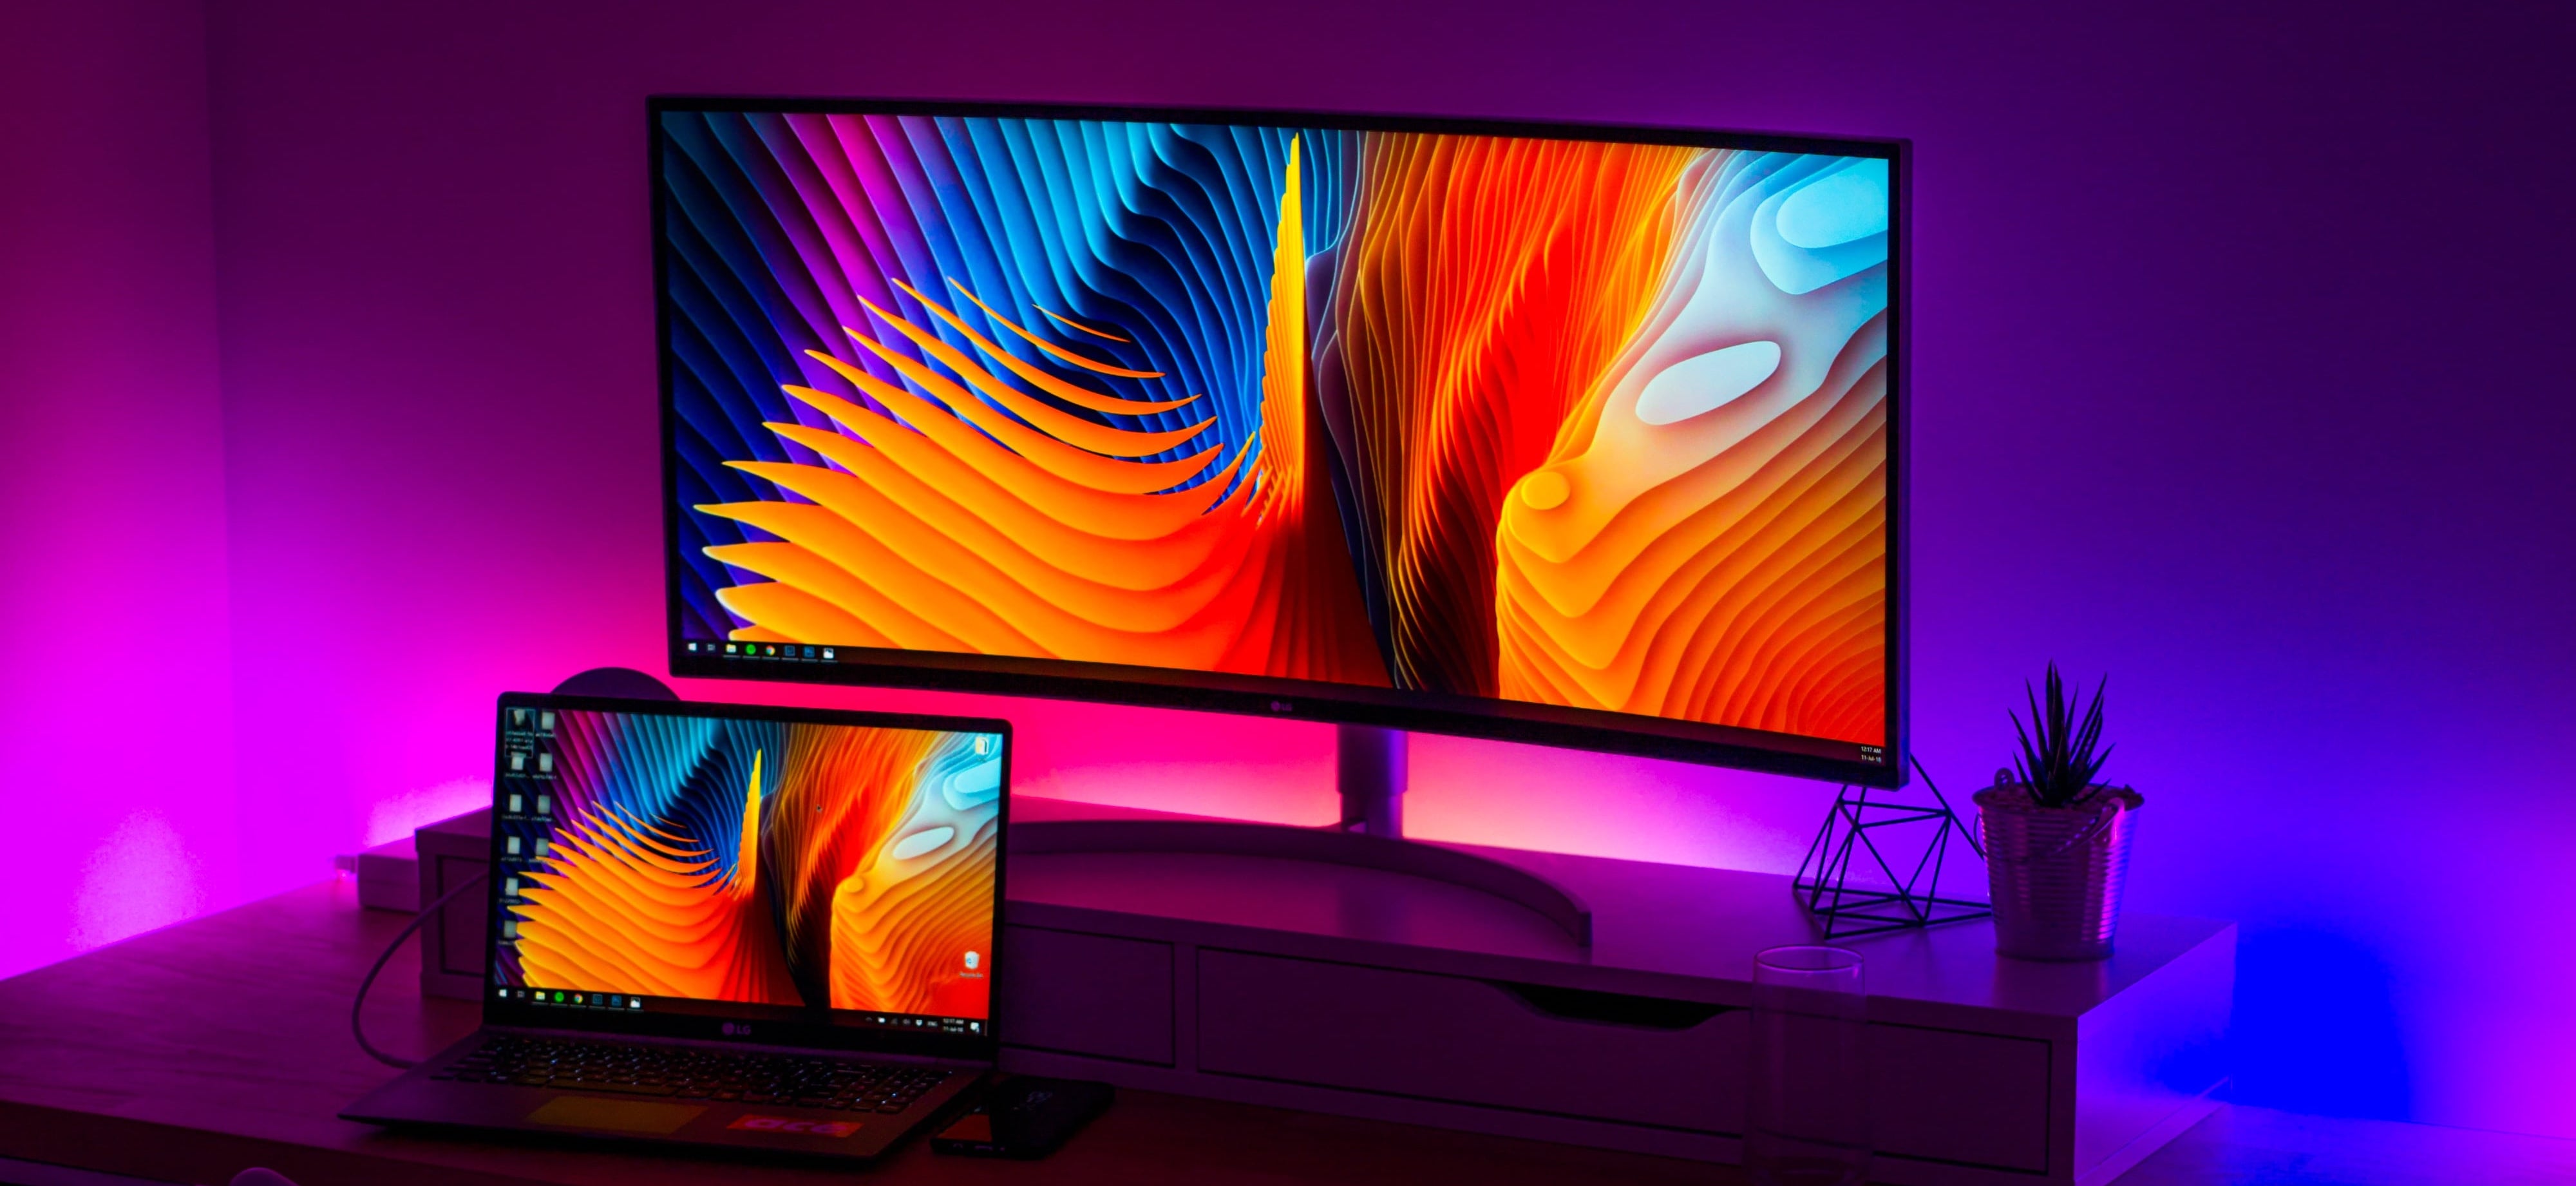
We can do this by using a larger external monitor or by using multiple screens. This gives us more screen real-estate, allowing us to fit more of the project into the viewing window. With more of the project visible, we can scroll less, reclaiming those precious seconds.
Also, it’s a noticeable workflow improvement just to have more room to work with. With a laptop screen, it can be tough to fit multiple plug-ins on the screen at the same time or access blocked DAW functions while plug-in windows are open. With more screen real-estate, this problems can be avoided.
Adding a second screen to your setup can also be a game changer. This allows you to reserve each screen for a specific role, such as having your arrangement window on one and the mixer on another. You can even do this with your laptop and one other monitor. This will save you the time of having to switch between multiple windows on one screen.
If you choose to use multiple screens, a nice little hack is to set them up in your display preferences to reflect their positions in real life. I personally find it super annoying when I have to move my mouse off screen in some arbitrary direction to reach an external monitor.
For example, if you have a laptop on your desk and one monitor above it, set that monitor to be above your laptop display in the arrangement. Now you can actually move your cursor towards the external monitor to reach it.
Bigger or multiple screens
3. Take advantage of keyboard commands
This is probably the biggest time-saver on the list. Mousing around and clicking comprises the majority of the time you’ll spend on a track. Having to do this for everything you do over the course of making a track just takes too long. Being able to simply press one key on your keyboard can save a ton of time in the long run.
Try to get to know your DAW’s key commands as soon as you can. Every DAW should cover keyboard shortcuts in the manual, if not in a menu within the software. Be sure to check these out, you may even find that there are convenient key commands for functions that you’d never thought could be more efficient.
Here are links to the keyboard commands or ways to find them in some popular DAW’s:
Ableton Live | Logic Pro | Pro Tools | FL Studio | Cubase | Reason
In most DAWs, it’s possible to customize the keyboard commands to suit your needs. Make commands for processes that you find yourself consistently doing to save time in future projects. Customizing key commands can also be super helpful if you use multiple DAWs, as you can have a consistent set of shortcuts across all software.
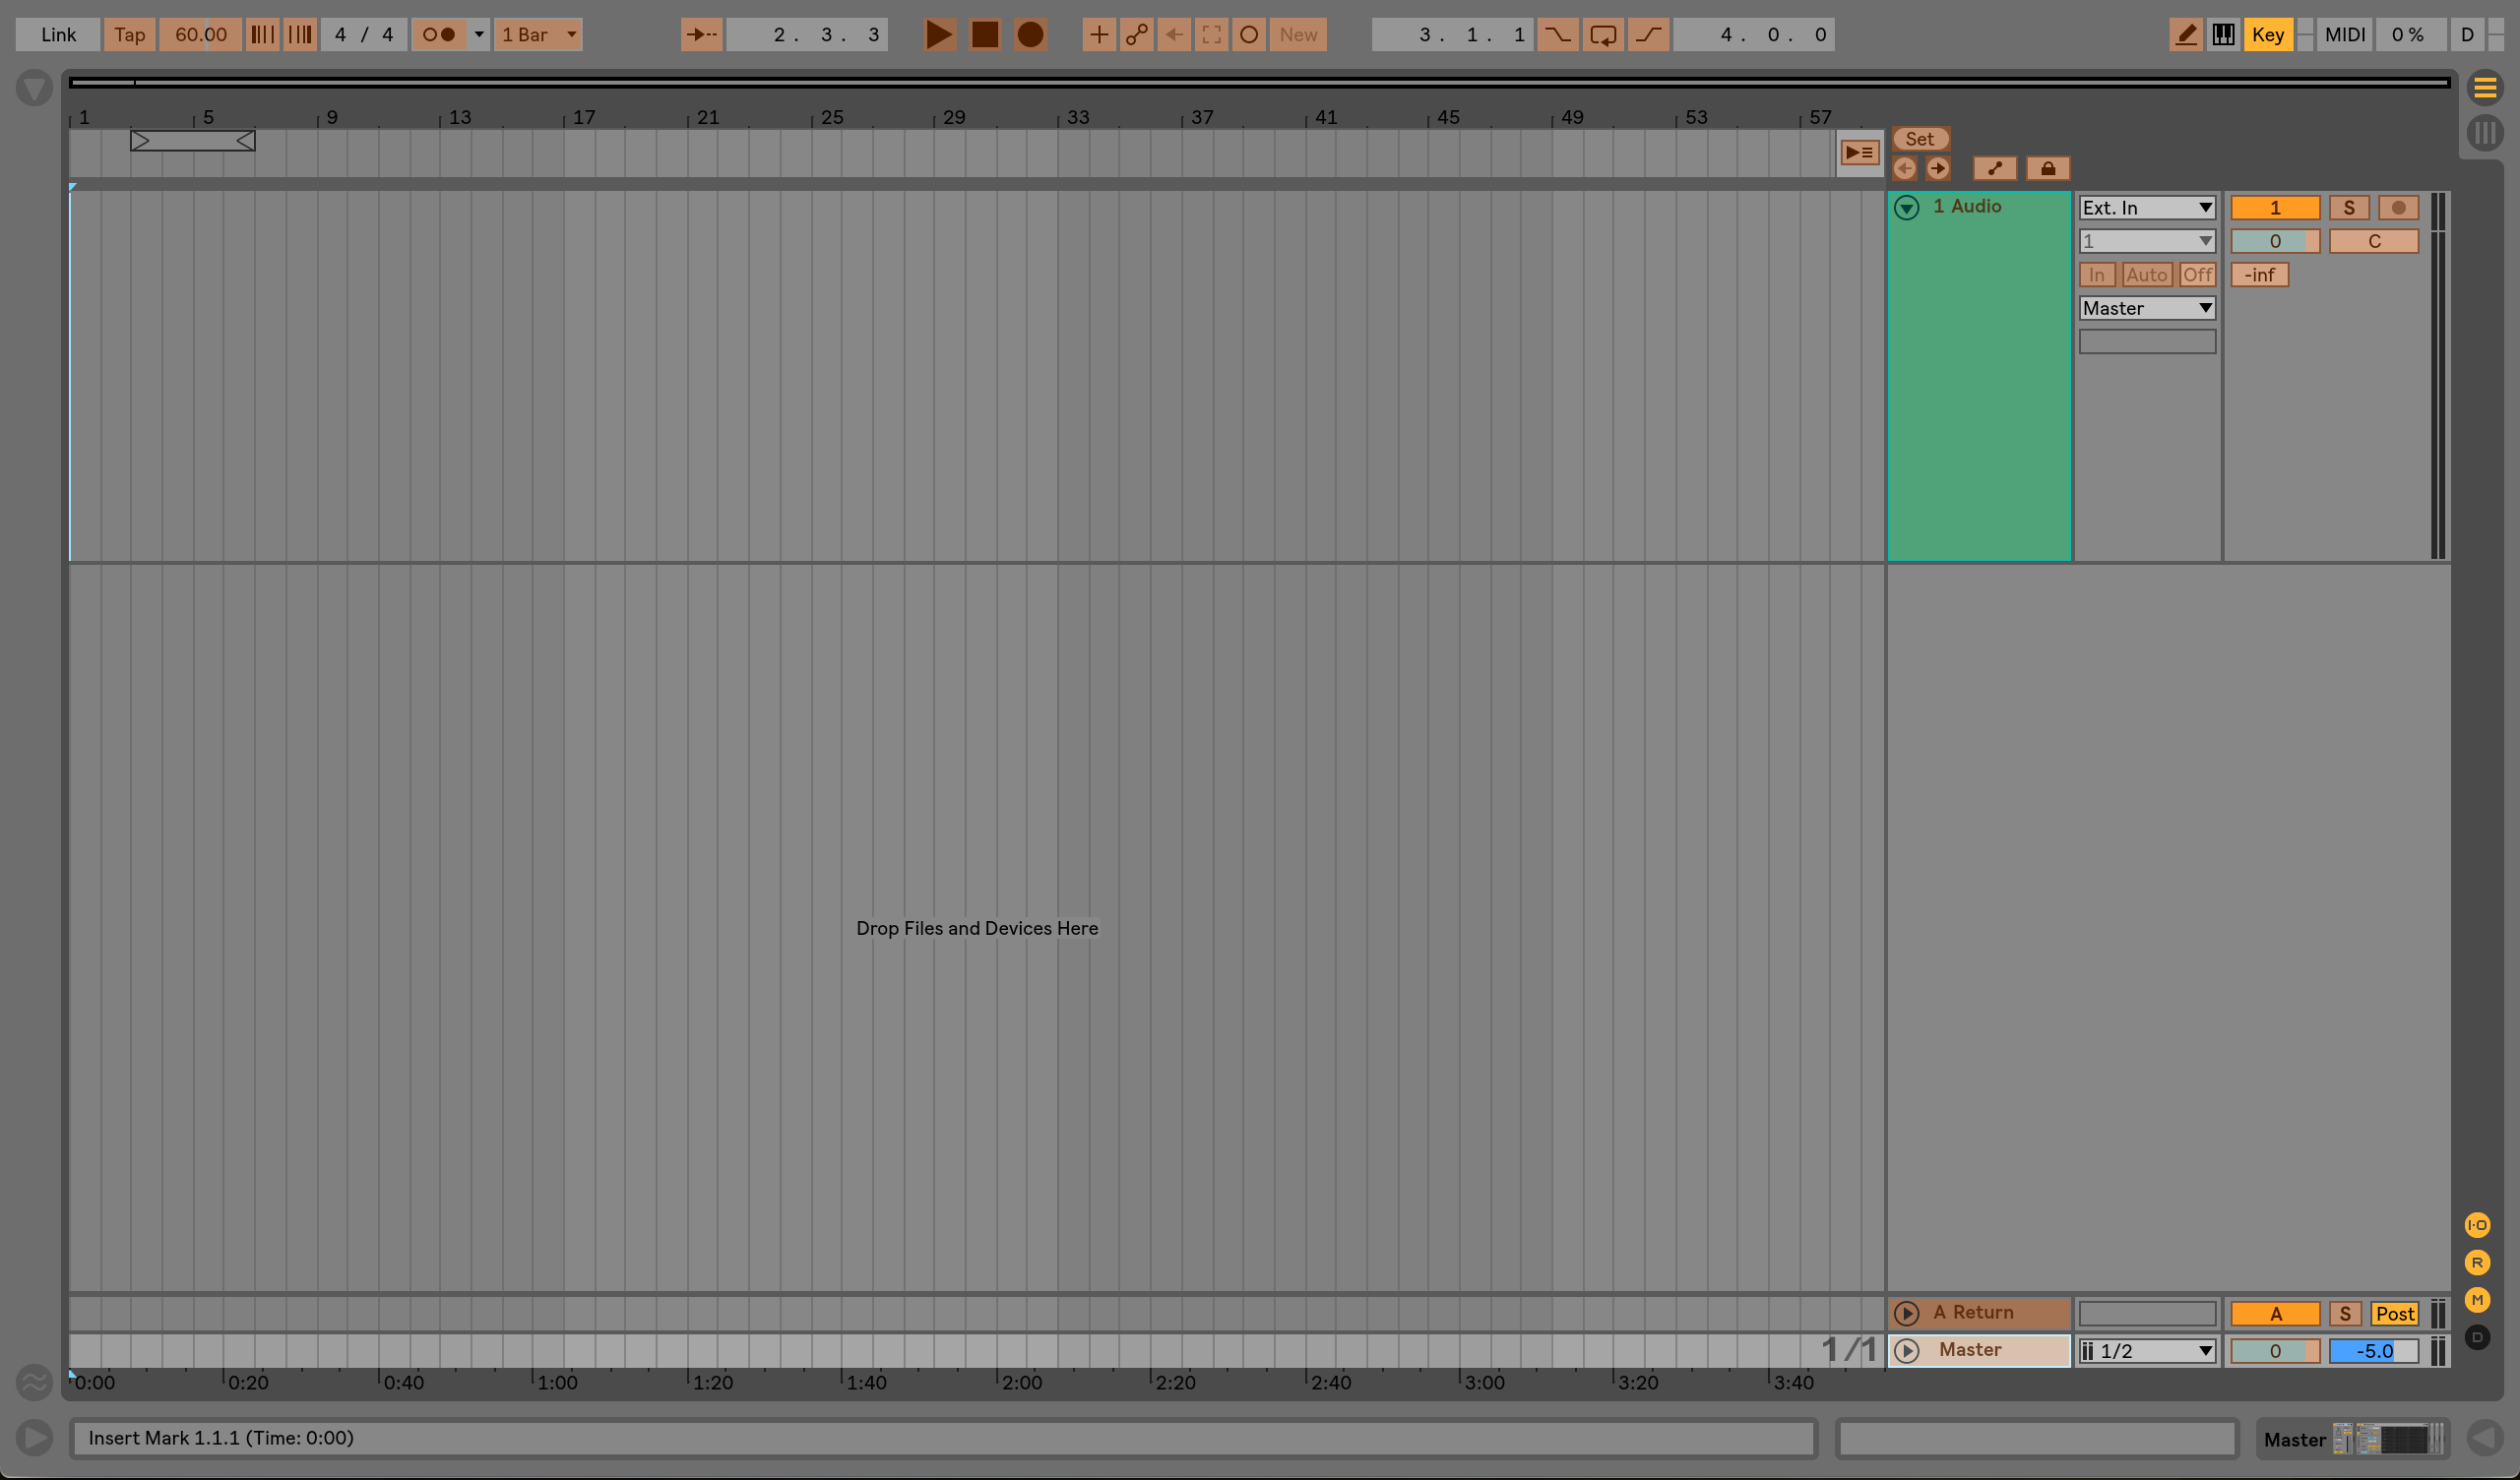
If you’re an Ableton Live user, make sure to use the Key Mapping feature, which allows you to create custom key commands for almost any Ableton parameter on the fly. Simply hit CMD+K or CTRL+K (on Mac and Windows respectively) to enter key mapping mode, click any parameter that is now shaded orange, and type the key you’d like to set as your new key command.
Ableton key mapping
I personally set a few up that improve my workflow.
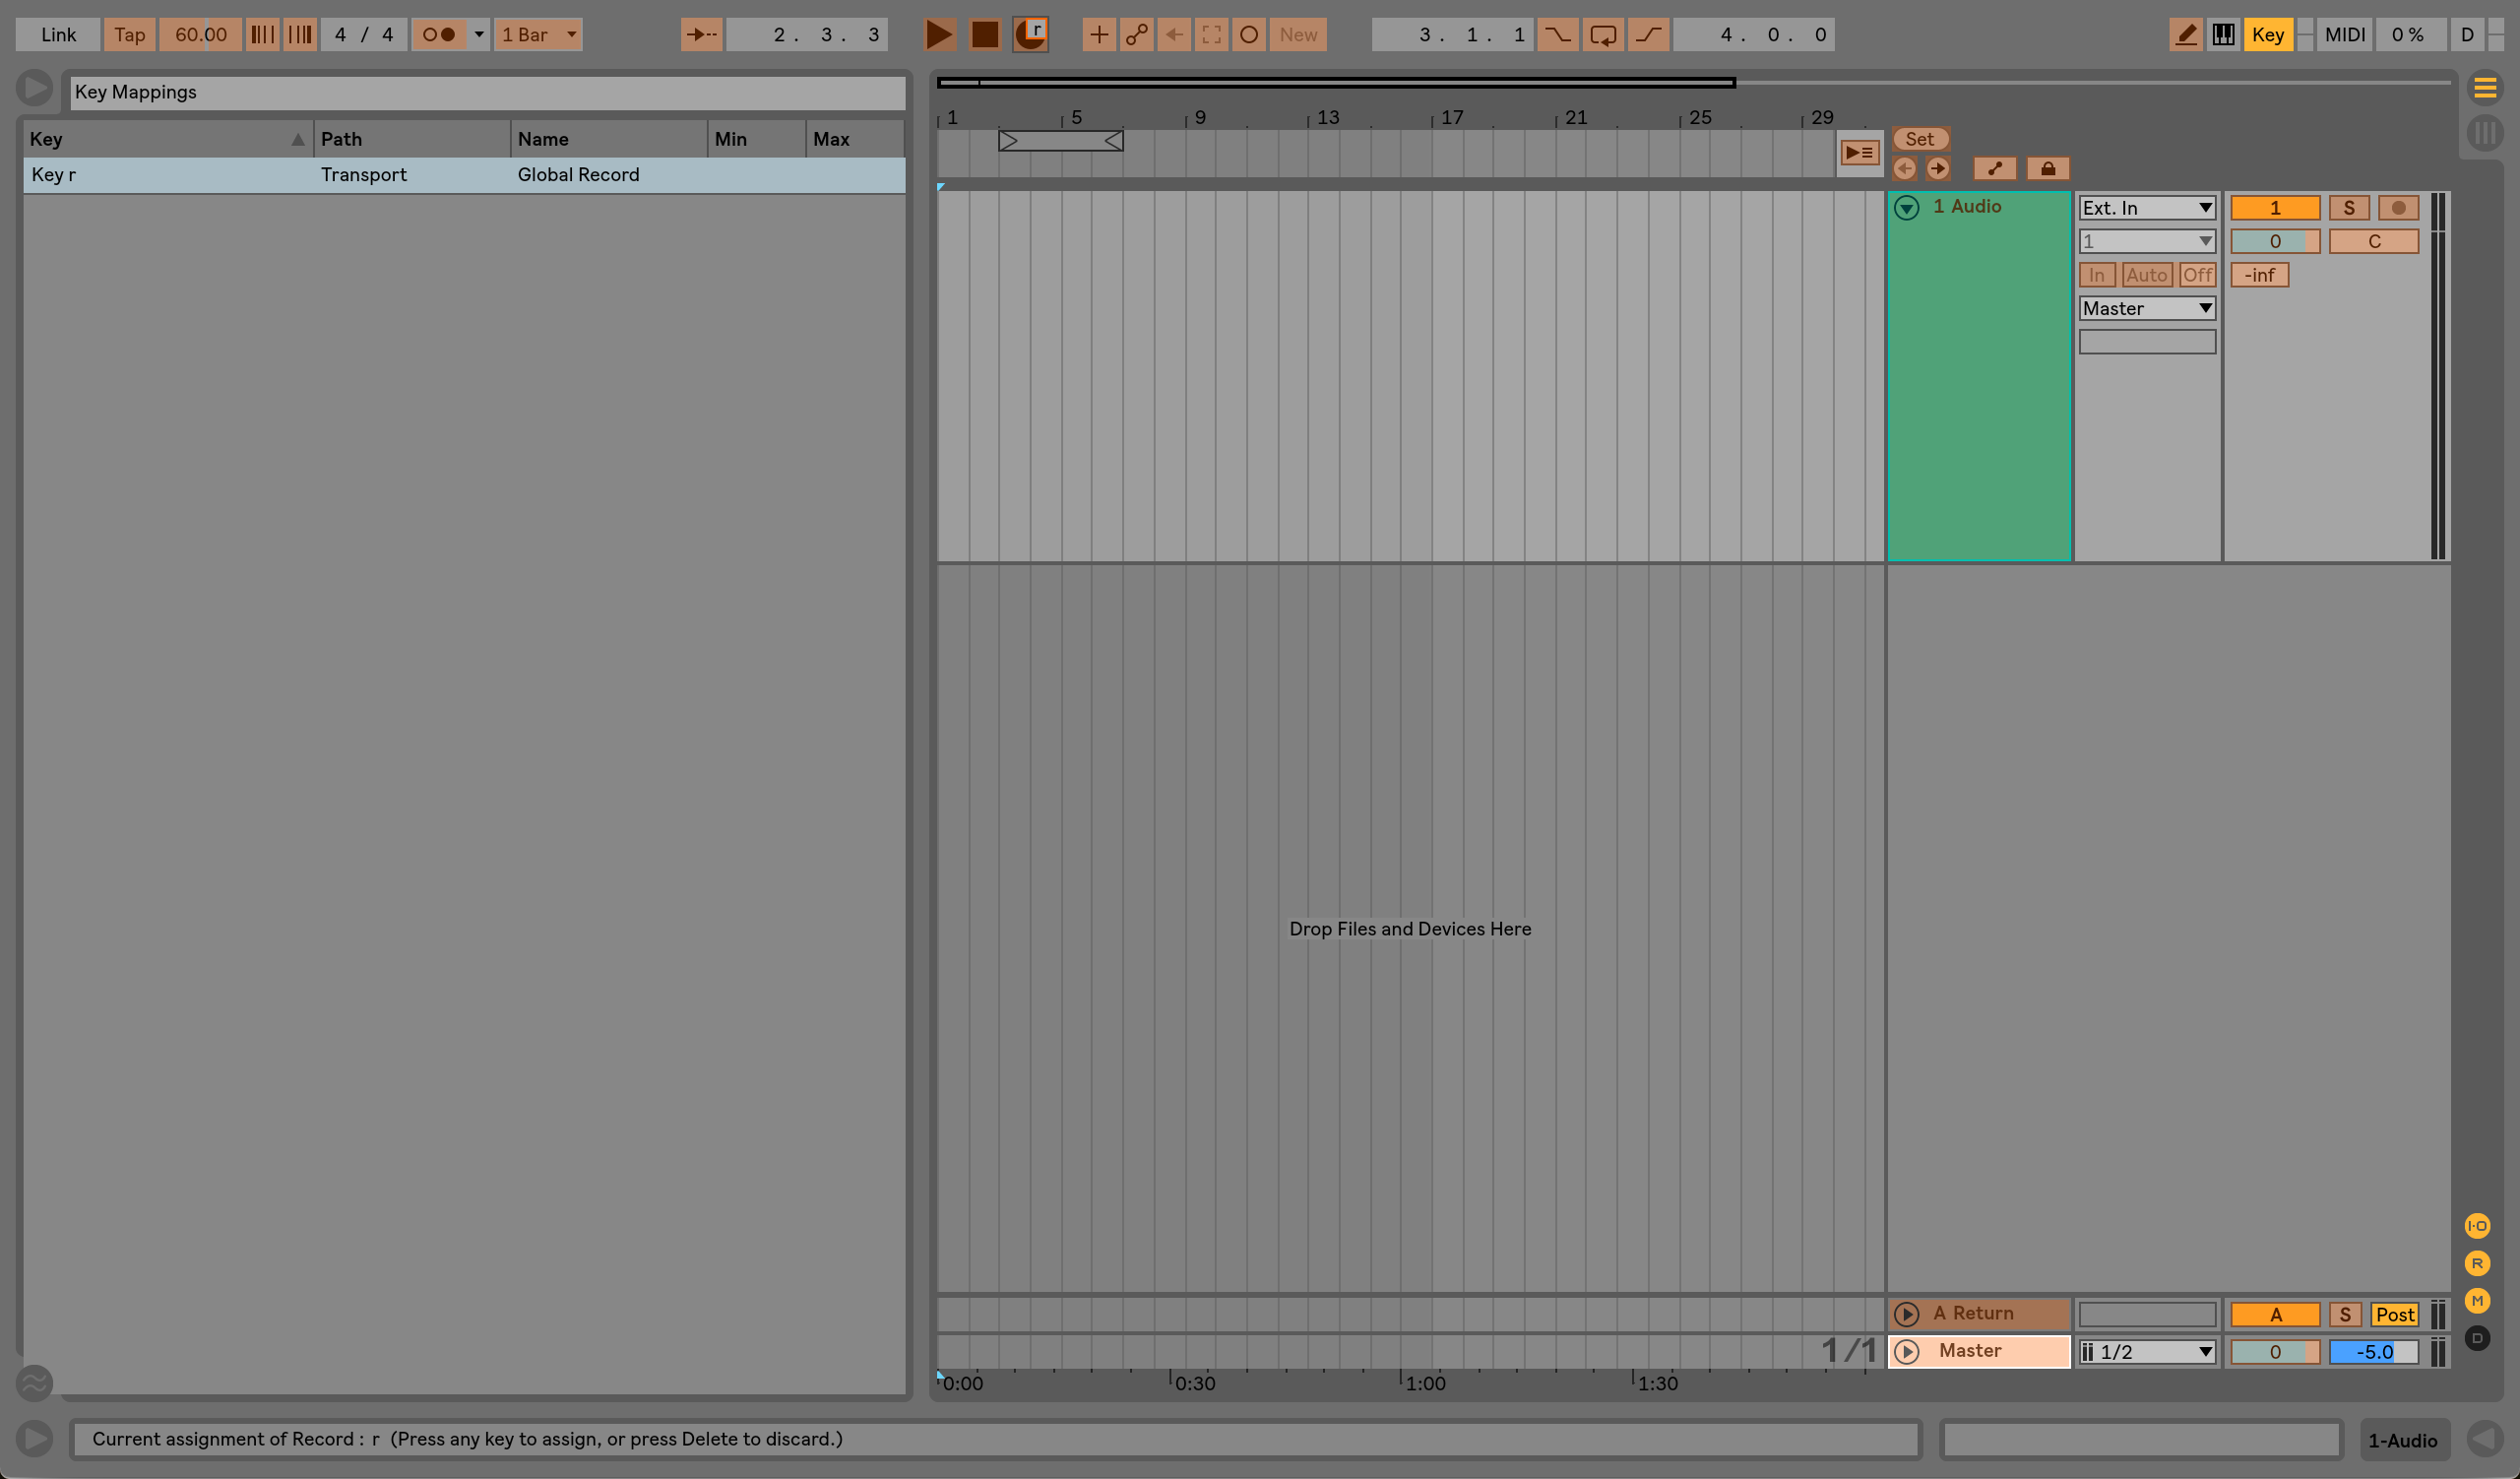
First, Ableton’s default keyboard command for recording is F9. Because I’d prefer not to lock my function keys (I’m on a Mac, and I’d rather have easy access to volume and screen brightness), and because holding the “fn” key takes longer than just pressing one button, I’ve set “r” as my keyboard command. This allows me to use one hand to record rather than both.
Easy record
Are you ever annoyed when you hit pause and still hear a ton of delays echoing out forever? I know I am. I solved this problem with another key map. Any time I insert a new delay plug-in, I insert a key map where “\” (which I chose because it’s not used for anything I need and it’s easy to reach) is able to turn on and off the delay’s device activator. This allows me to hit the “\” key twice any time I pause to kill all delays.
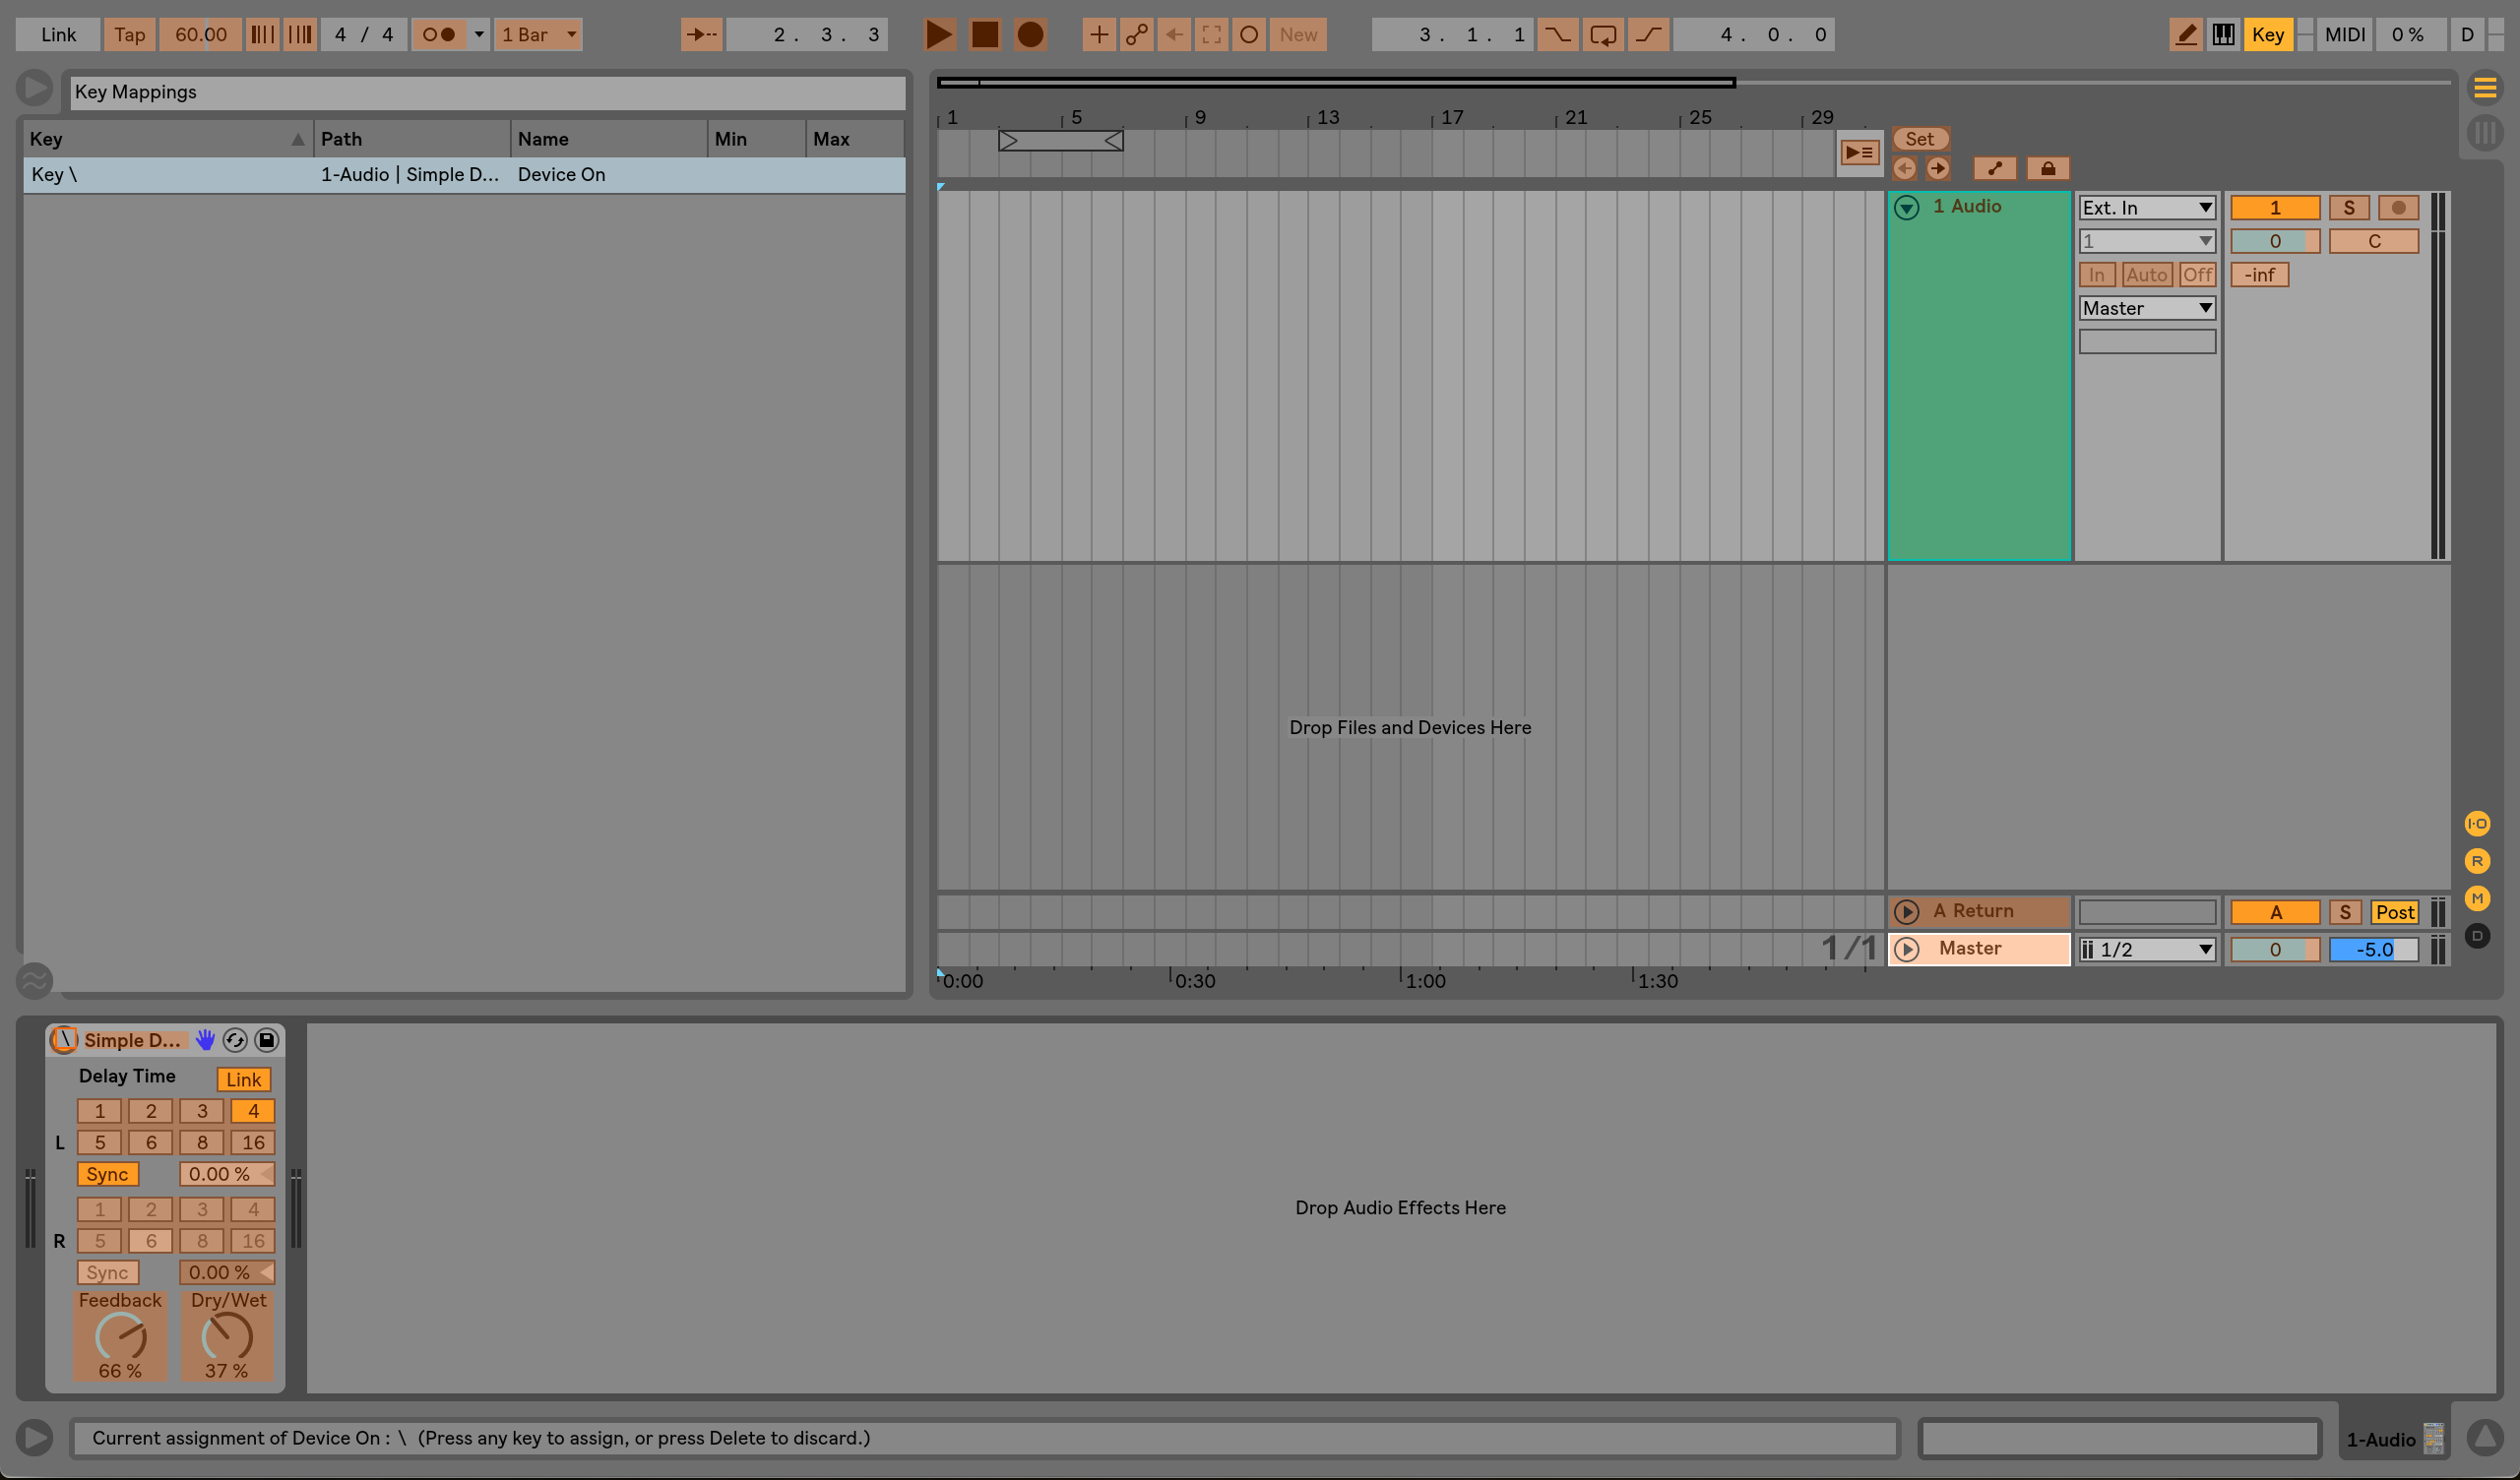
Keyboard commands
Lastly, key mapping is great for comparing things in Ableton. Sometimes, if we’re trying to compare two channels or two different processing chains, we can lose objectivity because we have to mute and unmute several channels or plug-ins in the process.
Instead, we can assign a key to control the bypass of both channels/processing chains, manually bypass one (so one is off and one is on), and now that key will instantly switch between the two. Instead of clicking around, we can hit one key and make these comparisons much more easily and accurately.
This is great for comparing your mix to a reference track, comparing the sounds of different processing chains, hearing the difference between different models of compressors or EQs, and more.
4. Create a custom project template
There are probably a few things that you do in every project. For producing and arranging, I always set up channels for my drums, have at least one MIDI and one audio channel for instruments, and create dedicated sidechain channels.
Instead of wasting time to do the same couple things every time you sit down in a new project, it can be great to create your own custom default project template. This will load all your standard processes already set up each time you open a new project. Being able to open your DAW and get right to work is great for time management.
This is my default Ableton Live template below. See how I have my sidechain channels, a channel for each of my drums, and a MIDI and audio track.
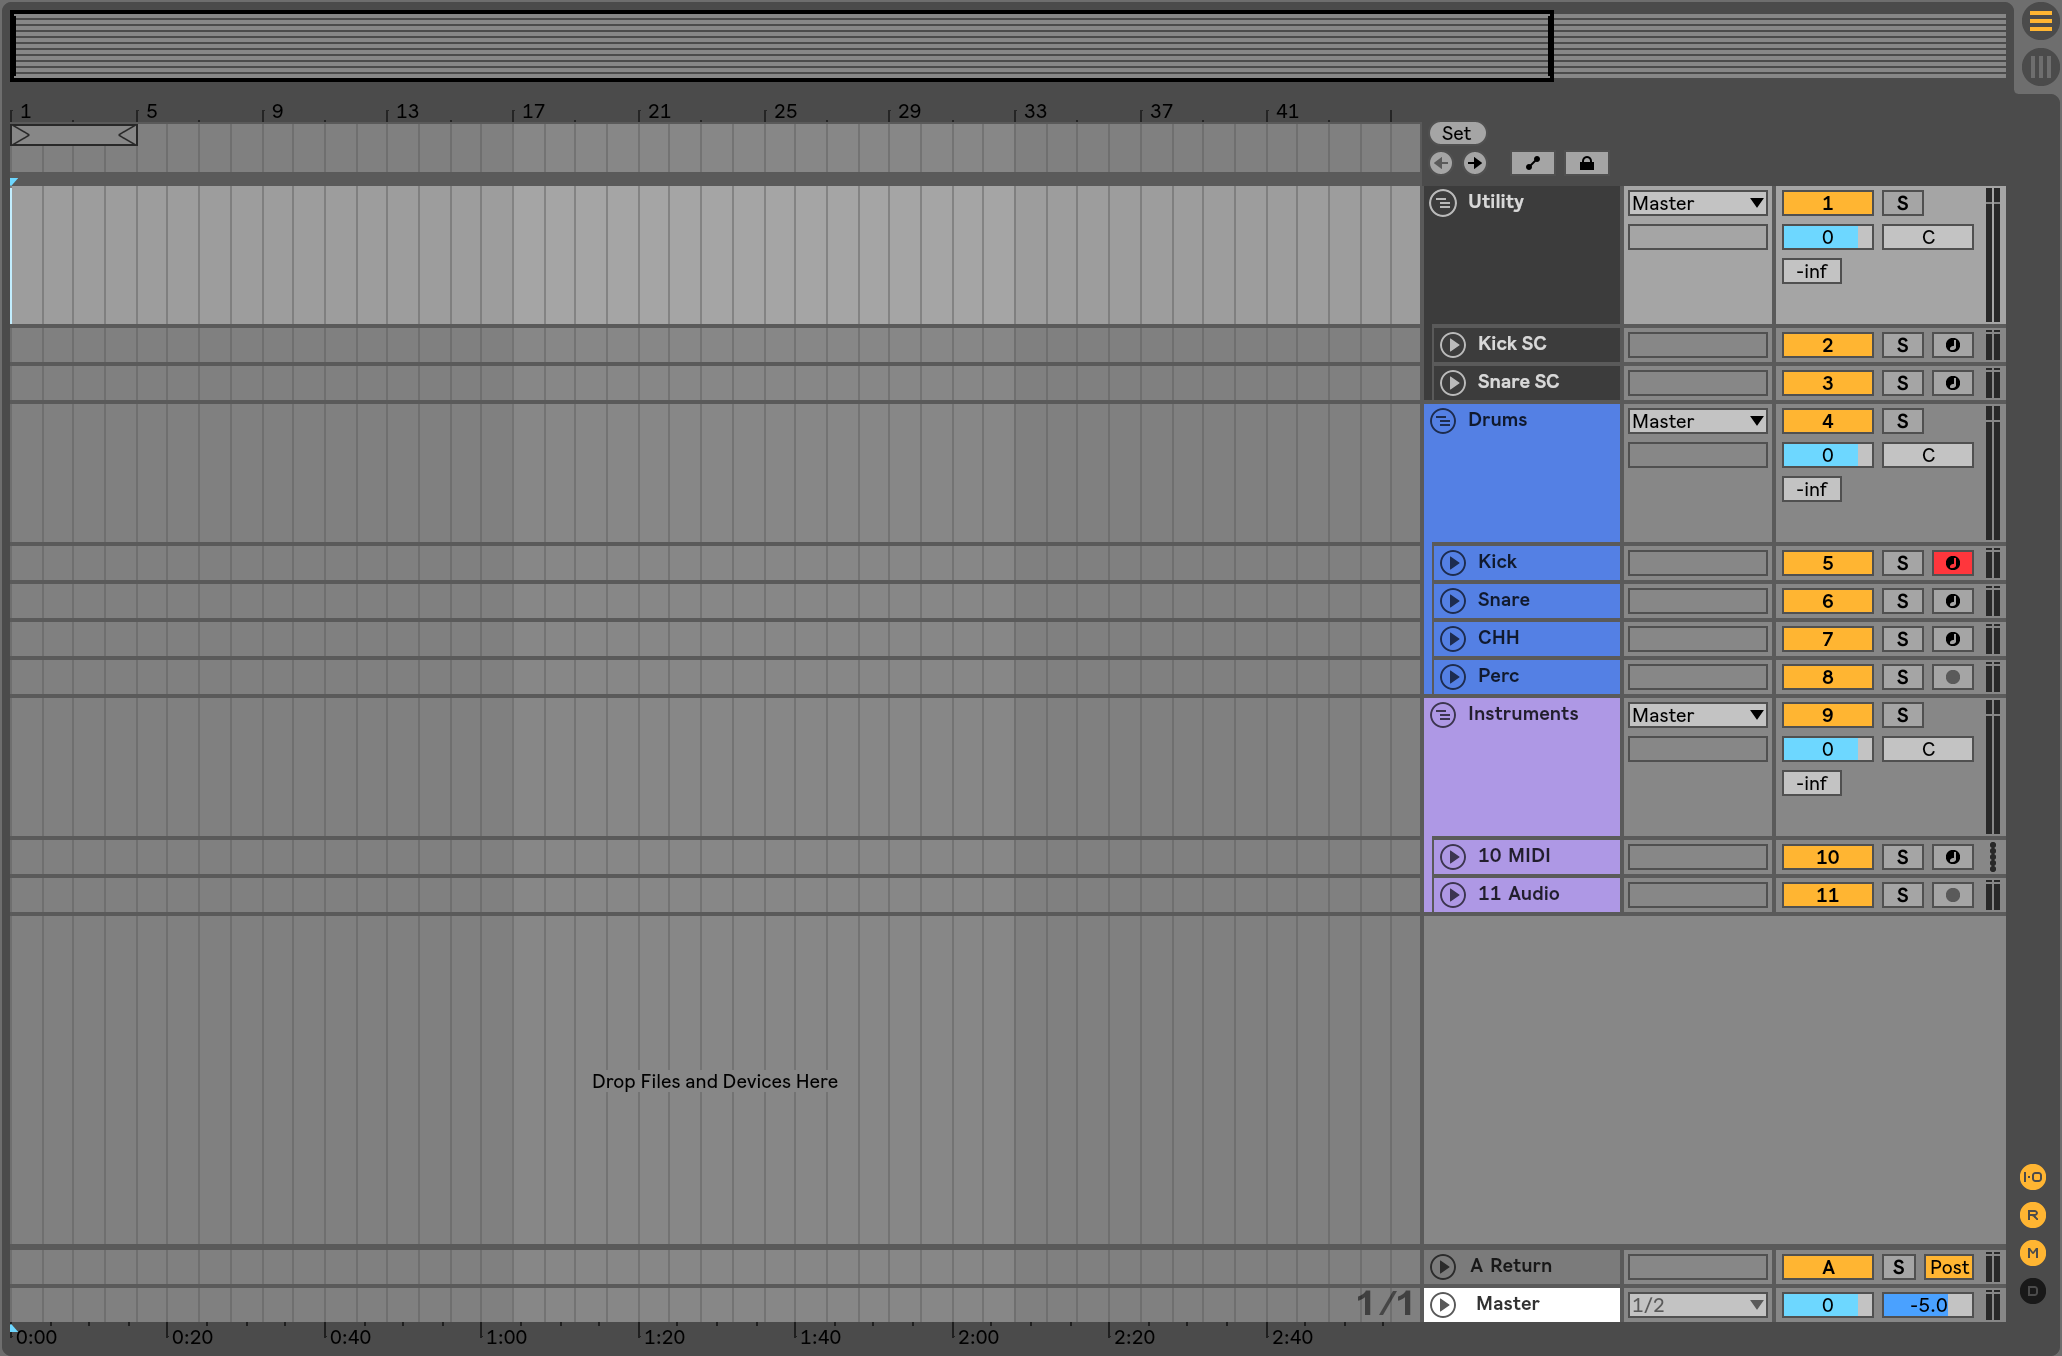
Custom project template
You can get even deeper with this and set your default template to have plug-ins already loaded on channels. I do this in my default template, in which I have an EQ, Trash 2, a Transient Master, and a spectrum analyzer set up on each drum channel.
5. Don’t forget your chair
We often get so invested in what’s going on in our DAW that we forget we’re sitting in a chair for hours on end. But this sitting position can have a big impact on our ability to stay focused and have the stamina for long sessions.
Be careful not to regularly work while sitting in a soft seat like a couch or your bed. If you’re in something too soft and comfortable, you might fall into a bit of a haze and work more slowly. Better to be a bit uncomfortable and stay engaged.
Conversely, if you’re sitting in a hard seat like a wooden or plastic chair, the discomfort can be too distracting, also causing you to work more slowly. Try to find that Goldilocks chair that gives you support while allowing you to sit upright.
If you’re using an adjustable office chair, try locking the chair in an upright position. It’s all well and good to recline while you’re listening, but keeping your chair locked upright will give your back more support and keep you focused ahead.
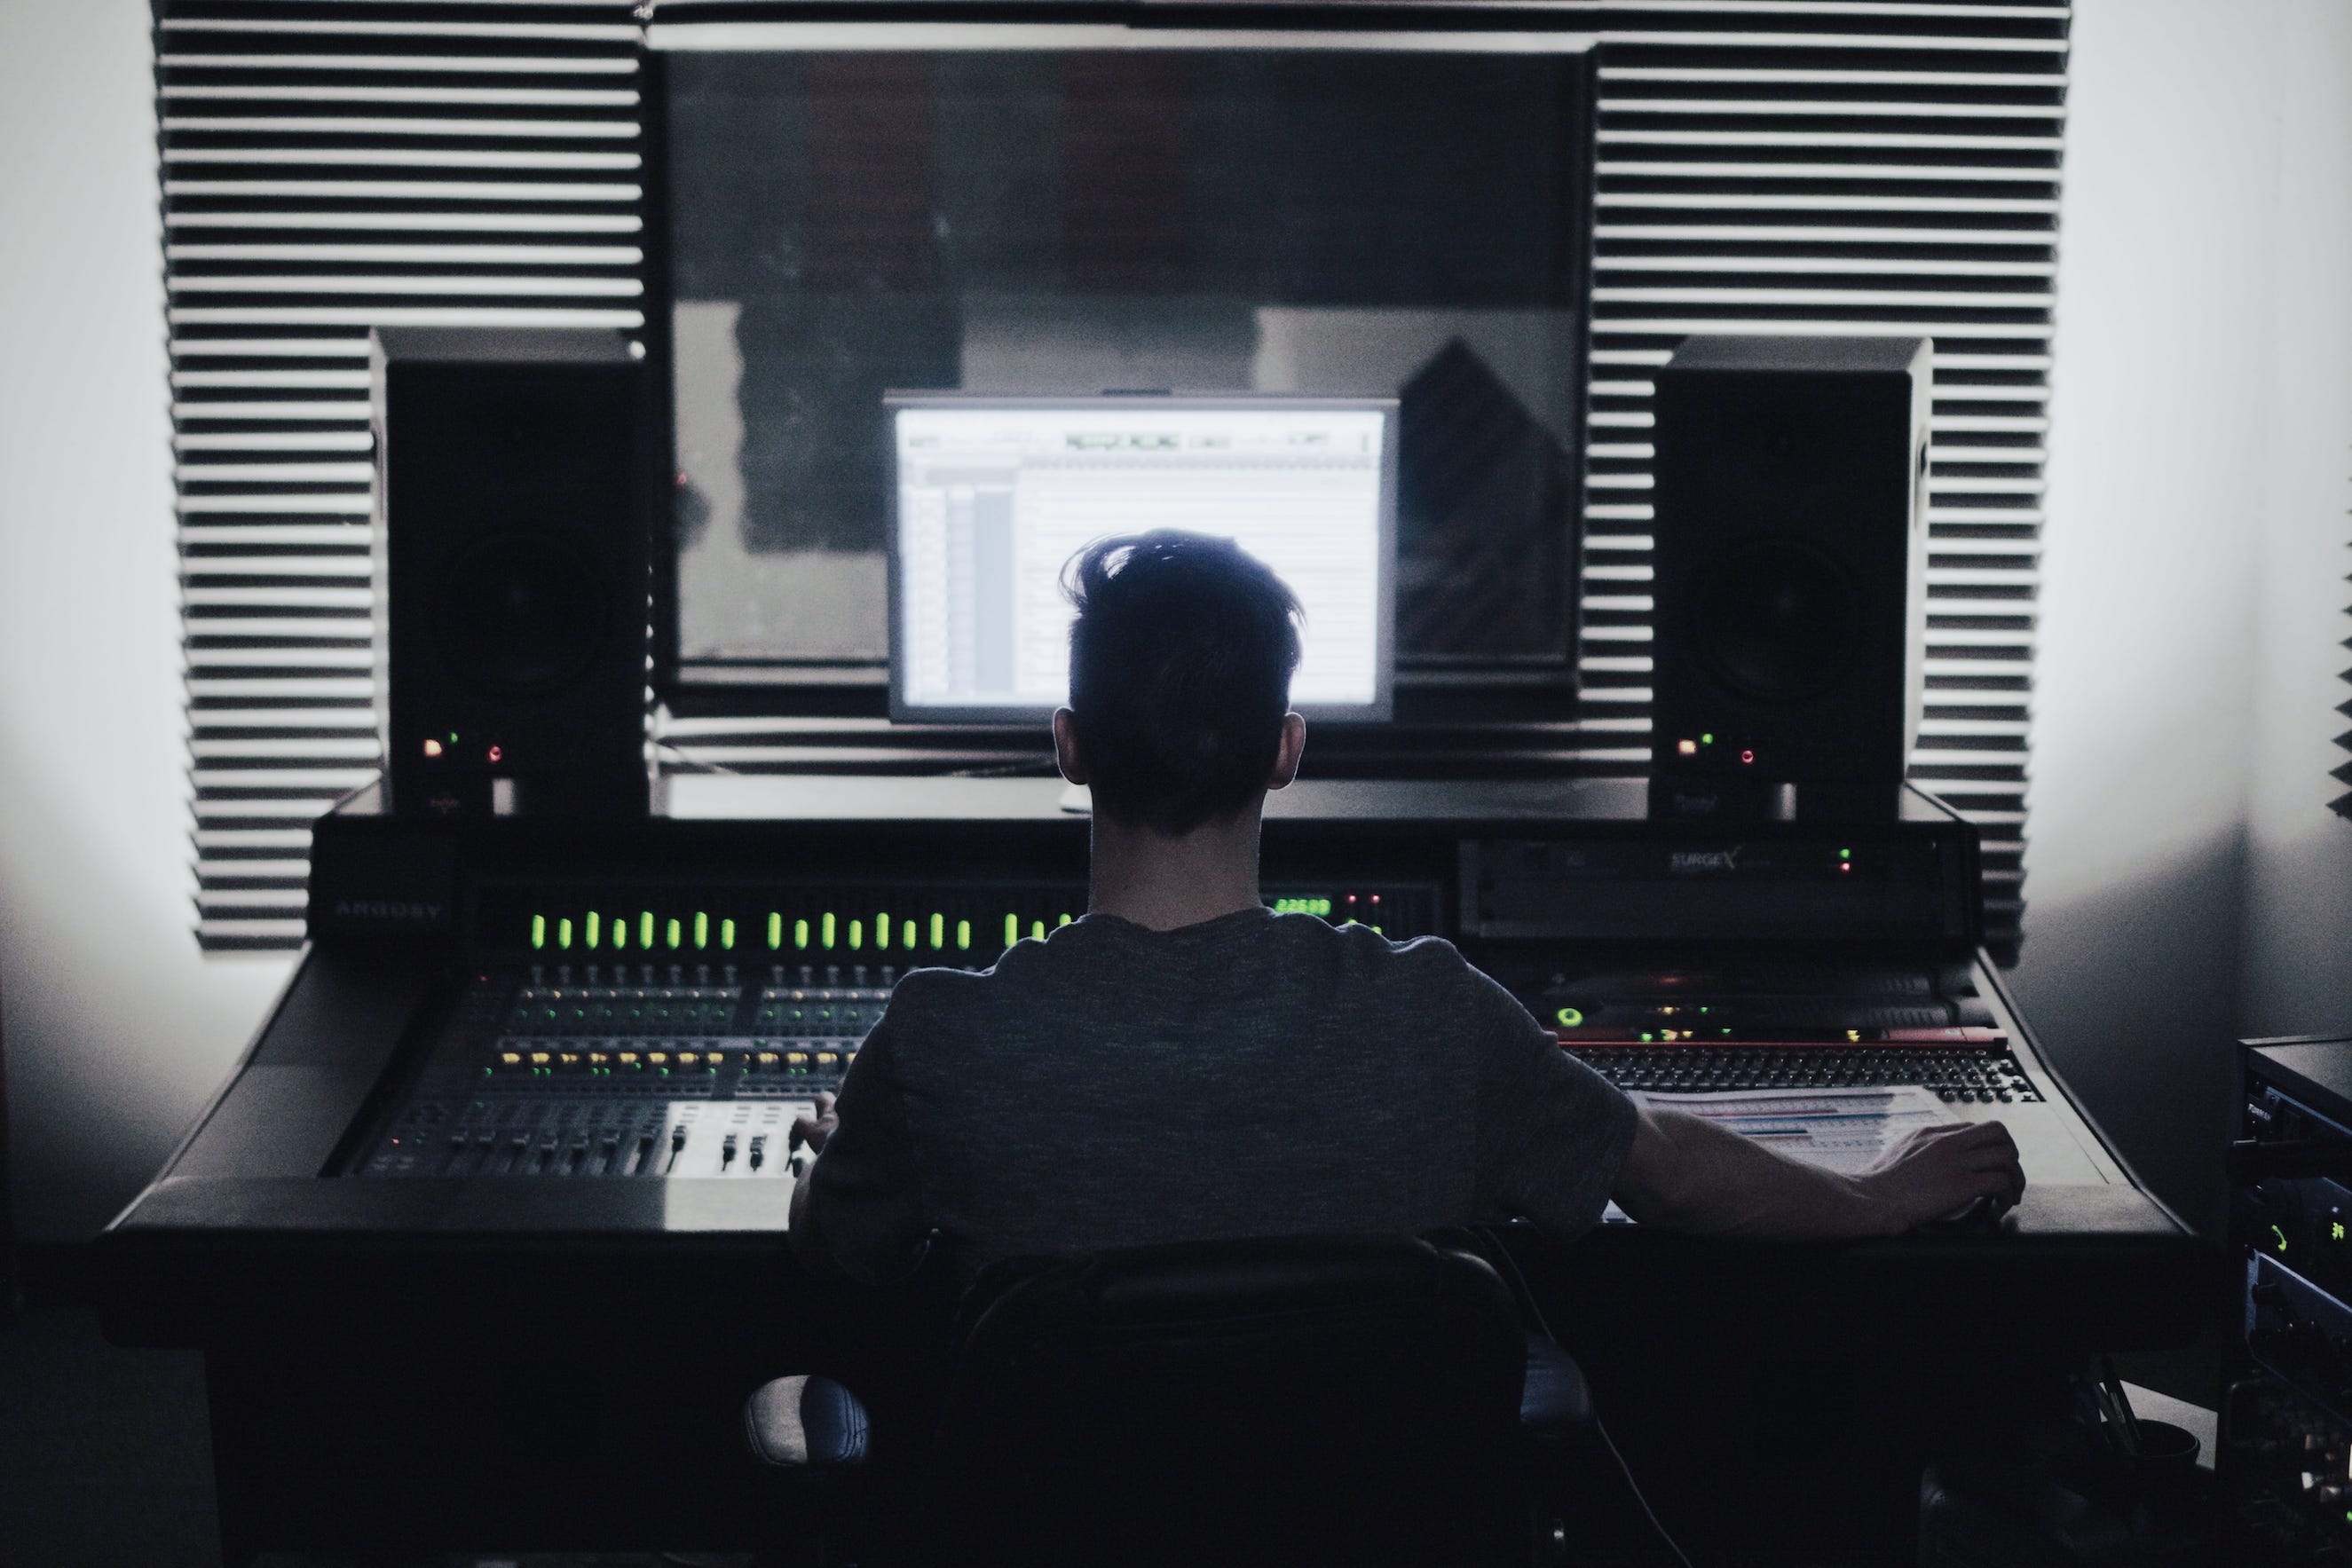
Sitting position
6. Monitor your screen brightness
Many producers are conscientious about their ears and hearing, and for good reason. However, we often don’t place the same importance on our eyes, which are pretty important for audio production!
Just like listening to loud music can damage our hearing, staring at a screen for hours on end isn’t great for our vision. It’s difficult to avoid this problem in audio production, since looking at a screen for long periods of time is basically part of the job description. The fact that we’re surrounded by screens all day in the forms of phones and televisions doesn’t help either.
While permanent damage to your vision is obviously the first and most important problem to prevent, simply straining your eyes due to screen brightness can slow the production process. Bright screens can be fatiguing, as can screens that are too dim to see without straining. This fatigue can cause us to lose focus and work less efficiently.
Holistically, it’s also a good idea to monitor your brightness during late night sessions, as prolonged exposure to backlit screens can affect your sleep schedule.
The brain interprets the light coming off a computer screen the same way it would interpret light from the sun, and slows the production of melatonin, the hormone that tells us to go to sleep.
Try to find a happy-medium that doesn’t require any of this straining. Also, look into using something like f.lux, which can adjust the color balance of your screen over the course of the day to match natural light at that time.
With high screen brightness can make falling asleep after a late session more difficult, which is should be avoided considering how important it is to be well rested.

Screen brightness
7. Work well-rested
At the end of the day, this is the most practical way to avoid wasting time. While working long sessions into the early morning is an inevitable aspect of this industry (and a fun one at that), we do our best work when we’re engaged and alert.
If we step into our DAW late at night or at the end of a long day at work, it’s tougher to have the patience and energy to work efficiently. We may come up with great ideas, but our diminished focus can cause a lot of time to be wasted.
By working well-rested, we’re able to make better and more objective decisions. Our ears and our minds are fresh, allowing us to be fully engaged and get more out of a session.
You might be a night owl, with your time of maximum engagement and alertness being at night. This is completely fine, just make sure you are rested going into a late-night session. Working late night after night without getting a good amount of sleep can cause you to slow down long-term.
Conclusion
In the music industry, time is money. Your ability to work efficiently is paramount to your success as an audio engineer/producer. Clients and labels expect quality, quantity, and speed, and not falling short of this can cause them to look elsewhere.
Reducing wasted time will allow you to work better in less total time, allowing you to meet deadlines without losing your sanity from exhaustion.
Not only should you try to streamline your workflow, it should be something that you consider and reconsider often. Be attentive to tedious parts of your working process and find a way to automate or minimize them. By being able to get more out of each session, the production process will inevitably be more fruitful and will genuinely be more enjoyable.
