5 Ways to Boost Bass in a Mix
Want mixes that shake walls? Smack you right in the chest? Follow these actionable tips to boost bass in a mix.
This article references a previous version of Neutron. Learn about


Neutron 5
Some songs seem to have a physical presence that sets them apart from the rest. This powerful sound and physical feeling are often created by a careful treatment of low and mid-range frequencies. Today, I’ll cover some tips for boosting bass and adding weight to a mix.
1. Determine where the bass comes from
We love feeling low frequencies in music, which is complicated by the fact that many sounds produce them. As a result, we tend to keep these frequencies in sounds where they aren’t really that useful, until this build-up of bass eventually minimizes low-end presence through frequency masking.
It’s much easier to achieve a weighty mix when you determine where the low-end will come from at an early stage in the mixing process, being sure to limit the number of bassy tracks you add in afterward.
In many modern hip-hop mixes, the source of bass is a single 808-style kick. Kick drums in rock mixes sit a little further back, allowing the bass and guitar to rule the low end. Electronic music has fewer conventions. Bass weight might come from a wobbling sub, a blown-out breakbeat, or some slammin’ kicks. These are generalizations, but you should get the idea: define where the bass comes and you’ll avoid frequency conflicts that minimize the song’s low-end impact.
2. Go easy on that high-pass filter
A high pass filter will certainly help you clean up the nasty resonances and hum that clog up the lower end of the spectrum. But you don’t need to EQ every instrument that strays below 200 Hz. You can easily destroy a song’s liveliness with reckless high-passing.
So, how do you know when you’ve gone too far? The first step is to listen—does the song make you want to get up and move? Or is it sounding thin and pinched? Does each instrument seem isolated and lonely?
If you don’t feel too confident with your ears or simply want a second opinion, I suggest placing Tonal Balance Control at the end of your master chain. It will analyze, then visually present the frequency content of your mix so you can locate frequency imbalances. If the low-end and mids are drifting below the target range (the blue overlays), this is a clue you’ve filtered out too much bass content.
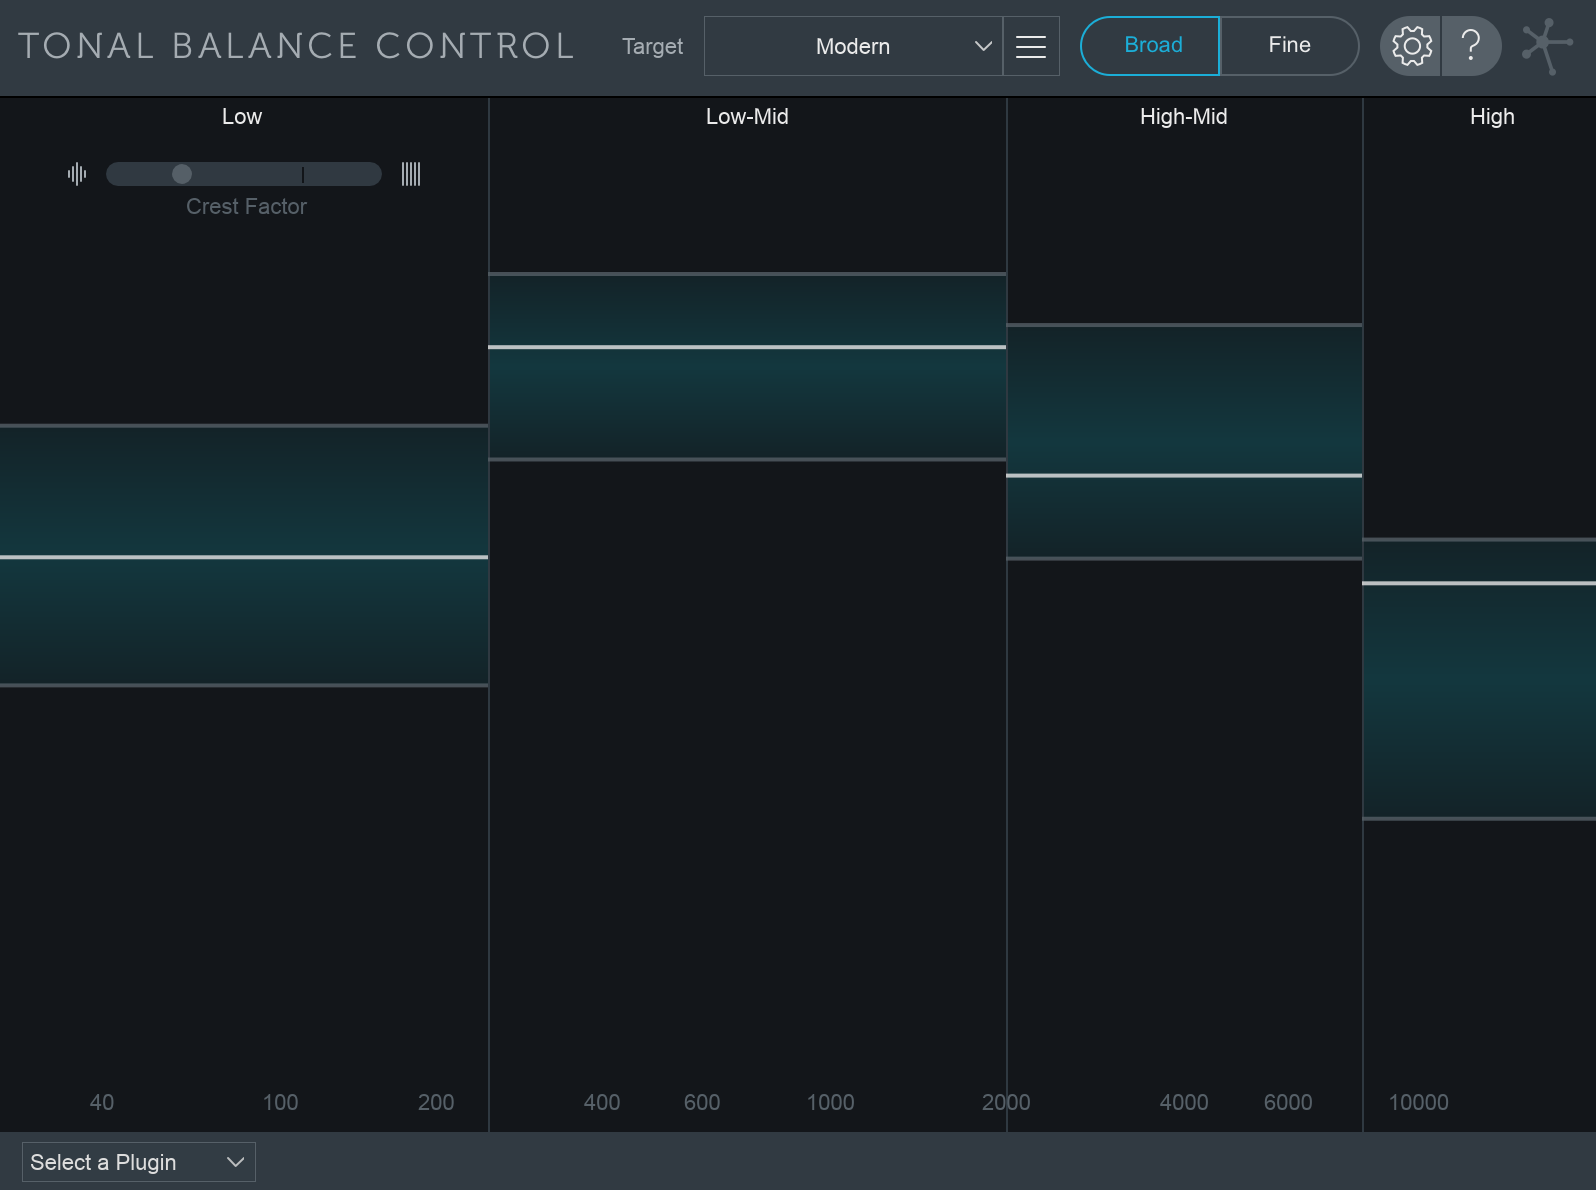
Tonal Balance Control: where’d those lows go?
The plug-in comes with three built-in targets: orchestral, modern, and bass heavy. If your music doesn’t fit into these categories and you want a more accurate reading, create a custom curve from a single reference track or a group of tracks that represent your chosen genre.
3. Bring up the sustain
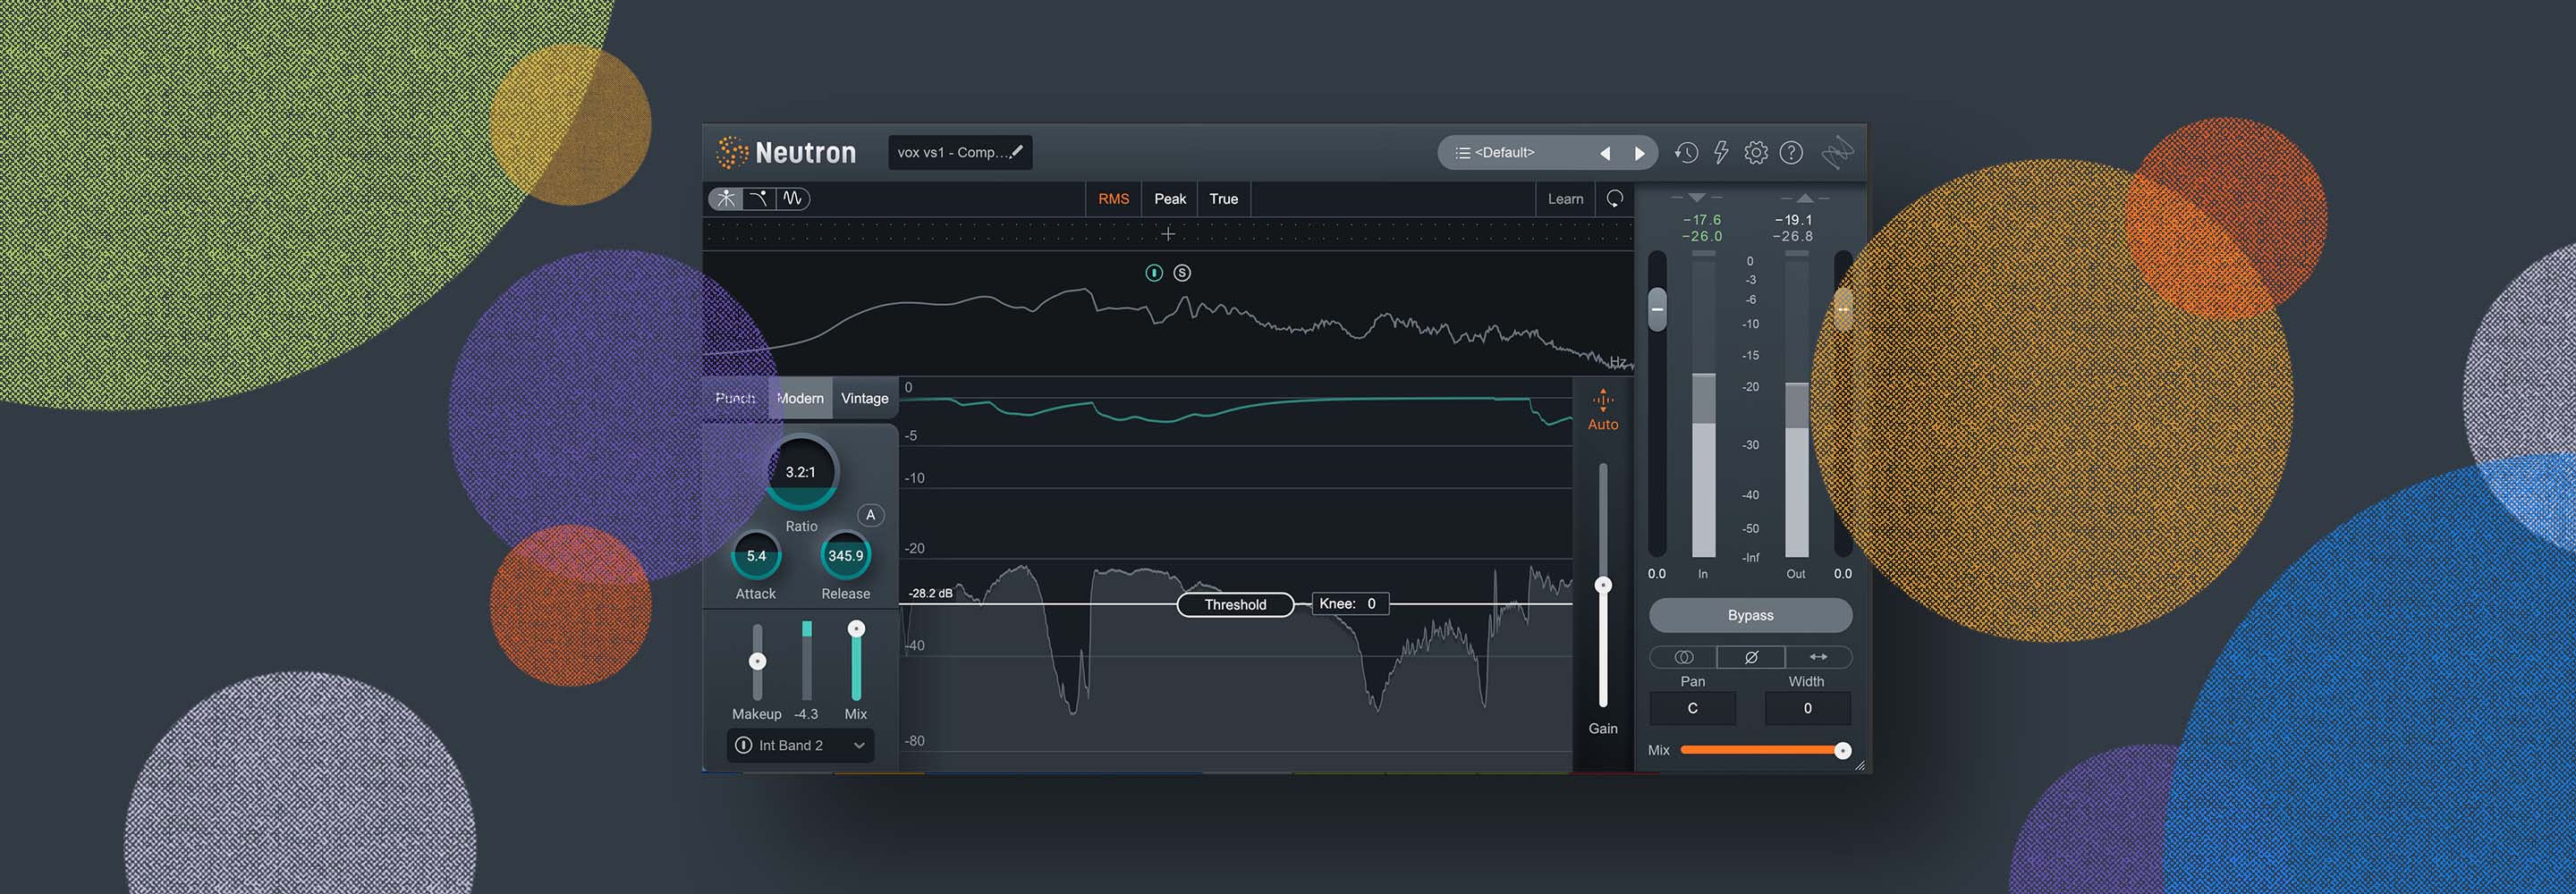
Punch refers to the initial attack of a sound. It's that first moment when a kick or snare smacks down, announcing its arrival. You can easily adjust a sound's attack in Neutron 3's Transient Shaper. Once satisfied with the attack, you should work on the sustain. The sustain, or fullness of the sound, is what comes immediately after the transient. For bassy sounds, the sustain offers a certain richness in low-end character that makes the sound more memorable.
If your drums have punch, but lack the fullness you hear in your mix reference, increase the sustain of sounds in the 100–200 Hz range with Transient Shaper. This is exactly what I did in the audio example below—the first part is dry and the second part has a longer sustain.
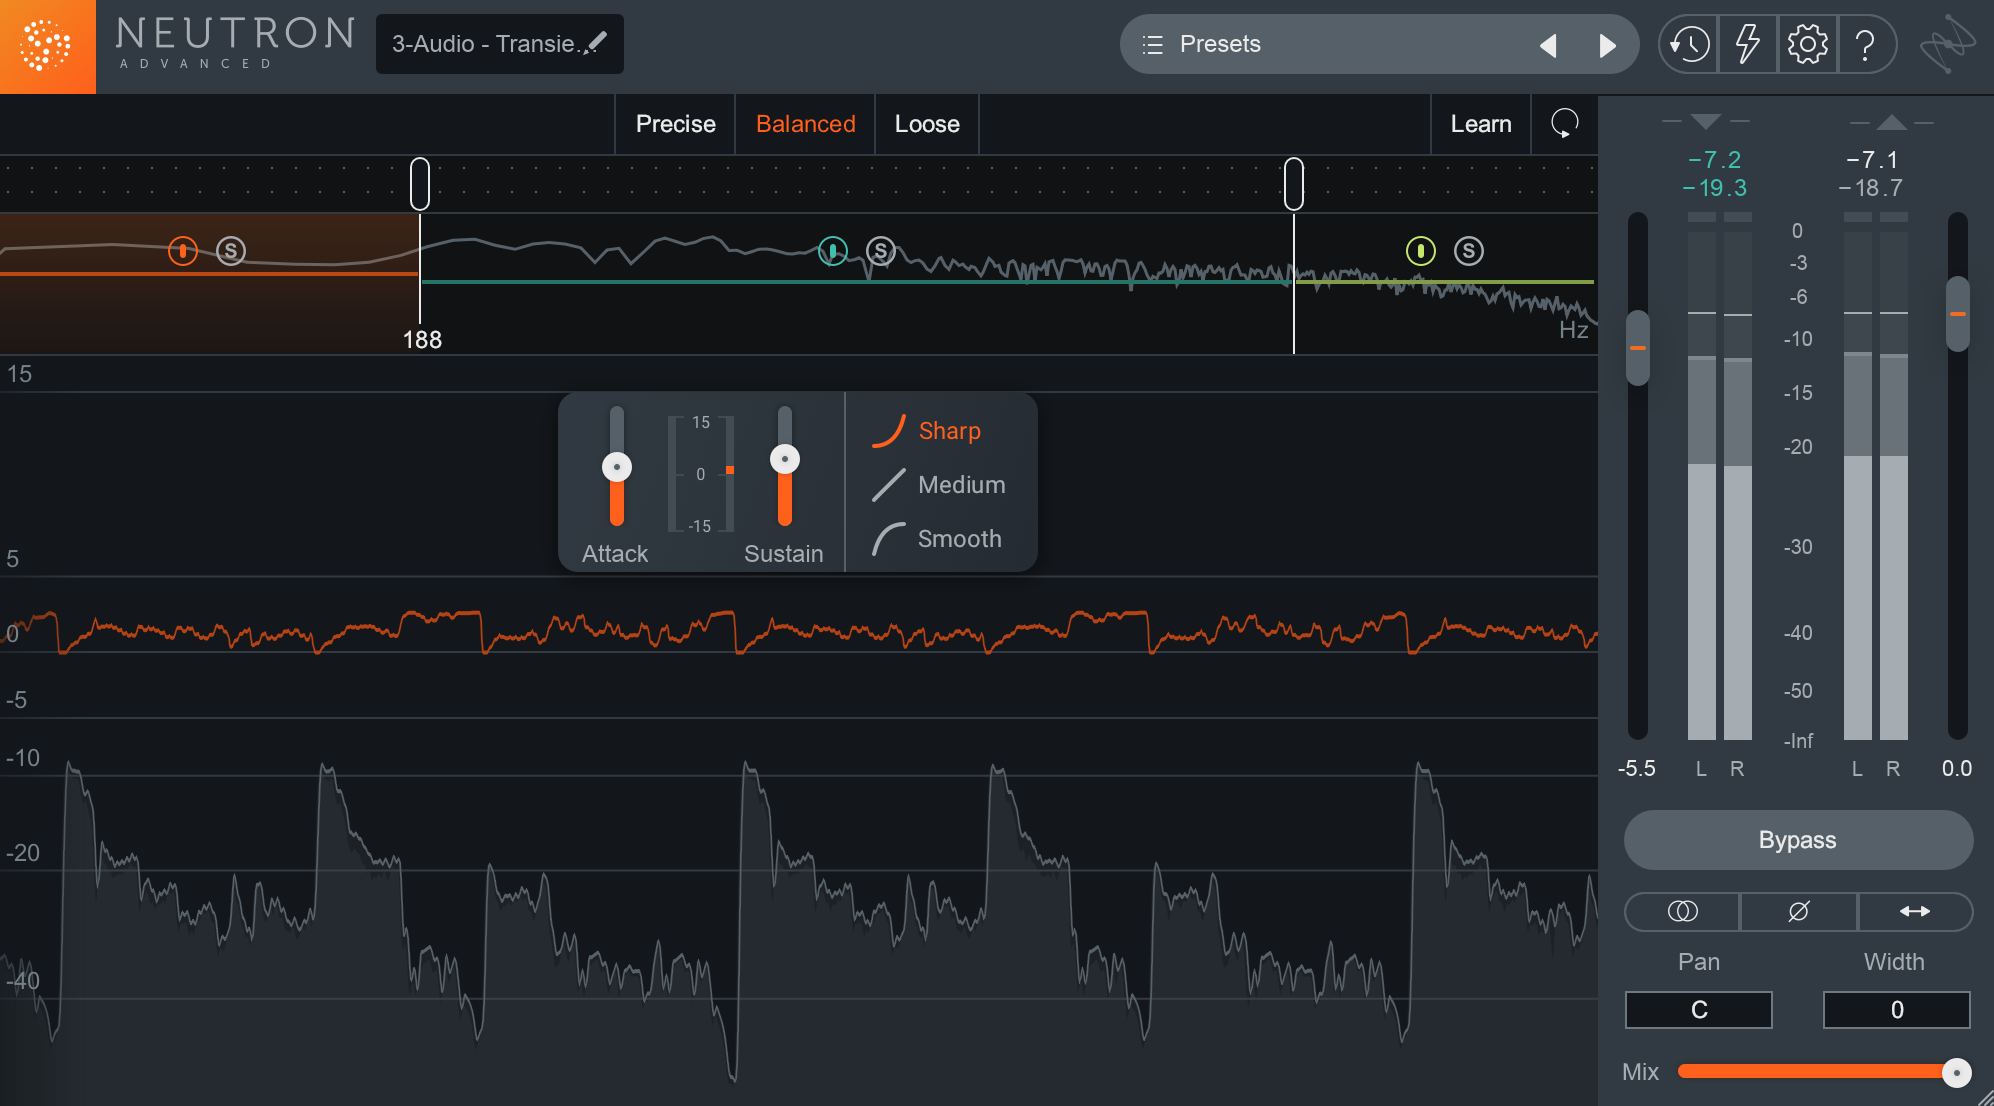
Transient Shaper
Part two still retains that nice transient, but now the room has been stretched out, giving the impression of a bigger kit. It's a subtle change, but I find it helps the drums jump out a little more; they sound closer to the ears. Conversely, use Transient Shaper to increase the initial punch of a sound if you need it; just reverse the process and turn the sustain down instead.
4. Try this old school sine wave technique
If you really want to shake some walls, try this classic technique: generate a 40–60 Hz tone, insert a gate on it, then use your kick drum track as the sidechain input on the gate. This way, everytime your kick drum lands it will be reinforced with deep bass tone that cuts off at the end of the kick sample. Use the gate threshold and release dials for fine tuning.
So when does this trick come in handy? When an acoustic drum has a muddy, uncontrolled low-end, you can quickly clean that low-end up. By rolling a high-pass filter up to about 50 Hz and filling the open space with a clean tone, the acoustic drum will now have clear low frequencies and give the mix more weight.
This trick is equally useful in electronic music and synth-pop. If you’ve got a bright kick sound that doesn’t carry much low-end (from something like a TR-707 or Linn Drum), tuck a sub underneath it. You’ll find this makes raw and even cheap-sounding audio appear powerful.
5. Widen the bass—just not everything!
Many audio aficionados recommend keeping bass and other low-end sounds in mono. One reason they say this is that we lose our ability to accurately locate sound directionality below 200 Hz, so there’s no need to take up the extra stereo space. There’s also the concern that widening bass too much might bring out some unpleasant phasing issues whenever the mix is played through mono speakers systems.
With Ozone 8’s Imager module, you can control a signal’s stereo width across four bands you can set yourself, or have the program set the cross-overs by clicking the “Learn” button.
You can also reference a stereo signal in mono with the mono/stereo button under the output meter of the plug-in.
If you have a true mono signal, try the Stereoize feature to carefully widen it so that it adds depth and fullness without going so wide that it muddies the mix. Only use Stereoize on a true mono track and not a mono-localized signal on a stereo track. Remember to be mindful of what frequencies you are widening and not overemphasize the sub-200Hz range.
This allows you to keep the low frequencies in mono, while giving listeners the impression of a wide bass track, when, really, it's only the upper harmonics that have been stretched out.

Ozone Imager—your “fake” widened bass should look something like this
Conclusion
For those looking to add weight to the mix, these tips will certainly help out. But before compressing signals, generating sine waves, and stereo widening, do your best to carve out a unique space for the low register tracks in your mix first. Many engineers and producers who struggle to get a wide sound simply have too much going in the low-end, preventing bass tracks from stretching out.
