When to use dynamic EQ in a mix
Unlock cleaner, more dynamic mixes with dynamic EQ. This guide explains how it works and explores its versatile uses, from subtle corrections to creative sound shaping.
EQ is a tricky thing in mixing – especially when you consider how music changes over time. A cut to tame harsh vocal frequencies might work for one phrase, but compromise intelligibility in the next. Rolling out lows on a drum kit might reduce masking when the bass is present in the chorus, but might make the drums sound thin when the bass isn’t present.
For these reasons, some smart person invented the concept of “dynamic EQ” – an equalizer that changes its degree of amplitude depending on the audio signal that feeds it. This article is all about when to use dynamic EQ in mixing.
But first, let’s ask and answer some common questions:
Follow along with this tutorial using


Neutron
What is dynamic EQ?
Dynamic EQ has all the equalizer parameters you’re used to – frequency, gain, and Q – with the addition of a threshold, like you're used to seeing on compressors. Some dynamic EQs, such as Kirchhoff EQ from Three Body Technology, also provide controls for attack, release, and ratio.

Kirchhoff attack release
When audio exceeds the threshold in a specific frequency band, it triggers either a boost or cut of the EQ filter. This combination allows you to use EQ in a way that responds and adapts to incoming audio, only affecting it when that audio crosses the threshold.
Wait, so what’s the difference between dynamic EQ and multiband compression?
I’ll be blunt: there’s a lot of overlap between dynamic EQ and multiband compression. Ask any engineer to delineate between them and you’ll likely get a different answer depending on the person responding to you.
So here’s my quick explanation, simplified for the purposes of this article:
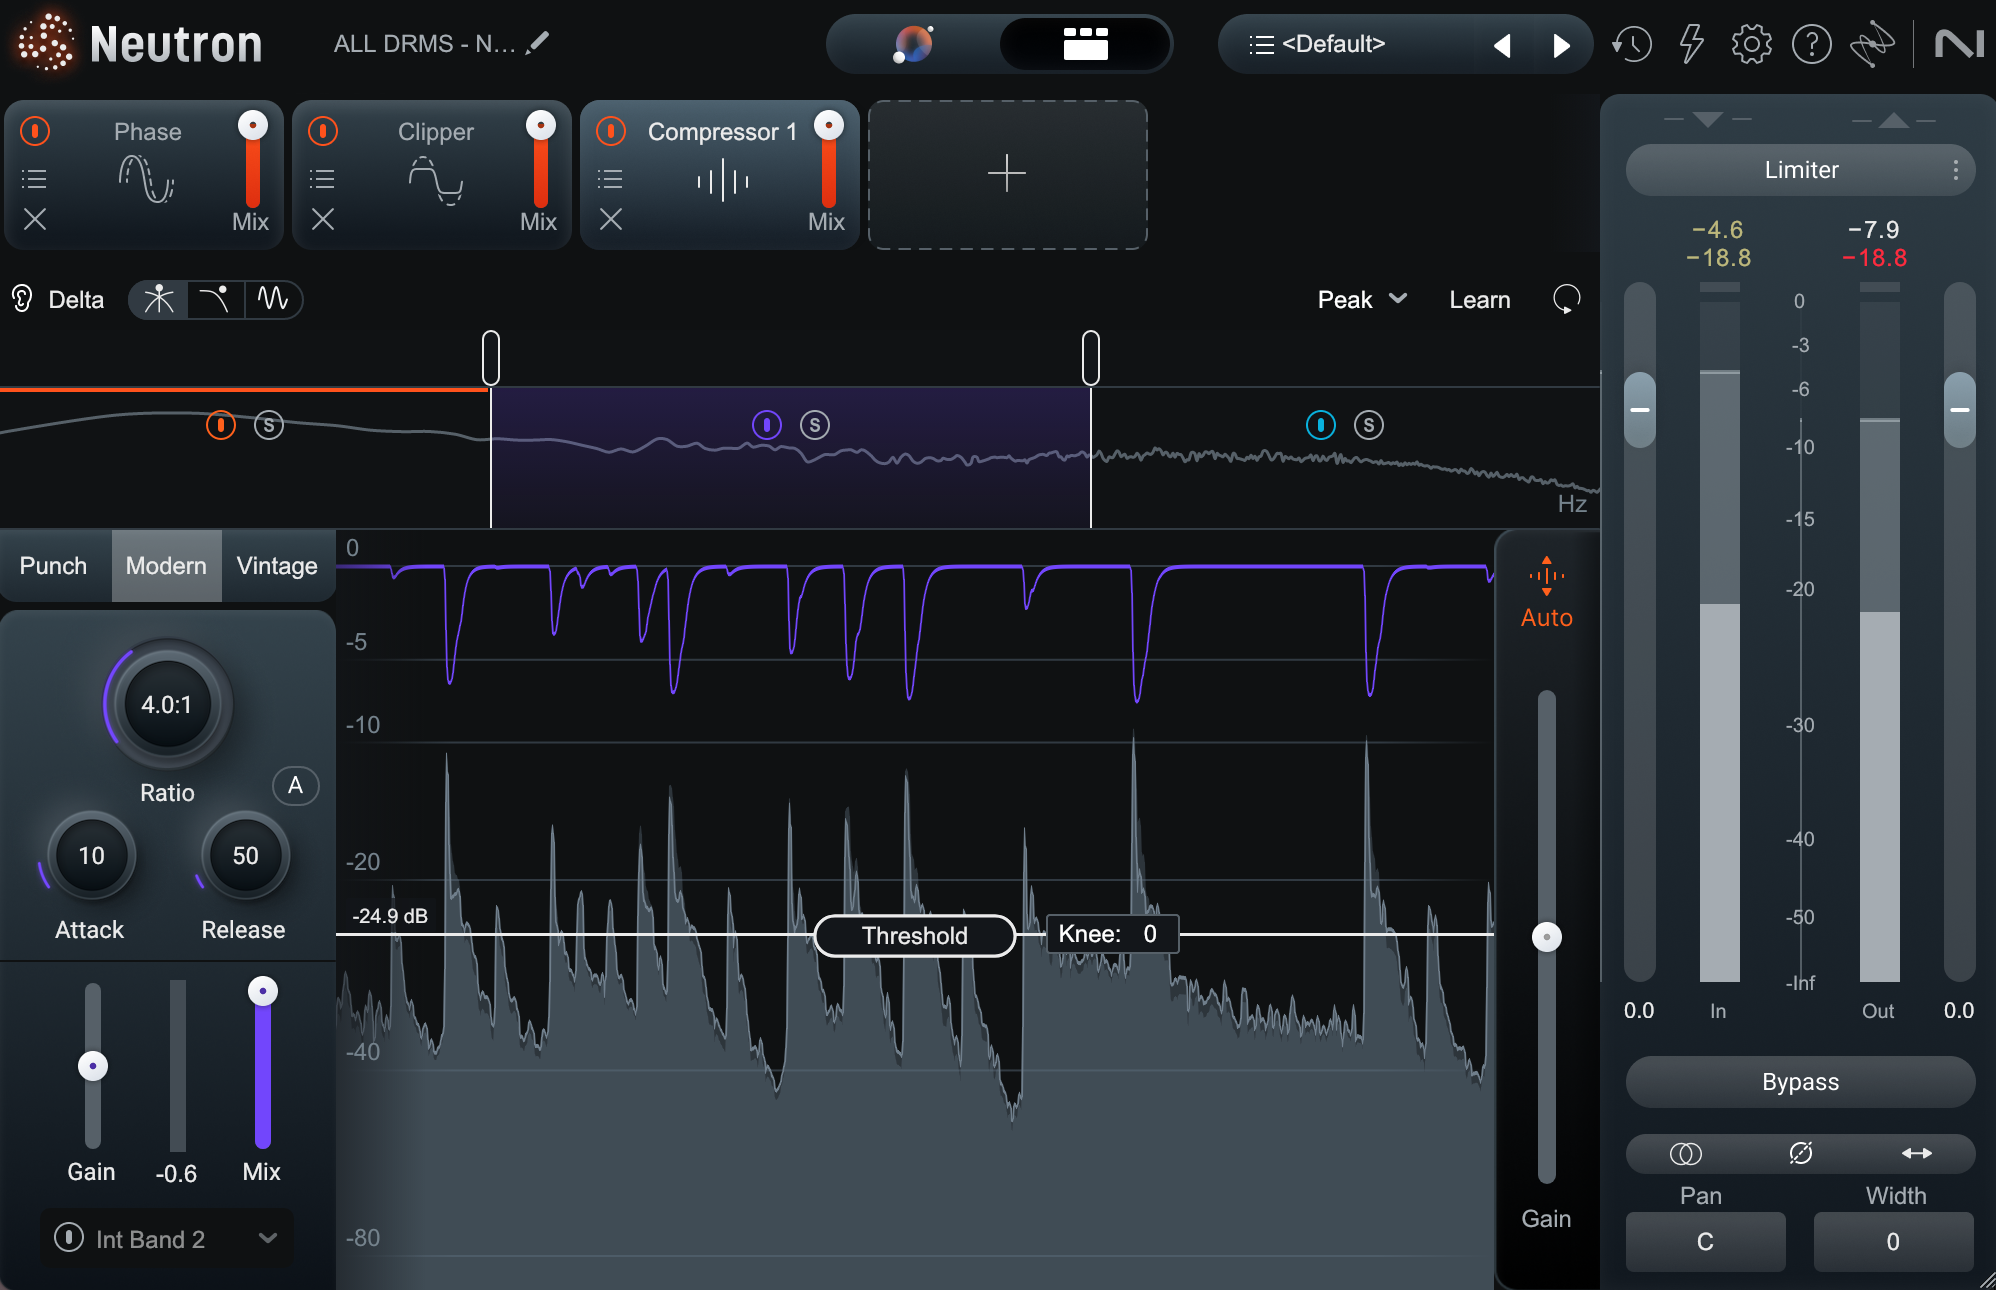
A multiband compressor splits the signal into dedicated, wide-range bands, such as what you might find in Neutron or Ozone:

If you see a GUI like this, chances are you’re working with a multiband compressor.
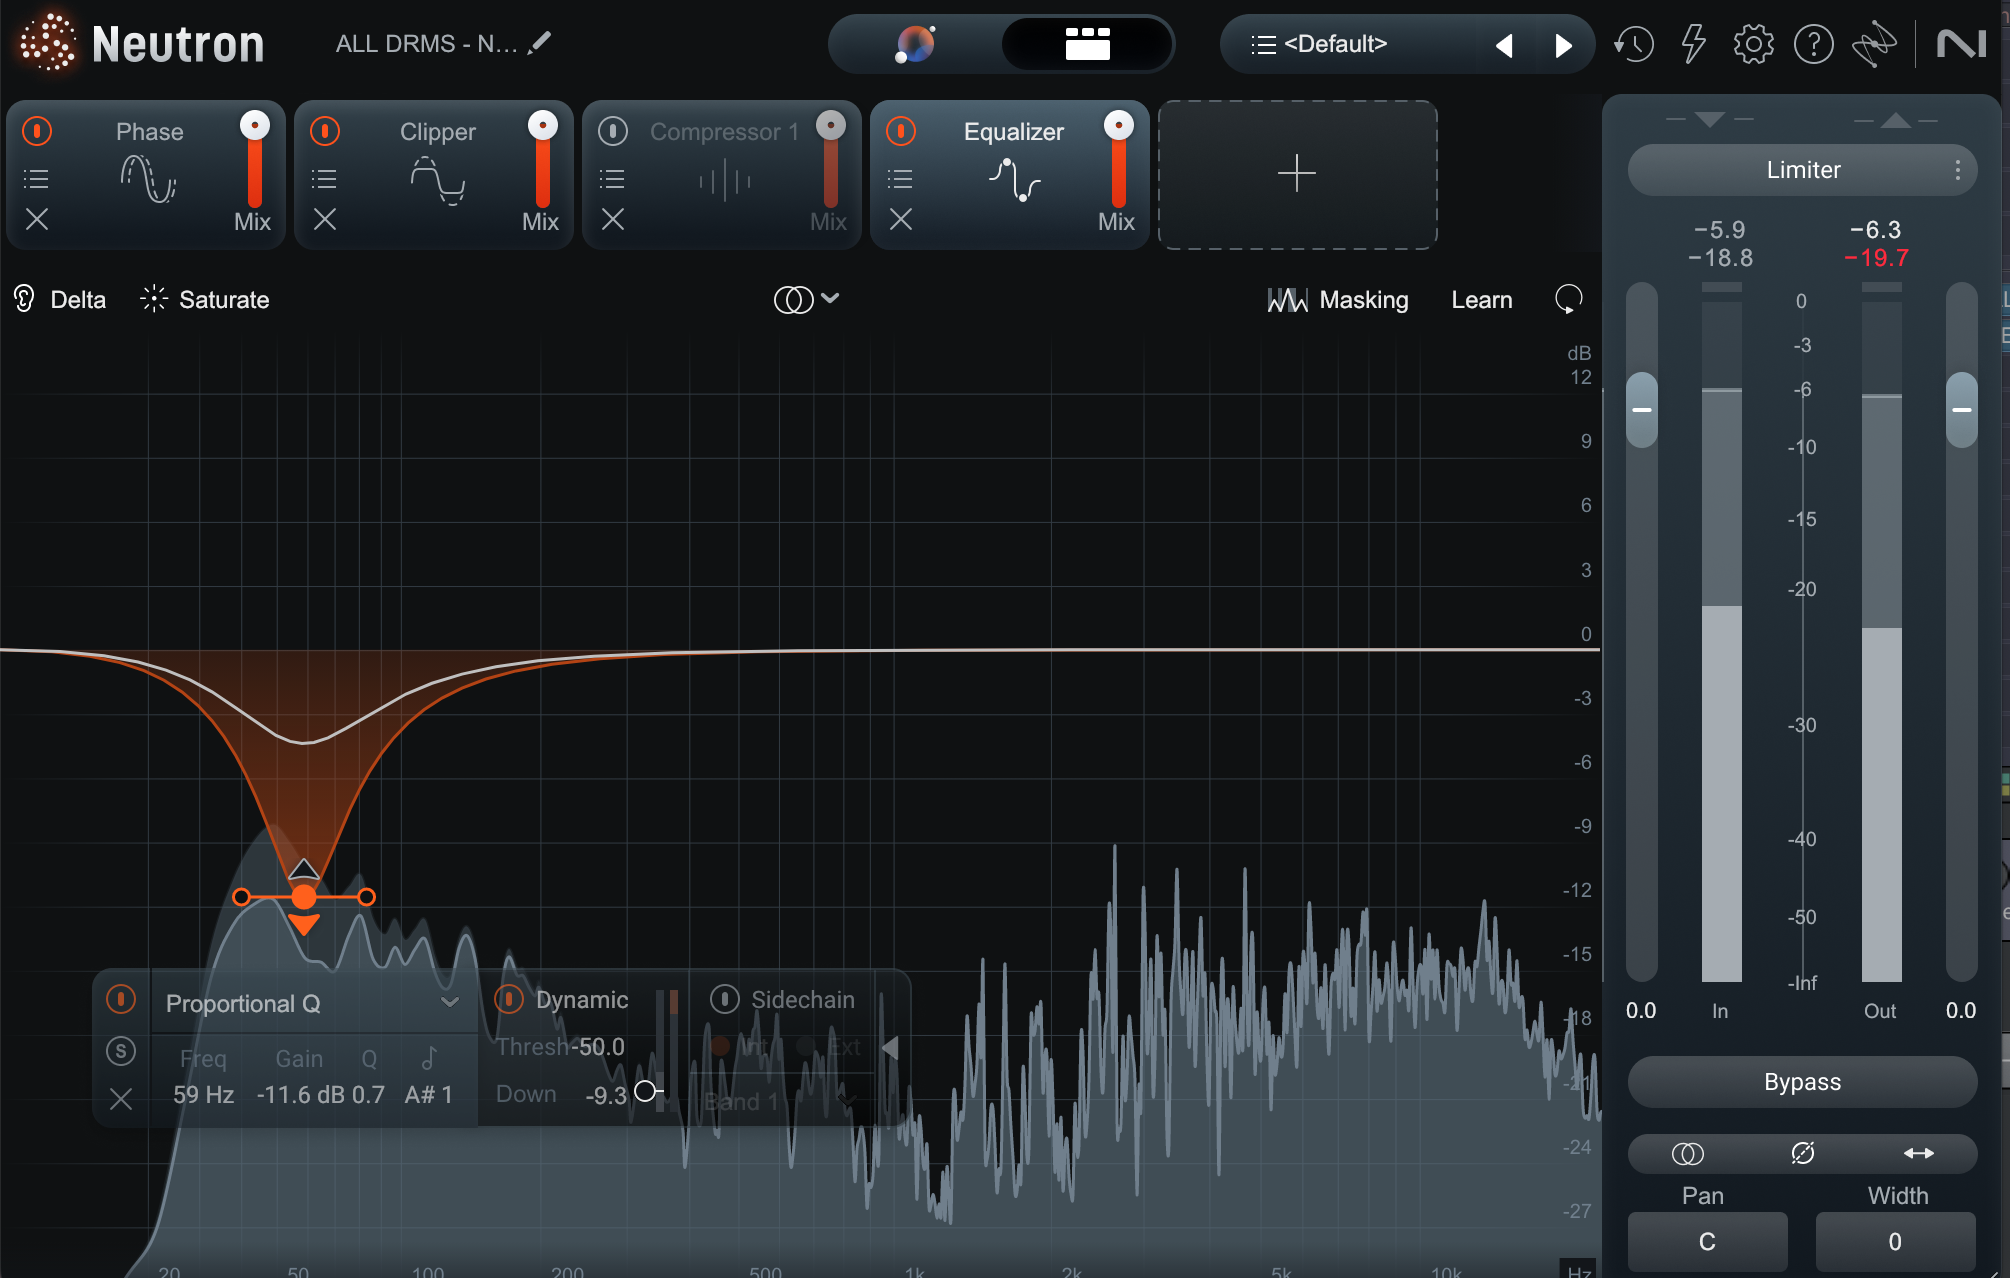
Dynamic EQ, on the other hand, gives you the ability to control a much narrower range of frequencies – say, a parametric band, or a targeted high-shelf – while leaving other bands completely alone.

Dynamic EQ in Neutron
The fact that they look different leads us to practical delineations between the two processes:
If you want to compress a signal across several wide-range bands, work with a multiband compressor.
If you want to target a small frequency and bend it to your dynamic will, dynamic EQ is the tool for you.
We can put this even simpler:
If you’re thinking more about compression than EQ, go with the multiband compressor.
If you’re thinking more about EQ than compression, choose a dynamic EQ.
Generally speaking, why use a dynamic EQ?
Most EQ filters are static, meaning they apply their boost or cut at all times. That works for many applications. People did just fine with static EQs in the good old days of analog recording.
But time marches on, the tools get better, and now we have dynamic equalizers: dynamic EQs give us a chance to be more precise, surgical, and deliberate.
An example:
3 kHz can be a very annoying frequency for a vocal, but it’s also necessary for cutting through the mix. A static and drastic cut at 3 kHz might render a vocal muddy or unintelligible.
A dynamic cut – which ducks slightly after it detects the offending frequency – can help preserve life while tamping down the harshness.
That is but one illustration. Now, let’s look at some other ones in more depth. This is by no means an exhaustive list, but it covers some of the basics:
1. Taming momentary resonances
Our first application is also the most common: keeping pesky resonances in line.
Many times, you’ll get a piece of audio that’s pretty smooth overall – but sometimes, a specific frequency will pop out of the mix, ringing out in a distracting way. Since this frequency only needs to “go away” when it gets overwhelming, we can use dynamic EQ to tamp it down only when needed.
This problem happens in all kinds of audio, particularly of the live variety. Not only do you have to deal with resonances caused by the instrument, but you also have room acoustics to consider. Room acoustics can reinforce resonances that already exist, and even introduce new ones depending on your recording space and sound source.
Let’s take some electric guitars:
The combination of the room and the amp is introducing some resonances I’d like to tame. Here they are, boosted so you can hear them better:

Cheap frequencies
Cutting them outright isn’t going to do us any favors:

More cuts, more problems
It just sounds dead now.
So instead, let’s try a dynamic EQ with the following settings:

Dynamic cuts on GTR
Everything is controlled, but we haven’t lost any necessary presence.
2. Keeping one instrument clear of another
Sometimes your kick drum gets in the way of your bass guitar – or vice versa. Sometimes your harmonic instruments get in the way of your snare drum. Sometimes your vocal reverb gets in the way of your vocals. And so on.
You’ve no doubt heard of sidechain compression – a common solution to this problem; if your kick drum has lost out to your bass, you can use the kick as a sidechain input on the bass’s compressor. Thus, the bass will duck down in volume whenever the kick hits.
But this is not a transparent way to handle the problem. In fact, it’s so noticeable that it has become the hallmark of many genres and subgenres. Entire plugins exist for ducking your bass to your kick so you don’t even have to think about the routing.
And that’s fine – so long as that’s your intention.
But what about in situations where you don’t want to call attention to ducking?
Here, dynamic EQ can be helpful. You don’t have to sidechain the whole bass to the kick. Maybe a wide parametric cut at 60 or 100 Hz is all you need.
Observe: We’ve got a “bass and kick masking” situation here.
Typical sidechain compression is quite noticeable:
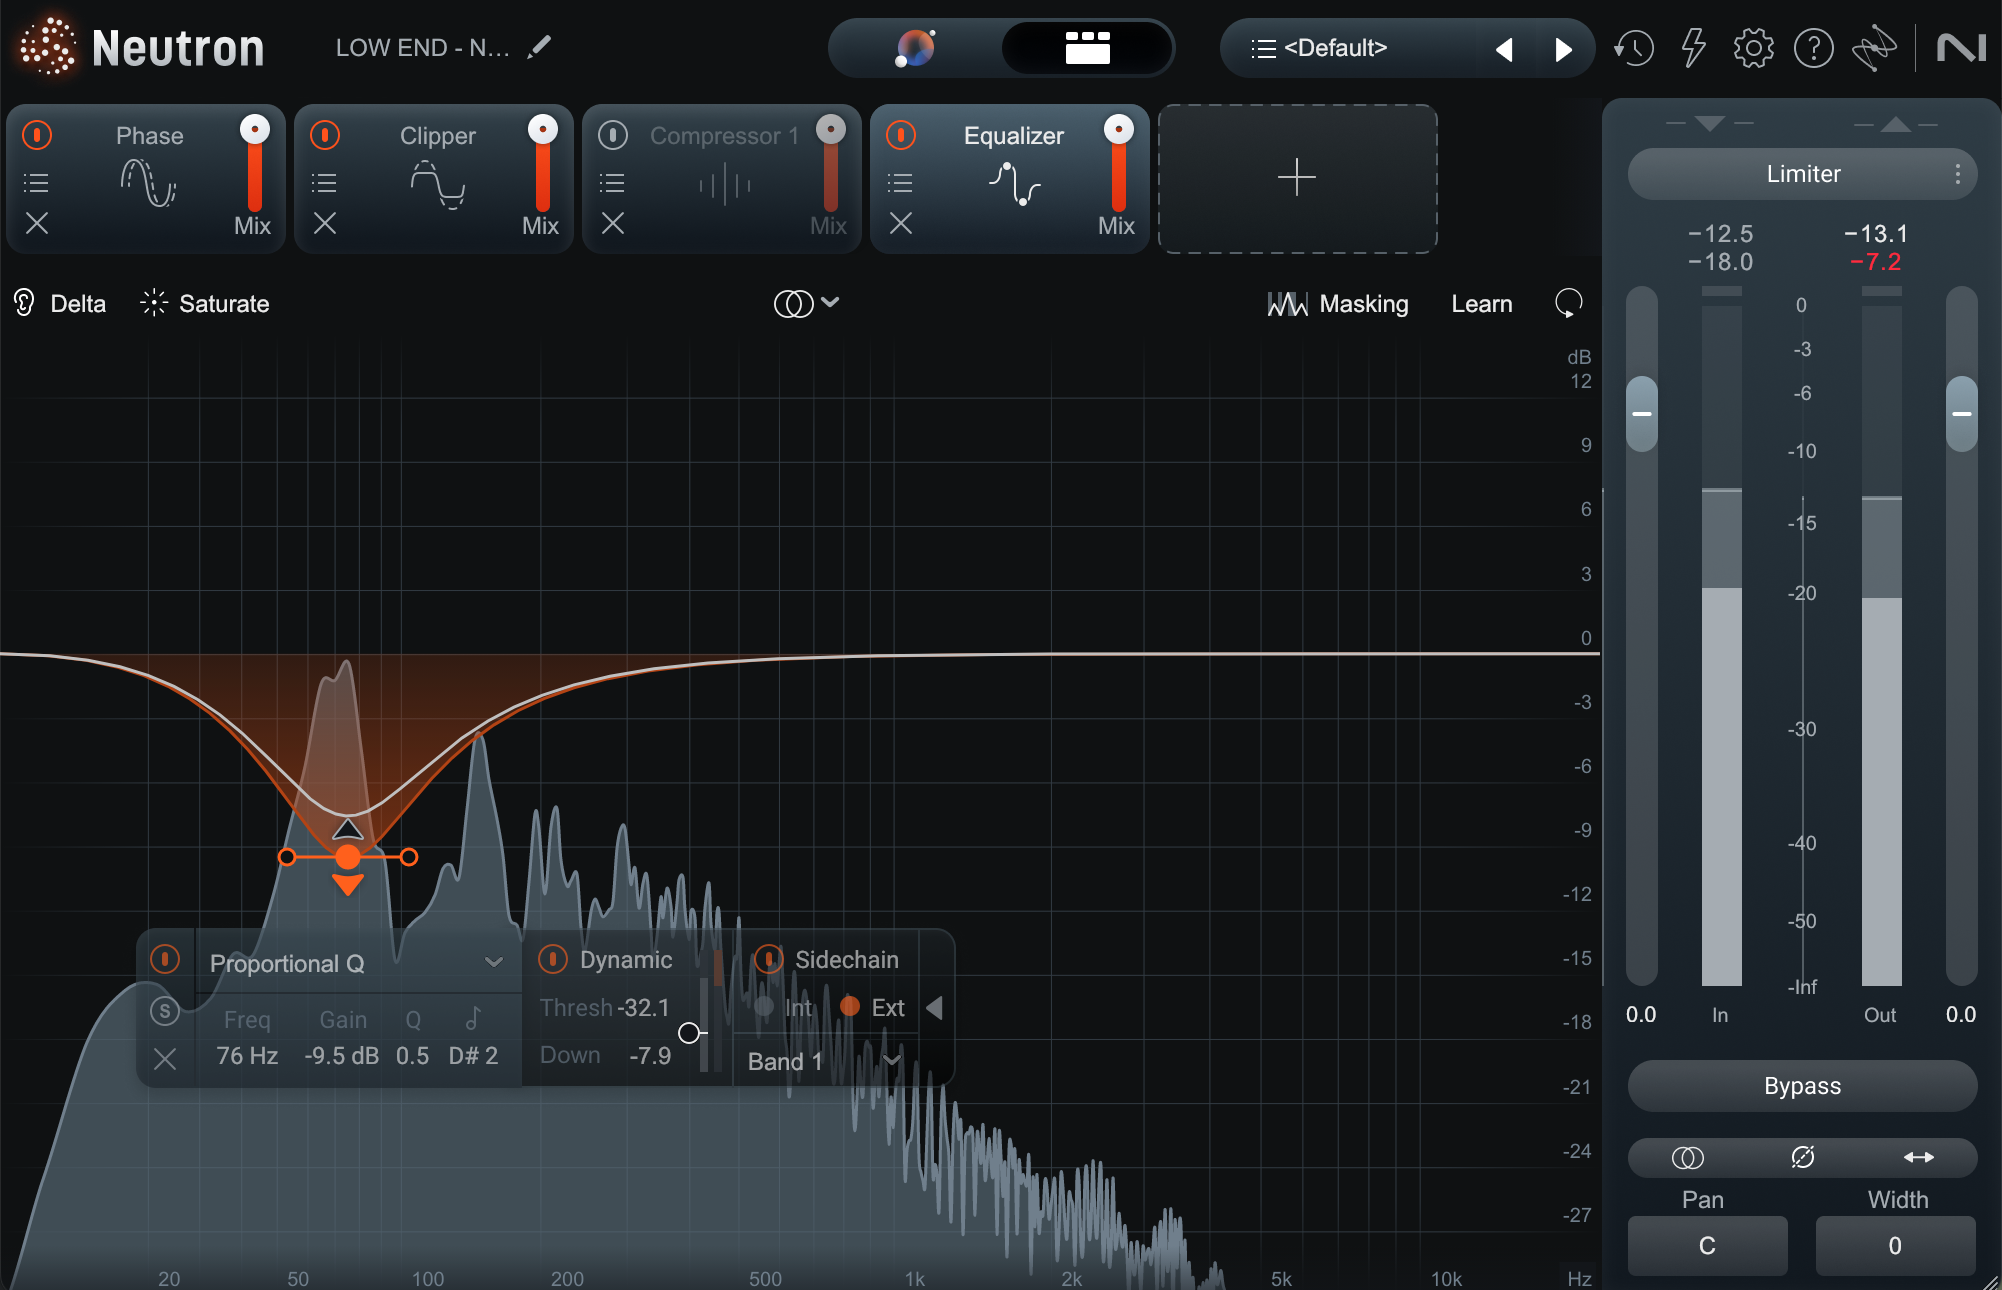
Let’s set up a parametric cut at 76 hz and sidechain this attenuation with the kick:

Sidechain EQ on bass with Neutron
Now, it’s much more transparent.
This can work with all sorts of pairings. You can even do it on the bus level, where a group of instruments might be fighting with a snare drum. Trigger the sidechain input of a dynamic EQ at around 1 kHz with your snare, and you might find that fixes the problem.
3. Emphasizing transients in a dense mix
We’ve just covered how dynamic EQ, used with an external sidechain input, can help keep a tonal instrument out of a drum’s way.
However, we can also do the opposite: we can expand our drum transients to help them cut through a mix more. This works particularly well at the end of the mixing process, when you like your tonal balances, but might feel something is getting lost in the drums.
Let’s imagine the kick and snare are struggling to cut through because they’re being masked in the context of the mix. Let’s also postulate that we don’t want to cut any frequencies from our instrument buses – we like them as they are.
If you still have some headroom left in your mix, you can use dynamic EQ to emphasize the drum shells at the bus level. Instead of compressing, the dynamic EQ will be expanding. This can help the kick and snare to cut through.
Fast attack and release times generally work well for this purpose, and sometimes playing with the sidechain inputs is necessary: maybe you want to boost the snare at 1 kHz, but you need an external snare trigger – or the snare is most prevalent between 300 and 400 Hz. With an EQ like Kirchoff, you can set the EQ to expand when it notices the snare further down the frequency spectrum.
Observe this loop:
We’re losing some of the drums in this dense, reverb-heavy mix. We can fix this with dynamic EQ in expansion mode, like so:
4. Controlling your boosts
Let’s say you want to add some heft, cut, presence, or air to an element. Adjectives like these usually translate to a boost in EQ – low mids for “heft,” midrange for “cut,” high mids for “presence,” highs for “air.”
But too much of that boost turns our sweet adjectives into sour nouns. Heft becomes mud. Cut becomes honk. Presence becomes harshness. Air becomes sibilance or shrill.
For these reasons, you can boost with a dynamic EQ and exert more control over what you’re adding. Boosting a little bit at 300 in a guitar and then having that boost compress when it detects too much level has solid virtues: you can achieve the full roundness that you want, and shave off the bloat.

A frequency bump compressing downwards
5. Working quickly
This last tip is more utilitarian than creative, but that doesn’t make it any less useful: sometimes working with a dynamic EQ is faster than reaching for a similar process – and sometimes that is reason in and of itself to use one.
Here’s an example:
Let’s say I’m already working with Kirchhoff on my vocals. I loaded it up because I wanted a simple drag-and-drop EQ.
After doing some static cuts, I realize that I want to compress the low mids of the vocal, but leave the high-mids alone. I also realize I need to de-ess the vocals a bit.
I could open up two more plugins, sure. But it’s probably faster to just stay in Kirchhoff and use its dynamic options. After all, I can accomplish my compressing and de-essing needs with dynamic EQ – and Kirchhoff happens to be one of the more full-featured ones.
When you’re working on a mix, quickness and efficiency are paramount. The neophyte engineer is best served by moving quickly and not losing perspective – so any “fast” move you make is likely to serve that purpose. The professional, on the other hand, has to work fast to maximize the amount of money they make.
Start using dynamic EQ in your mix
Dynamic EQ is one of the more versatile types of processing out there, and from sculpting vocals to dulling resonances, and unmasking similar-sounding instruments, it should now be clear how using it can greatly improve a mix when needed.
For those of you who were unfamiliar with dynamic EQ before this article, follow the tips listed and you will surely find new ways to employ it for both creative and corrective results.
You can experiment with Dynamic EQ in Neutron with a free demo.


