What Is Mix Depth? How to Create Front-Back Space
A sense of dimension is a key characteristic that separates professional mixes from amateur ones. We take a look at how you can draw on real world sound phenomena to create mix depth in your music.
Depth: the final frontier.
Somewhere after you figure out how to get a mix as wide as you like, you start to worry about how your music to sound lifelike and multi-dimensional in the soundstage.
Mix depth is how you create front-to-back space and dimensionality in your sound, a 3D quality that is key in separating professionals from amateurs.
This 3D quality is not as easy to obtain as you’d think. You can’t just slap on a reverb, for that often results in a washed out or muddy sound. In this article, we’ll look at how to add depth to a mix with practical tips related to EQ, timbre, reverb, and more.
Jump to these tips:
- “Louder” sounds closer
- “Darker” sounds farther away
- “Drier” sounds closer
- “Delay” sounds further away
- Pan your FX to match your sources
- Achieve depth at the source
Follow along with this tutorial by getting your copy of


Music Production Suite 5.2


Neutron


Ozone Advanced


RX 11 Advanced
“Louder” sounds closer
One of the more obvious ways to manipulate depth is with “loudness”—or level. If we close our eyes in an outdoor space we can get a good idea of how near or far people are simply by how loud their footsteps and voices are.
If your mix pumps loud and proud, with all the instruments blaring at the same level, you’ll quickly tire your listeners. Turning down some elements, while letting others maintain dominance, is a great starting point for adding depth.
Here’s a static mix of a basic production made out of presets and Apple Loops, where all the parts are hitting roughly the same level (as measured by a VU meter calibrated to -14 dBFS).
But watch how quickly I can create a sense of front to back imaging just by playing with the levels, as demonstrated here:

Logic mixer
All that’s going on here are fader changes, made by ear. Any EQ or effect you see here is part of the preset. There’s


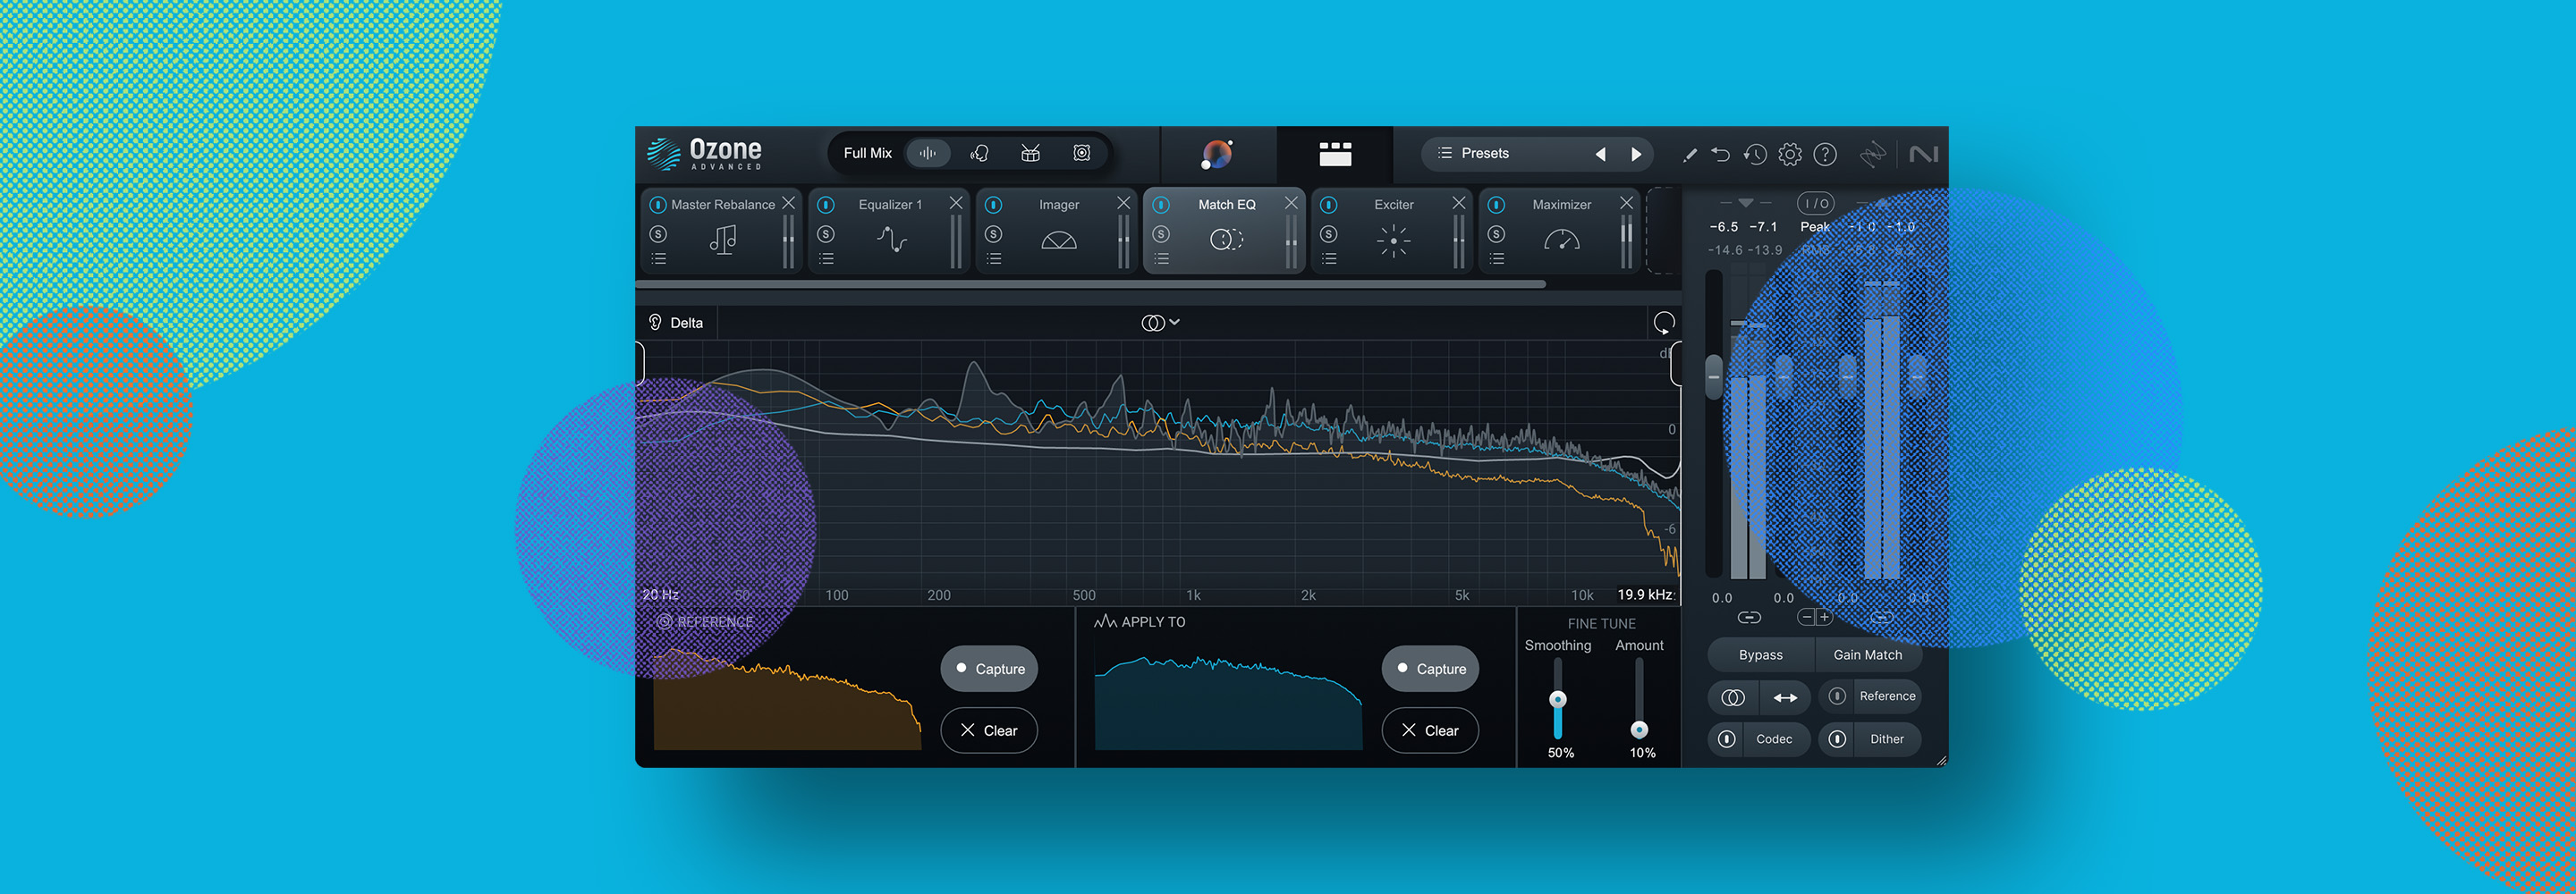
Ozone Advanced
“Darker” sounds farther away
If I futz with equalization, I can create an additional sense of three-dimensional depth. To push something toward the back of a mix, I can filter out its highs.
As sound travels through the air, high-frequency content is reduced in level to a greater degree than mids the further it travels. Lows, on the other hand, lose much less level even over great distances, which is why something far away can sound and feel plenty bassy; just think of a helicopter flying overhead, and how it rumbles throughout your body.
So we can make things appear further away by rolling off frequencies in the upper range. Leading elements will be bright, airy, and upfront, while backgrounds can provide the “weight,” sitting behind leads with a reduced frequency range.
Observe our loop again, this time with nothing more than a low-pass—a.k.a. high-cut—filter applied to our instruments in various degrees. To achieve this effect yourself, try a low-pass filter set anywhere between roughly 2 and 8 kHz. If you need a subtler effect, a subtractive high shelf can also do the trick.
This article references a previous version of Neutron. Learn about 

Neutron 5
Now certain elements have been pushed back into the sound stage, while others have been allowed to shine brightly—all with nothing more than Neutron, which looks like this:
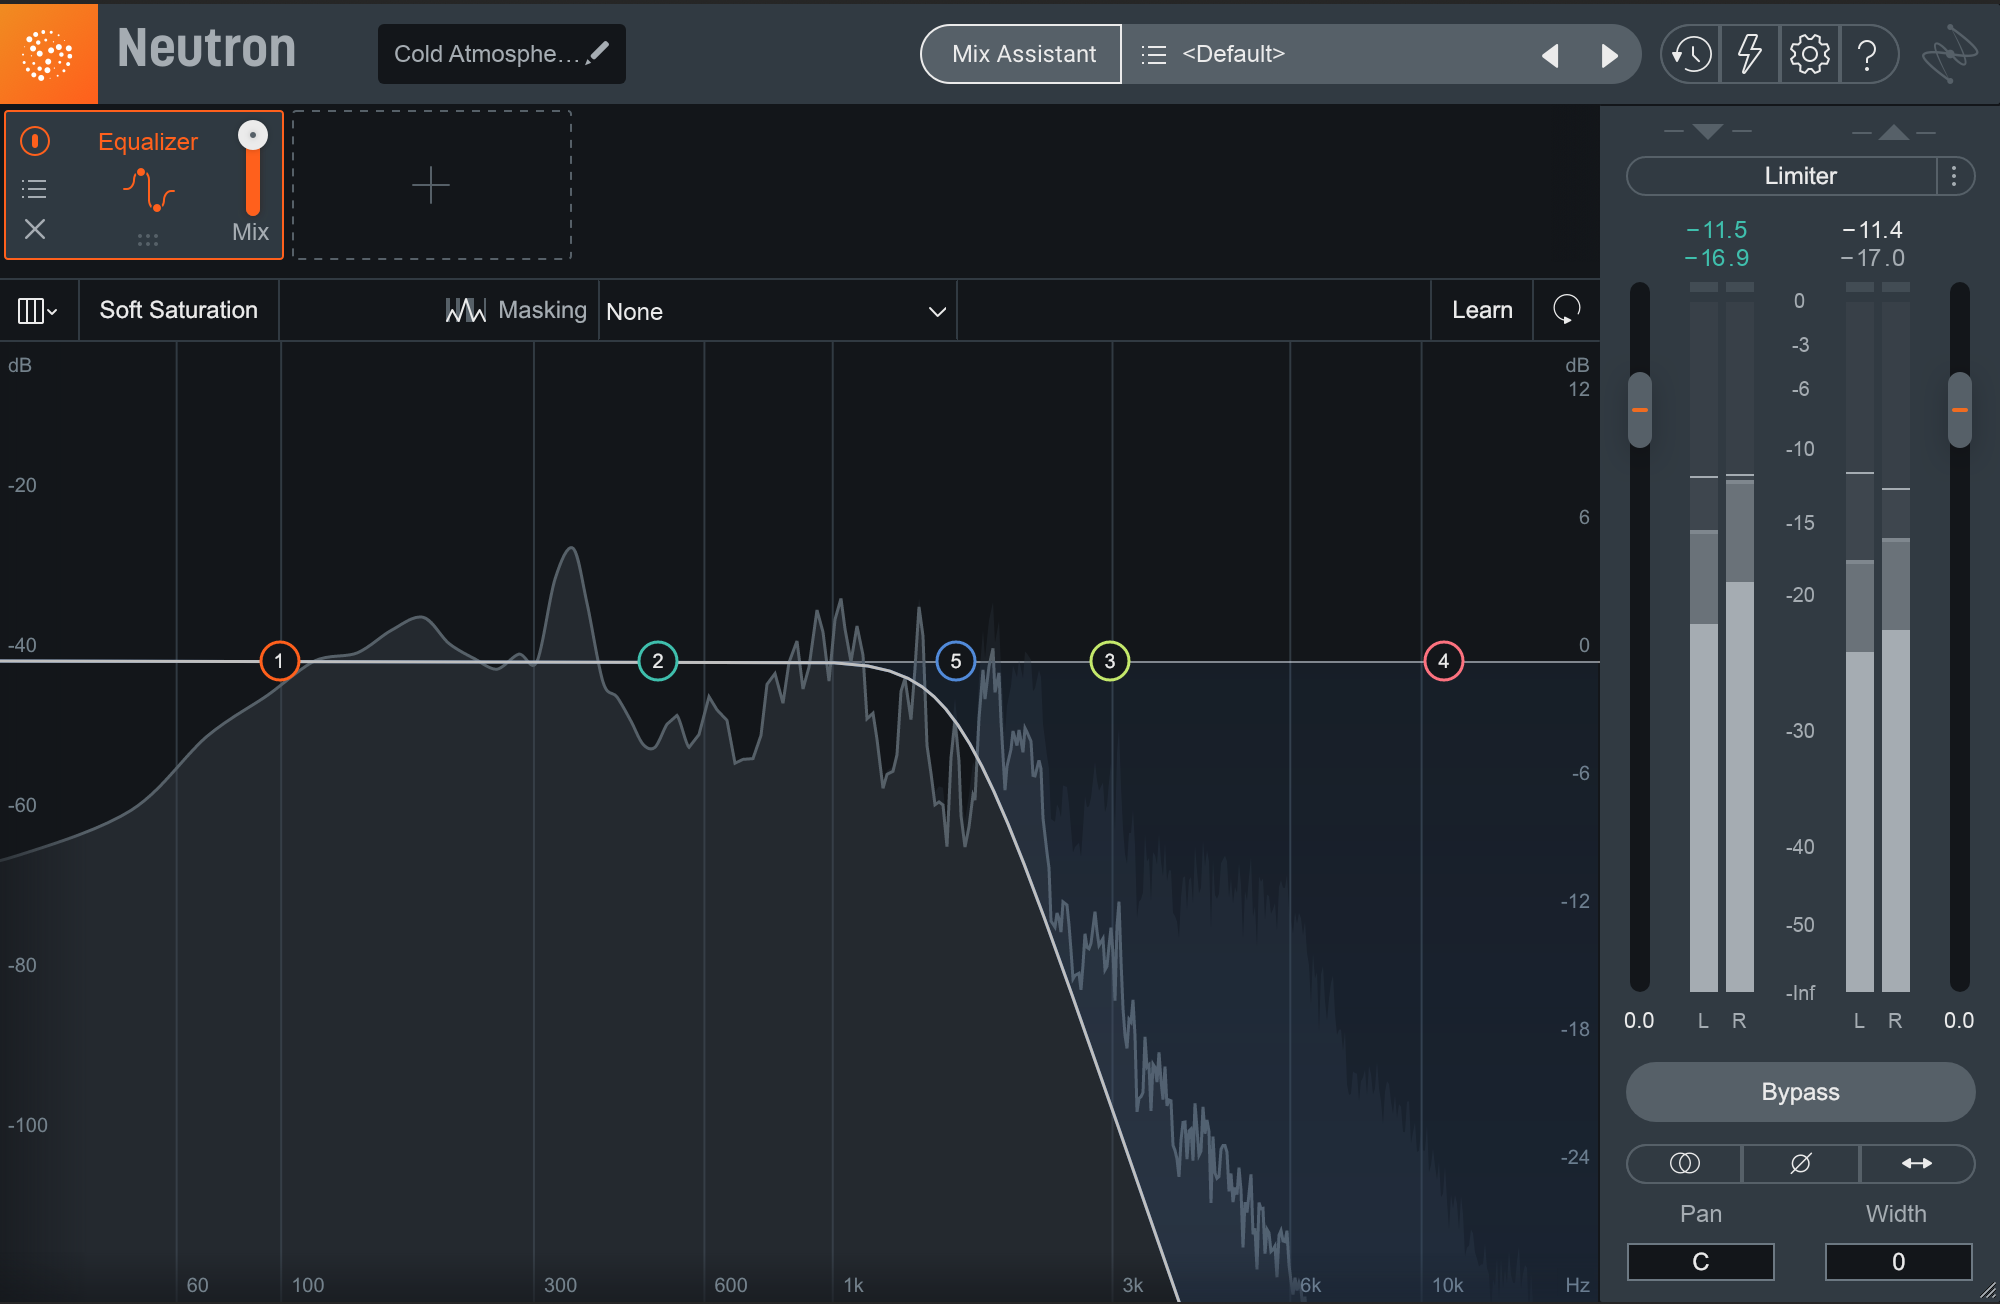
Using a low pass filter in Neutron for higher depth
“Drier” sounds closer
Reverb is often used to simulate the sound of a space, making it a great tool for adding depth to a mix.
But one must always be aware of genre constraints. An earlier version of this article mentioned that rap vocals tend to employ less reverb than folk vocals; this was before SoundCloud changed up rap sounds in the mainstream.
You must also be careful of your mix’s context: If you have a busy mix, be cautious with the amount of reverb you apply. Cranking up the wet on an instrument is likely to add mud, rather than depth. However, the Reverb Assistant and Unmask functions in


Neoverb
Often, reverbs that utilize early reflections work best for an impression of depth—such as the Reflection engine at the top of Neoverb’s pyramid:
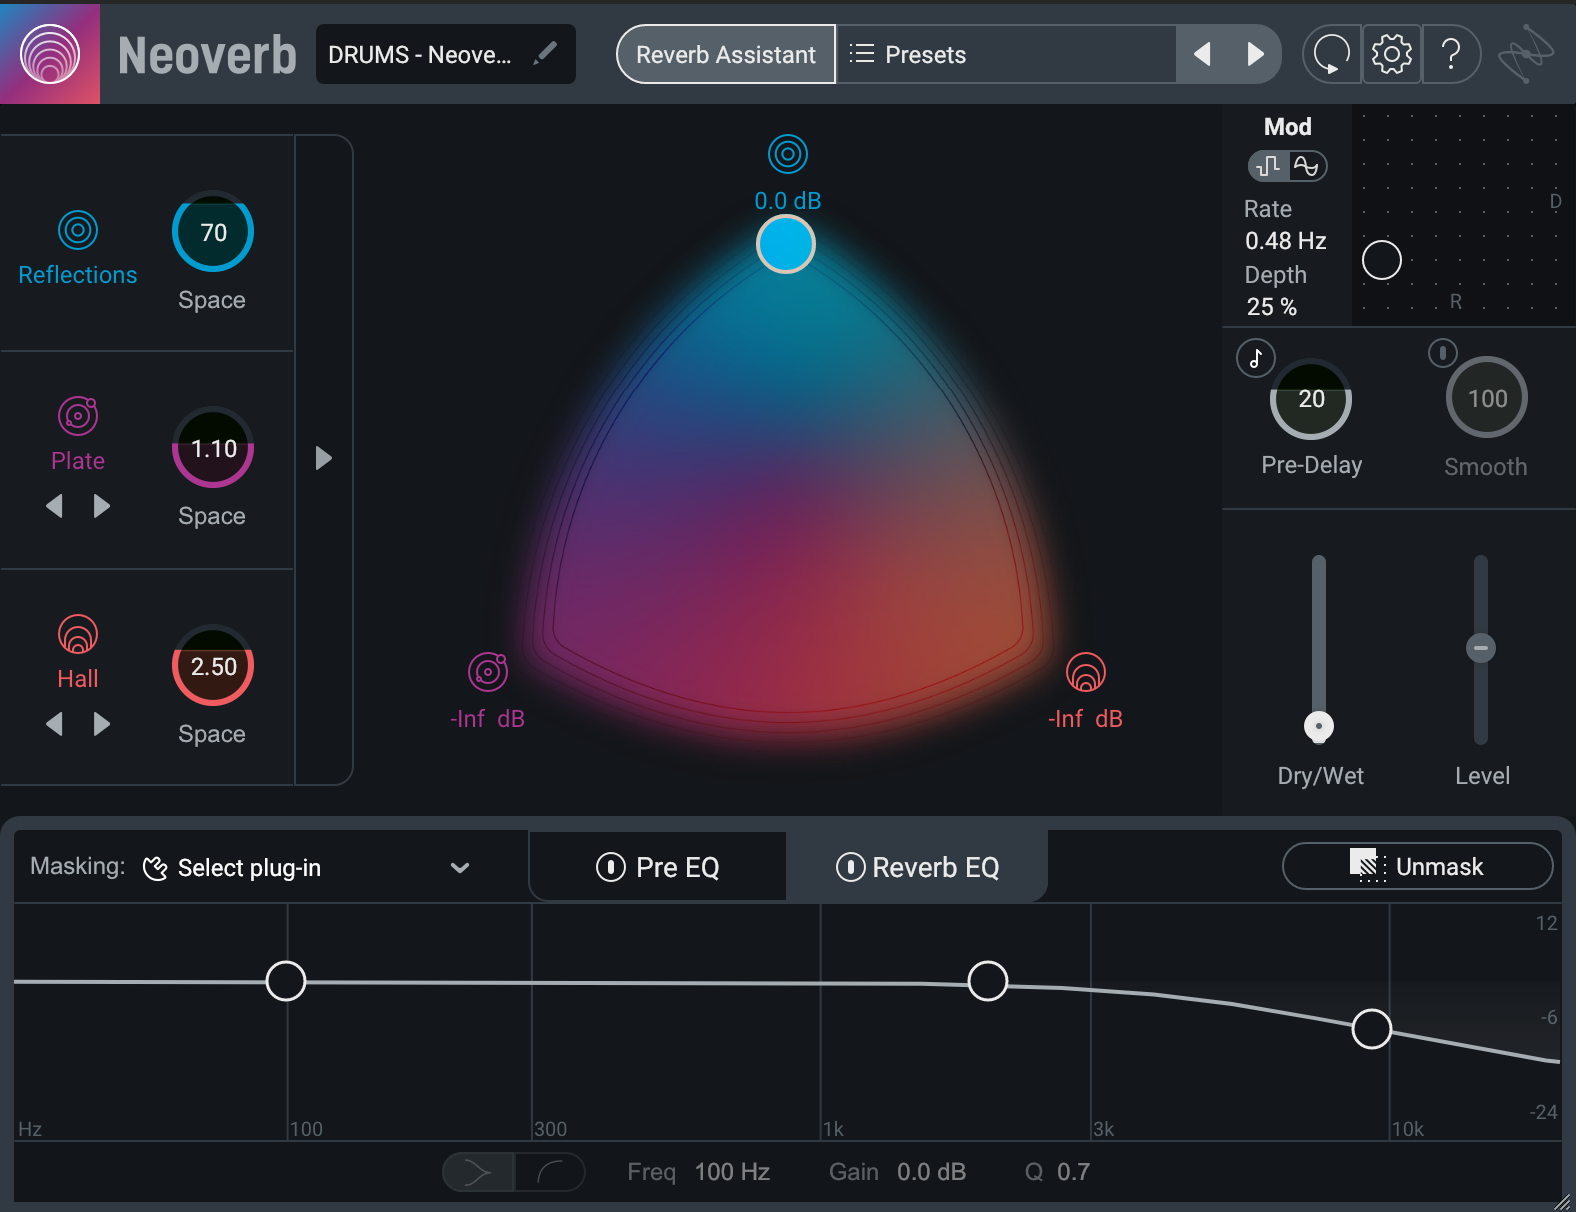
Reflection engine at the top of Neoverb's pyramid
Spacious, sparse arrangements can usually handle more reverb without sucking up the space, so you can be more relaxed, and use more lush verbs.
When choosing a reverb to create a feeling of depth in a mix, note that it is the contrast between dry and wet elements that make some things close and others far away, not the effect itself. If too many channels are sent to a reverb, you will lose all sense of detail and shape, whereas too many dry elements will come off as flat and boring.
Another useful trick is to play with the pre-delay. Increasing the pre-delay can help separate the dry sound from the reverb, which means you can leave a sound front and center while also apparently increasing the depth of the space behind it. This works particularly well with medium to long reverbs like plates and halls.
Finally, EQ’ing the reverb output can help in fostering depth as well, ultimately allowing for better placement in the mix. Conveniently, Neoverb offers EQs on both its input and output.
Check out this example, and compare it to the one before:
I’ve added only two reverbs. There are early reflections on the drum bus. There’s also a blend between early reflections and a plate (in Neoverb) on the clarinet sample. Blend on the drum bus is 9.1%, on clarinet it’s 42%.
I’ve also panned the clarinet sample a little bit, brought the kick drums up in level, and moved some harmonic pads to the left.
Those are all the changes, and yet they had such a drastic impact on the soundstage!
“Delay” sounds further away
Delay can also provide a sense of the depth. If you’ve ever shouted across a large lake or the Grand Canyon, you know the naturalist acoustic phenomenon of which I speak, for echoes signal that a great distance exists.
We can use this to our advantage in mixing in numerous ways. To start, a subtle 1/16, 1/32, or 1/64 note slap delay will quickly bring depth to just about anything. Observe our test mix again, dry as a bone:
Here’s the previous example again, with level changes, low pass filtering, and reverb:
And now, here it is with all the tricks we’ve described thus far in use, the last of which is delay:
Stick around to the end of the example, and you’ll hear what was delayed as it trails off into the distance. I was using a combination of delays available in


Nectar 3 Plus
You can hear clearly that there’s much more front to back imaging in the sound. It occurs not just between each individual instrument, but on each instrument by itself: the vocals now have delay on them, which gives them a more three-dimensional feel. The same goes for the drums.
Pan your FX to match your sources
Although panning belongs more to the “width” dimension of a mix, it can still be used to improve depth. Once you’ve added reverbs and delays to a mix, don’t just pan them hard left or hard right, but closer to the original signal that triggers them. This has the effect of settling them further into the soundstage.
Conversely, you can use delays and reverbs in opposition to the original sound, or you could even treat them like train tracks receding into the distance in a photo—the further away they are, the closer they become to a single point.
Take for example the guitar in this mix, panned with the Visual Mixer ever so slightly to the right. Its delay is panned with it:
Instead, we’ll try panning the delay hard left, like so:
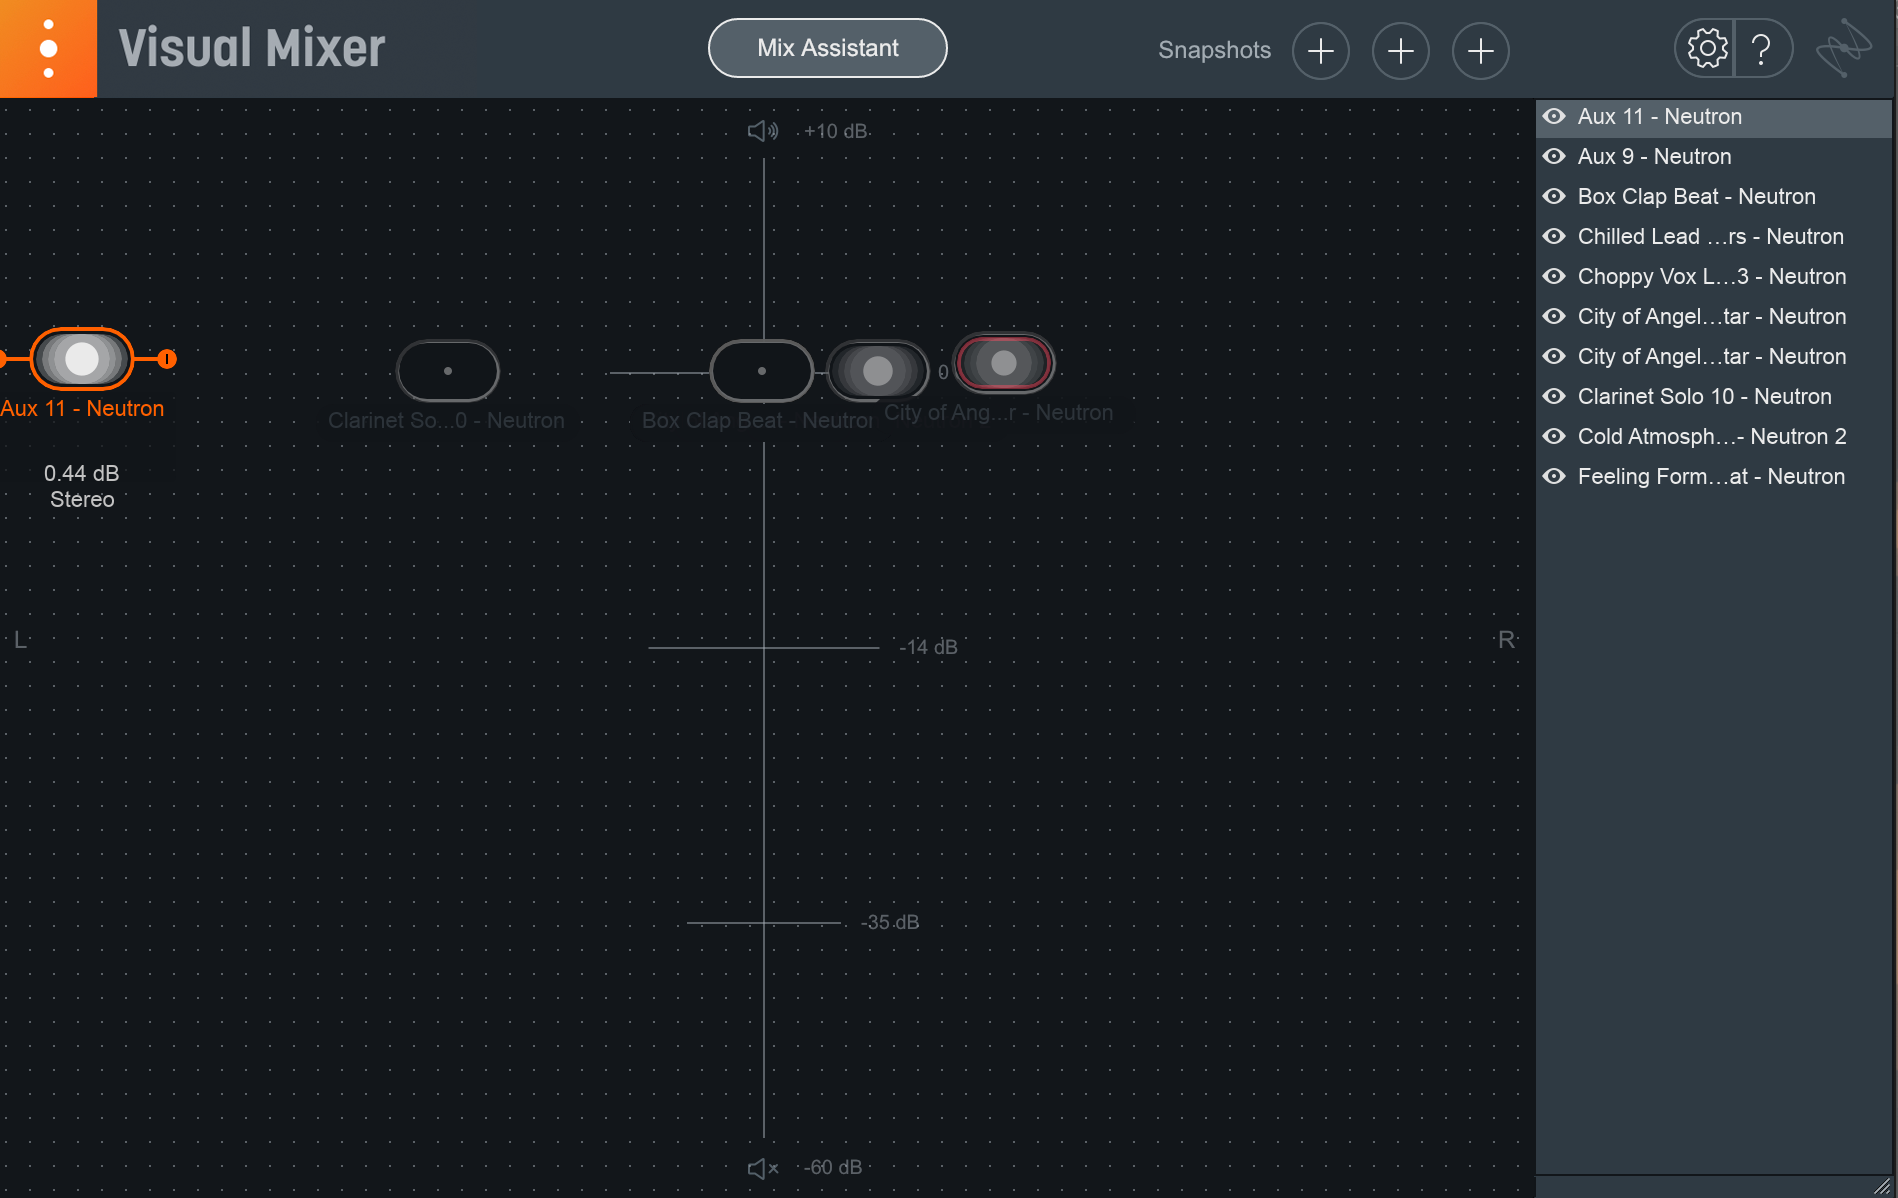
Visual Mixer showing guitar and delay panning
It's a small detail, but it does interesting things:
Now, the guitar itself is more forward. But that’s not all—the “chugging guitar,” which you might not have identified clearly before (the one hitting power chords on downbeats), feels more forward too.
All of this goes to show you how these small moves can give you big changes.
Achieve depth at the source
A basic sense of depth can be captured at the recording stage. For example, recording background vocals at a greater distance from the microphone than leads will have depth “built-in” before they even hit the DAW. Recording some parts of a song in rooms with subtle ambiance, while capturing others in more reverberant spaces or “dead” environments brings in natural variation right from the start.
Keep in mind, you want the right environments here. A bedroom will sound like a bedroom, a bathroom will sound like a bathroom. So use environments to your advantage, and not to your detriment!
Start creating mix depth in your sessions
Like all mixing techniques, adding depth to a mix requires a plan—you need to determine which parts of the song should be placed where, and why. Once you do, these tips will help you create a three-dimensional space. But you can see here that depth can be accomplished with little more than a fader, an EQ, a reverb, and a delay—all of which are available to you in


Music Production Suite 7
It’s worth drilling these techniques; in writing this blog, I dragged some Apple Loops into a session and practiced what I preached. I certainly enjoyed the experience, and I’m willing to bet you will too. One thing’s for certain: you’ll be a better mixer for it.
