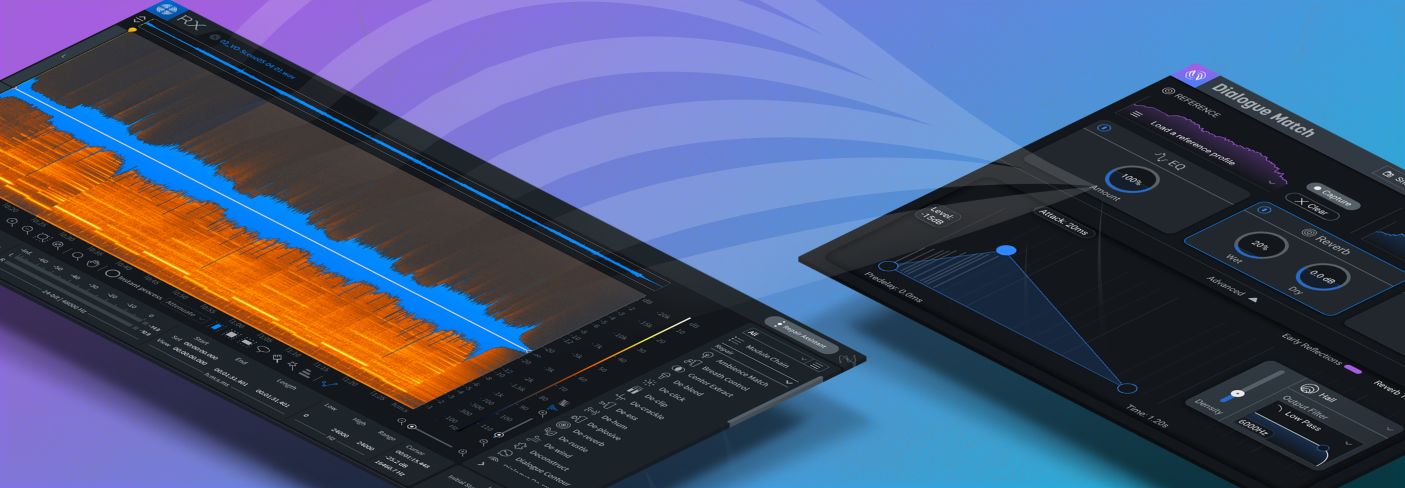
The Dialogue Editing Workflow: When and How to Use RX and Dialogue Match
Learn how and why you should clean tracks with RX before shaping your tracks into a cohesive performance with Dialogue Match—saving you valuable time editing dialogue.
Post production professionals who edit and mix audio routinely deal with a wide-ranging set of challenges that make optimizing dialogue, voiceovers, and interviews time-consuming and difficult. Whether it’s minimizing location noises and flaws or building a seamless, spoken performance, achieving clarity and cohesiveness from multiple takes is crucial for film, television, radio, and podcasting.
iZotope's


RX 11 Advanced


Dialogue Match
How clean is your audio?
The first decision a mixer or editor should make before they use Dialogue Match is whether their tracks need cleaning up. This may seem obvious to anyone who preps spoken-word audio, but it’s important to keep in mind when using


Dialogue Match
Dialogue Match learns the sonic profile of a reference clip you’ve selected; the reference being the clip with the desired characteristics you’re applying to your track. It also learns the sonic profile of the clip to which you’re applying the reference profile. This means that if your reference profile is noisy, that noise is being learned and will be applied to your Apply To clip. Conversely, if your reference clip is nice and clean but you apply its profile to a noisy clip, you will get an end result that sounds, you guessed it, noisy.
Very simply: it’s noises in, noises out. So take the time to clean up noisy audio before you use Dialogue Match. The best way to do this is to use RX and Dialogue Match together.
Use Dialogue Match only with clean audio
Open up your Pro Tools session and take a moment to audition your audio tracks. If they sound good and you do not hear objectionable or distracting noise in your tracks, head for


Dialogue Match
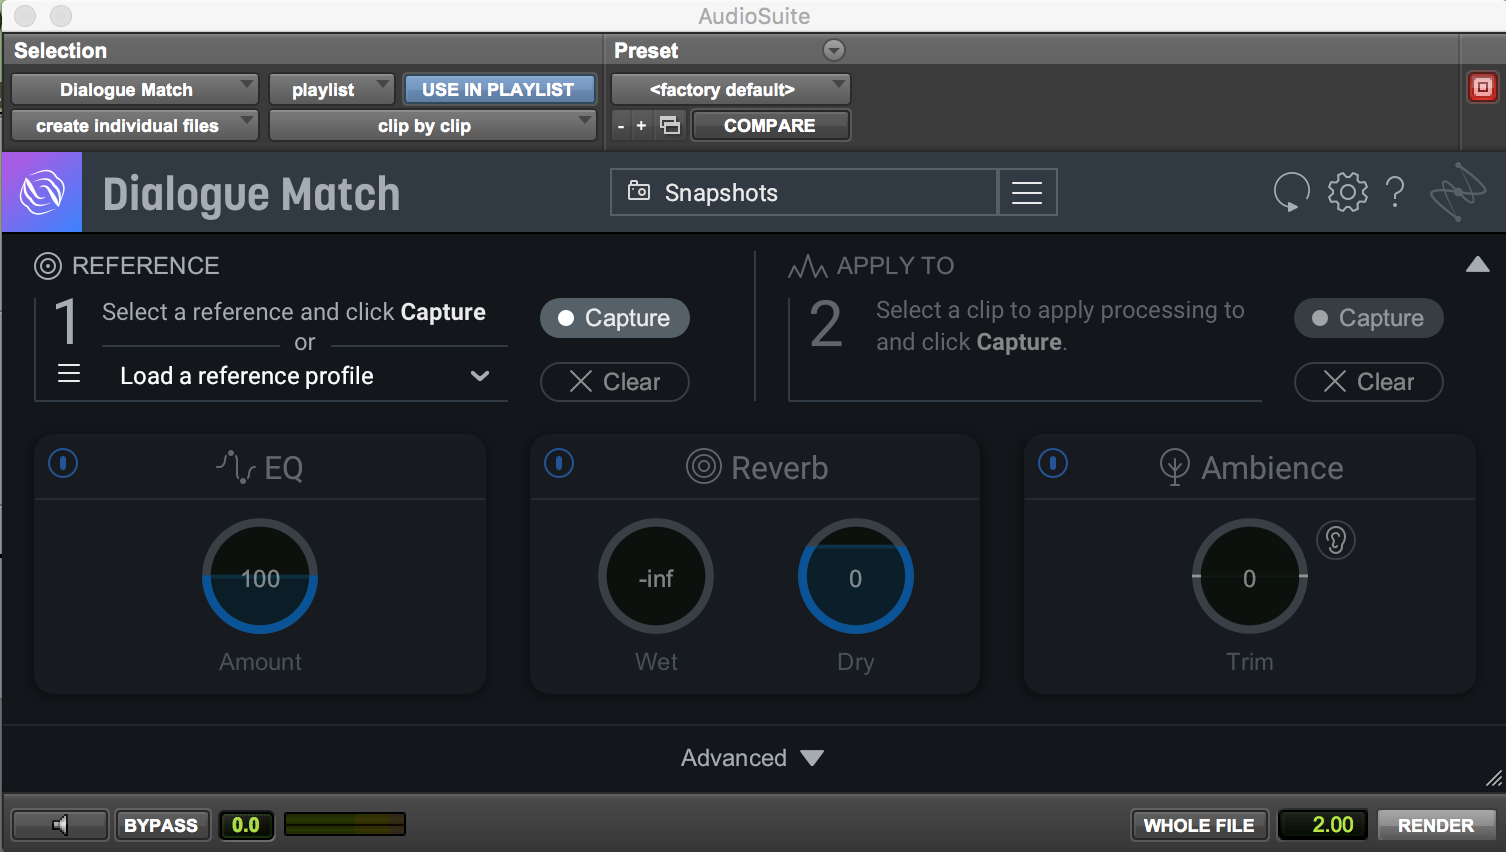
The Dialogue Match AudioSuite window
Dialogue Match is designed with two steps in mind. The first is to select a reference profile in the timeline and then capture it, which tells the plug-in to learn the EQ, Reverb, and Ambience profile of the clip.
The second step is to apply that profile by capturing a target clip. From here, click the speaker icon in the bottom right of the plug-in to audition your results. Unchecking the speaker icon allows you to hear how your dry clip sounds without the applied processing.
To audition the reference clip, click the ear icon on the reference spectrum at the top left and cycle between the reference and the applied processing on the Apply To clip. If you’re happy with your applied settings at this point, hit RENDER on the bottom right of the plug-in, commit the changes to the timeline, and move on to your next clip.
If you feel that the applied profile needs some refinement, Dialogue Match offers basic and advanced levels of adjustment. The basic adjustment allows you to increase or decrease the levels of the learned (captured) EQ, Reverb, and Ambience profiles. Click on the Advanced Panel for detailed processing options to further refine these settings.
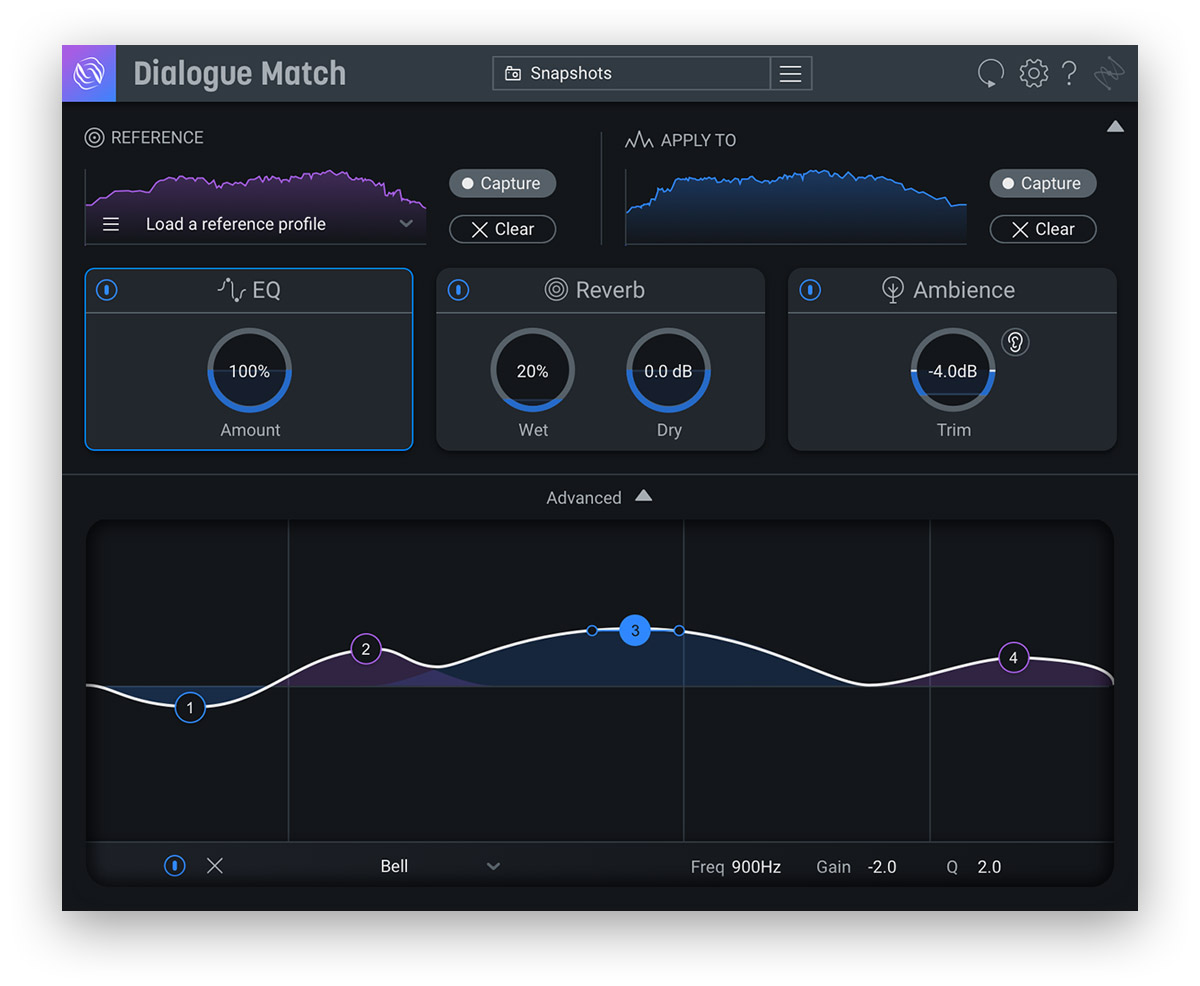
Dialogue Match EQ module
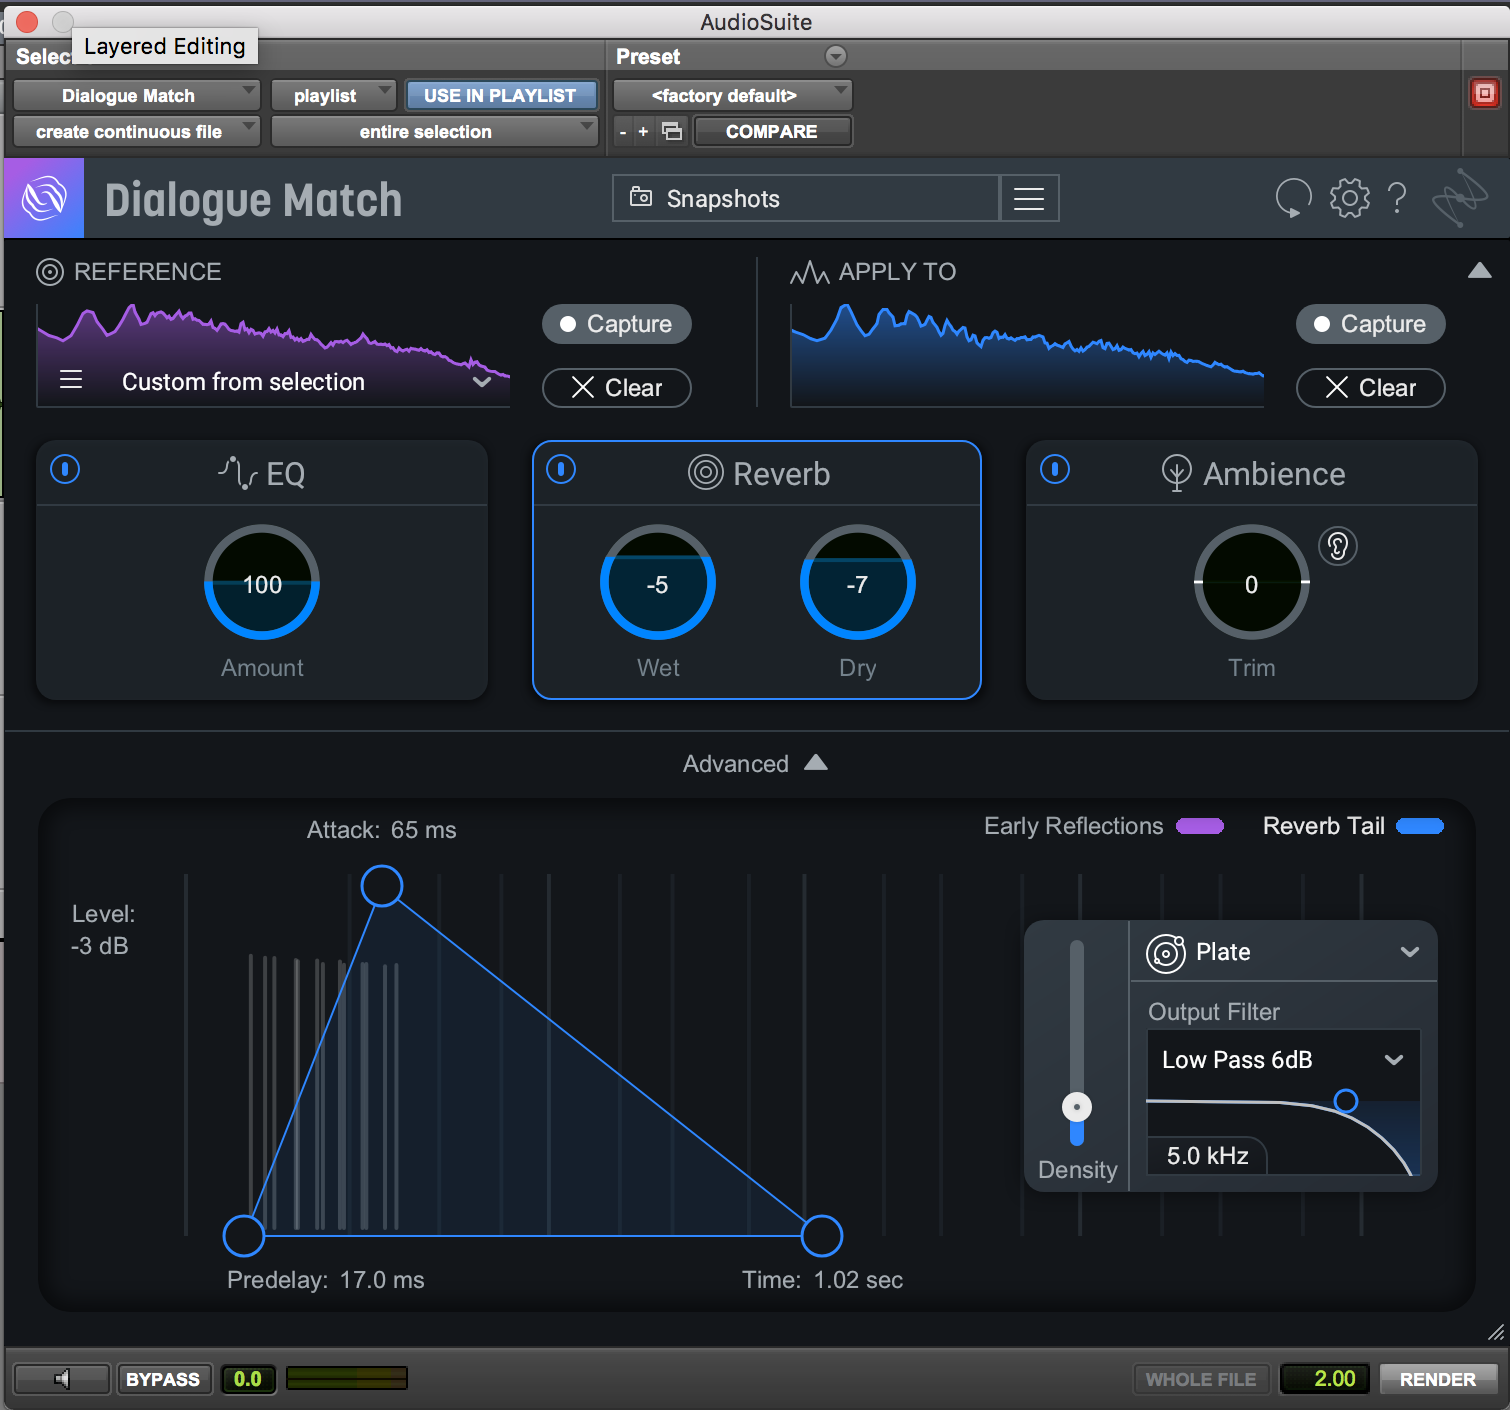
Dialogue Match Reverb module
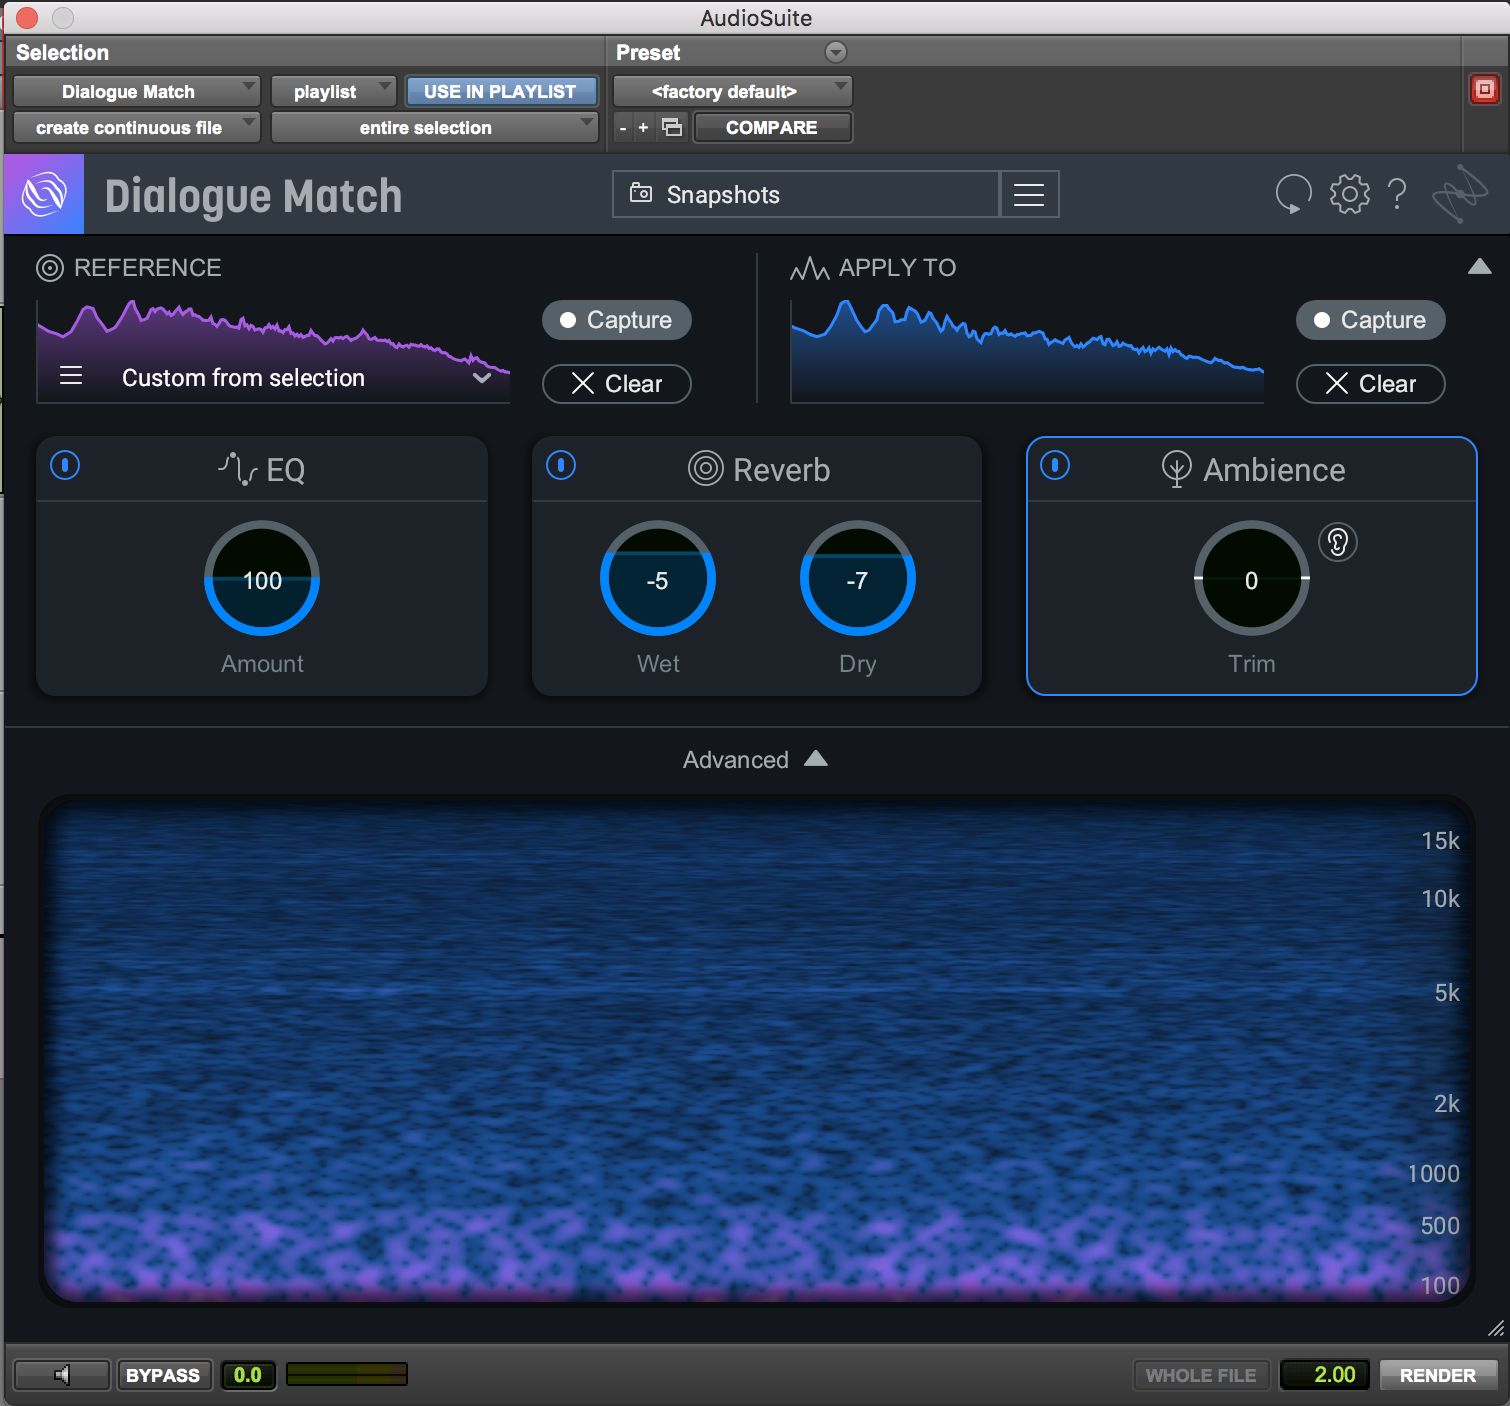
Dialogue Match Ambience module
This article references a previous version of RX. Learn about 

RX 10 Advanced
Use RX Connect to speed-clean problem tracks before Dialogue Match
Say you open up Pro Tools to work on your next production audio project, but your tracks need serious work—maybe there’s too much background noise or distracting mouth sounds on the lavs. Before moving to


Dialogue Match


RX 11 Advanced
RX Connect is a plug-in that shuttles audio between your DAW and the standalone RX Audio Editor, where you have access to all of the powerful processing RX has to offer. Use RX to repair and edit your clips, then return those clips via RX Connect to their original locations in your DAW’s timeline.
You will find RX Connect in the AudioSuite menu under “Noise Reduction” or under “iZotope.”
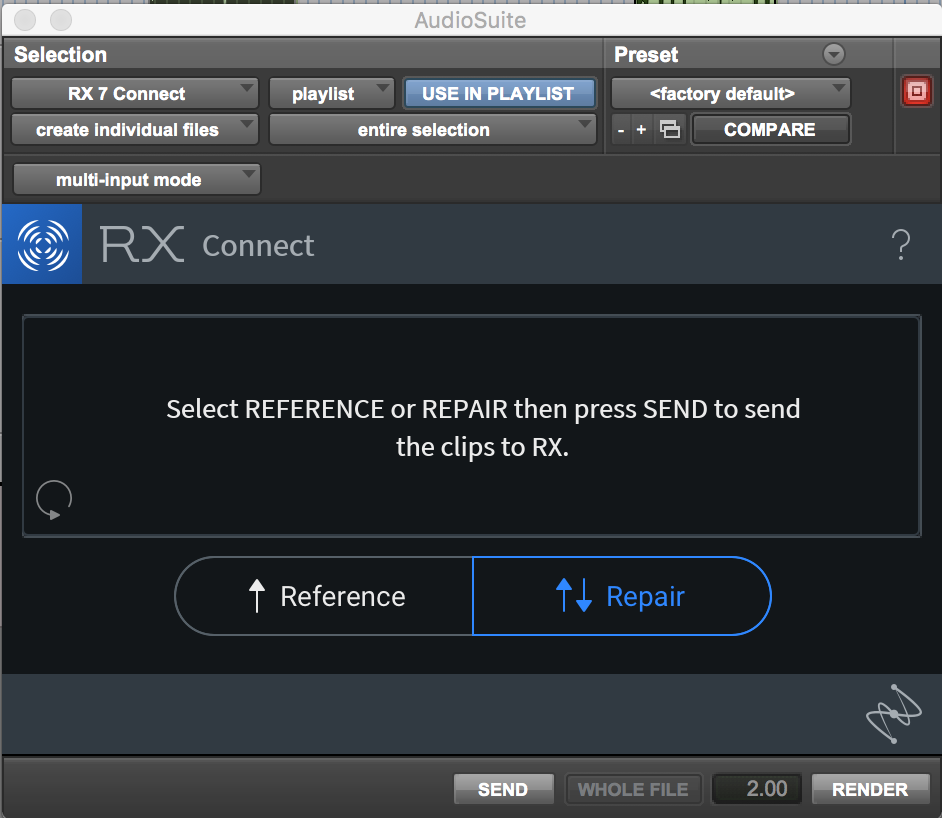
RX Connect
When you open RX Connect, select the clip(s) you want to work on in RX, confirm that the Repair button on the lower right is selected, then hit the SEND button at the bottom middle of the plug-in. This automatically opens the standalone RX Audio Editor and loads your clip(s) into tabs in RX.
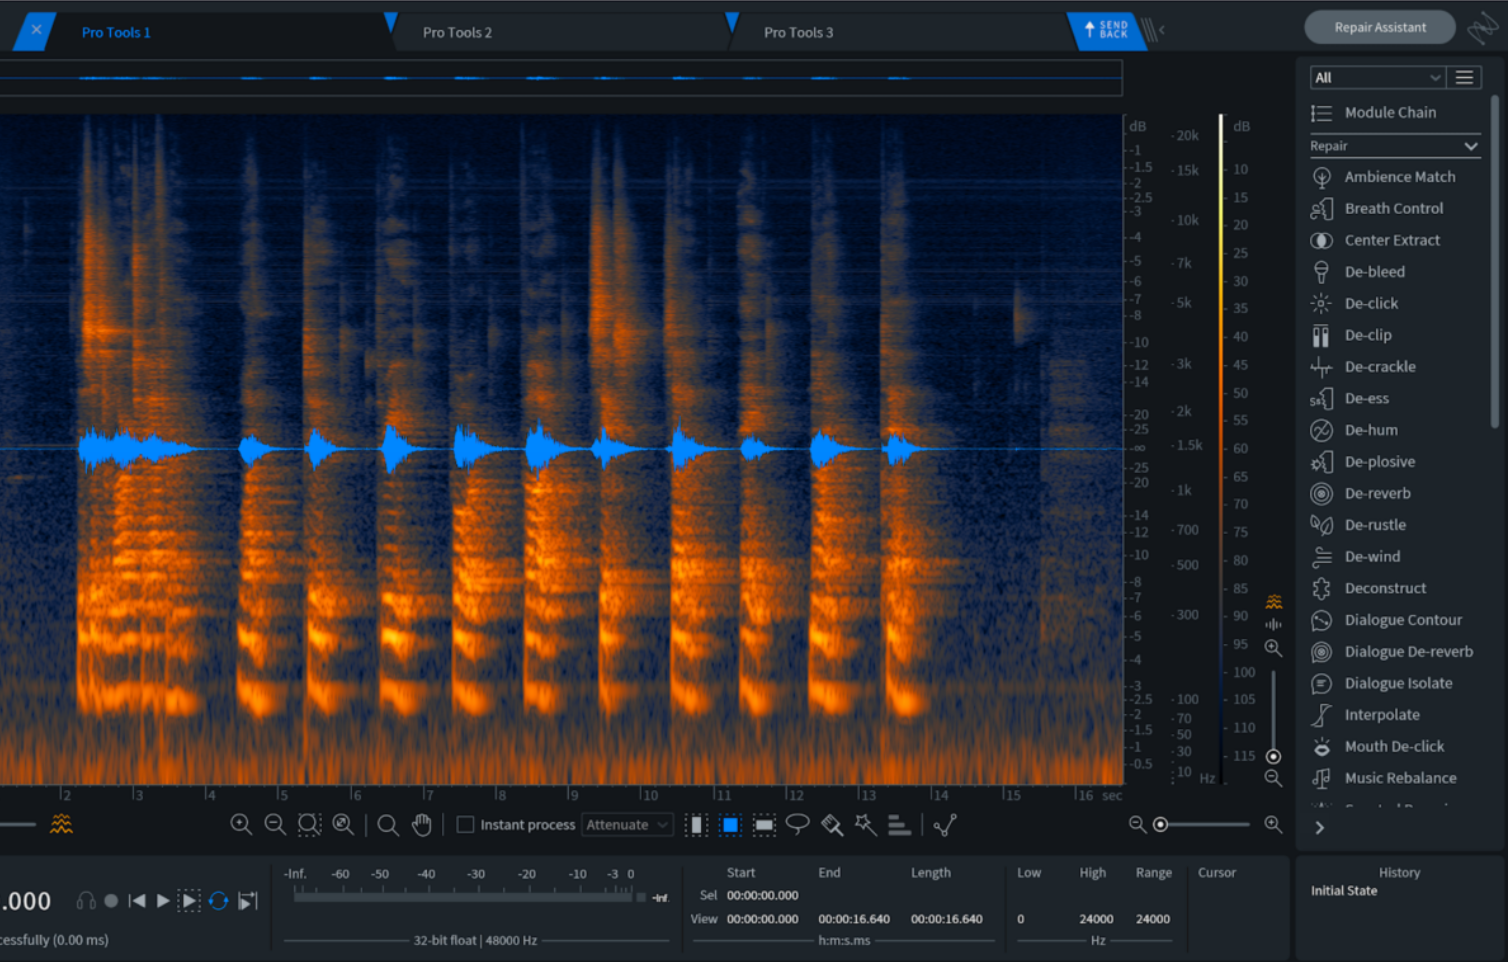
The RX Audio Editor with Dialogue Match clips loaded
Now that your clips are in RX, you have full access to all of the repair and edit processing RX offers. Chose the tools you need for your clean-up work, and when the clips are processed to your liking, click the SEND BACK button to the right of the tabs to return your files to Pro Tools. Hit RENDER in the RX Connect plug-in to commit the RX-processed files to the timeline, and your files will appear in Pro Tools.
Conclusion


RX 11 Advanced


Dialogue Match
We hope you find Dialogue Match to be an indispensable part of your workflow and that it helps every scene you touch become your best work yet.
Be sure to check out our other Dialogue Match articles and tutorials to learn more about post production workflows, and download your free trial of Dialogue Match.

