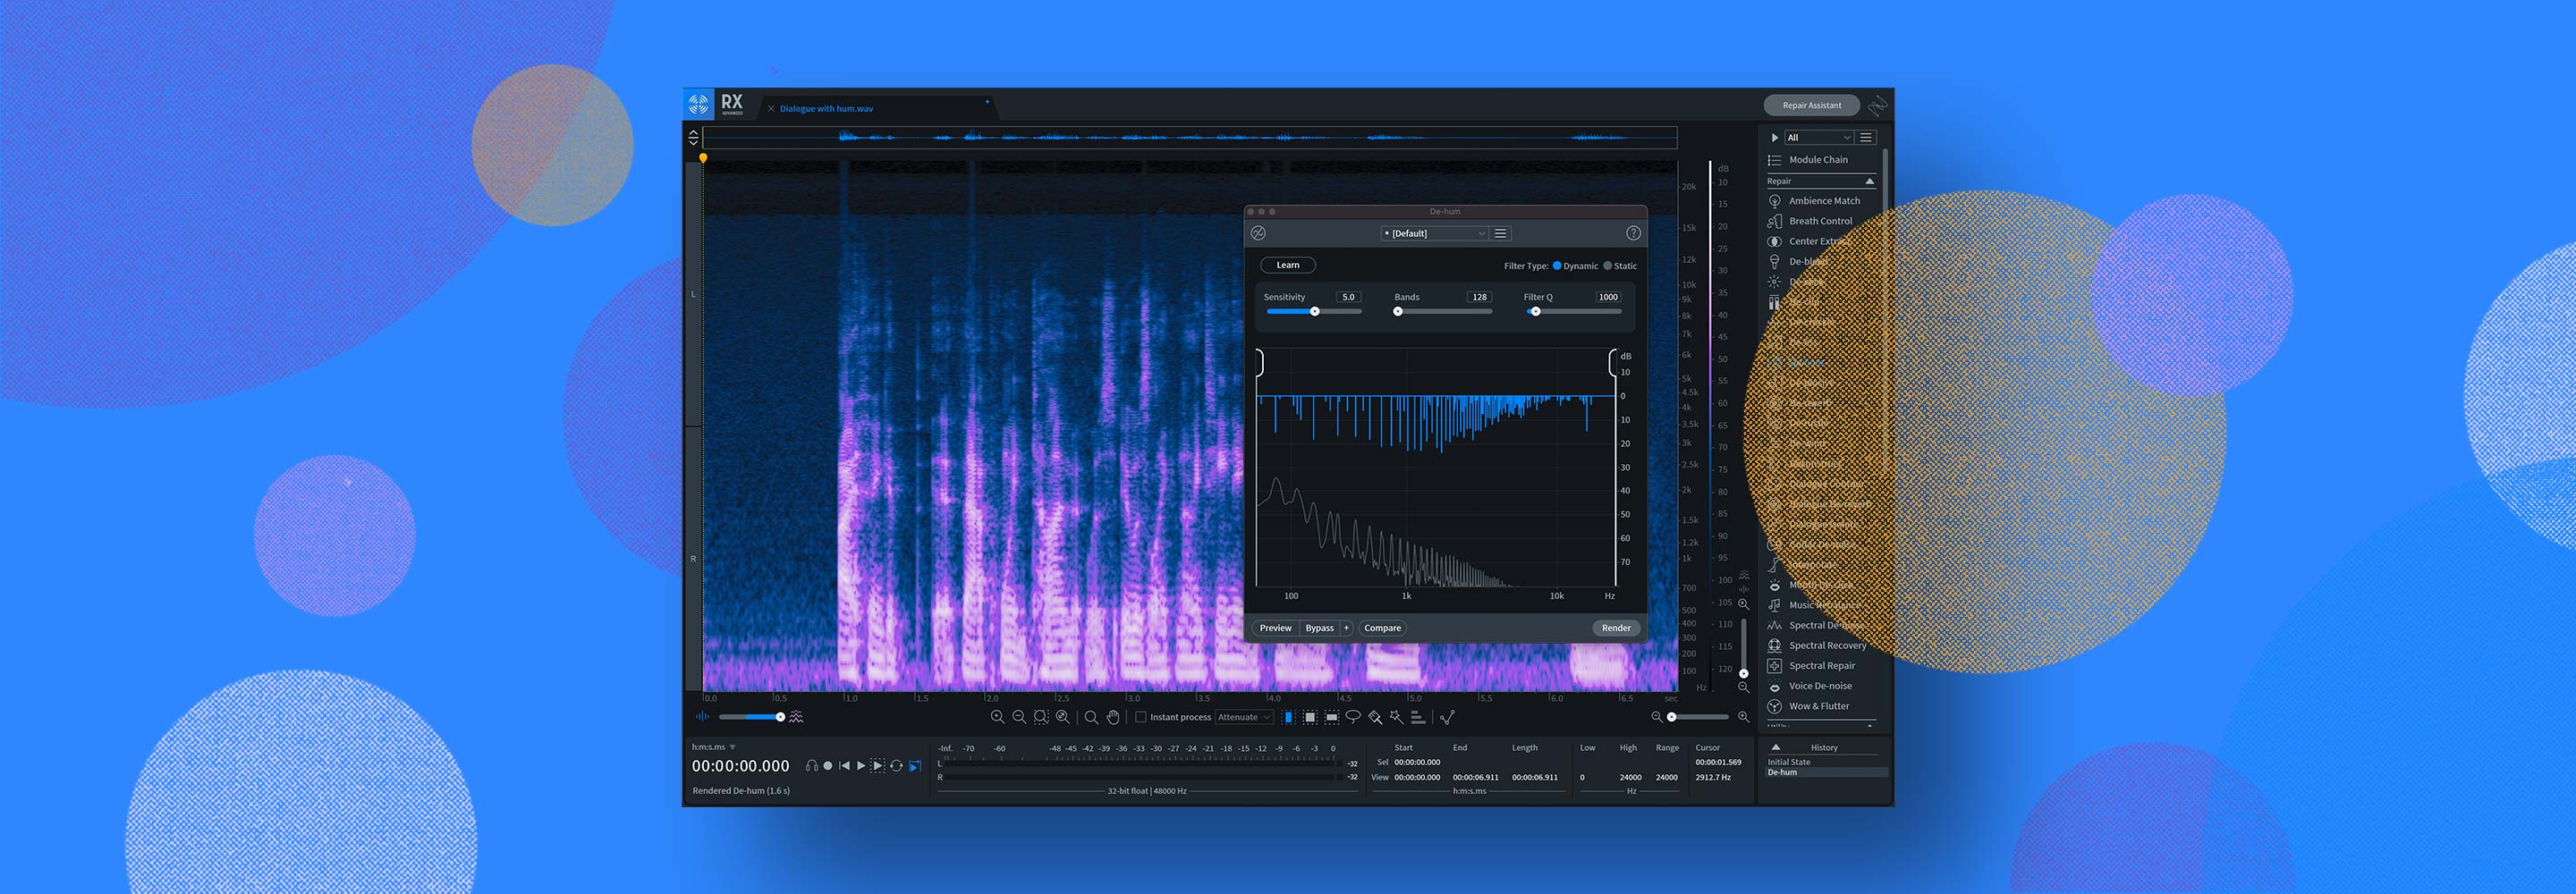
How to Remove Digital Clicks and Pops from Audio
Digital clicks and pops can cause lots of issues in audio recordings. Learn how to remove clicks and pops as well as non-digital clicks using audio cleanup tools and techniques with iZotope RX.
If you mix audio, you’re going to encounter annoying clicks and pops. I guarantee it. Most of the clicks you’ll come across are digital in nature. Often caused by sync problems or ground loops between computers and audio interfaces, digital clicks and pops rear their ugly heads even in the most expensive studio recordings.
Other clicks can’t be blamed on the computer. The human mouth is prone to clicking, and so are some instruments (basses with low action, for example). A click could come from a potentiometer being adjusted on the fly (if there’s dust in the pot), or from a faulty component in a piece of gear.
Luckily, iZotope makes fantastic tools for removing clicks and pops.
The primary one is called De-click, and it’s a module in iZotope


RX 11 Advanced
Settings and parameters of RX De-click
RX De-click, designed to remove clicks from audio and more, is one of the easier modules to use in iZotope RX. The preset menu describes excellent use-cases for specific scenarios, including random discontinuity, random thumbs, short digital clicks, and more.
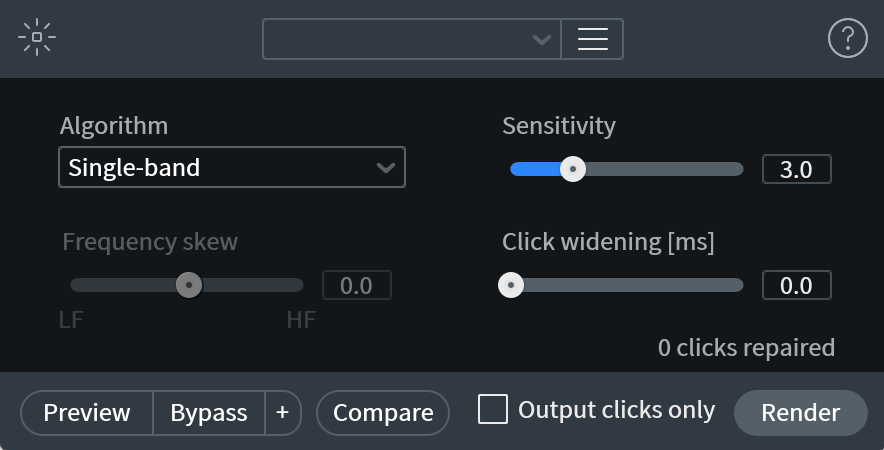
iZotope RX De-click options
Select one of these presets, look at the controls, and you’ll have a better understanding of how the plug-in operates.
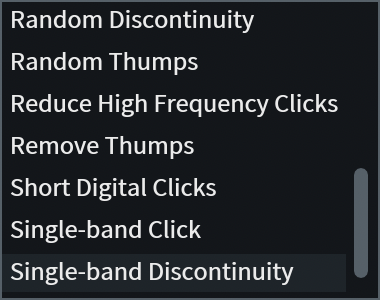
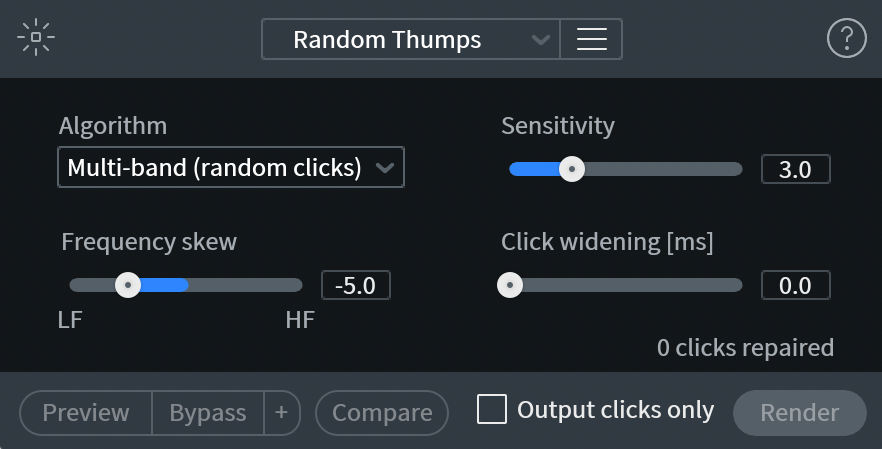
iZotope RX De-click random thump preset
The Frequency Skew slider lets you center the processor on the type of artifact you want to remove. A high digital tick would occur higher-up in frequency—or more towards the high frequency part of the slider. A pop! Would occur a bit lower. A thump, shown above, is lower than that.
Sensitivity governs how strongly the processor will work—you can think of it like a compressor’s threshold—and Click Widening can make the whole operation work more smoothly in the context of the track.
It’s quite easy to hear what the processor is doing, thanks to the “Output Clicks Only” tab. checking this box and messing around with the controls will give you the hang of how they work rather quickly.
Using De-click in your digital audio interface
RX De-click is available as a plug-in for your DAW or NLE—but it also works in RX’s standalone editor as a module. You can load files directly into the RX application, utilize RX Connect to ferry audio to and from Pro Tools, or launch an external editor for the task in Logic.
You can also use the De-click plug-in as an audiosuite process in Pro Tools. In DAWs that support region-based processing (Wavelab and Logic Pro X for example), you can use De-click that way.
With so many options, you might be confused about how to implement De-click in your mix.
So here’s what I do:
- If the click happens only once or twice in a track, I’ll fix the issue with Audiosuite processing when working in Pro Tools.
- In Logic, I’ll save the region with the offending click as its own region, open RX as an external editor, and fix the issue in standalone.
- If the problem is constant, I will insert De-click as a plug-in on the track with the click.
Using De-click as a plug-in can be a bit like using a machete to do surgery instead of a scalpel—you may take out audio you actually need, or miss the occasional click.
But if you’re on a deadline, living with any sonic compromise might be preferable to extirpating each click one by one, especially if the results aren’t noticeable to anyone but you or the most persnickety audio engineer.
Never forget, you’re not mixing audio for other persnickety audio engineers—you’re mixing audio for a client who wants to elicit an emotion, tell a story, and get the project out on time!
How to use De-click to remove clicks in audio
Here’s an example of some audio with a big digital click.
Here’s where the digital click is happening in the spectrogram.
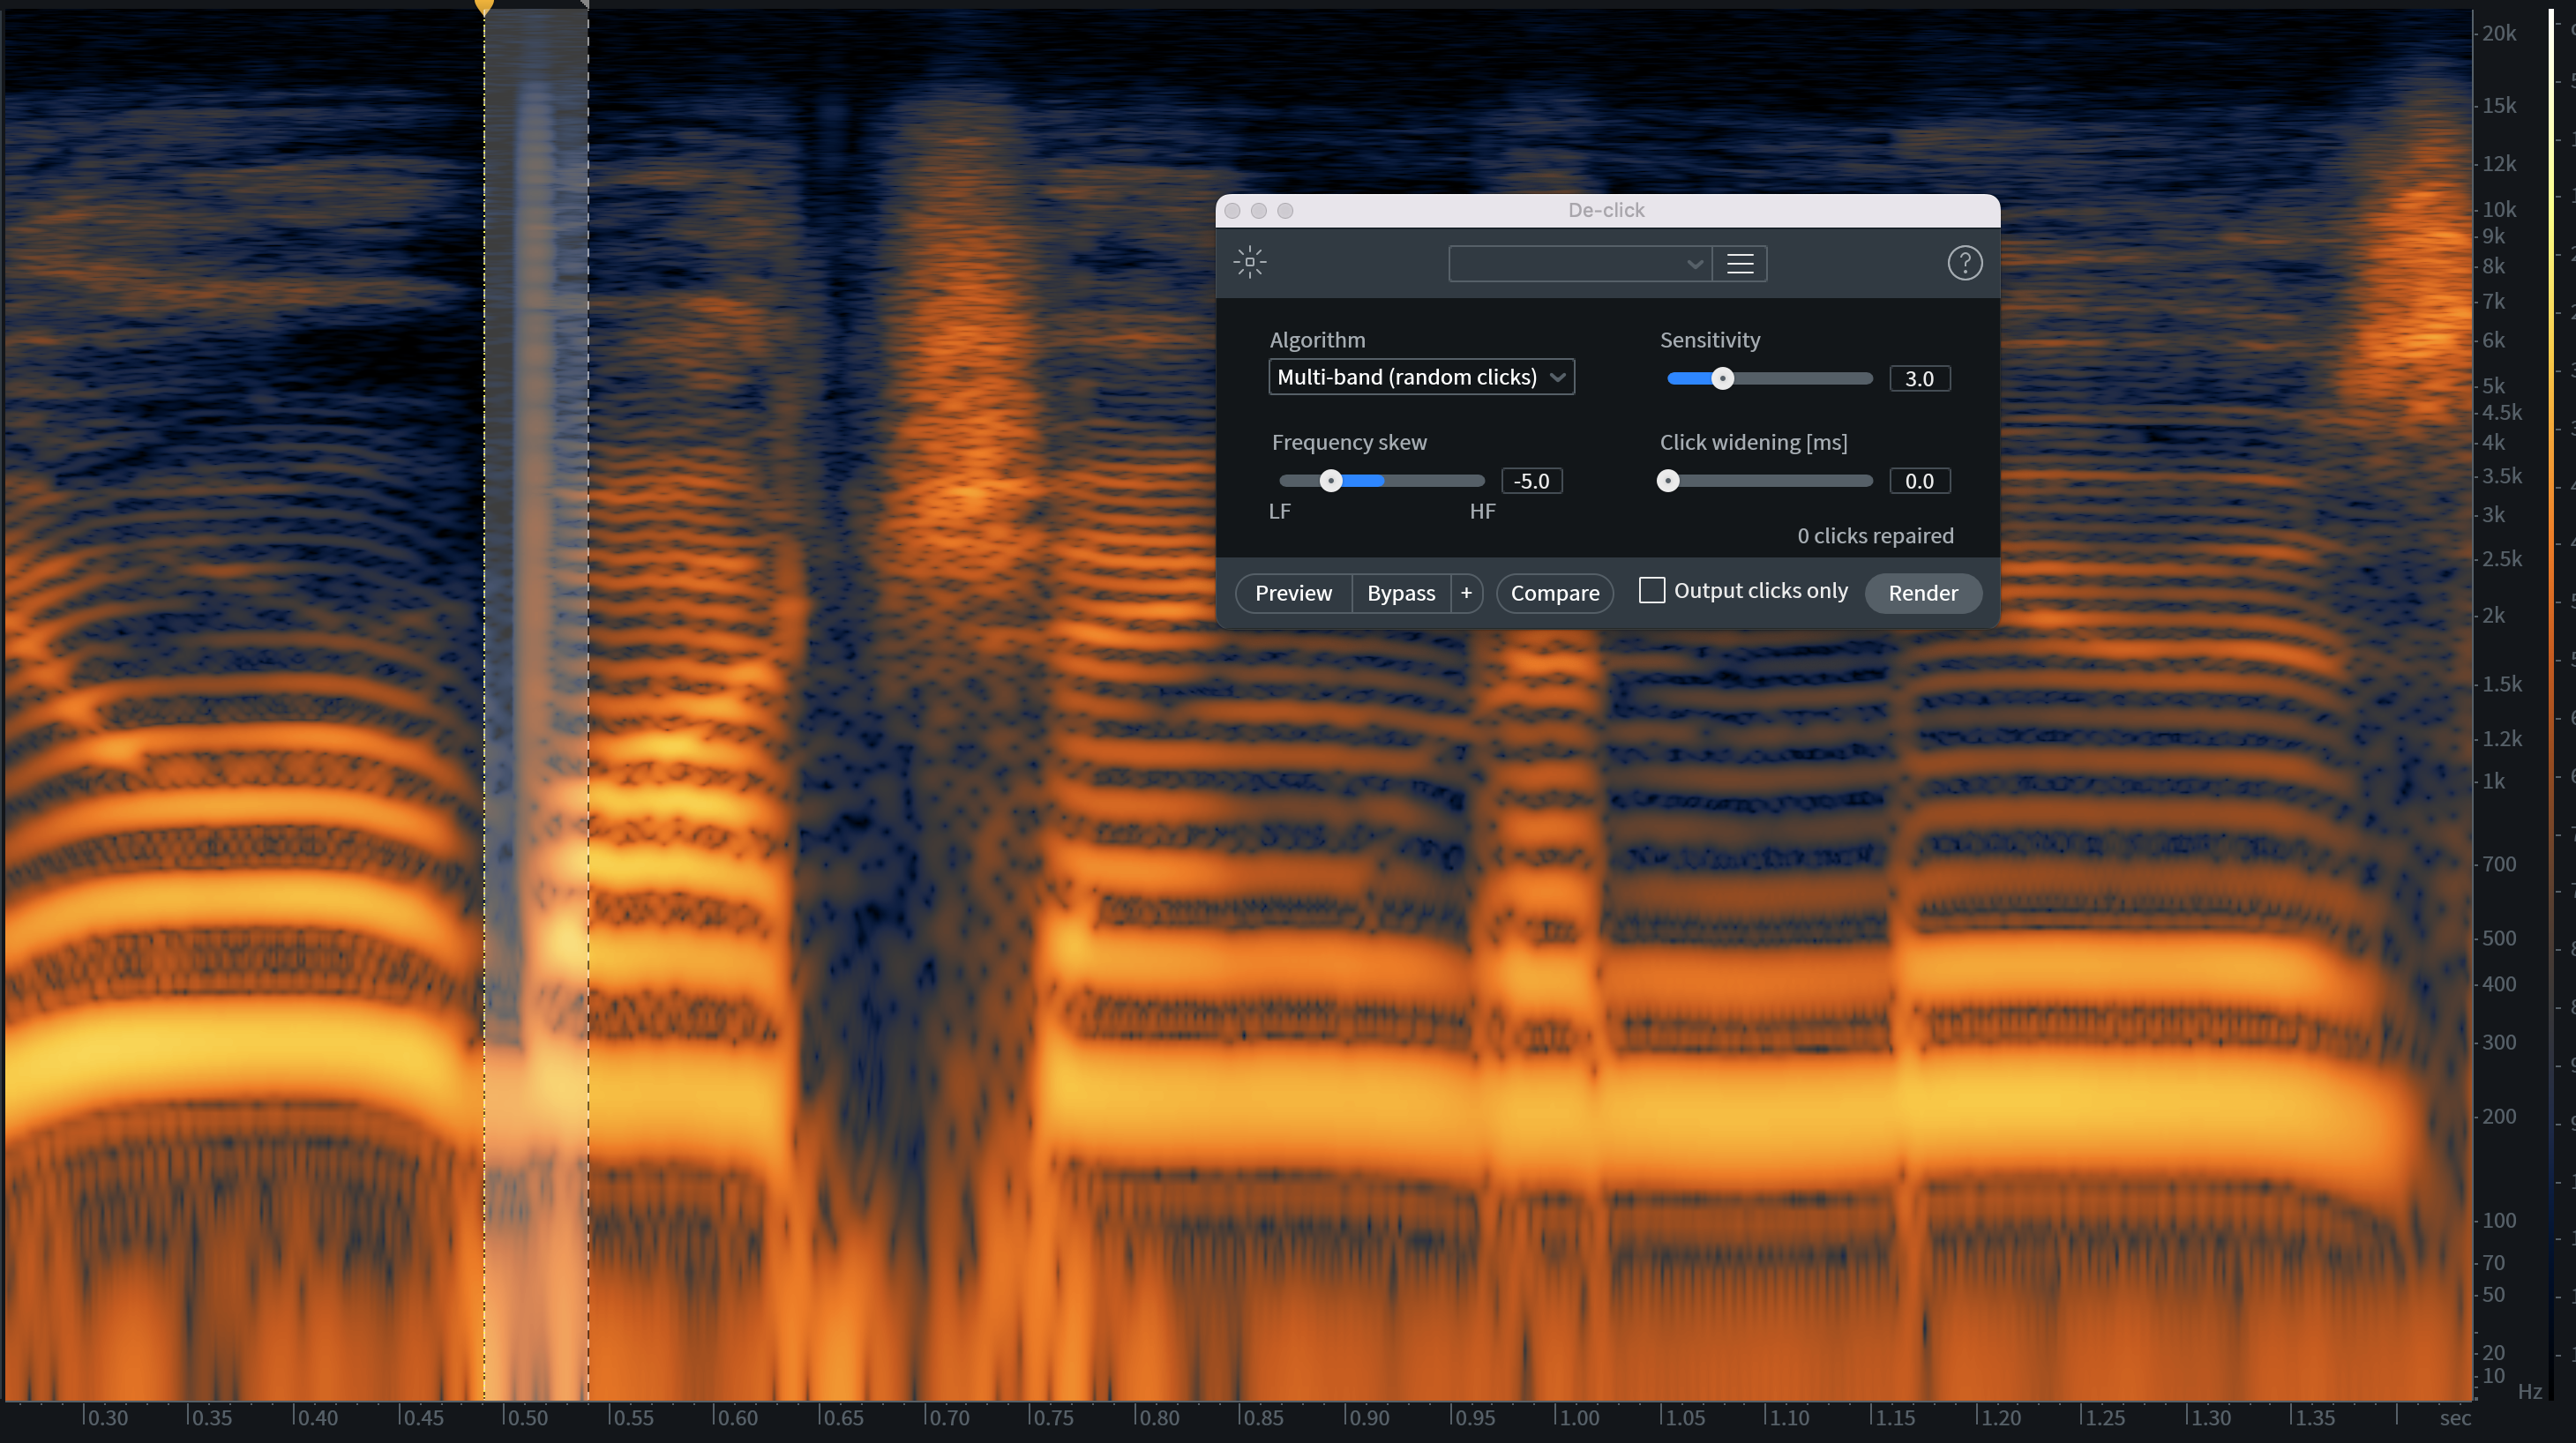
Now watch how easy it is to get rid of it with RX De-click:
This video shows you how easy it is to remove digital clicks—and also, how the Click Widening control can help you in removing the whole click. With my first settings, there were still some artifacts. I played with the Click Widening parameter, and those went away.
Steps to remove clicks from audio:
- Open an audio file in the RX Audio Editor or send it using RX Connect.
- Inside the De-click module, choose the algorithm Multi-band (random clicks). This algorithm uses multi-band processing for wider vinyl clicks and thumps, with a protective algorithm for preserving periodic audio elements characteristic to certain instruments such as brass or vocals.
- Check the box marked Output Clicks Only to monitor just what the algorithm is removing.
- Select the offending section of audio in the spectrogram.
- Click Preview and see if the preset is removing the clicks adequately. If so, just click Process to render the repaired audio. If not, continue on with the following steps.
- Adjust the Sensitivity setting until you begin to hear the sound of the speaker or instrument being affected and then back it off slightly.
- Adjust the Click Widening, which extends the repair area around detected clicks, compensating for mouth sounds such as lip smacks that have a decay.
- Adjust the Frequency Skew, which is the weighting of click removal toward higher or lower frequency clicks. Negative values are more suitable for generic clicks such as those found on vinyl recordings. A setting of zero or above targets mouth clicks in the middle frequencies.
- Uncheck the box marked Output Clicks Only.
- When you have a sound you like, click the Process button.
- If you can't remove all of the clicks adequately in one pass, try repeating the process using multiple passes of De-click.
Can I use De-click on non-digital clicks and pops?
Of course you can! If it works, it works. I’ve used De-click on electric bass, when the strings are too close to the pickups, causing all sorts of strange clicks. I remember doing just that on the Leland Sundries song “Another Friday Night News Dump.”
What about mouth noises?
Mouth noises are par for the course when recording voice overs, podcasts, and even sung vocals. It doesn’t matter who you are—the human mouth makes its own variety of clicks and pops.
That’s why iZotope has a dedicated tool for removing mouth clicks, called RX Mouth De-click.
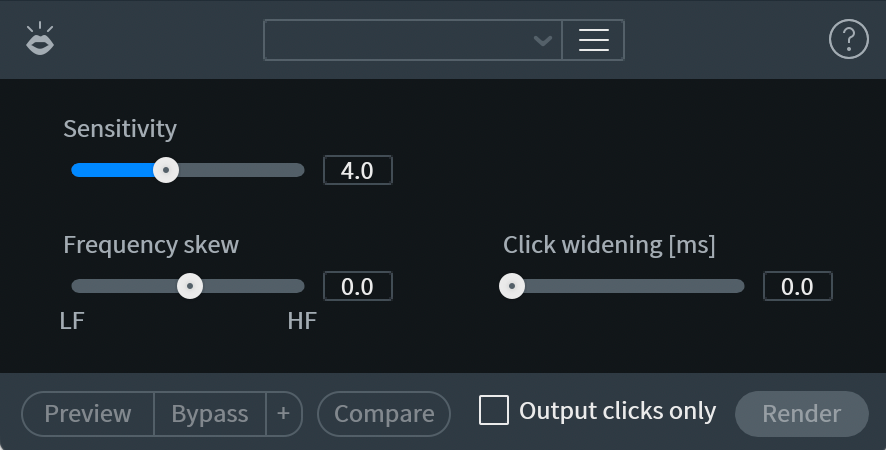
RX Mouth De-click can remove mouth clicks and pops in an audio recording
How to use Mouth De-click to remove mouth clicking noises
Similar to RX De-clip, if the mouth clicks are sporadic, use it sparingly in audiosuite or in standalone processing. If the mouth clicking is all over the place, use the plug-in version. I’ll show you how it works in a video below.
This audio comes from a project I’m working on for Criminal Content, a fiction podcast starring Carey Mulligan, McKenna Grace, Phoebe Tonkin and others. The audio was recorded spectacularly—we even received two high-class microphones on Carey’s voice. The recordings are so pristine, as a matter of fact, that they capture every nuance, including mouth noises. Thus, you can see how removing mouth clicks becomes a part of nearly any spoken word job.
A couple things of note in this video: the Frequency Skew slider is on full display, as I had to move it around to target different areas. Note that I almost captured a real consonant in the selection, so I stopped myself, selected anew, and avoided taking out the necessary sound; you must be careful of such things when using processors like this.
Finally, there was a stubborn click that I couldn’t get out with mouth De-click; I’ll come back to this with more advanced tools in a moment.
Using Spectral Repair on stubborn clicks that De-click won’t fix
Yes, you’ll come across clicks that for whatever reason are too powerful for De-click. They usually fall into two camps:
They can be disruptions too long in duration for De-click, or too loud to take out without leaving a trace. Maybe someone bonked their lapel mic, for example, and the resulting artifact isn’t your typical rustling noise, but a quick broadband click!
Conversely, clicks can be too subtle for the De-click algorithm, evading it entirely. Remember that stubborn click from the previous section? That would be an example of a click so subtle it evades the algorithm.
Here I find the most useful tools are in the RX Spectral Repair module. Once a problem sound has been identified, the Spectral Repair algorithms—available in the module or Instant Process Tool—are able to resynthesize the audio while taking into consideration tonal harmonics, nonlinear pitch changes like vibrato, background noise characteristics, and transient events.
Spectral Repair’s Attenuate and Replace tools, particularly Replace, are most useful here. The Replace tab can be used to replace badly damaged sections (such as gaps) in tonal audio. It completely replaces the selected content with audio interpolated from the surrounding data.
I’ll show you how to use Replace now in a video.
Steps for using Spectral Repair Replace:
- Open an audio file in the RX Audio Editor or send it using RX Connect.
- Select the area of damaged audio in the spectrogram.
- Open Spectral Repair module.
- Select Compare to listen to your selection before/after Spectral Repair processing. If Spectral Repair is adequately fixing the damaged audio, just click Render to repair the audio. If not, continue on with the following steps.
- Adjust the Bands parameter. Bands selects the number of frequency bands used for interpolation. A lower number of bands is ideal for processing short selections or transient signals.
- Adjust the Surrounding Region Length, which defines how much of the surrounding content will be used for interpolation.
- Adjust the before/after Weighting slider. This gives more weight to the surrounding audio before or after the selection.
- Select Multi-Resolution Mode for better frequency resolution for the interpolation of low-frequency content and better time resolution for the interpolation of high-frequency content.
- Select Render to commit the changes.
Spectral Repair is exceedingly powerful for uses like this. It can be very, very subtle. I often have a Spectral Repair pass at a project in the mastering stage if it comes to me with tons of artifacts that need to be painted out.
Start fixing clicks and pops
That’s about all you need to know to get started fixin’ clicks. I hope this tutorial both clicks with you and pops for you (forgive the puns). Definitely get your hands on iZotope RX, Music Production Suite, or RX Post Production Suite to get started.

