5 Tips for Mixing Pads
Mixing pads can be frustrating for many reasons. In this article, learn five key tips for how to mix pads and synths in order to get a full, supportive sound in your mix, including EQ, panning, and more.
Who doesn't love pad sounds? They can fill up the mix, glue elements together, and support vocals and strings in the mid and low ranges. But, for all this goodness, they can be a pain when it comes to mixing, and they often leave many producers scratching their heads, wondering how to mix pads properly.
Many VST companies design pads to sound extra wide, with lots of delay and reverb that can muddy a mix. Pads also tend to cover a broad frequency range that can overlap with a number of other elements, making them even more potentially problematic when it comes to mixing. In this article, we’ll look at five tips for mixing pads to overcome these common issues and more.
To follow along, try a free demo of


Neutron


Ozone Advanced


Music Production Suite 7
This article references a previous version of Neutron. Learn about 

Neutron 5
1. Assess the function
There are a number of scenarios where pads crop up in songs. In an ambient recording, it might be the lead (or only) instrument, complete with whooshing white noise oscillators, bleeps, and chirps that develop over time. In hip-hop and R&B, pads typically sit further back in the mix, supporting vocals, plucked instruments, and other melodic elements.
Pads can serve a musical function in electronic music, but they can just as easily be a non-musical element that provides atmosphere. In the latter case, listeners may not even notice the pad as an isolated instrument, but if it were muted, the mix would sound much less exciting.
All this to say, the approach you take to mixing pads largely depends on the role they take in the song. For example, you might want to roll off the highs on a low-key atmospheric pad tucked into a hip-hop track, but emphasize these same frequencies in a cinematic piece. These are generalizations, but you should get the idea. If you know the purpose you want them to fill, you’ll be able to start mixing pads better because you’ll be able to make more intentional mixing decisions.
2. Clean the mud
Like I mentioned, most pads are full frequency range instruments, from low to high. When listening to a pad in solo, this fullness will sound great. But in the context of the mix, you will often encounter clashes with instruments that share similar frequencies (particularly in the low end). This low end overlap makes it difficult for the drums and bass to cut through and provide the impact necessary to drive a track forward.
When it comes to mixing pads, you’ll likely need to clean some mud. The simple solution is to use a high pass filter to limit the low-frequency extension of a pad and remove much of the problematic low end. While there’s no one-size-fits-all guideline for how to set this filter’s cutoff when mixing pads, you’ll ideally want to stop short of thinning the pad, but still allow important low end elements to come through with clarity. Let’s hear this tip in action.
Below is an audio example I created with just one pad and one bass instrument. I created the pad riff using one of the stock presets in Native Instruments’ MASSIVE X synthesizer. The preset itself, called “Suspense Drone,” has a ton of warmth and body, but when layered with the bass (another killer Massive X preset called “Art Dual”), it ends up already muddying the mix — and there are only two instruments so far!
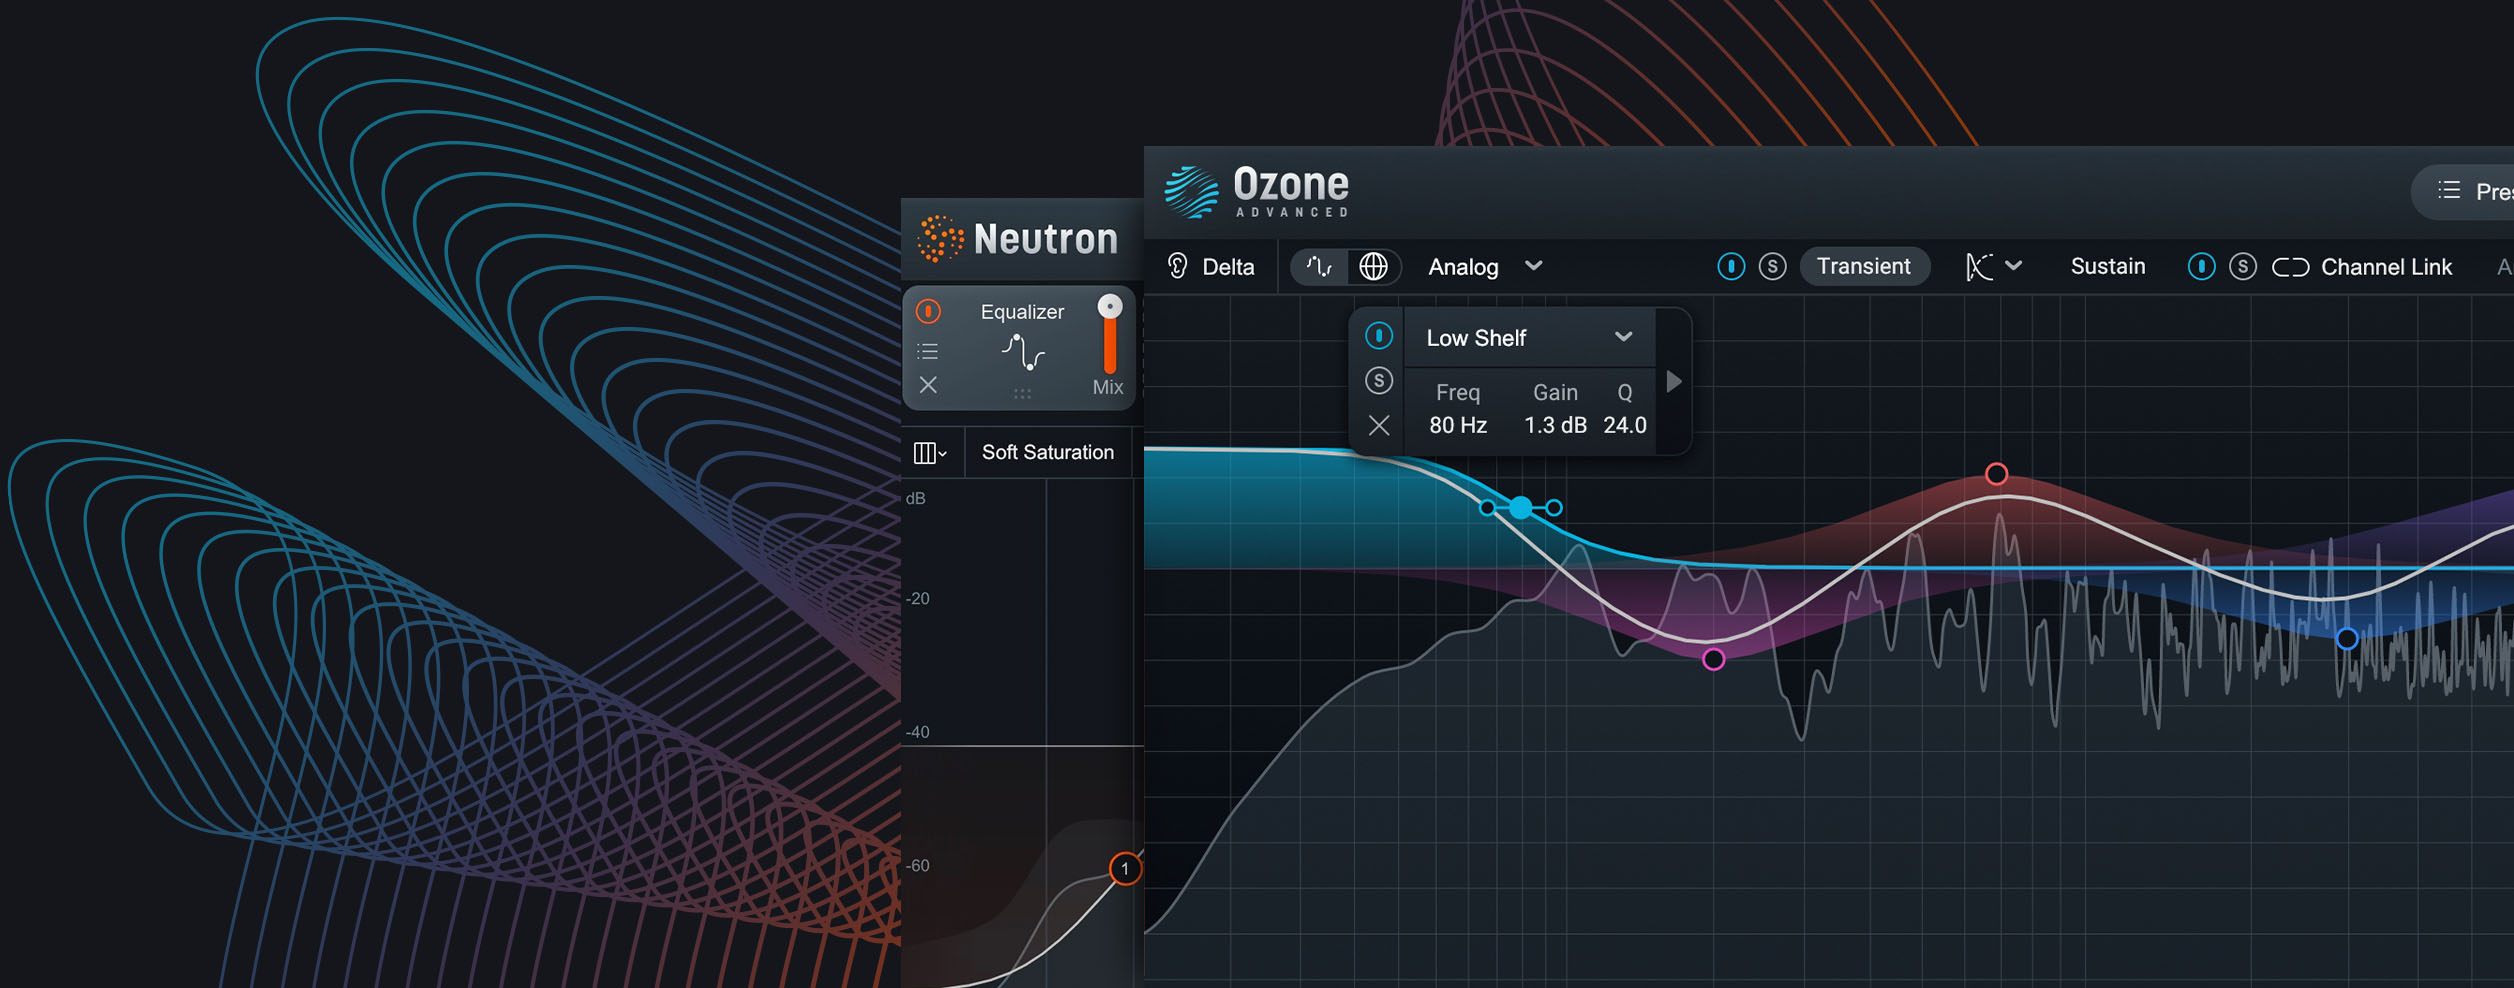
In order to bring more presence to both instruments, I used Neutron’s Equalizer module to set a high-pass filter with a cutoff at 430 Hz.

Use a high pass filter in Neutron to remove mud from pads
This simple EQ trick results in a much cleaner mix because both instruments get their own special place in the frequency spectrum to do their thing. Check out how it sounds after I added the high-pass filter in Neutron:
You can also use this same kind of thinking when it comes to the reverbs and delays you add to your pads. Reverb plugins like


Neoverb
3. Don’t forget the mids or highs
Mid-range instruments, like vocals, synths and guitars, and even those in a higher register, like cymbals or high strings, can also clash with your pads. Proper mix balancing is the first step to reduce these unpleasant clashes. To get a good starting point for mixing pads in with other instruments, I suggest you try Mix Assistant in Neutron. Mix Assistant will automatically adjust levels based on instrument group and focus elements chosen by you.

Mix Assistant in Neutron
To get band-specific control over frequency buildups that persist after Mix Assistant, try using a dynamic EQ paired with sidechain (also in Neutron). To do this, you’ll need one instance of Neutron on the pad and another on the instrument it’s clashing with to pull it off.
For example, let’s say the bottom of a snare isn’t hitting hard enough because the pad is getting in the way. A static EQ cut might work, but this move affects your pad regardless of whether or not the snare is in the mix, which isn’t always ideal. Instead, create a dynamic node corresponding to the body of the snare (300–500 Hz) and set to cut on the pad track with sidechain enabled. This way, whenever the snare is played, those problematic frequencies on the pad will drop in level, creating room at just the right time. Be sure to set an appropriate release time for this EQ node—too long of a release time can result in a “pumping” effect that may interrupt the ambient effect of your pad.
For vocal and pad collisions, I suggest using the Unmasking tool in


Nectar 3 Plus


Relay
4. Use pads to play with energy
Take advantage of filters and effects that play nicely with pads to shift the energy of your mix, and ultimately the song itself. I find EDM does this best. In many tunes, the intro will start with muted pads that slowly become brighter and build toward a high energy point, then drop out or get filtered pretty dark, allowing the kick, bass, and vocals to take the reigns. Listen to “Line of Sight” by ODESZA to get the idea.
Your song doesn’t need to be at full energy all the time, and pads are a great instrument to help cool things off and prepare listeners for something exciting to come. In a bridge, for example, try swapping out your gnarly synth or guitar for the same notes on a pad to create a more relaxed sound. Or, at least push those same instruments into the background and let the pad be the main focus. This will give listeners a break while introducing a new sound that keeps their ears interested. And, when you bring the full mix back, listeners will feel a big, exciting change of energy.
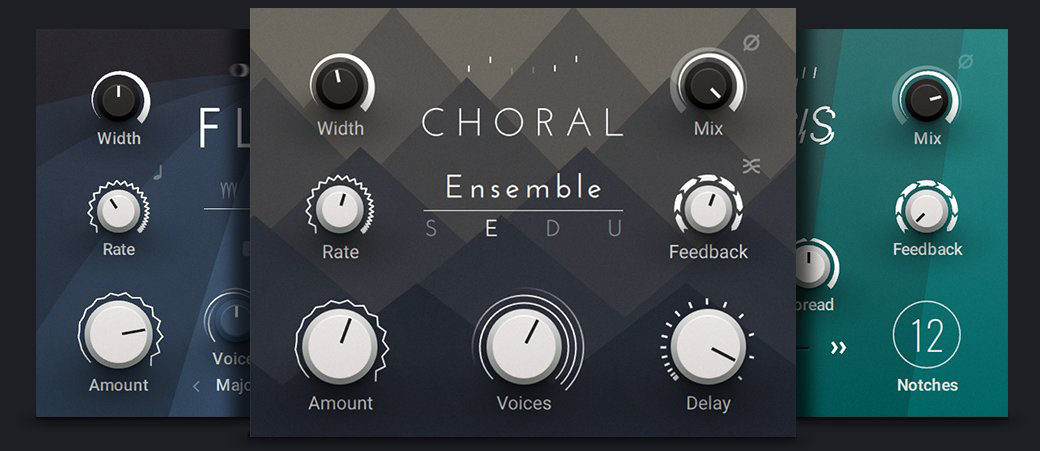
When it comes to mixing pads in order to play with the energy of a track, you might also want to add some subtle movement with modulation effects too. I’ve found that applying one or more of the effect plugins in Native Instruments’ MOD PACK can really enhance the movement of a pad (my personal favorite effect plugin in this pack for mixing pads is PHASIS). The bottom line here: pads have the ability to bring a lot of motion and momentum to any track—just as long as you’re mixing them purposefully.

Use effects from Native Instruments’ MOD PACK to add motion to pads
5. Use mono for clarity
Since pads can take up a lot of stereo space, folding them down to mono and panning them to one side can help to improve clarity in a busy mix. If your pad is overshadowing the vocal or keyboards, give this a shot. But, be advised that folding a stereo signal down to mono (also known as 0% width in a plug-in like


Ozone Advanced


Ozone Imager V2

Use the free Ozone Imager plugin to narrow your pads
While there’s nothing wrong with an asymmetrical mix, you might want to introduce something on the other side to balance things out. One idea to help you maintain balance is to add a reverb plug-in with a medium-sized pre-delay and then pan the reverb to the opposite side of the mix. In the end, narrowing the stereo image of a pad can really help it get out of the way of other instruments and lead to a much crisper, cleaner mix.
Start getting a full, supportive sound with pads
After reading the tips in this article on how to mix pads, you now have plenty of strategies for dealing with blurry synth pads that distract and confuse. The fix can be as simple as a level change or EQ cut, but more involved moves like folding to mono, then panning and adding effects might be just the ticket.
If you have


Music Production Suite 7


