The Magic of RX 7 Music Rebalance, Part 2: Sensitivity and Separation
In the second part of our Music Rebalance series, dive into the Sensitivity and Separation algorithm controls in the Music Rebalance module in RX.
In Part 1 of this series, we discussed the basics of Music Rebalance in


RX 11 Advanced
This article references a previous version of RX. Learn about 

RX 10 Advanced
Sensitivity sliders
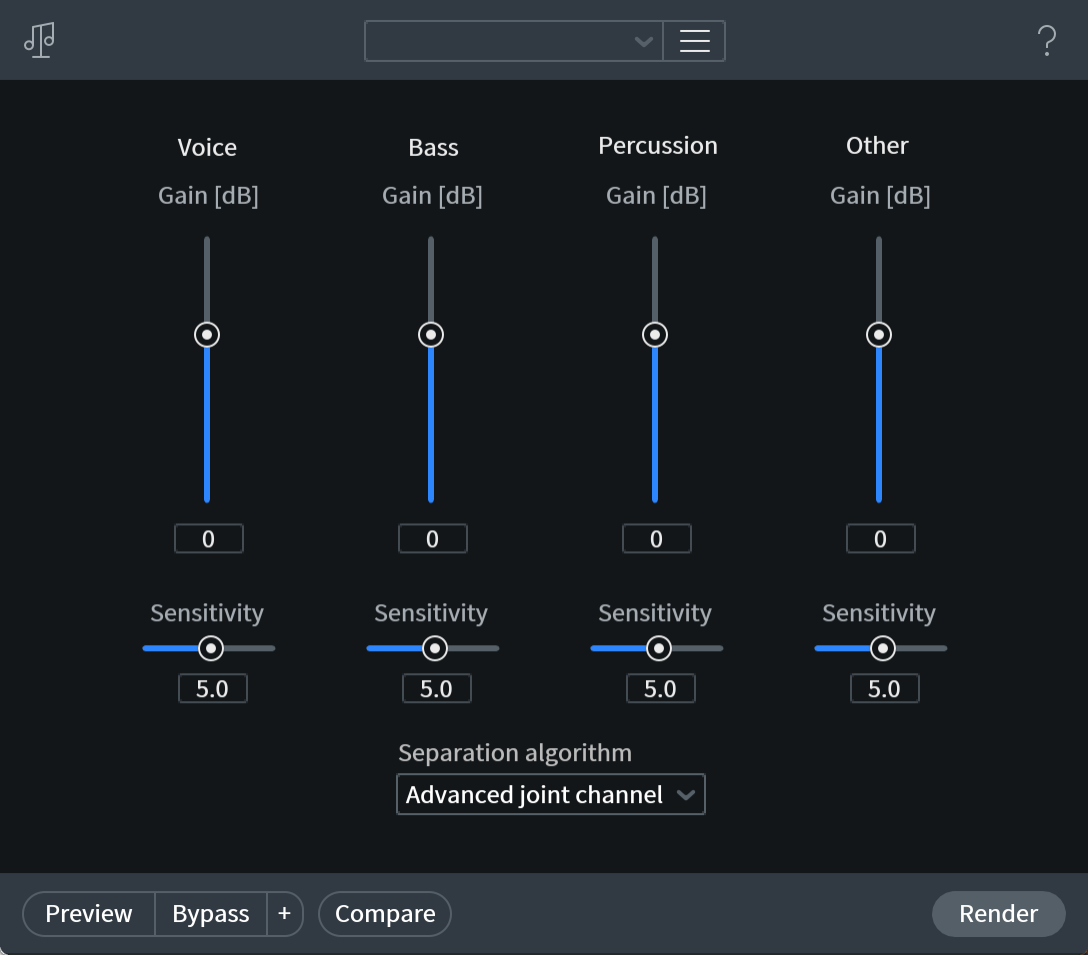
Each of the four types of mix elements in Music Rebalance has a Sensitivity slider. The module's machine learning tech is designed to separate different audio sources, and Sensitivity controls how picky Music Rebalance will be when identifying and separating audio information into the four groups.
Higher Sensitivity settings produce more exact, pronounced source separation. This will make Music Rebalance more selective in what goes into each group, but it may create unwanted audio artifacts.
On the other hand, lower Sensitivity settings produce smoother, more blended separation. This will reduce artifacts, but may result in some groups containing audio content from the other groups—e.g. percussion bleeding into the vocal group. These Sensitivity sliders have a range of 0.0–10.0, with 5.0 being the default value.

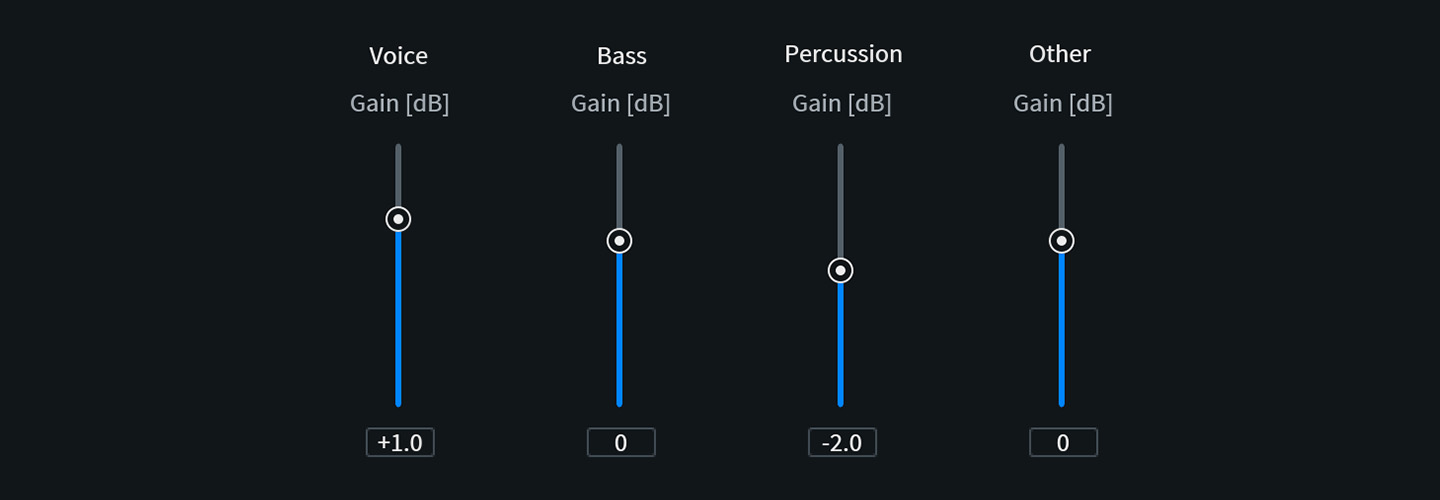
The Music Rebalance module in RX 7
This time, we’ll be working with the guitar solo break of “Guadalupe River” by Todd Barrow from Fort Worth, Texas.
We chose this solo because there’s no vocal to get in the way of us hearing the guitar, bass, and drums. If we boost the Percussion group by a way-over-the-top 6 dB—twice as loud as before—we can easily hear when the correct instruments are placed in the Percussion group.
Note: Since we’re boosting a group by 6 dB, we’ll have to adjust our listening levels for comfort. Boosting a group will most likely increase the RMS level, and potentially the peak level as well.
Check out the audio samples, first without any Music Rebalance:
Now listen to the solo with the Sensitivity slider on our Percussion group set to 0.0, and then to 10.0.
Note the difference in the sound of the rhythm guitar. It’s being strummed in a straight, percussive rhythm that follows the kick drum, which makes it a bit more difficult to separate from the percussion.
With Sensitivity at 0.0, the guitar is being accentuated with the drums. This is, of course, a result of boosting the Percussion group by 6 dB. But with Sensitivity at 10.0, Music Rebalance is more selective of what goes in the Percussion group, so the guitar is more muted and set back. Music Rebalance now has an easier time understanding that the guitar isn’t supposed to be a part of the percussion.
Here’s another example: the chorus of the song, where we treat the Voice by boosting it 3 dB. First, listen to the chorus without any Music Rebalance in play.
Now here it is again, first with Sensitivity of 0 and then with Sensitivity of 10:
Here, listen to how the voice sits in the mix. There’s more clarity and detail with the Sensitivity set to 10, particularly in the reverb treatment, as Music Rebalance is pickier about what counts as a vocal. Due to the artifacts though, some might find the result a bit unnatural-sounding.
Messing with Sensitivity takes a lot of patience, as differences between different settings can often be quite subtle. In the majority of conventional applications, the default value of 5.0 will do the job just fine, but it’s good to have that flexibility.
Separation algorithm
The dropdown menu at the bottom of the module lets you choose three types of separation algorithms: Channel Independent, Joint Channel, and Advanced Joint Channel. What’s the difference, and which should you choose? While your ears should always be your guide, you can make initial guesses based on how the mix was originally created.
Many genres, particularly those with a lot of stereo digital effects—most electronic genres, ambient/new age—feature a great deal of cross-channel mixing and ambience. In extreme cases, the stereo mix is more like a layer cake than a set of sources whose pan positions are easy to spot. When there’s that much stereo stuff going on, a Joint Channel analysis will produce the most accurate results, because the elements you’re trying to grab will be recognized across the soundstage. When ambiences are really complex, running Advanced Joint Channel analysis may bring more clarity, but this takes significantly longer to render.
In other genres, particularly “retro” styles like traditional country and folk, instruments are generally placed clearly in the stereo field, and their presence in the room is well-defined rather than smeared out. It’s fashionable in some circles to mix records in these genres “LCR," meaning that every sound source is panned all the way to the side or straight down the middle: Left, Center, or Right. In these cases, Channel Independent analysis will often get at the sources on the sides more accurately.
For this example, we’re working again on the chorus of “Guadalupe River," now boosting Other by 3 dB with Sensitivity set to 5.0. The examples use these settings, but with the three different channel analysis options:
What we’re listening for here is the sound of the rhythm guitar parts, which are independently tracked on the far left and right. Using Joint Channel analysis, the voice is brought forward a bit with the guitars, and they’re blended into a well-glued, center-heavy image—which, to be fair, may be the musical effect you want.
There’s more separation and less vocal emphasis in the Advanced Joint Channel analysis, but the overall impression of a centered guitar image remains.
Switching to Channel Independent analysis causes the individual guitar parts to leap out on the left and right. In fact, it’s quite jarring in places, an effect that can be softened by lowering the Sensitivity before doing the render.
Conclusion
As with everything else in audio engineering, practice makes perfect. Working with these parameters is key to understanding them. Start with tracks from your personal reference library, and then move to some of your mixes that you know very well. When you get into Sensitivity and Separation algorithms, you’re in the fine print of what Music Rebalance can do, and well-developed ears and instincts are necessary guides to getting the best results.
Next time, we set the subtle stuff aside and get weird, as we turn Music Rebalance into a tool of musical track destruction and reconstruction. See you then!


