The Magic of RX 7 Music Rebalance, Part 1: The Gain Sliders
Dive into the Music Rebalance tool in RX 7, the machine learning tech behind it, its basic functionality, and some of the cool things you can do with it.
You may have read about new machine learning features in


RX 11 Advanced
Yes, it can!
In this three-part series, we dive into the machine learning tech behind Music Rebalance in RX 7, its basic functionality, and some of the cool things you can do with it—from subtle and magical to over-the-top crazy. First, let’s learn the basics of how Music Rebalance works, and how to use it.
This article references a previous version of RX. Learn about


RX 10 Advanced
Machine learning: the science behind the magic
The secret to Music Rebalance is machine learning technology, which “learns” the elements of a track or mix and applies what it learns to various editing algorithms. iZotope first demonstrated machine learning tech in Neutron, a channel-strip-style suite of mixing tools. Mix Assistant in Neutron 3 listens to your mix and makes suggestions to bring out the elements you’re interested in. If you’ve read about or used Mix Assistant before, you’ll recognize certain elements of Music Rebalance right away.
This might sound like magic at first, but we run into machine learning algorithms like these all the time in our day-to-day lives—from virtual assistants that get better at understanding our voices over time (yay!) to bots that figure out which ads to plaster all over our web browsers (blech!). iZotope has pioneered the use of machine learning tech in music production applications.
Initially, users have been a little wary of software like this. There’s an element of “the machine shouldn’t be making my decisions for me” in their attitude, sometimes seasoned with a dash of “this suggestion didn’t work the way I wanted it, therefore the whole idea is no good.”
A quick caveat
It’s important to remember that, like every other module in RX, Music Rebalance is a weapon in your audio repair arsenal, not a magic cure-all. It can be used or misused, and the results can be wonderful, horrifying, or so horrifying they’re wonderful (we’ll get to that part later).
One other note before we begin: Music Rebalance is one of the few modules in RX that is so processor-intensive, it can’t do real-time previews at full audio quality. When you preview the effect, you’ll hear the audio at reduced quality, and for really intense processing, there will be stops and starts as the software grabs chunks of audio to analyze. Actual rendering time depends on the analysis type and which elements are being modified, as well as the length of the file being rebalanced. Nevertheless, the processing time will always be shorter than the length of your audio file.
The first three sliders: Voice, Bass, and Percussion
In this installment of our series, we’ll work with the first verse of “Guadalupe River” by Todd Barrow, a wonderful country/rock artist from Fort Worth, Texas. Todd was kind enough to grant us permission to work with this track.
Our first audio example is the verse, as released by Todd.
The mix is pretty straightforward, with nicely jangly guitars, a solid drum mix, tightly locked bass, and a welcoming and cheery lead vocal. So let’s mess with it, shall we?
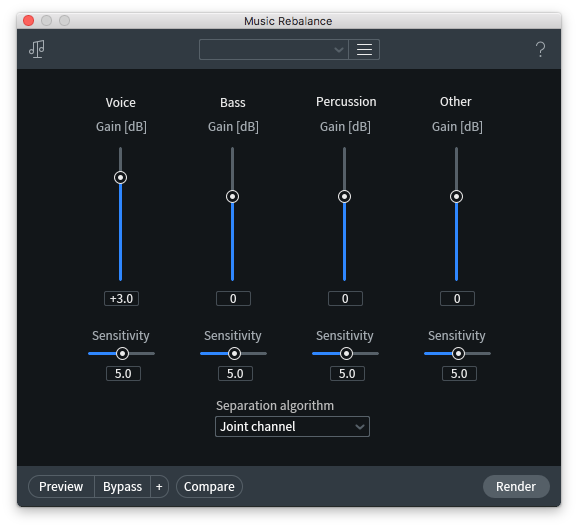
As you can see in the screenshot below, Music Rebalance has a simple interface.

The Music Rebalance module in RX 7
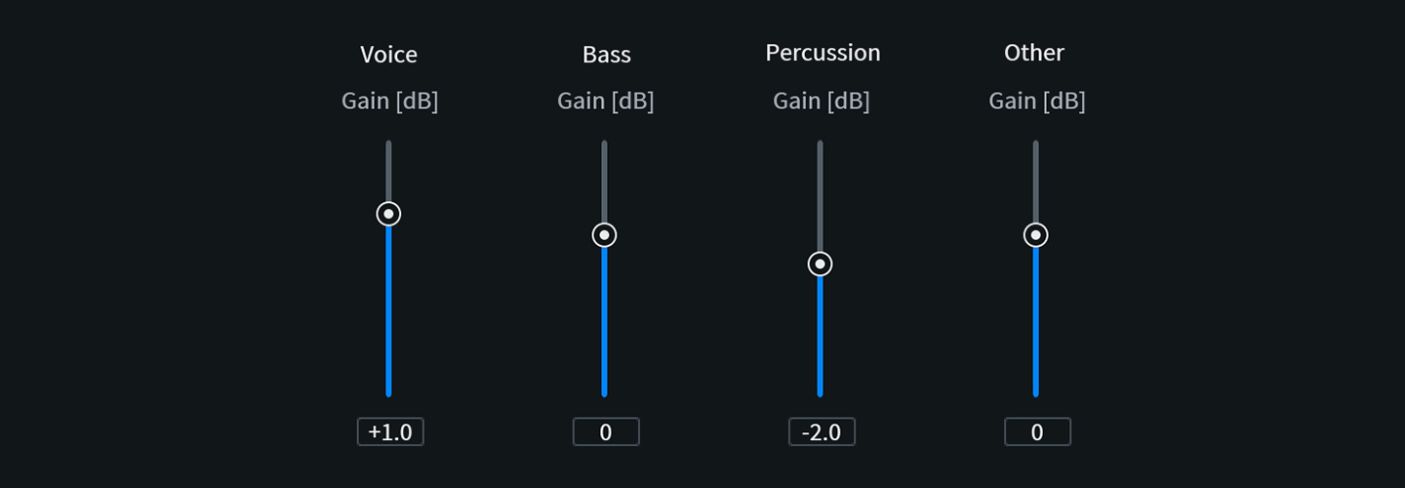
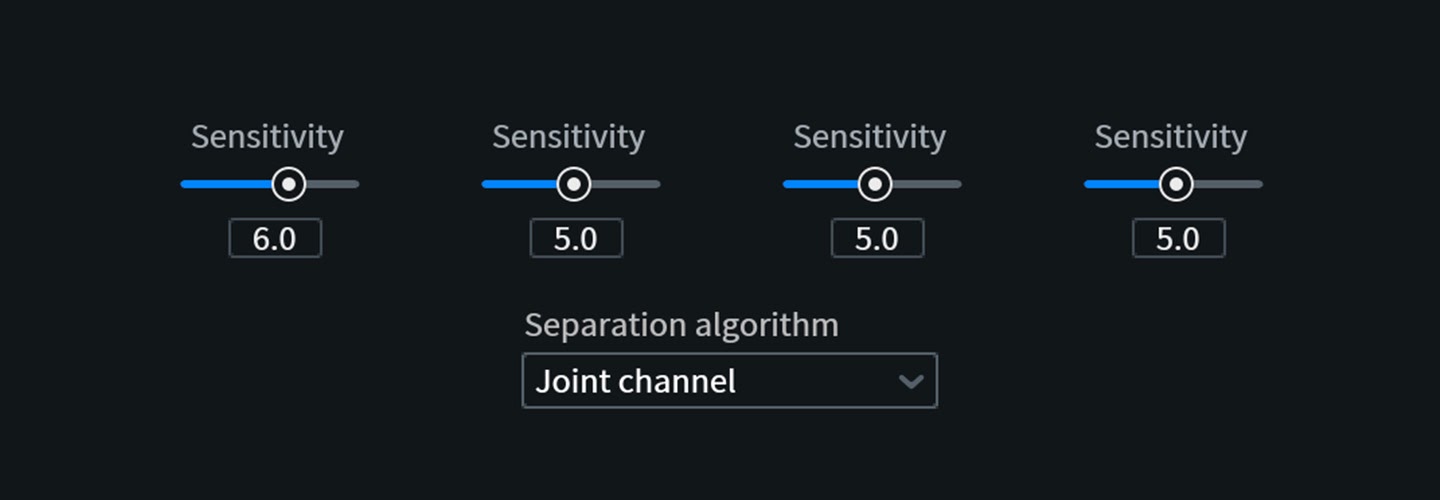
The vertical sliders control the relative gain of four types of elements of the mix: Voice, Bass, Percussion, and Other. Each slider has a Sensitivity setting, and under the “Separation algorithm” menu, you can choose to have Music Rebalance look at both channels at once (Joint Channel) or analyze each channel separately (Channel Independent). There’s also a more detailed—but also more processor-intensive—Advanced Joint Channel algorithm.
We’ll get into the analysis algorithms and Sensitivity sliders in Part 2. For now, let’s focus on the main sliders that control relative gain.
In the following audio examples, we’re moving each of the first three sliders 3 dB, first up and then down.
If you listen carefully, you might hear a bit of artifacting here and there, but for the most part, it just sounds like these elements were mixed that way! The fundamental power of Music Rebalance is that you can do this with a summed stereo file and still get transparent results.
However, if you boost any part of the signal, especially by this much, be sure to adjust your input level so your output doesn't clip.
As you use Music Rebalance, you’ll learn that the original track strongly influences how much the module can do while still sounding musical, rather than artificial. This mix has a clean separation of elements across the frequency spectrum and doesn’t slather on potentially disruptive effects like reverb. This helps Music Rebalance isolate the various mix elements more easily and give more transparent results.
In my tests, I found that I could boost or cut these first three types of elements by up to 3 dB each before getting into real trouble, and that my sweet spot for really musical results was about 1.5 to 2 dB. Interestingly, cutting an element created more artifacts than boosting the element in this particular mix. It’s very important to set Music Rebalance so you just begin to hear the effect, and then back off by 0.5 to 1 dB. After you render the result, you’ll be glad you didn’t push it too hard!
That fourth slider: Other
The Other slider is a tricky one, because until you try it, you’ll never precisely know what you’ll get. In simple terms, Music Rebalance treats Other as “everything I didn’t identify as voice, bass, or percussion.” In practical use, messing with this slider can produce some pretty weird effects, especially if you push it too hard—and you can’t push it nearly as hard as the other three in most cases.
Check out these audio examples:
In these examples, the end result sounds like we’ve just pulled back on most of the mix elements, allowing the guitars to come forward. That’s because this mix is as simple and uncluttered as it is. Feeding more complex mixes into Music Rebalance will often give you results that are a lot less predictable.
One important thing to realize about these sliders is that they work in relation to one another. While it’s always tempting to make “everything louder than everything else,” pushing all the faders up will only make the entire mix louder... and introduce artifacts from the module in the process. Aside from the contexts of vocal isolation or removal, Music Rebalance is best used with subtle boosts or cuts to one element, or with a gentle push/pull between elements that are fighting each other.
Conclusion
Music Rebalance isn’t magic. It’s simply a matter of playing with it to realize how its basic functions work, and to start to develop skill with them. I recommend that you choose a song you know really well from your personal reference library and play with it to get a feel for the module. Then use it on one of your own stereo mixes .
Next time, we’ll delve into Sensitivity and Joint vs Independent Channel Analysis. See you then!


