Introducing Inter-plugin Communication in VocalSynth 2
Learn about the interplug-in communication in VocalSynth 2, and how to use it with Neutron’s Visual Mixer, Masking Meter, and Tonal Balance Control.
At iZotope, we’ve always tried to push the boundaries of what a plug-in can do. One of the limitations of traditional plug-ins is that they are inserted on a single track in isolation, so they can’t understand the context of that track in your larger mix. This doesn’t really match the way that musicians and engineers think about a mix—they have to keep the big picture view of the mix in mind, even when making decisions on individual tracks.
With inter-plugin communication, we’ve created a technology that allows iZotope plug-ins to talk with each other across the different tracks in a mix, giving you a greater understanding of your mix as a whole.
Since the release of Ozone 5 in 2011, we’ve been providing features that build on this inter-plugin communication technology. Last year, we introduced Neutron 2 and Ozone 8, which added many new inter-plugin communication features. VocalSynth 2 is our next step in this journey, using inter-plugin communication with Neutron 2 and Tonal Balance Control to open up creative possibilities that affect your whole mix, rather than just one track.
Using VocalSynth 2 with Neutron’s Visual Mixer
When we developed VocalSynth 1 in early 2016, we tried to create a vast set of tools that would let sound designers sculpt any sound they could imagine. The whole development team created a six-hour playlist containing songs with vocal treatments and effects that we loved. We used this playlist as a source of inspiration for what effects we chose to put in the product.
One of the many ideas sparked by that playlist that ended up on the cutting room floor was a feature that would allow users to craft a complex robotic-sounding chorus from a single vocal recording by positioning the different vocal modules included in the product in a virtual space.
Now, that’s possible. Using VocalSynth 2 with Neutron 2’s Visual Mixer lets you design your robot choir in a more fun and hands-on way than we imagined was possible during the VocalSynth 1 development process.
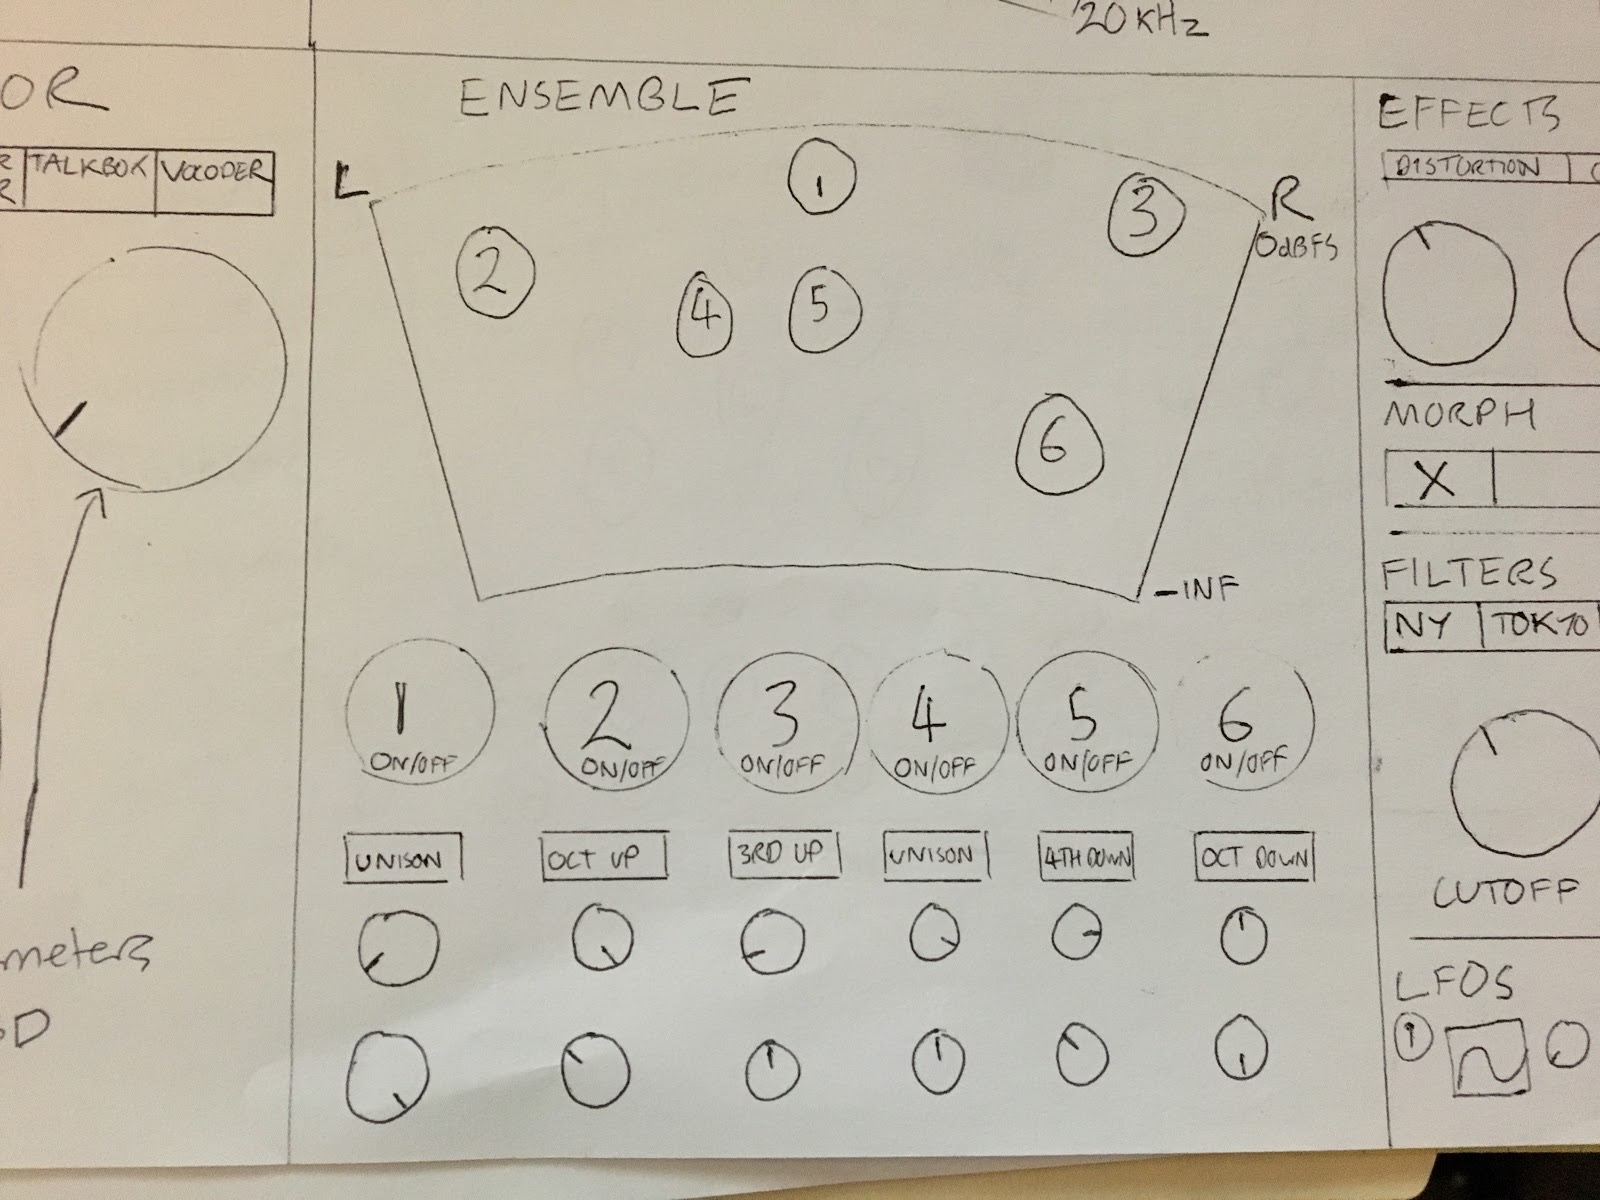
Sketch from VocalSynth 1 development process
How to set it up:
- Create a few aux tracks and route your vocal take into them
- Put a copy of VocalSynth 2 on each aux track
- Create a unique sound in VocalSynth 2 and title it something you'll remember
- Insert the Visual Mixer on any track, and open it
All of the copies of VocalSynth 2 will show up in the Visual Mixer in pink, and you can begin conducting your new robot chorus!
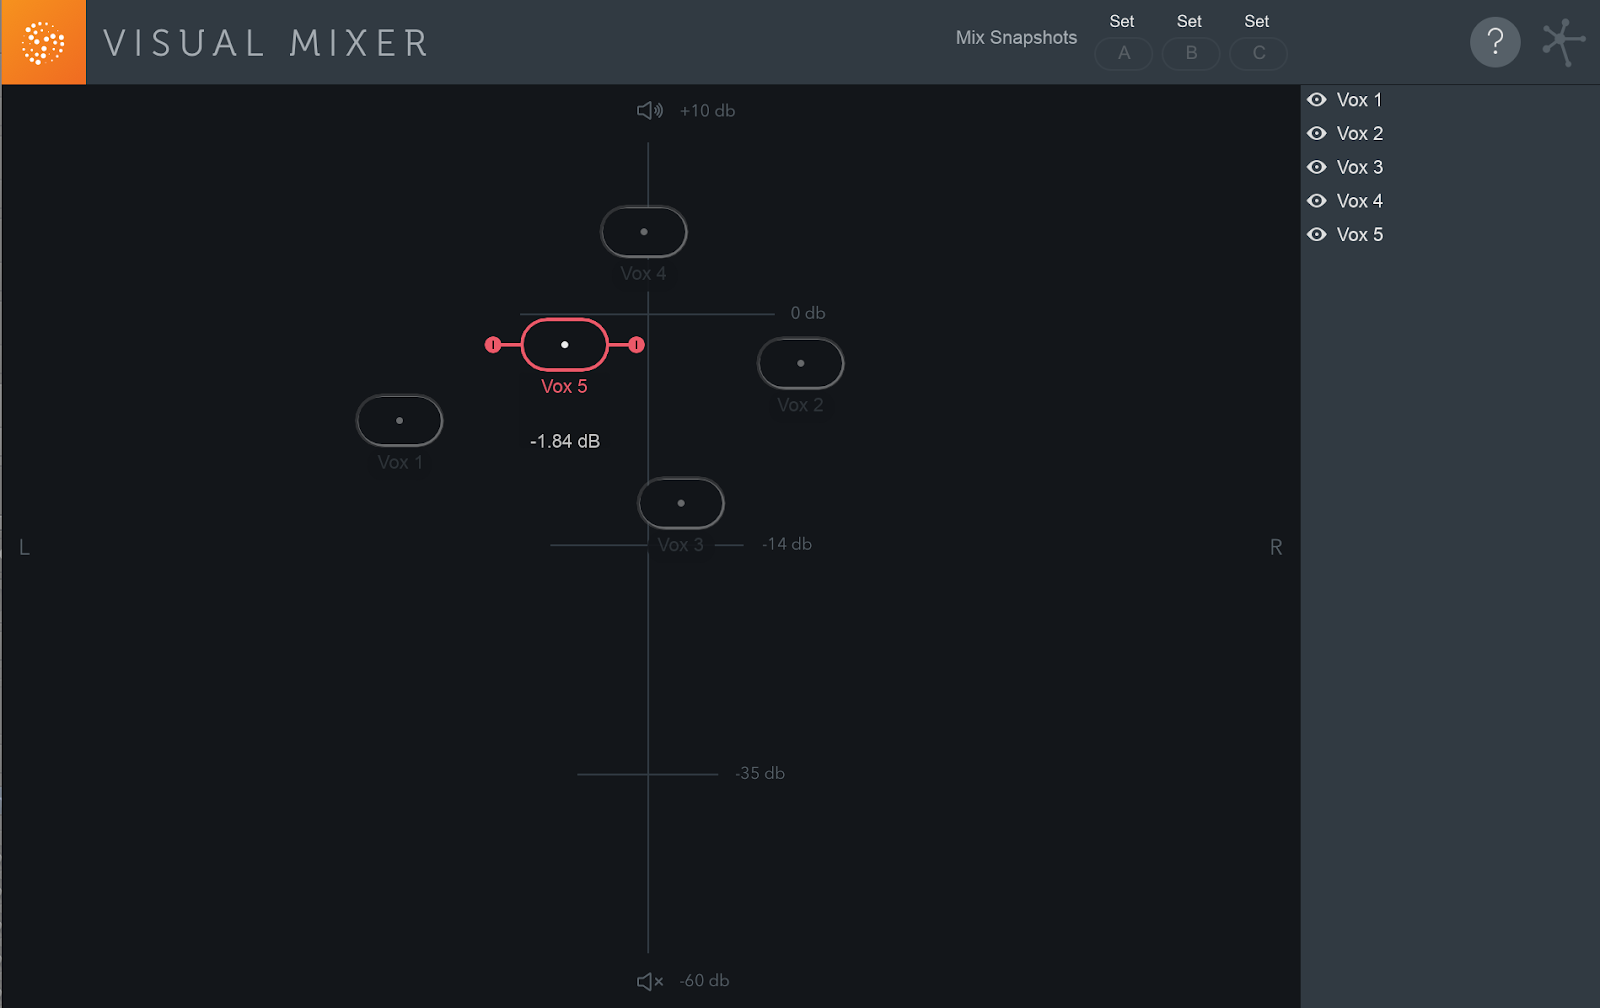
VocalSynth 2 in Neutron 2’s Visual Mixer
Create traditional harmonies
While sound designers can use visual mixer to create a spacey robo-chorus soundscape, it’s also easy for vocalists to use the visual mixer to dial in more traditional vocal harmony mixes. To do this, you'll use the same technique, but instead of pulling up an out-there sound on each VocalSynth, turn off all the modules except Polyvox or Biovox and set the voicing of each copy to a different interval. This will create a relatively natural vocal that will follow the lead vocal at a set interval.
If you want a harmony arrangement that varies over time, you can put VocalSynth into MIDI Mode and play in a harmony part using a keyboard. Now you can use the Visual Mixer to quickly design your vocal landscape. By putting Neutron or Mix Tap on recorded harmony tracks, you can mix your whole vocal arrangement from a single screen.
Learn more about the Visual Mixer in Neutron 2.
How to use VocalSynth 2 with Neutron’s Masking Meter
One common use for VocalSynth 2 is to transform a vocal take into a synth pad that sits as a bed under the lead vocal. When mixed low, this can be a way to add a subtle synthetic texture to your vocal while reinforcing the harmony. Mixed louder, it can fill out the mix while retaining some of the human qualities from the vocal.
When creating these synth pads, you often want to make sure that the bed is not negatively affecting the intelligibility or clarity of the lead, or adding muddyness to the mix.
How to set it up:
- Put Neutron 2 on the lead track and open the Masking Meter
- Make sure you have VocalSynth 2 on a track
- Select the VocalSynth 2 plug-in from the drop-down
- Look at the collision meter, and see if there is any masking caused by VocalSynth
If you see something you don't like, there are a few ways to carve out space for the lead vocals from within VocalSynth 2—you can use the new high and low pass filters on each module or cut certain bands within the Vocoder. We've also added pan for each module, which can affect perceived masking (although it's not captured on Masking Meter).
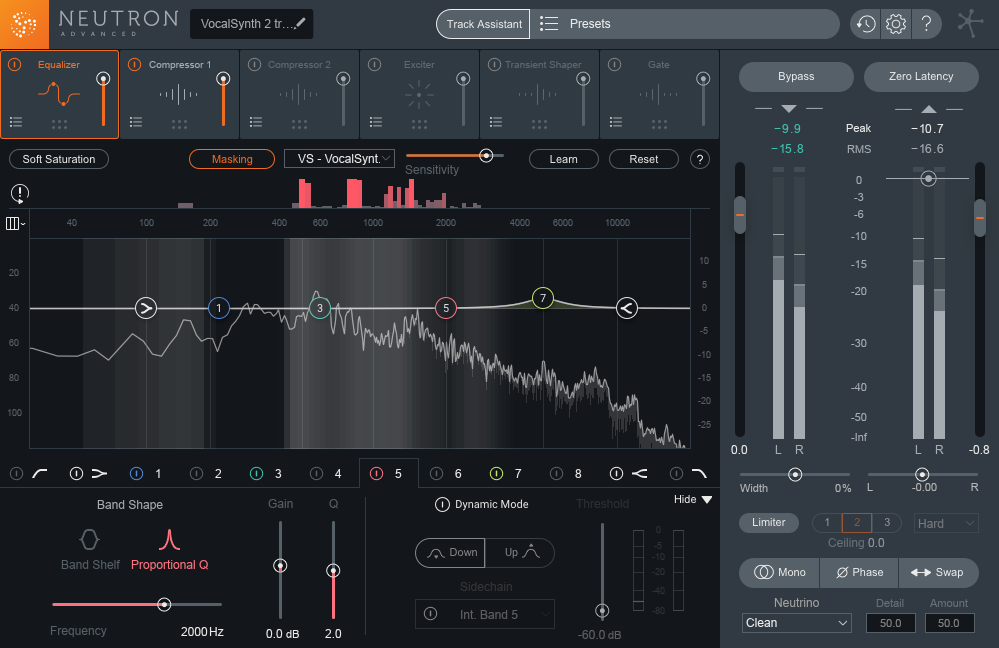
VocalSynth 2 on Neutron 2’s Masking Meter
How to use VocalSynth 2 with Tonal Balance Control
When mixing a track, it’s easy to get carried away with layering vocal effects, and sometimes to the point where it could impact the overall tonal balance of your mix. Using Tonal Balance Control, you can see a zoomed-out view of the spectral shape of the mix, and see if your mix has a different shape than your target.
If the tonal balance of the track isn’t where you want it, you can then dive into the spectral balance of each VocalSynth 2 instance without leaving Tonal Balance Control. By looking at the spectral shape of each copy of VocalSynth 2, you can quickly identify if a specific instance is causing a balance issue in your overall mix.
If an instance of VocalSynth 2 seems to be contributing to an issue at the mix level, you can go to that instance's UI and try to tame the issue by using the Filter effect.
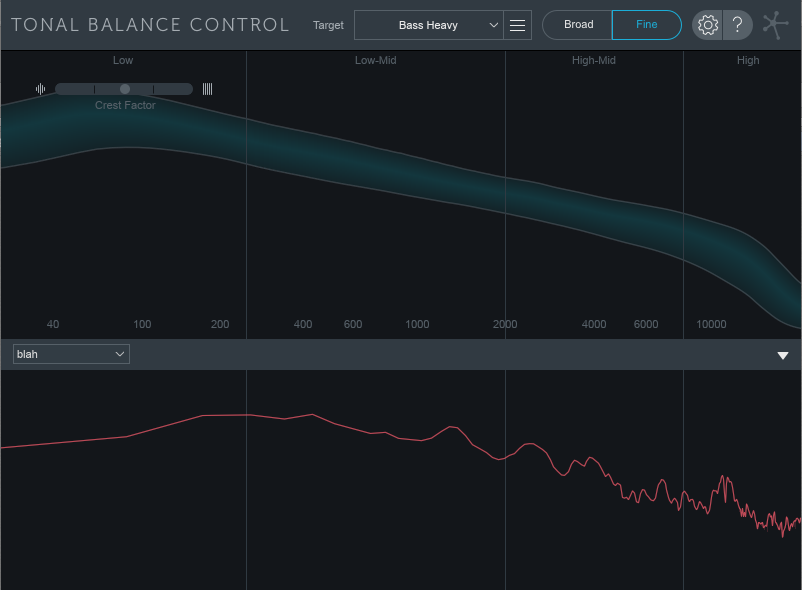
VocalSynth 2 and Tonal Balance Control

