6 Tips for Using Ozone's Utilities in Mixing and Mastering
In this article, you’ll learn how to use Ozone’s lesser-known tools: utilities. We’ll cover gain matching, the reference section, the codec preview, the bit-meter, and more.
Many people love Ozone for its assistive audio technology, its compressors, its intelligent limiting, and other tonal-shaping aspects.
But what about its utilities? What about everything you see in the I/O panel? To me, the organization of these utility tools laid out in Ozone 9 is where the magic happens—without these tools, I’m riding blind.
In this article, we’re going to cover seven tips for using the utility offerings in Ozone 9. Don’t sleep on these tips—you’ll find them very helpful.
1. Switch the I/O meter to LUFs and use that
If you look at the I/O panel, you’ll see your usual bar graph metering screen showing you peak and RMS readouts, with consistent RMS values and most recent peaks displayed.
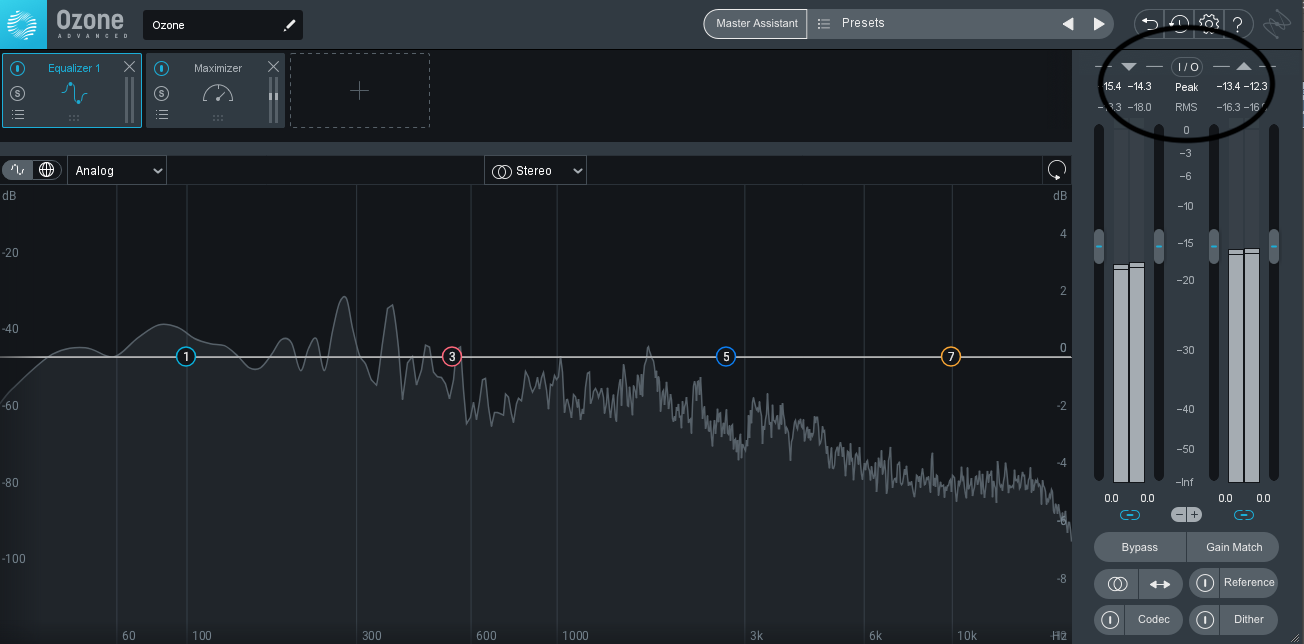
I/O meter highlighted in Ozone 9
This is a wonderful, handy little meter, especially if you’re only working with Ozone on your master bus, as you can view almost anything you need (including level metering) from within the plug-in. But you can make it even more useful for your purposes by clicking on the RMS icon and switching the meter into short term LUFS.
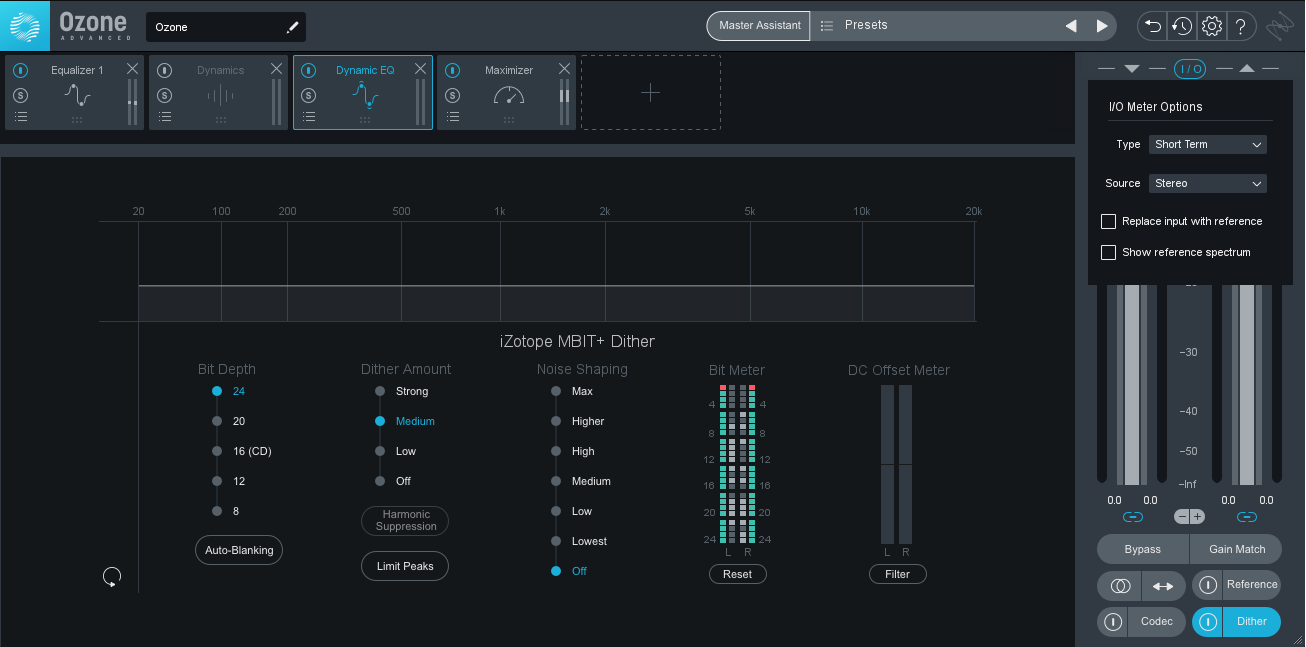
Ozone 9 I/O options screen
Do this, and your meter will operate to the spec most useful at the end of the mix—LUFS, short term. Peak will still display your peak values, but the RMS meter will give you a good feel for how loud any given section of your mix is, using the scale that most people now choose for exactly these measurements.
You want to use LUFS short term because it takes into account the appropriate window of time to judge the loudness of a chorus or a verse. Integrated is too long, and momentary is too short. Short term is Goldilocks.
2. Use Bypass with Gain Match for level-matched comparisons
Ozone 9 offers an inline, global bypass button that won’t add clicks or pops when disengaging all the modules at once. This is useful because you can seamlessly flick between processed and unprocessed sound, judging whether your changes are helpful.
But you can’t judge accurately if your processing has caused a jump in level overall. This is something that will most certainly happen if you’re boosting EQ or adding gain anywhere in the chain. So, hit the Gain Match button and Ozone 9 will automatically level-match the unprocessed and processed material.
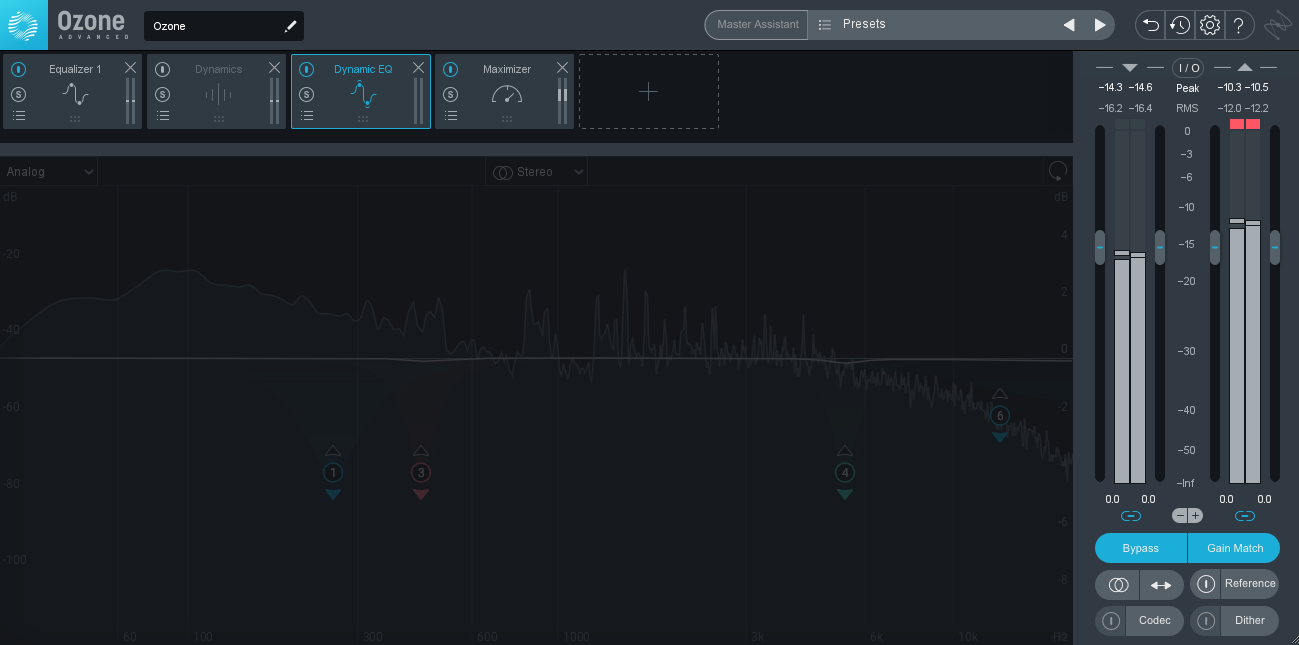
Gain Match and Bypass in Ozone 9
It’ll give you two ways of doing this, and these are determined by this checkbox in the option screen:
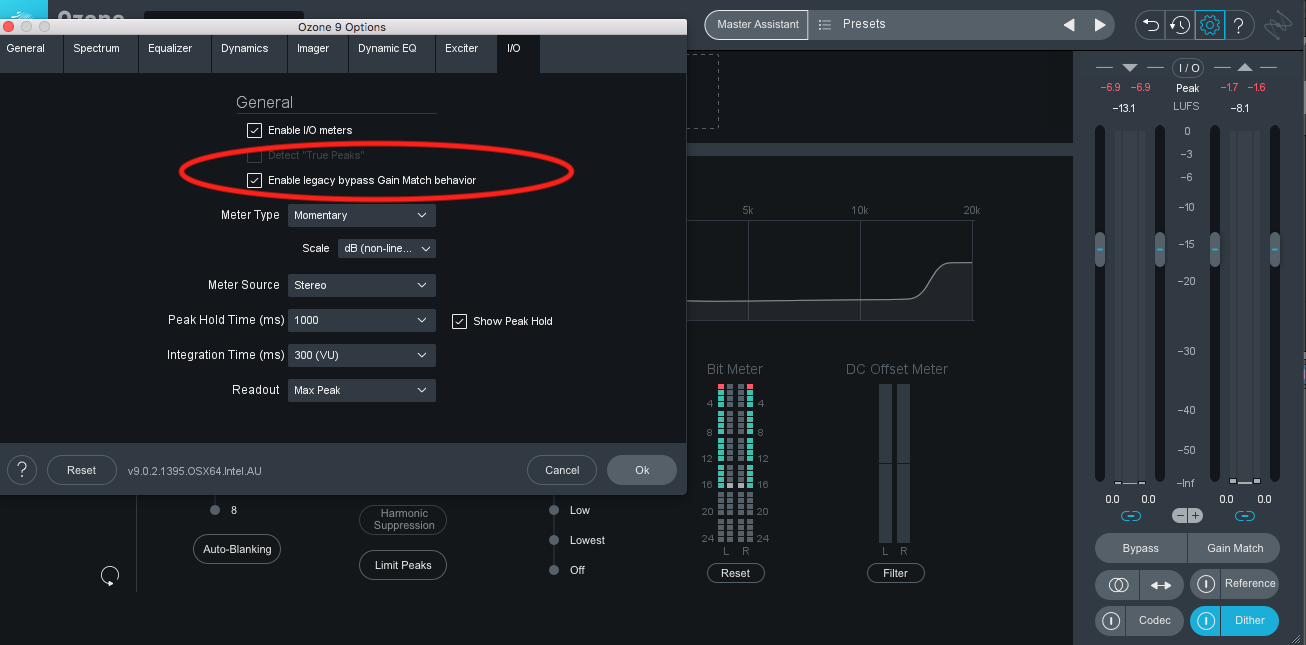
Ozone 9 I/O options screen
Leave this checked, and Ozone 9 will raise the level of your unprocessed mix when the processing is bypassed. This could result in distortion, as the tune might blow past 0 dBFS without a limiter.
Leave this unchecked, and Ozone 9 will always lower the level of your processed mix to Gain Match the unprocessed mix. Now, you’ll never hear that horrid distortion, but you also won’t hear that lovely bump in level. One other thing: you’d have to turn Gain Match off before exporting any file through Ozone 9! This is very important! Otherwise, you’ll be exporting at the lower level.
Here’s what I recommend:
Choose option number two. Leave the box unchecked, and work with Ozone 9 to get your mix the way you like it. When you do, hit that Gain Match button and make up the difference in your monitor controller. The output fader will turn from soft gray to blue, and will appear lower in level:
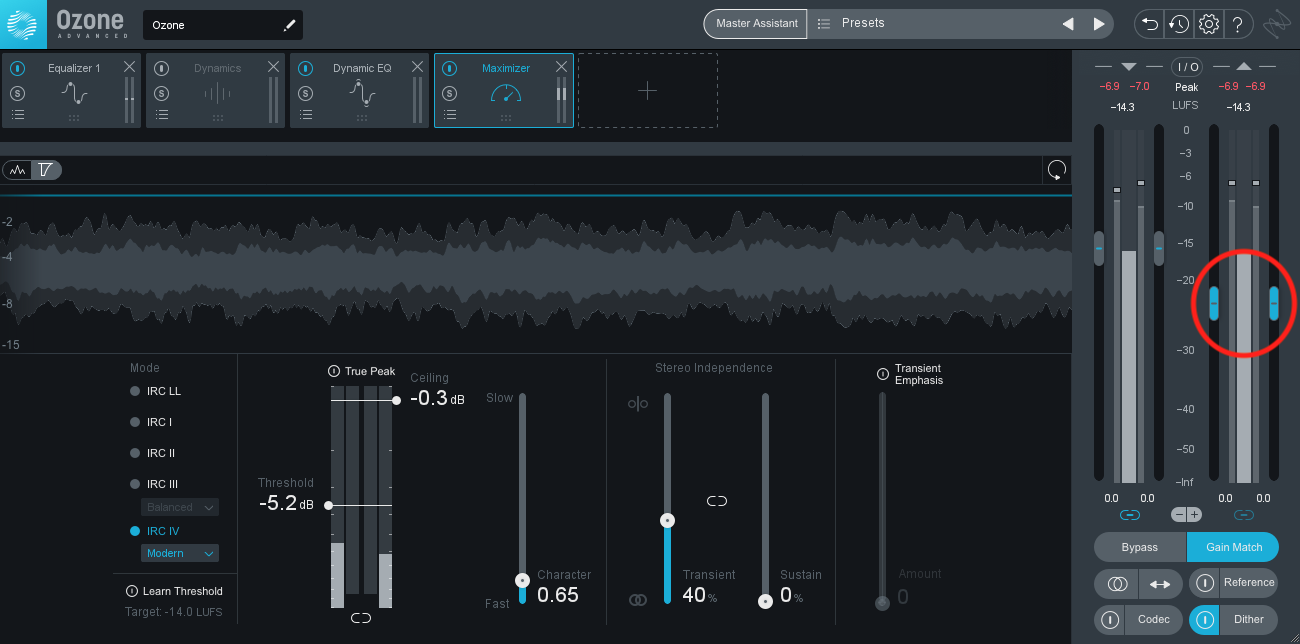
Gain Match on in Ozone 9
This is how you know your output fader has been attenuated.
Make up the difference on your monitor controller, and now you can make an A/B comparison freely. When you’re done with the track, hit the Match button again, and export.
3. Flip the stereo orientation with the Swap button to check the center
The Utility panel features a very handy Swap button, which accomplishes one thing and one thing alone: it flips the left and right channels of your mix, so that anything you hear on the left now appears on the right, and vice versa.
Why is this such a handy utility? If you’re mastering and you want to make perfectly sure the vocals are lined up the center, this is a great button to reach for. You press it, and the whole weight of the mix should change—except for that vocal. It should seem untouched, because it only occupies the center. If you perceive a change, you know you have work to do in nudging to the center—that is, if nudging the vocal to the center is the appropriate move.
In the mixing world, the same principle applies to any stereo instrument whose center image you wish to lock in. Perhaps it’s a drumset whose snare and kick need to sit right up the middle. Solo the drums and hit the swap button—if the kick and snare stay in the middle, you’re good to go. If not, you have more work to do.
4. Check mono compatibility with the mono button
Next to the gain match function, you’ll find the mono button, and you should use it often. Never sleep on checking your mixes in mono—even if you think mono is absolutely dead. It’s not: many phone speakers still sum to mono, and many people love portable playback systems whose stereo image will shrink to mono the further they walk away from it; such a system in such a situation might never be perfect “mono”, but it will exhibit the weird phase cancellations that reveal themselves instantly in mono.
This isn’t just in music—I was mixing and mastering a podcast trailer the other day, and I got a piece of robotic audio: a vocoded voice saying “resistance is futile” in two octaves, as though the person speaking were a member of the Borg. Something told me the phase response was off; I pressed the mono button, and sure enough, the bottom octave disappeared. It had been phase-flipped in the right channel for apparent stereo width. I remixed the sound and got it to sit better in the mix, doing so in such a way that it would play nicely with monophonic and stereophonic playback systems.
I wouldn’t have been able to do that if I hadn’t pressed the mono button.
5. Load references straight into Ozone for better mixes
We’ve written a bevy of articles regarding referencing, so I need not retread why referencing during the mixing or mastering process is an advisable idea. Instead, allow me to spend some time dwelling on the features of Ozone 9’s reference panel.
Press this button...
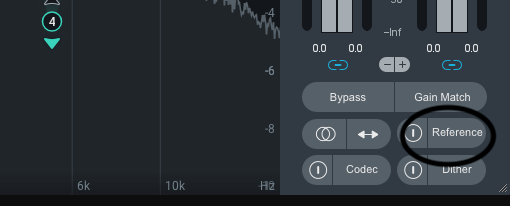
Ozone 9 Reference button
...and you’ll see this window:
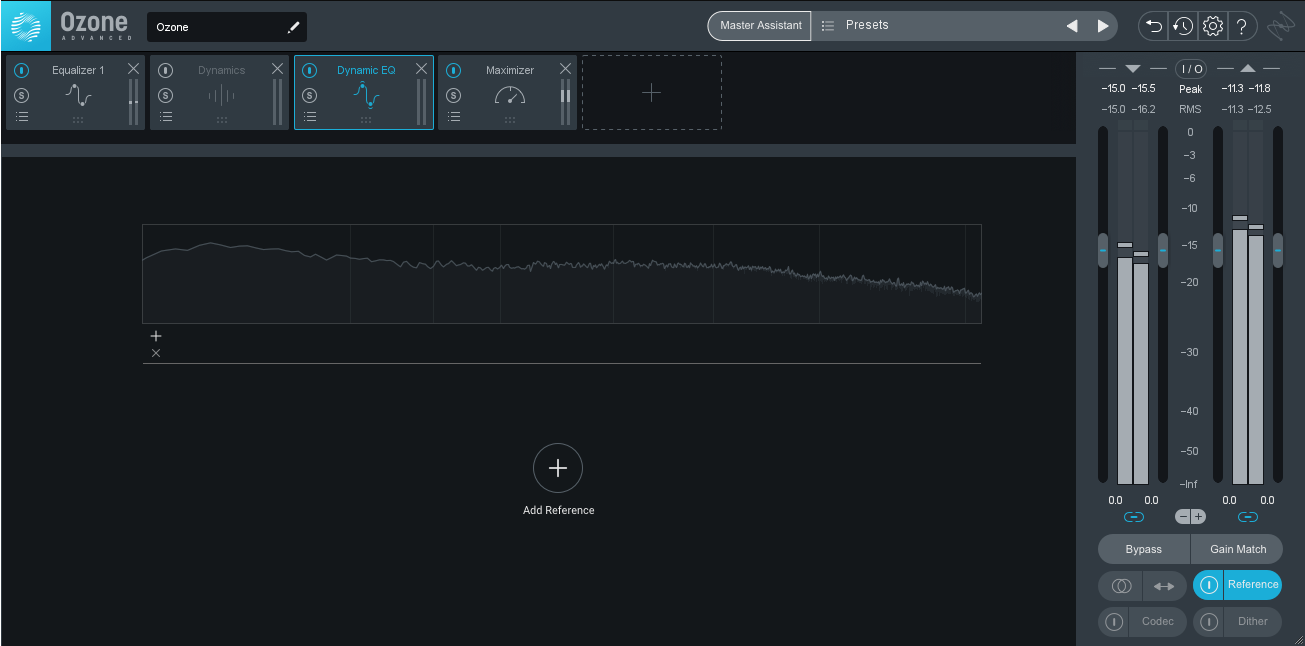
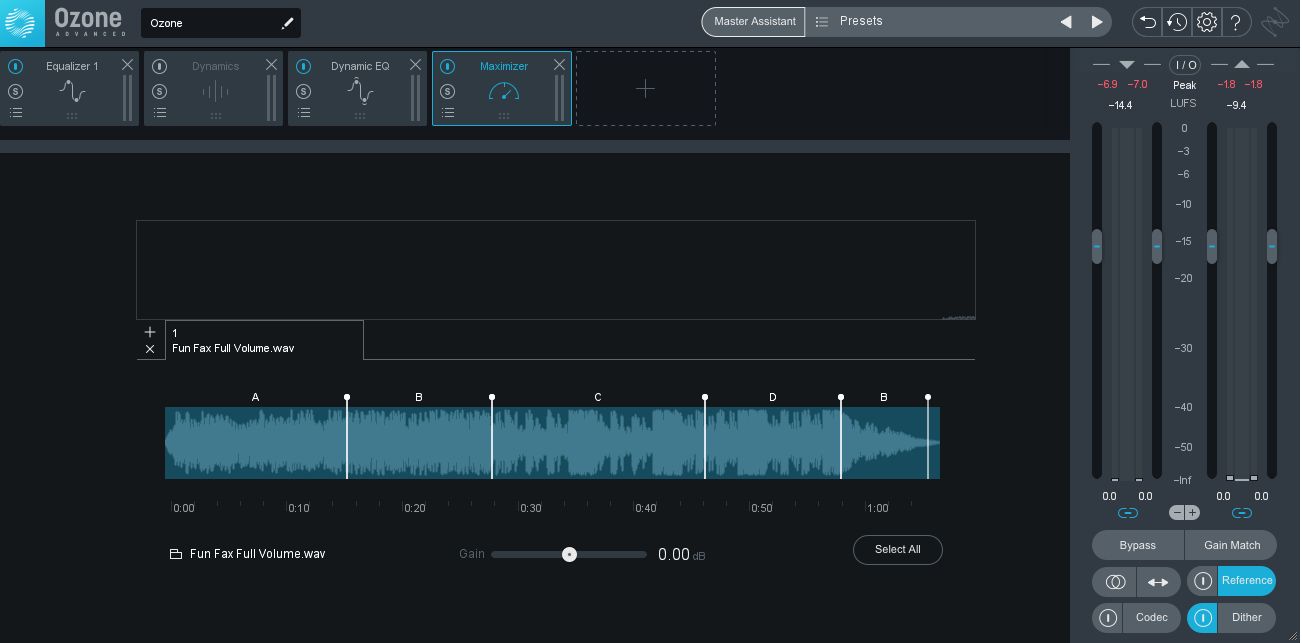
Ozone 9 Reference window
Here you can load up to 10 tracks to compare with your mix or master. Not only that, Ozone 9 will automatically scan the tracks to see where the different sections are, and then automatically set up locators so you can jump right to specific sections. Match choruses to your chorus quickly thanks to this feature.
Note the gain slider: you can use this in concert with the output meter to level-match the reference with your mix. Simply move the gain slider up or down until the reference outputs the same LUFS value in the meter as your mix; now you can make careful comparisons.
6. Preview Codecs to make better decisions
Streaming is a fact of life—and inferior streaming, over which you have no control, is an even deeper fact of this life we’ve chosen. By previewing different codecs, you can hear exactly how the online world is going to decimate your mix.
This allows you to anticipate any problems your stereo bus decisions might impart on your mix once it hits a lossy codec. You can audition the mix through the worst possible encoder and ask yourself, “Can I live with this?” If not, you can try some quick things to make the mix more palatable for bad codecs, such as softening or narrowing the high-end a bit, or, my personal favorite, lowering the entire mix by a decibel.
If you find that you don’t hear the differences between your mix and the lossy version at first, press the Solo Artifact button. This will solo all the material that the codec will throw out when it’s applied to your mix. After you listen to the solo’d artifacts, you will begin to notice the difference in sound between lossy audio and your full mix.
To give you an idea of what artifacts will sound like in solo, here’s an example of a master I did recently, followed by its solo’d artifacts, and followed again by the MP3 version. Note that our host will have converted this audio into a streaming format already, so the last file will be doubly lossy. This should make the difference exceedingly plain.
It may take more time than you want to spend auditioning all the different codecs, so I advise you to audition your mix through two of them: the best possible AAC option—for that approximates what Apple will do—and one of the lesser-quality MP3 codecs, which will approximate the most horrendous sound you could ever expect to be responsible for. These are 320 kbps AAC and 128 kbps MP3 respectively. Yes, 96 kbps exists, but I don’t think you can be held to account for that low bit rate.
Pro tips from iZotope Education Director and professional mastering engineer Jonathan Wyner:
- Listen to the bass as you adjust the output margin of the final stage limiter. 1/2 dB up and down can make a large difference in the low end hanging together.
- Observe peak levels to find out how much distortion WILL occur when the lossy file is served to the listener. You won't want to completely eliminate it but you can minimize it by watching the other levels while in preview mode and adjusting the same ceiling/margin.
Conclusion
We all love the tools that make sound. Less heralded are the ones that don’t, but allow us to make the best possible sounds. That’s why I’ve spent time highlighting these decidedly less flashy options. They may not be as sexy, but they allow us to present our best foot forward while working. Ignore them at your peril.

