Home studio setup: step-by-step guide
This guide covers everything you need to know when building a home recording studio setup from acoustic treatment to microphones and gear, software, computers, and more.
Putting together a home recording studio can be an overwhelming task. The most common questions I get from people are about microphones and software but there is so much more to consider. In this guide, discover seven steps that can be tailored to fit your particular needs, space, and budget.
Recording at home? Use iZotope RX 11 to clean up background noise and polish your recordings.
Step-by-step guide to a home studio setup
In this guide, I'm going to avoid saying that you should get specific models of pieces of gear or microphones because everyone has a different budget and types of projects they are working on. Instead, we'll be focusing more on the different technical specs so you can get equipment that makes the most sense for your situation. We'll start by identifying needs and budget, then work through different types of gear found in studios and how to get the most out of your home environment.
1. Decide on your creative needs and budget
Determining what you want to create in your studio and how much money you're willing to spend are the two biggest factors in all the decisions that follow from buying gear to software to room treatment. Is your plan to be able to record vocals or is the goal to record a drumset? Are you more interested in creating beats or scoring for film? Do you even want to record anything or will you just be working "in the box?" These are some of the questions you should ask yourself to guide you when it comes time to buy gear.
Budgeting to build a home studio
For a relatively simple home studio, I'd expect to allocate about 70% of your initial budget on hardware, 20% on software, and 10% on room treatment. Your budget should include a computer, audio interface, a MIDI controller, an external hard drive, appropriate number of microphones (more on this later) with XLR cables, microphone stands, pop filter or windscreen if applicable, headphones possibly with an extension cable, and speakers.
2. Choose a computer
Your computer is the heart of your home studio so you'll need to pick something that can keep up with all that you'll be demanding of it: recording audio, playing back virtual instruments, effects processing, etc. The biggest specs to consider are the processor, amount of RAM, and internal storage space. A quad-core processor will help keep the computer from becoming laggy as you begin to create bigger and bigger projects. Most music production software recommends at least 8 GB of RAM to run smoothly, but if you can afford to bump that up to 16 GB or 32 GB, you'll be able to get the most out of your processor and have a happier time making music.
Nothing kills creativity faster than the spinning beach ball of death. Internal hard drive space is important as well because this drive is where your music production software, virtual instruments, and additional plugins will be installed.
Don't forget to get an external hard drive!
While computers have internal hard drives, you should save project files and audio files to an external hard drive.This prevents your computer from becoming full of files that aren't necessary for the computer to function and bogging down the processor. SSDs (solid state drives) are more reliable and faster than HHDs (hard disk drives) but tend to be more expensive.
It's a good idea to have a backup drive as well. Saving important files to only one location is tempting fate. The safest way to preserve files long-term is to save to three locations: two separate external drives (ideally one is kept off-site) and a cloud backup. If you can't have the biggest computer crash of all time and be able to be up and running again in a couple of hours with no data loss, you need to improve your backup process.
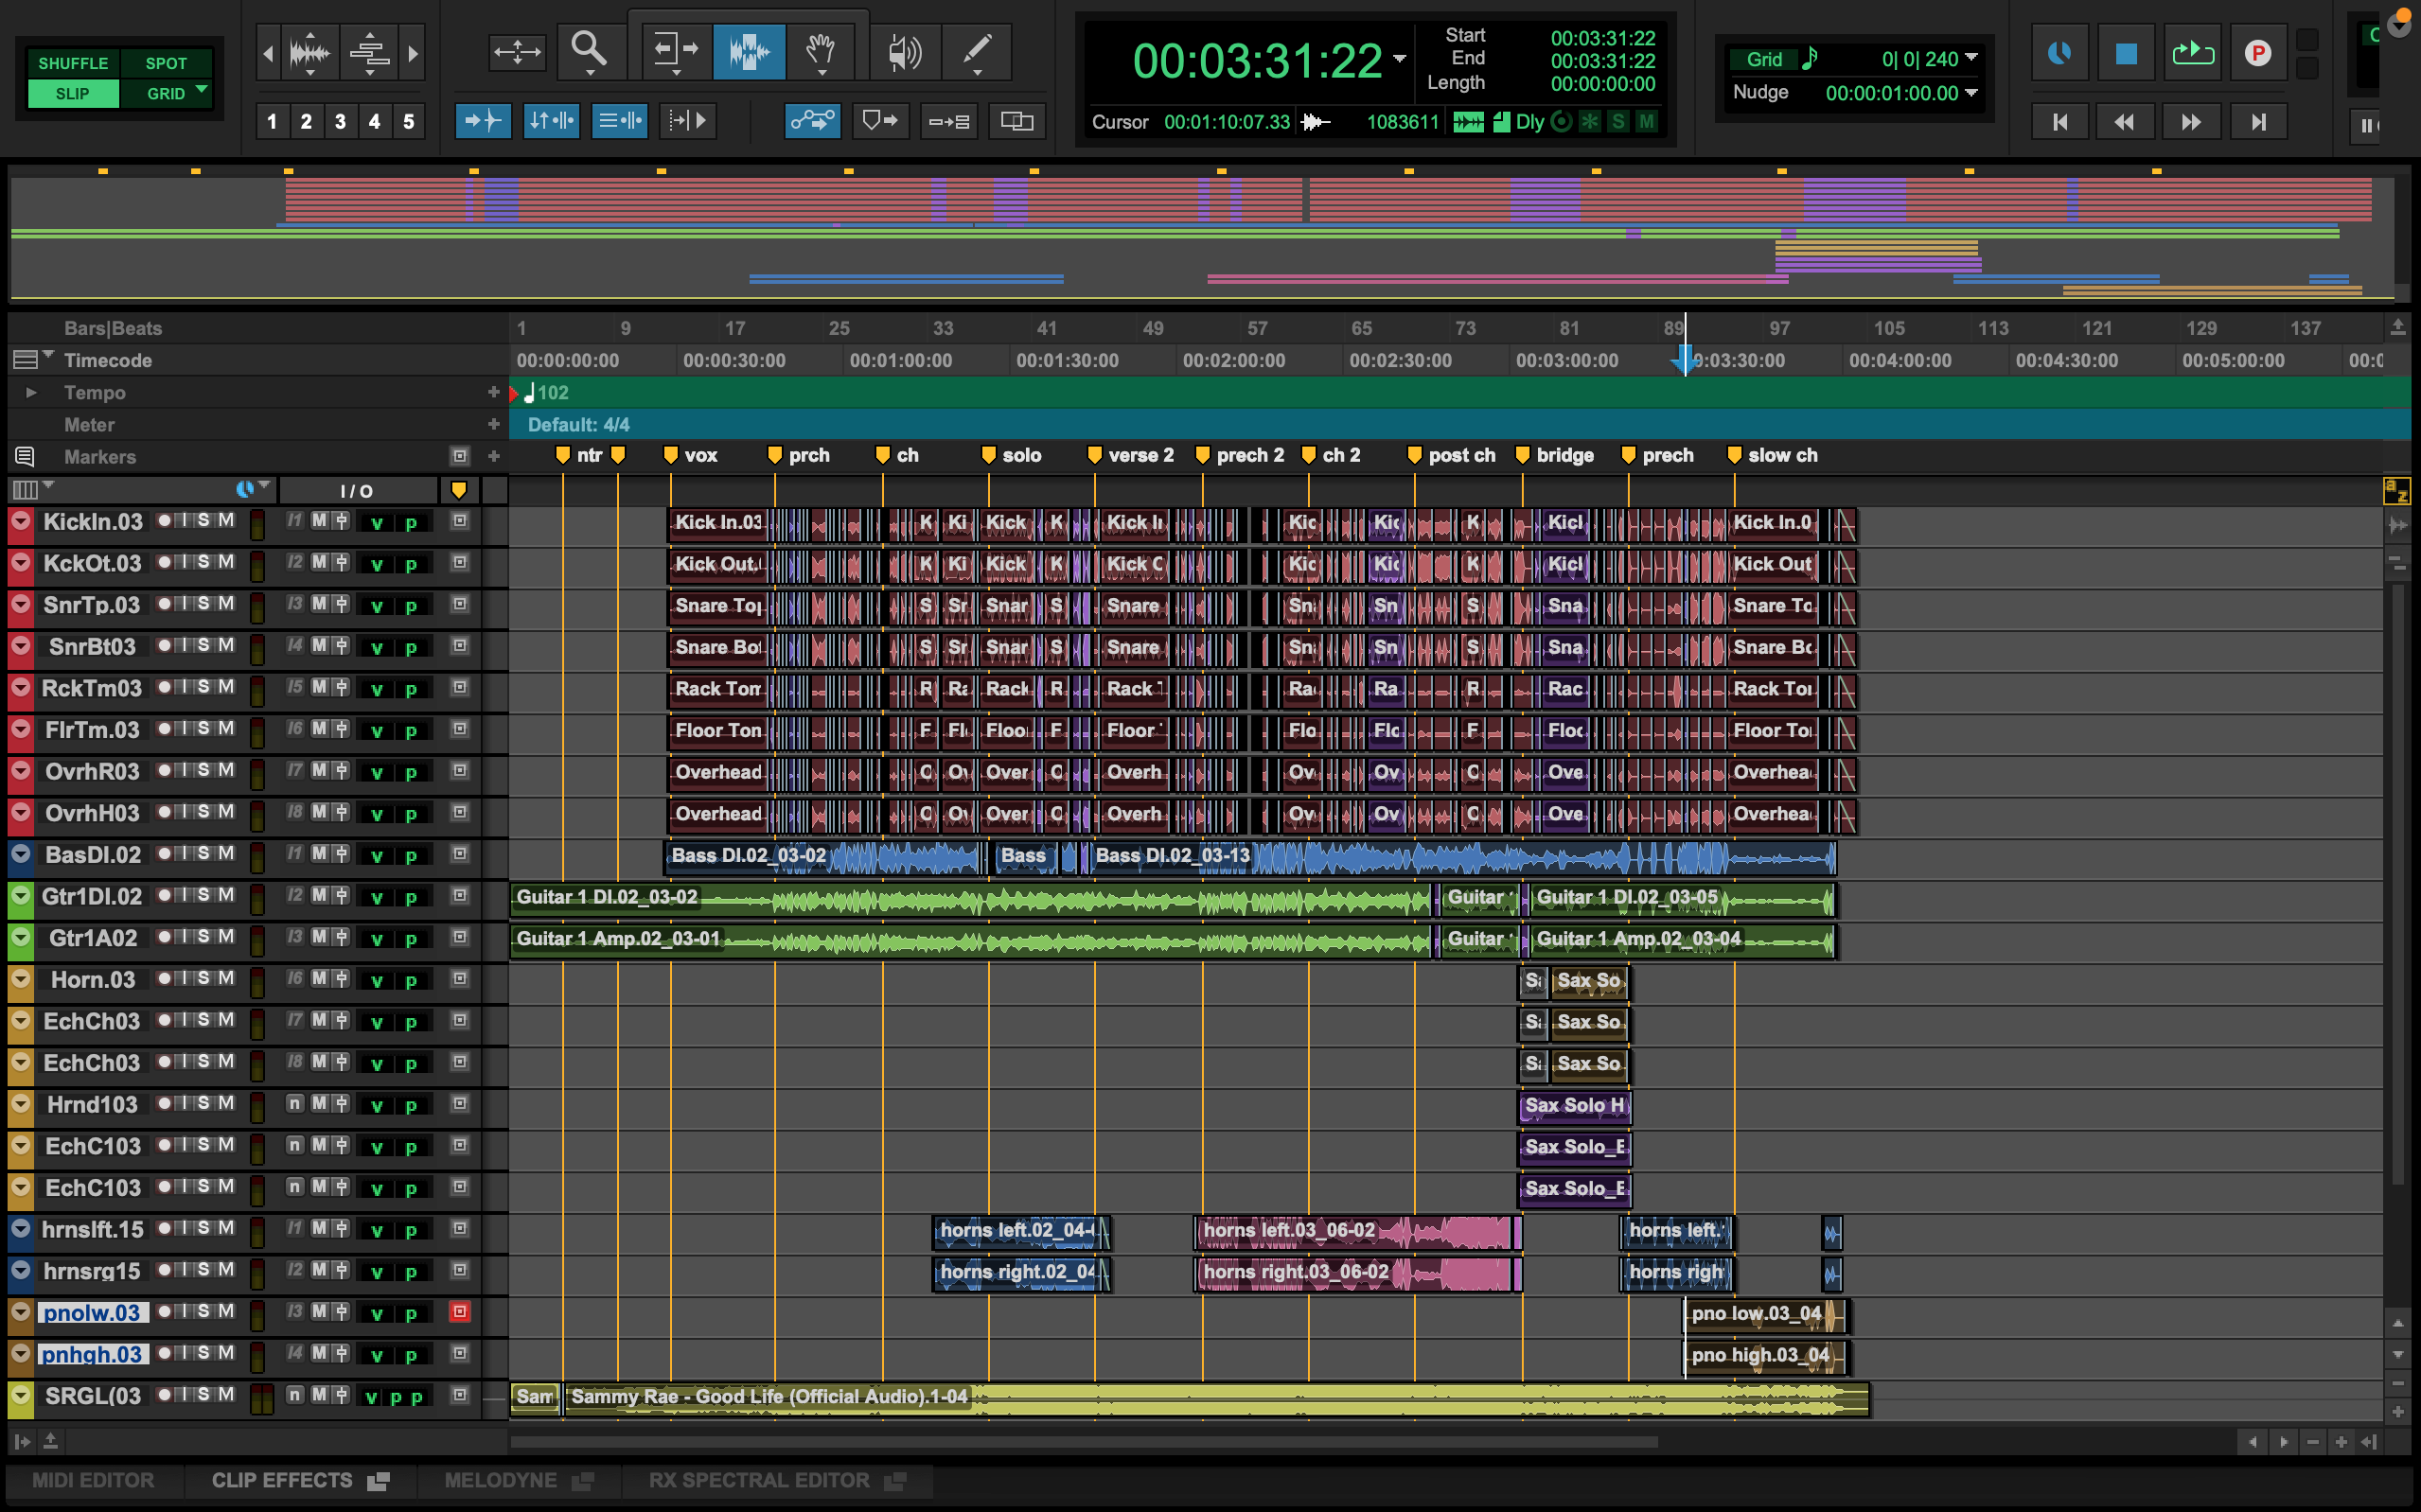
Choose a Digital Audio Workstation based on your creative needs
3. Pick out a DAW and other software
Most digital audio workstations or DAWs such as Pro Tools, Ableton, Reaper, and Reason can operate on either Mac or PC computers. Logic, however, is only available on Mac. Each of these DAWs work with virtual instruments and audio, but they have different functionality. For example, if you want to make a beat and record your vocals, Ableton might be a good fit because the virtual instruments that come stock with the program are actually pretty decent, saving you some money on additional plugins.
However, if you want to edit sounds for film, you need to choose a DAW that can import video as well such as Pro Tools or Logic. Reaper might be a good choice for those looking to get into mastering since it allows you to process sections of a track such as the verse separately from the choruses which other software options can't do.
Home recordings will likely need extra de-noising than studio recordings
Recordings done in a home environment tend to have a similar set of problems to clean up. These problems are often the result of inadequate room treatment and sound proofing, and inexperience with microphone placement. In addition to your DAW, I recommend investing in some de-noising software. Software like iZotope RX 11 includes modules to remove reverb from recordings done in a less-than-ideal room, de-clipping to remove distortion from too-hot microphones, de-plosives and mouth de-clicking for cleaning up artifacts due to poor mic placement, and more. The iZotope Music Production Suite 7 combines clean-up tools with instruments and effects plugins to get your studio up and running quickly.

iZotope RX11 Audio Editor provides tools for cleaning up audio problems commonly found in home-recordings.
4. Choose an interface and MIDI controller
Interfaces are the hub that connect your microphone/s to your computer and digitize the audio. When picking out an interface, it's important to know how many microphones you'll need to record simultaneously. If you're recording only your voice, a two-channel interface will work well. However, if you need to record a drumkit or your entire band, you'll need to get something with a higher channel count.
Make sure to check that your computer has the correct USB or Thunderbolt ports so that your interface needs to connect. Some interfaces are powered through the connection to the computer and some come with an additional power supply. Be sure to keep track of the number of outlets you need to power all your gear and pick up a surge protector so you can plug everything in!
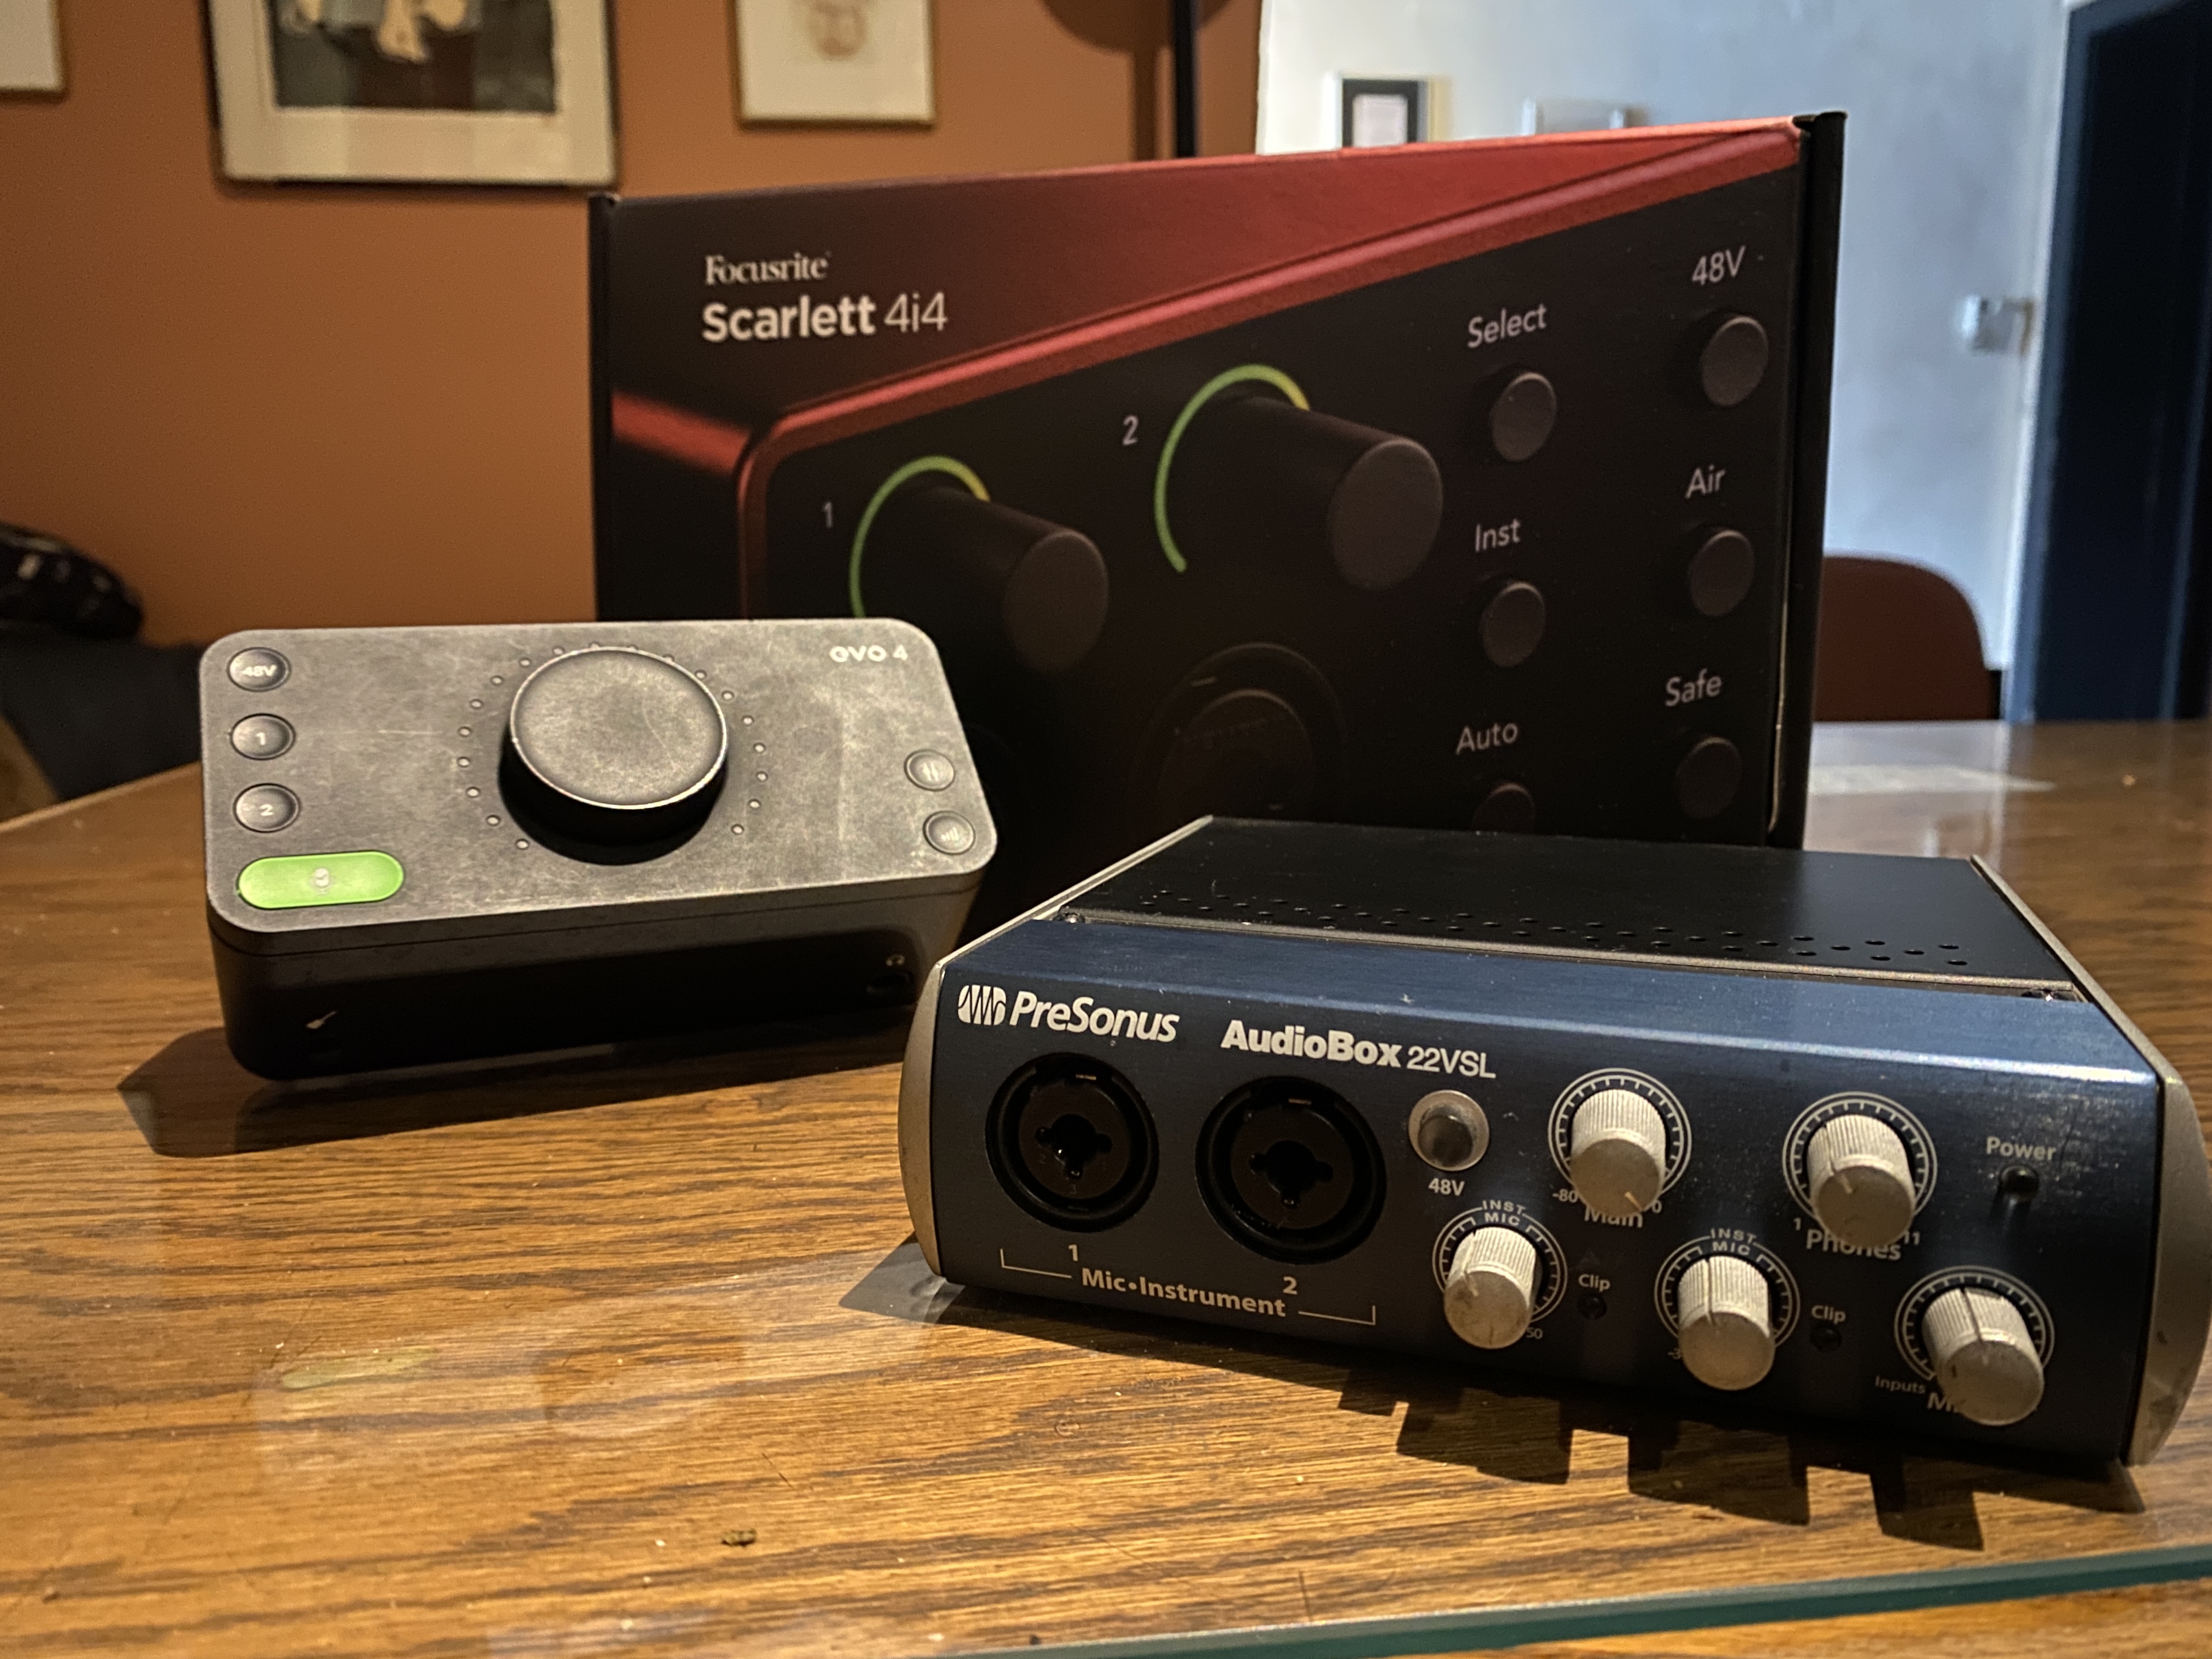
Common interfaces for home studios include the Focusrite Scarlett, Audient EVO, and PreSonus AudioBox.
What are MIDI controllers?
MIDI controllers usually look like a piano keyboard, but they can also be drum pads, or even an EVI (electronic valve instrument). MIDI controllers are a tactile way to trigger samples or virtual instruments and transmit data about pitch and velocity to the computer. Depending on how much desk space you have and whether you want to be portable, a smaller controller may be more suitable. However, if you're interested in scoring for film or writing fuller piano parts, you may want a bigger controller that feels more like a typical piano.
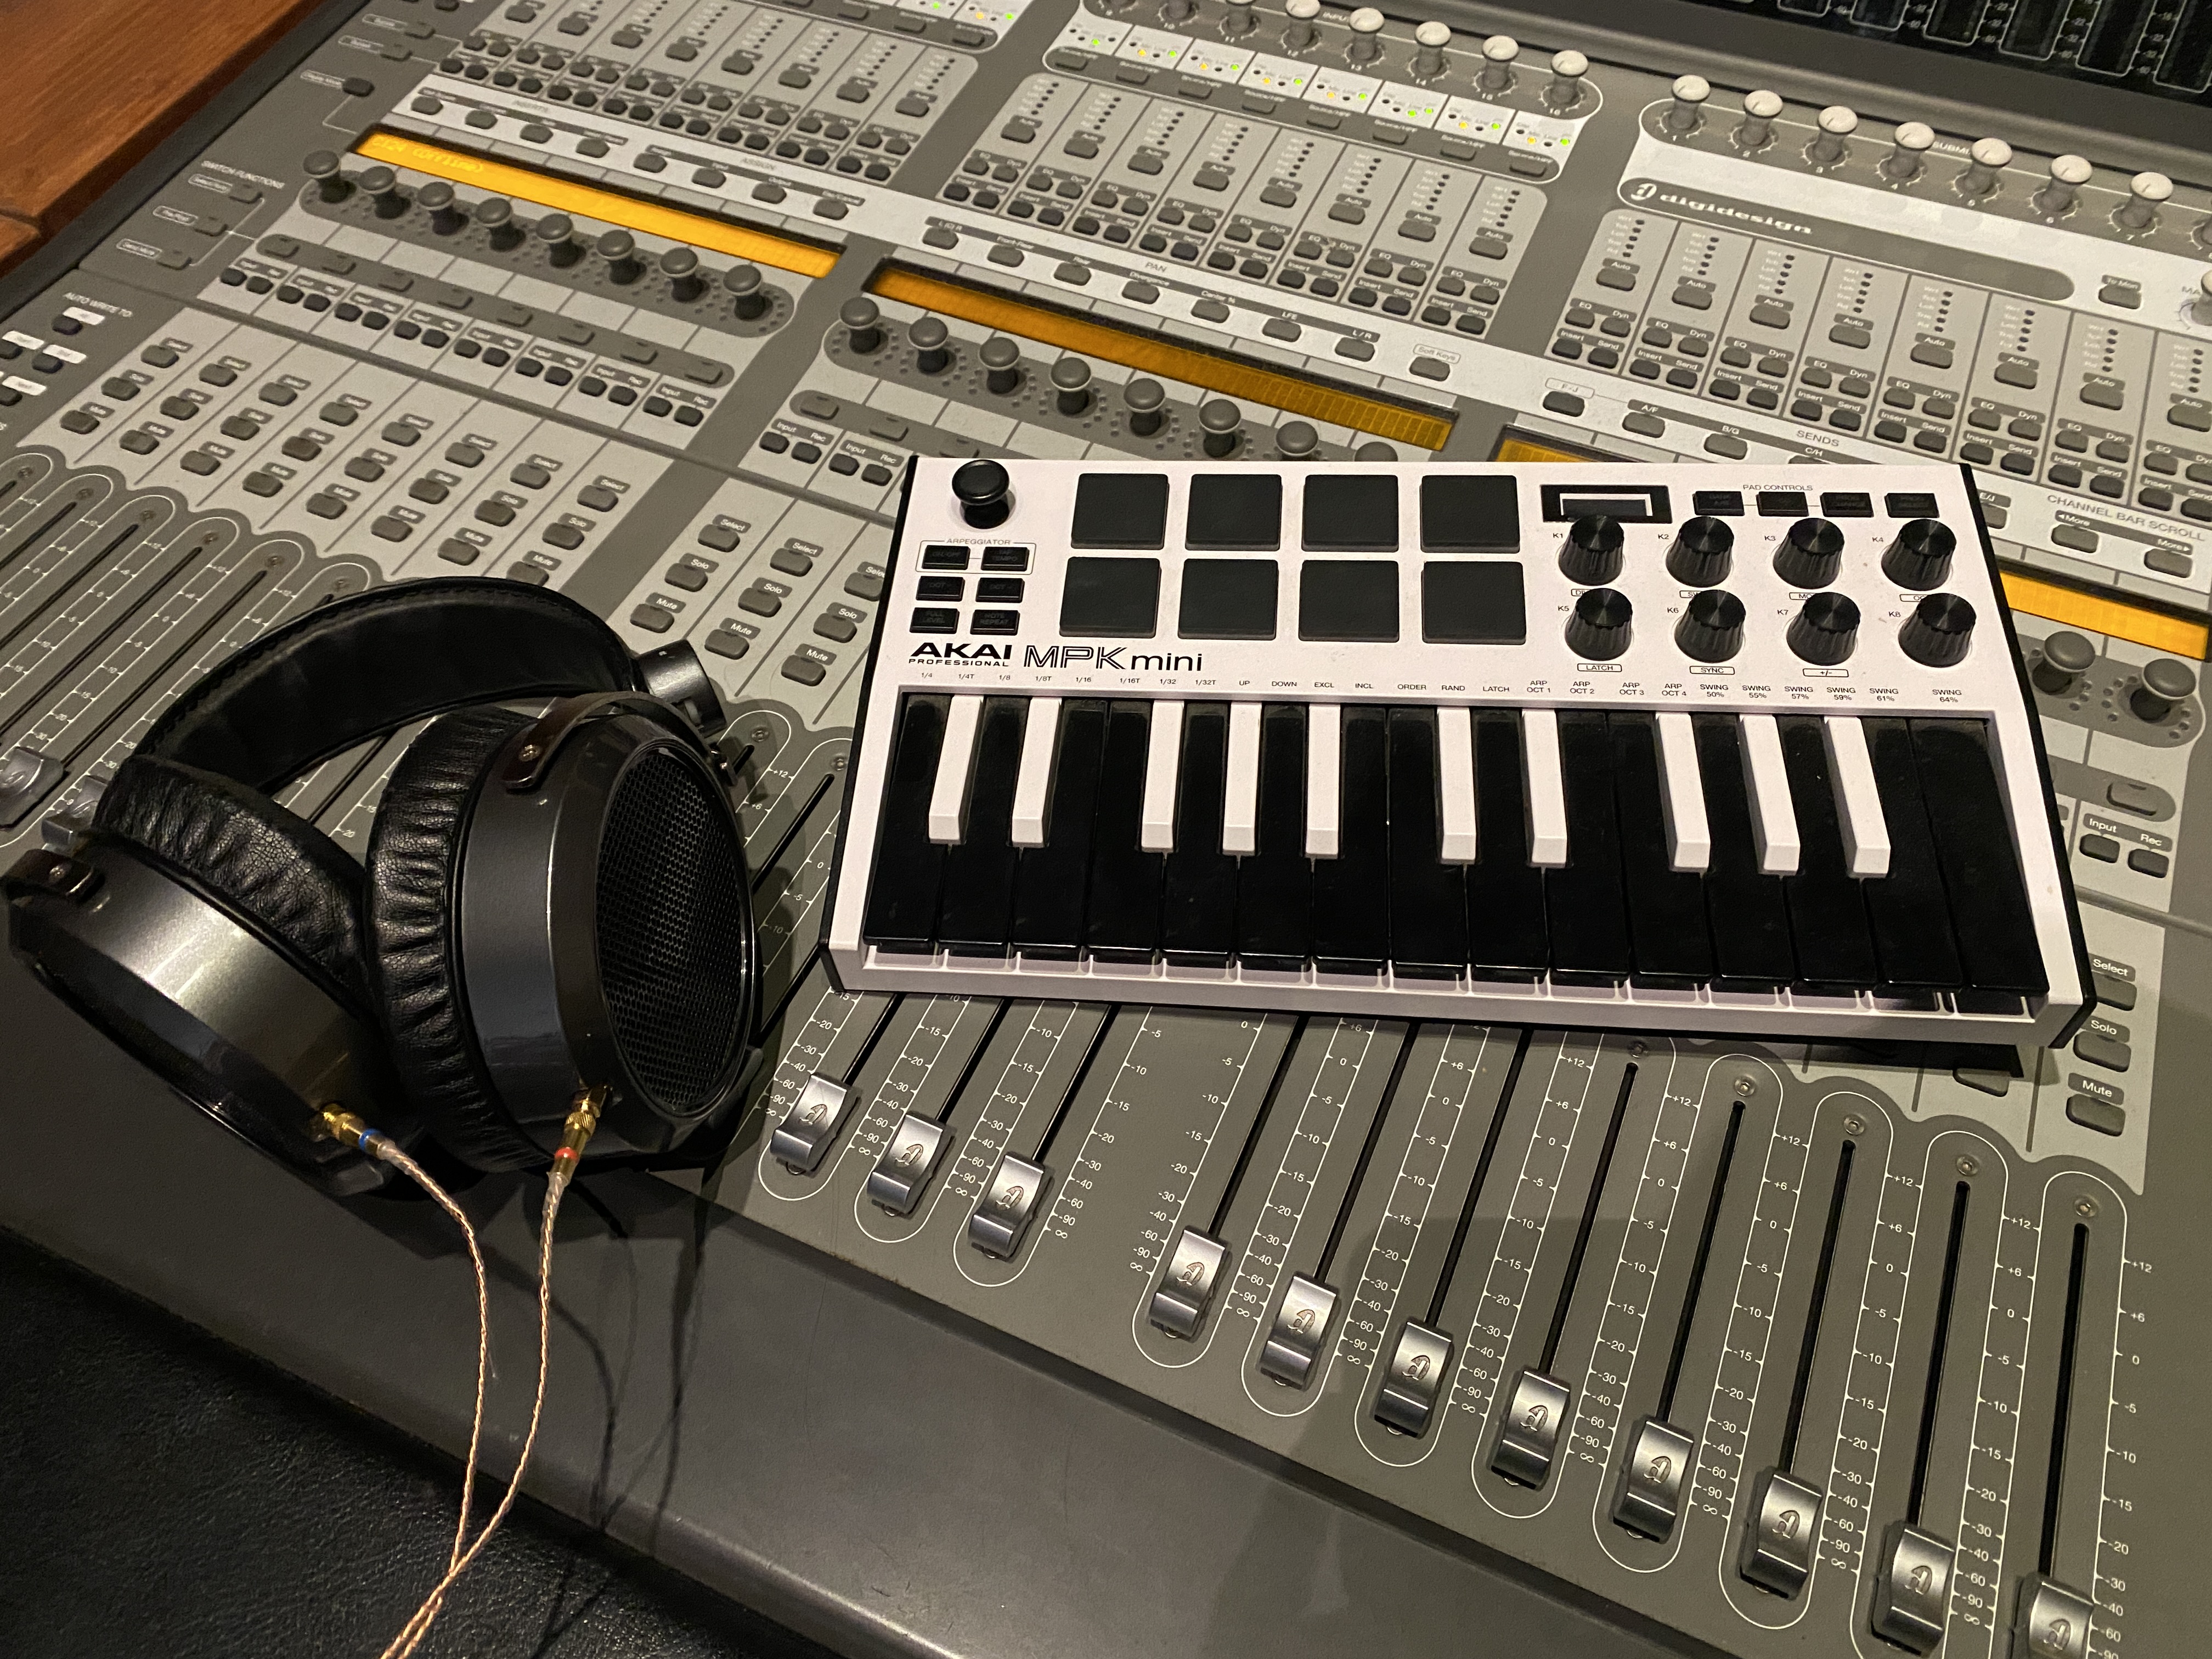
AKAI MPK Mini is a MIDI controller that triggers samples and virtual instruments in a DAW.
5. Choose headphones and speakers
If you'll be recording audio, you'll need headphones for each person that will be recorded simultaneously. Headphones come in open-back or closed-back configurations. Closed-back is meant to contain the sound and isolate external noises from being heard. These are great for recording purposes.
If you want to rely on your headphones for mixing purposes, open-back headphones produce a more natural sound that is ideal for critical listening. They're light and quite comfortable for long-wear but are not designed to isolate. You should also consider transparency - we don't want the headphones to add or subtract any frequencies, therefore giving you an inaccurate picture of your mix.
In the studio, speakers are called "monitors"
A general rule for picking out monitors is "the bigger the room, the bigger the monitors and the more amplification you need." If you're mixing in a small room, monitors that are too big will produce sound that bounces all over a poorly treated room. The bouncing soundwaves can interact with each other and cause a buildup of frequencies or cancellation of frequencies so you can't hear them even when they're present. Your monitors will greatly influence your mixing decisions so choose wisely! Monitors can be either active, meaning that they have a built in amplifier, or passive, meaning that they will need a separate amplifier. When space is an issue, go with smaller, active monitors.
6. Invest in acoustic treatment and soundproofing
A home studio set up is often placed in a spare bedroom or garage. Whenever we have parallel walls, an opportunity is created for soundwaves to reflect, interfering with recording or mixing. When we talk about acoustic treatment, we are talking about changing how sound bounces around within a room. Absorptive panels placed on parallel walls absorb soundwaves rather than reflecting them, improving the sound of the room. Generally, the more cloth in the room, the less the sound waves will bounce around. Rugs, curtains, or DIY panels with foam will all help. DIY acoustic treatment can be done relatively cheaply and still be very effective.
Soundproofing on the other hand, deals with the sound coming into or out of our room. You need to consider both when setting up a home studio. Placing rubber flaps along the bottom edges of doors is a soundproofing measure that reduces sound from traveling into or out of the room through that gap. Soundproofing, however, is more structurally intense and might not be practical in apartments.
7. Choose a microphone or microphones
One of the most common questions I get is "what microphone is best for me?" The answer depends on what your recording and what the room sounds like! If you've been able to treat your recording space so well that it sounds pretty dead aka no reflections, you have a lot of flexibility with microphone selection. Condenser microphones for example are great because they pick up so much detail. However, if you're in a less-than-ideal recording environment, using such a sensitive microphone will highlight details we don't want to highlight such as background noise from an HVAC system or room reflections. For these situations, a dynamic microphone is a better choice.
Condenser microphones tend to be more expensive and fragile but respond really well to high frequencies so they have a lot of clarity. They do require phantom power which is supplied by most audio interfaces. Some condenser mics also allow you to change the pickup pattern meaning that you can change the microphone to focus on only picking up sounds in front of it and reject sounds coming from another area (cardioid), bidirectional (the microphone picks up sound from in front of and behind the mic), or omnidirectional (the mic picks up everything from all around.) Having a mic that can change pickup patterns makes it more versatile but may not be appropriate for your needs.
Dynamic mics have a heavier assembly on the inside so they're less fragile and don't respond as well to very nuanced changes in volume. These can be great mics for voice, drums, and on guitar or bass amps. They don't tend to be able to change pickup patterns but usually come in fixed patterns such as cardioid or omnidirectional. Dynamic mics tend to be a little cheaper than condensers. It's always worth it to ask a friend who might have some mics if you can try it out in your space to see if you like it before you buy one. I've also rented microphones for a day to audition them before buying and recommend it!
Begin setting up your home studio today
Setting up a home studio can be an overwhelming task with all the choices to make, but if you focus on the technical specs you need and your budget, you'll end up with a studio that will get the job done. As you progress, you can always update your interface, get more microphones, and go down the rabbit hole of outboard vintage gear, but keep it simple to start with a computer, a basic interface, MIDI controller, and microphone that you can afford. Investing more in your computer and software now will go a long way in future-proofing your studio so that you can expand if and when you're ready.
