Drum Sample Replacement with Superior Drummer and Neutron
Learn how to apply drum sample replacement to your drum recordings to ensure every strike is powerful and consistent.
This article references a previous version of Neutron. Learn about 

Neutron 5
What is drum sample replacement?
Drum sample replacement is the process of layering and/or replacing recorded drums with sampled drums, generally using a virtual instrument plug-in, like Superior Drummer 3 by Toontrack. Sample replacement plug-ins like Superior Drummer work by detecting each moment when a drum hit occurs on a recorded track, and using these moments to trigger playback of a sample.
The practice of drum sample replacement has become commonplace in modern production, especially in hard rock and metal. One reason for this is the breakneck speed at which these drummers are often playing. This rapid performance style inevitably leads to an uneven attack structure on kicks, snares, and toms. Sample replacement makes sure the first strike is as audible and strong as the last.
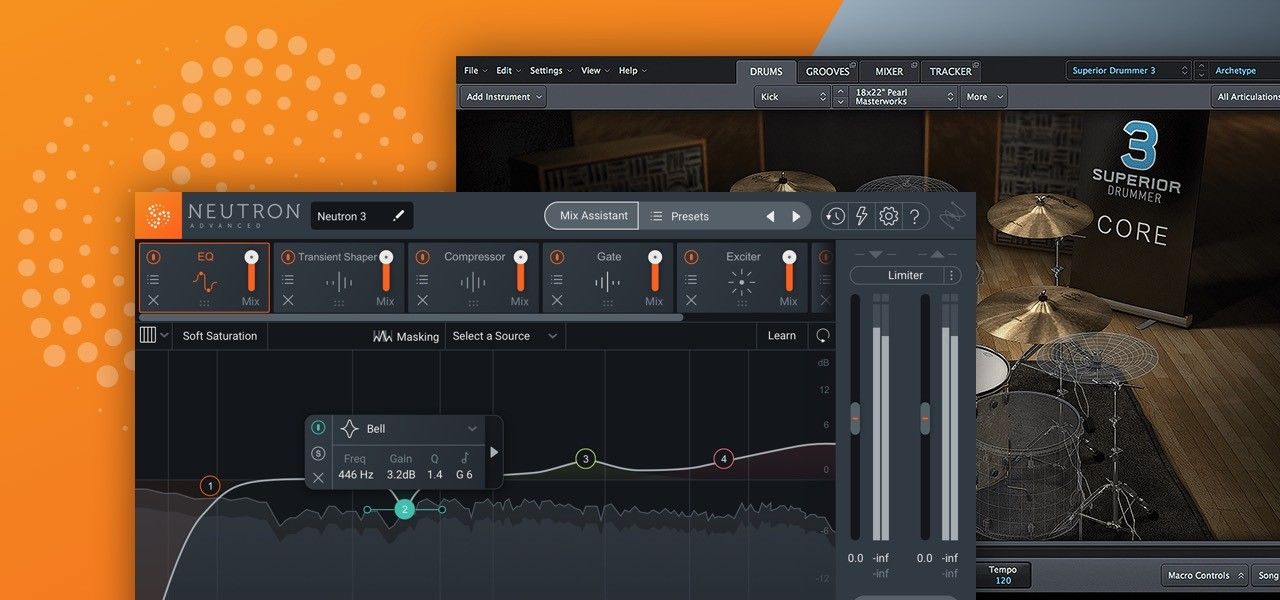
To help demystify sample replacement, we’re going to walk through the process of sample replacement for drum elements of an acoustic drum kit in a metal track using Superior Drummer 3. We’ll follow this by using Neutron’s Track Assistant to push the whole kit past the finish line and end up with a tight, polished drum sound that cuts through the wall of guitars.
The track we work with in the above video is called "Army of Cops" by Pig Destroyer.
Choose files for drum sample replacement
It’s time to decide which tracks to import for replacement. Import only the foundational elements of the drums—especially those that are close mic’d, like the snare, toms, and kick. Be sure to only import the tracks that best represent your instrument—snares often have two or three mics on them, but only the top mic needs importing. No matter your choice, make sure to consolidate and export your drum audio files so you only have one single region per audio track, all of which will perfectly align when loaded into Superior Drummer’s Tracker.
Tracker is designed to take pre-recorded, multi-track drum audio files and convert them to MIDI that will trigger Superior Drummer 3's samples.

The empty Tracker window in Superior Drummer 3
Create your trigger points
Once Tracker is populated with files, it will get to work identifying each instrument in the audio file (i.e. Kick, Snare, Toms, High hats, Ride, and Cymbals) and start creating trigger points for each hit it detects for these instruments.
How Superior Drummer 3 identifies each instrument
To find its hits and assign them to the correct instrument, Tracker analyzes 512 individual frequency bands for any audio file that is imported. It also examines how the magnitude of these individual frequencies develop over time. Tracker then uses information based on the 1.2 million drum files analyzed from its supervised machine learning to determine the predominant instrument in the audio file and find all hits.
Understanding Tracker parameters
There’s a lot of parameters in the tracker tab, but we’ll touch on a few key ones we use in the above video to replace our drum hits.
The mix parameter

The Mix parameter in Superior Drummer 3
The mix parameter acts as a blend ratio between source sound and samples. So if you solo a snare and play back some audio, you’ll hear the original snare and the sampled one. We can even blend both sources together to reinforce, rather than completely replace, what was recorded.
Pro Tip: Listening back to your drum tracks with a good setting on the mix knob that will allow you to hear any false triggers. If you feel that Tracker hasn’t found enough hits on a given track, increase the amount.
The Amount parameter
Now remember what I said at the beginning of this video—metal drumming is fast! A great way to make sure you’re not adding samples that don’t need to be added is to slow down the tempo of the track using the Amount parameter.

The Amount parameter in Superior Drummer 3
When you increase the Amount parameter, new trigger points get added. Trigger Points are represented by bright and dark blue dots. By raising the amount up, it’s likely that new trigger points were added to moments where quiet hits were going unsampled.
Be sure to investigate the rest of your drum tracks with similar techniques to ensure no hit goes unsampled!
Sound Recognition Match Threshold
The Sound Recognition Match Threshold further ensures the accuracy of the replacement and is represented by the horizontal blue line that runs through all of the Trigger Points. Again, Trigger Points are represented by bright and dark blue dots. Bright blue dots indicate an active trigger and dark blue dots indicate an inactive trigger.

The sound recognition match threshold in Superior Drummer 3
This threshold line represents the percentage in which the trigger point matches the Tracker’s machine learned idea of what a specific instrument sounds like. Moving the threshold all the way to the bottom instructs Tracker to require a 0% sound match to its machine learned database, and therefore all trigger points shown as blue dots will become MIDI notes that are sent to Superior Drummer 3.
Moving the threshold all the way up to the top instructs Tracker to require a 100% match to its machine learned database, and it will likely result in only a few trigger points created. The sweet-spot usually lies somewhere in the middle, which is also the default setting for this control.
Velocity Threshold
You can also use the detected velocity of a sound to decide whether it is triggered or not with the Velocity Threshold.
The velocity threshold works just like the Sound Recognition Match Threshold in that it has a slider that the user can adjust to determine the minimum required velocity for a trigger. The Velocity threshold’s default position is always 0, therefore you can raise the velocity threshold to filter out low level false triggers.
Reduce Bleed
Reduce Bleed works by comparing trigger points in the selected track to trigger points in other user definable tracks in order to avoid double-triggering across multiple tracks that bleed into each other.
The Mixer tab
In the Mixer you will see channels for each and every microphone that was used in the sample recording session, and you have full control over each of these channels.
Processing in Neutron
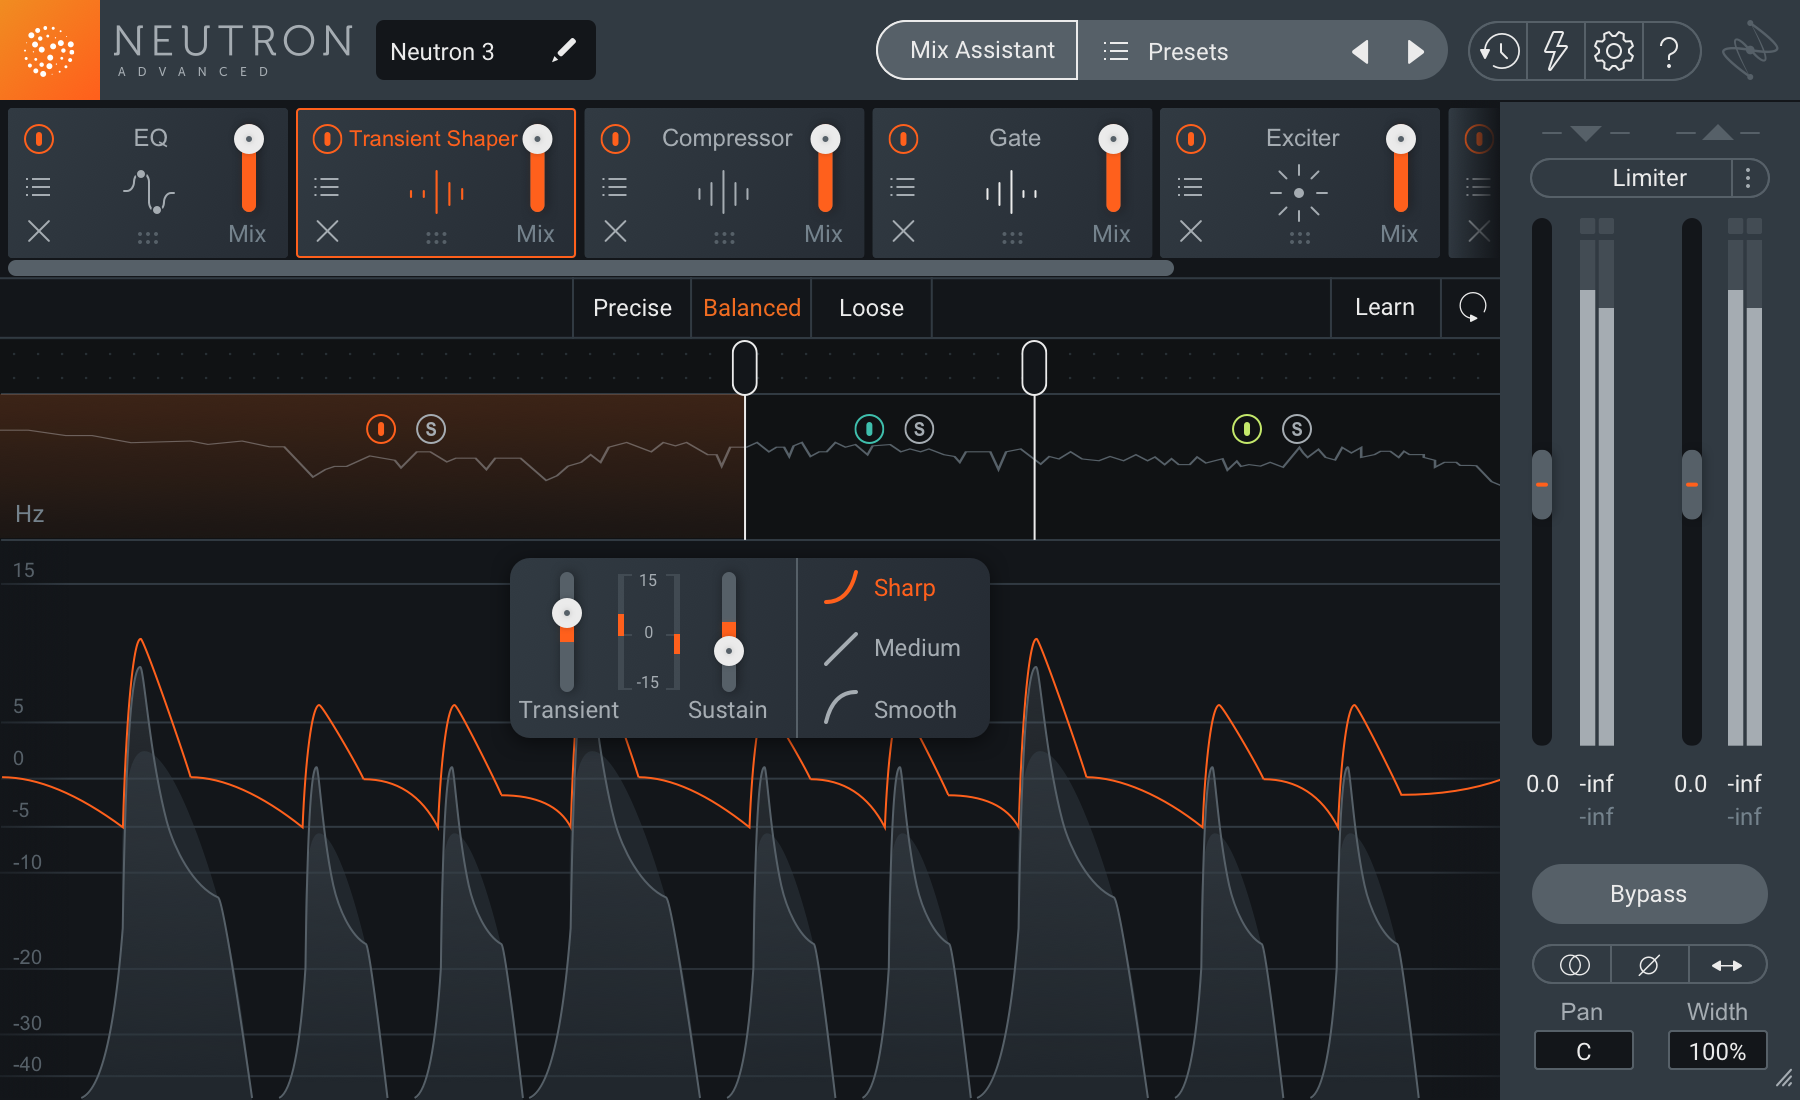
Now that signal is routed correctly, use Track Enhance to bring your freshly sample-replaced drums to the next level. Track Enhance is a part of our machine learning-powered Mix Assistant, which listens to your audio and then delivers a custom preset to suit your sonic direction. It also accounts for areas of sonic importance in our audio, like resonance or muddiness, and settles EQ nodes over those problematic frequencies.
From the Mix Assistant menu, choose Track Enhance and select drums from the instrument. Choose a style and an intensity, and press "accept" to see what custom signal chain it generates for you.
Conclusion
And there you have it, drum sample replacement with Superior Drummer and Neutron. Be sure to check out more of our tutorials and articles on drums below.


