7 Steps to Creating a Balanced Static Mix
You’ve probably heard of the “static mix”—basic level and panning decisions that provide a jumping off point. How do you go about setting one up? Read on to find out!
A static mix is a crucial step in the mixing process as it allows you to identify any issues with the balance of the tracks before you make more detailed adjustments. If you’ve strolled along the forums, checked out engineering podcasts, or watched YouTube videos, you’ve probably heard of the static mix—yet the static mix is hard to put into words: every engineer seems to have their own definition.
So let’s learn more about how to get a static mix, including tips on how to balance the levels of your tracks and make sure that all the elements of your song are heard clearly before you fine-tune your mix even further.
Get a balanced static mix quickly with iZotope


Neutron
What is a static mix?
A “static mix” refers to a preliminary balance of all the tracks in a session—a balance achieved with level, panning, and little else. The static mix occurs toward the beginning of the process, alongside basic organization and routing.
Different engineers have different ways of setting up a static mix. Many mixers, for instance, consider the static mix to be a re-creation of the rough mix supplied by the artist or producer: they do whatever they can to make their mix sound like what was offered in the first place. Others merely seek a good balance, using the rough mix as something to beat right from the outset.
Either way, the main idea is to set yourself up for a smooth experience later down the mix. You use this part of your time to cover the basics, so you can spend more time focusing on the fun stuff and embellishments that delineate your personality from that of another engineer.
Creating a static mix allows you to listen to your song and think of a plan to begin the process of mixing a song. What follows now are some good all-purpose tips for creating your static mix, if you’re new to the process.
1. Prep and organize your session
Color coding, labeling your tracks, grouping channels, and routing to the right mix busses is something you should definitely consider at this stage.
Some of the most common ways to prep your session include:
Grouping: Grouping similar tracks together, such as all drums or all vocals, can make it easier to adjust the levels and effects of those tracks together.
Color coding: Using color coding to differentiate between different types of tracks can help you quickly identify and locate specific tracks in your mix. For example, you might use one color for drums, another for bass, and another for vocals.
Naming tracks: Clearly naming your tracks can help you keep track of what each track is and where it belongs in your mix. This can be particularly helpful if you are working with a large number of tracks.
Track folders: Some DAWs have the ability to create track folders, this is a way to group tracks together in a hierarchical way, and you can collapse or expand the folder to show or hide the tracks inside of it.
Using Busses: Busses are virtual channels that allow you to group multiple tracks together and apply effects or processing to them as a group. This can be useful for creating a cohesive sound for a group of tracks, such as a drum kit or a group of backing vocals.
I’ll show you what I might do in this video.
You’ll note I’m using a template. It automatically has my bus routing setup the way I like it, and it saves a lot of time. Consider using a template as well.
Once basic organization has been achieved, it’s a good idea to get rid of dead air in regions:
Removing dead air from your mix doesn’t just help you keep track of parts better—though that is a great benefit. Some DAWs manage their processing better when they don’t detect audio clips within individual tracks. You could be setting yourself up for fewer CPU overloads down the line by deleting dead air.
2. Limit your tools
A static mix often involves few tools. Most engineers limit themselves at this stage to the fader, the pan pot, some plug-in for polarity inversion (colloquially called the “phase switch”)—and that’s it! Frequently, time spent in the static mix involves turning the volume of a track up or down, and placing it somewhere in the stereo field (i.e., left to right).
When working with multi-mic’ed instruments, engineers also use polarity to their advantage. Say there are two mics on a kick drum; in a static mix, I would ascertain the best phase relationship between the two mics, always listening for the fullest, most robust sound when playing both tracks.
When it comes to stereo overheads, you’ll probably know instantly which phase position works better—one will sound just plain wrong.
Your goal is simple: with these three tools, aim to fashion yourself a mix one could call “serviceable.” You wouldn’t be happy to release it in this state, but it wouldn’t wreck your career either if you had to.
Now, some engineers only use their faders and their pan pots as their main tools. Others make use of clip-gain. Others still prefer to use their workhorse channel strip plug-in on all their tracks to set up their static mix.
Obviously, a tool like Neutron works perfectly for this last use case. Within Neutron, you can set your input levels before you hit any EQ, compression, or saturation, like so:

Input level in Neutron
You can also adjust the panning of a track right from the plug-in itself. Note that you’ll need to use a stereo version of Neutron with a mono track in order to make use of panning.

Panning function in Neutron
3. Start with the loudest section of the song
When setting up the static mix, try starting with the loudest section of the song—or the one with the most instruments playing at any one time. They are usually one and the same. We start with the densest and loudest part of the tune for a couple of reasons:
- This section of the arrangement is often stuffed with the most amount of sonic material. Handling it first means getting a lion’s share of the busywork off our plates.
- Making decisions for the busiest part of the song automatically influences sparser parts of the tune for the better. Say the dense part of the tune has drums, percussion, bass, synth bass, multiple synths, doubled heavy guitars, a vocal, a vocal double, and a stack of background vocals.
When this dense chorus is done, we fall back to drums, bass, one synth, and one vocal, losing everything else. We automatically have a starting place for these elements, and we can decide if we need to adjust any levels or pan them for softer sections rather easily thereafter.
4. Balance your levels and pan positions
In many ways, setting up a static mix can be rather simple: just set the levels and pan positions. Start with whatever group of instruments moves you the most and work your way from there—really it’s that easy.
Often, I’ll leave the lead vocal in as I do this, moving to the drums and bass for my initial level and panning balances (I will mute vocals when I check phase relationships between drums). Then in come the harmonic instruments and background vocals.
Your plan of attack might differ. Whatever you do, go about setting a balance, aiming for a mix you’d be “simply okay with.” It’s as simple as pushing up one fader, then another fader, all the while determining if the relative level and pan position are correct (also phase, if I’m dealing with a multi-mic’ed instrument).
“Correct” here means “in appropriate balance to one another.” You want to make sure the balance between every instrument feels good—the kick shouldn’t overwhelm, the bass shouldn’t sound inaudible.
But we don’t want to get bogged down in this process. Remember, we’re still in the loudest section of the tune here—there’s lots more work to do! Repeating a section over and over is also a surefire way to lose your perspective, if not your mind.
All we want to do is achieve an acceptable balance. We don’t need to hear every word of the vocal—EQ, compression, and automation will help us out later on. We don’t need to worry about the low-end rub between the kick and the bass; sidechaining and dynamic equalization can give us the boost (or the cut) we need.
Don’t spend more than five minutes on this if you can. Set a timer, and see if you can beat it.
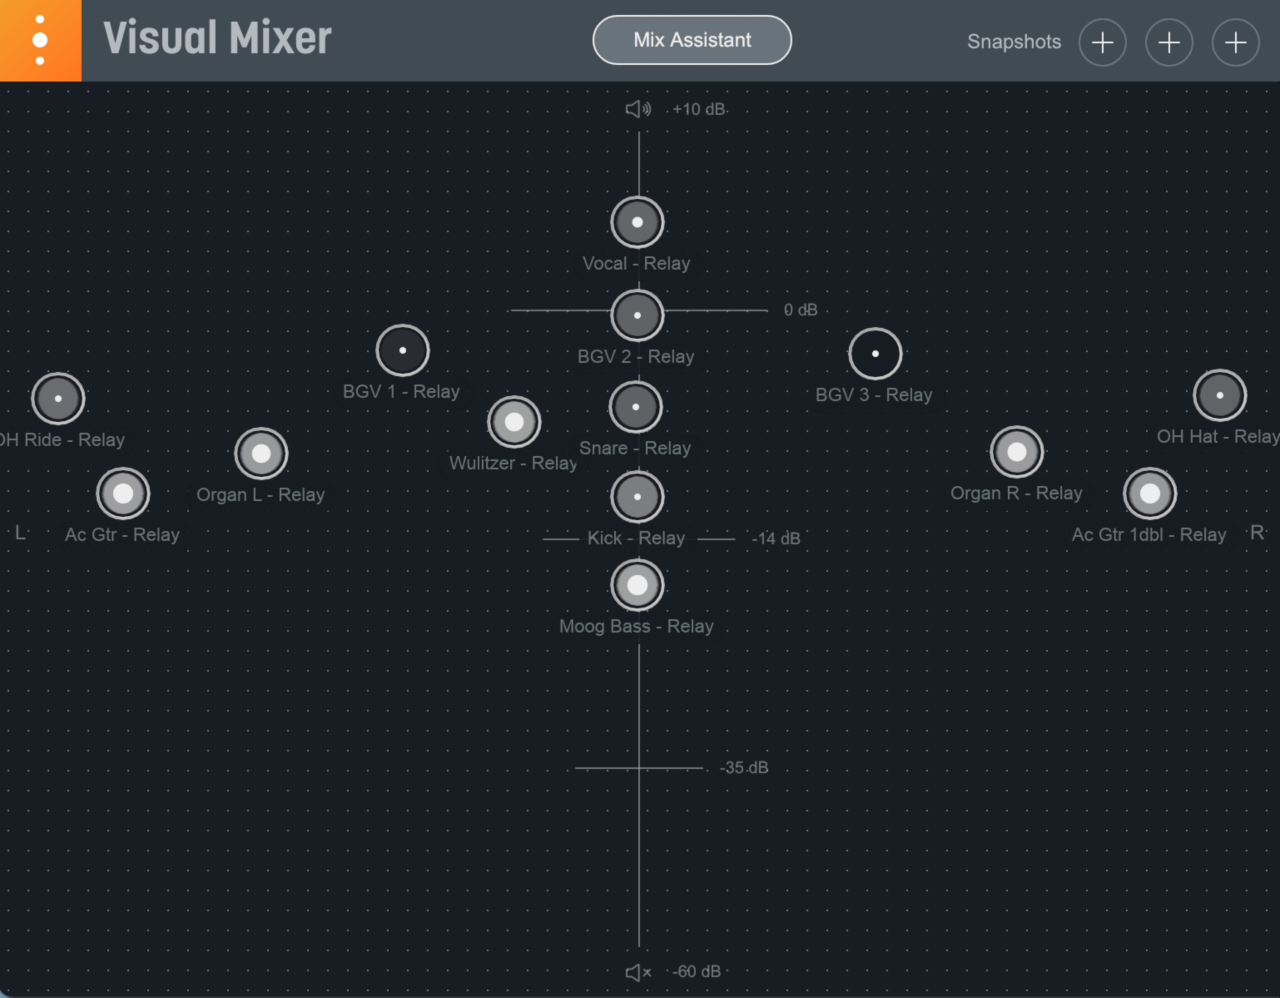
An iZotope-specific tip: Neutron offers a Visual Mixer that really speeds up this process.

iZotope Visual Mixer
Learn more about how to use the Visual Mixer to pan your mix in this Learn article on how to get better mixes with panning.
5. Keep an eye on the meters
When going from one to, say, 20 tracks, the overall level can jump quickly, swallowing headroom and clipping the outputs. This results in distortion. To help you out, open a meter and watch your levels. You can use any number of free VU plug-ins with 0 VU calibrated to anywhere between -20 to -14 dBFS. Obviously the higher you set the calibration unit, the less headroom you’ll leave for the mastering engineer—and yourself.
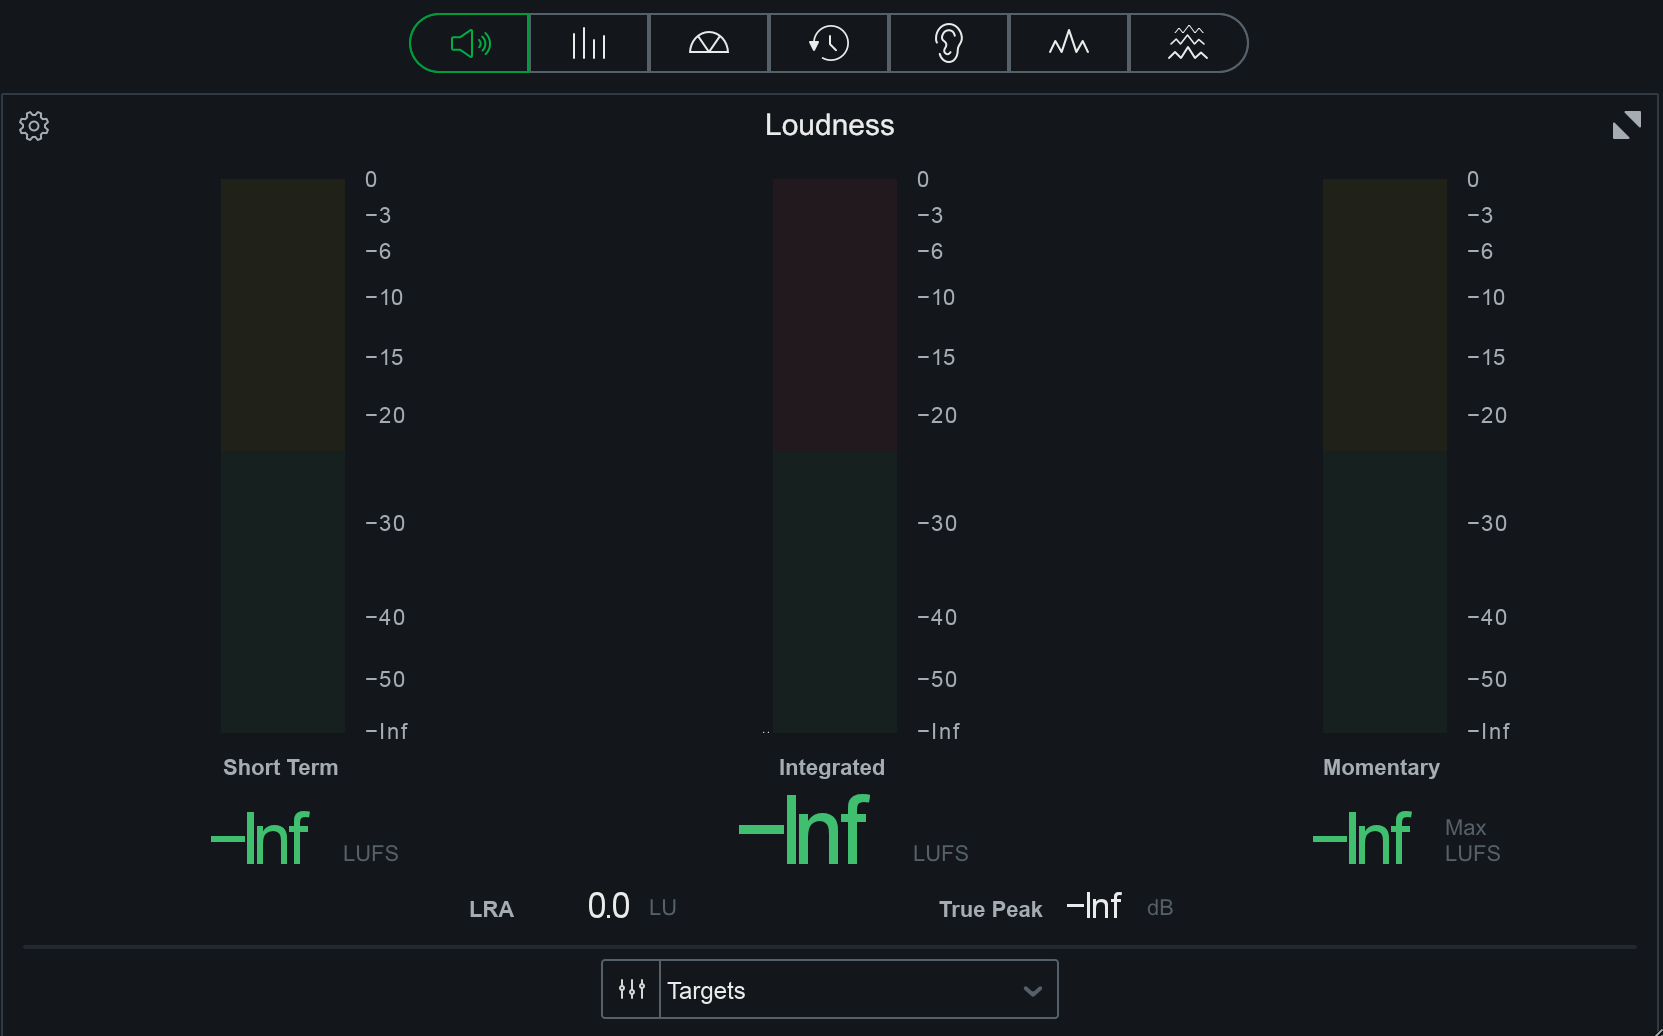
Or, you can use a LUFS meter like the one in Insight, read the short-term meter, and choose the level that best suits your workflow for a LUFS static based mix. Many of the mixes I master come in at around -20 LUFS, which gives me a ton of headroom to work with—so aim there if you want to be safe.
When I’m mixing, I tend to shoot a little higher (-18 to -14 LU before I hit any hardware), because I’m more comfortable working at that level; it helps me to get the dynamic range of instruments appropriately reigned in. This is just my preference though—you need to find your own, and you need to stick to it.

As you watch the levels, make sure you’re not clipping or pinning the meters, even if you’re working within a 32-bit floating-point engine. The headroom is not only for your eventual mastering engineer—it’s for you. It gives you room to move around, especially at this crucial stage of securing the right balances so you can have the healthiest starting point.
6. Loop through the song a few times
Once you’ve gotten the big multi-instrument chorus of the tune set, move on to the whole mix, starting at the top and running it through a few times. You may find yourself making minor adjustments to elements along the way, scoring an overall balance that’s more in the ballpark.
However, you may also come across some stray elements on the same track that don’t seem to work at all between sections. It could be a guitar part which feels too loud or too off-center once you’ve transitioned from the verse to the chorus.
This is a good time to set up more tracks—splice regions that don’t play nice between your sections and give them their own tracks, so you can avoid having to automate them, or compromising on tone to suit disparate sections. Now you can balance each element appropriately within its part of the song, all without worrying about giant changes as you go from verse to chorus.
7. Start editing audio now
We haven’t talked about the thorny issue of editing yet. But let’s face it: oftentimes the tracks get to us with problems. They could be technical in nature—clicks, pops, distortions, that sort of thing. Performance problems also abound; many times it falls to us to correct wayward pitches and fix badly played drums.
The question remains, when do we start editing? It is often the most annoying, least creative part of the mix. Well, I find now is a good time—at the end of the static mix, but before we move on to the mix in general. We’ve used our ears creatively for a bit of time at this point.
Now, we can switch to a more technical mindset and give our creative powers a rest before we make the big bush into mixing. Bring out iZotope RX and De-click any track that needs it; De-plosive sections of the vocal if need be; De-noise the feature artist who always recorded at home with some sort of USB microphone; hammer out the egregiously inharmonic notes with Melodyne or some sort of tuner.
You can take things beyond offline editing at this point too, addressing sibilance issues if you’d like. Just handle all the technical stuff now, so you can move to the full mix.
Start making balanced, static mixes
We must reiterate that this is an averaged approach to a static mix—many engineers have their own definitions, and their own modus operandi. The goal, though, is usually the same: to achieve an optimal balance between all the elements of the mix. Always pursue that goal when defining your own methods.
Also, be open to new perspectives: as there are many paths up this mountain, there are multiple opportunities for growth—for learning.


