How to Mix and Master with Reference Tracks in Ozone
Using reference tracks while mastering helps ensure the track you’re working on is headed in the right direction. Learn how to use reference tracks quickly and intelligently using tools like Ozone 9 and Tonal Balance Control.
Track referencing is a staple in both mixing and mastering workflows that ensures the track you’re working on is headed in the right direction. In the video below, we’ll show you ways to compare and contrast your music to reference tracks quickly and intelligently using tools like Ozone 9 and the updated Tonal Balance Control.
What is track referencing?
Track referencing can be very beneficial during the production, mixing, and mastering stages of your work. It is used to compare the dynamic range and character of your song to songs of a similar genre and style to your desired sound. A reference track's dynamic range and sonic character can be used to communicate the sound you’re aiming for in your mix or master.
Why use reference tracks when mastering?
If you’re familiar with the concept of the car test, you know that your final product doesn’t always sound the way you’d like it to on different speakers, while a reference does. Understanding how a reference and your own track differ in different listening environments will help you make better decisions during the audio mastering process.
Having a reference track to listen to can also help you avoid losing perspective while mastering: if you are listening to your own track for too long, your ears can adjust to unwanted frequencies (high-frequency build-up for example), but switching to your reference can quickly help expose these differences and provide a much-needed reset.
Pro Tip: Be sure to check out this Spotify playlist of helpful reference tracks compiled by iZotope Education Director and professional mastering engineer Jonathan Wyner.
So now that we’ve set the table, let’s jump into practical ways to compare and contrast your music to reference tracks.
Track referencing in Ozone’s Reference panel
In both the plug-in and standalone application versions of Ozone 9 Standard and Advanced, we’ve added a Track Referencing feature that can load, manage, and audition reference tracks without any additional setup in your DAW. Having Ozone on your master bus (or firing up the standalone app) is all you need to quickly A/B your track with up to ten references.
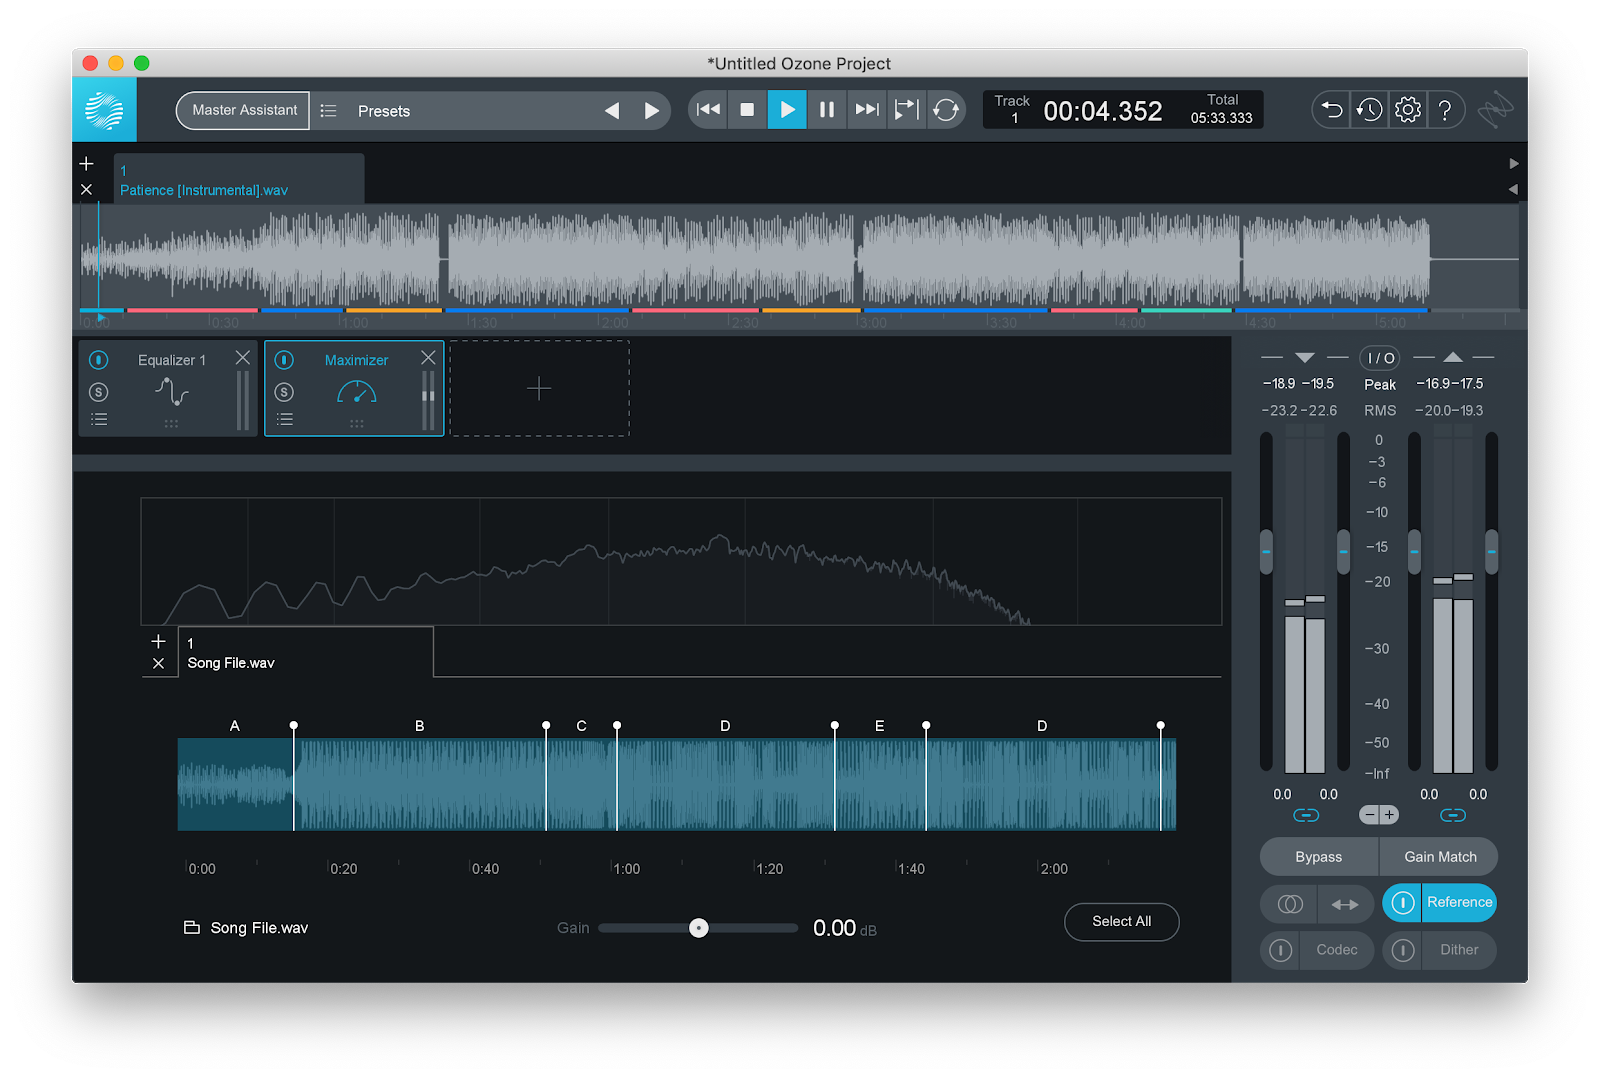
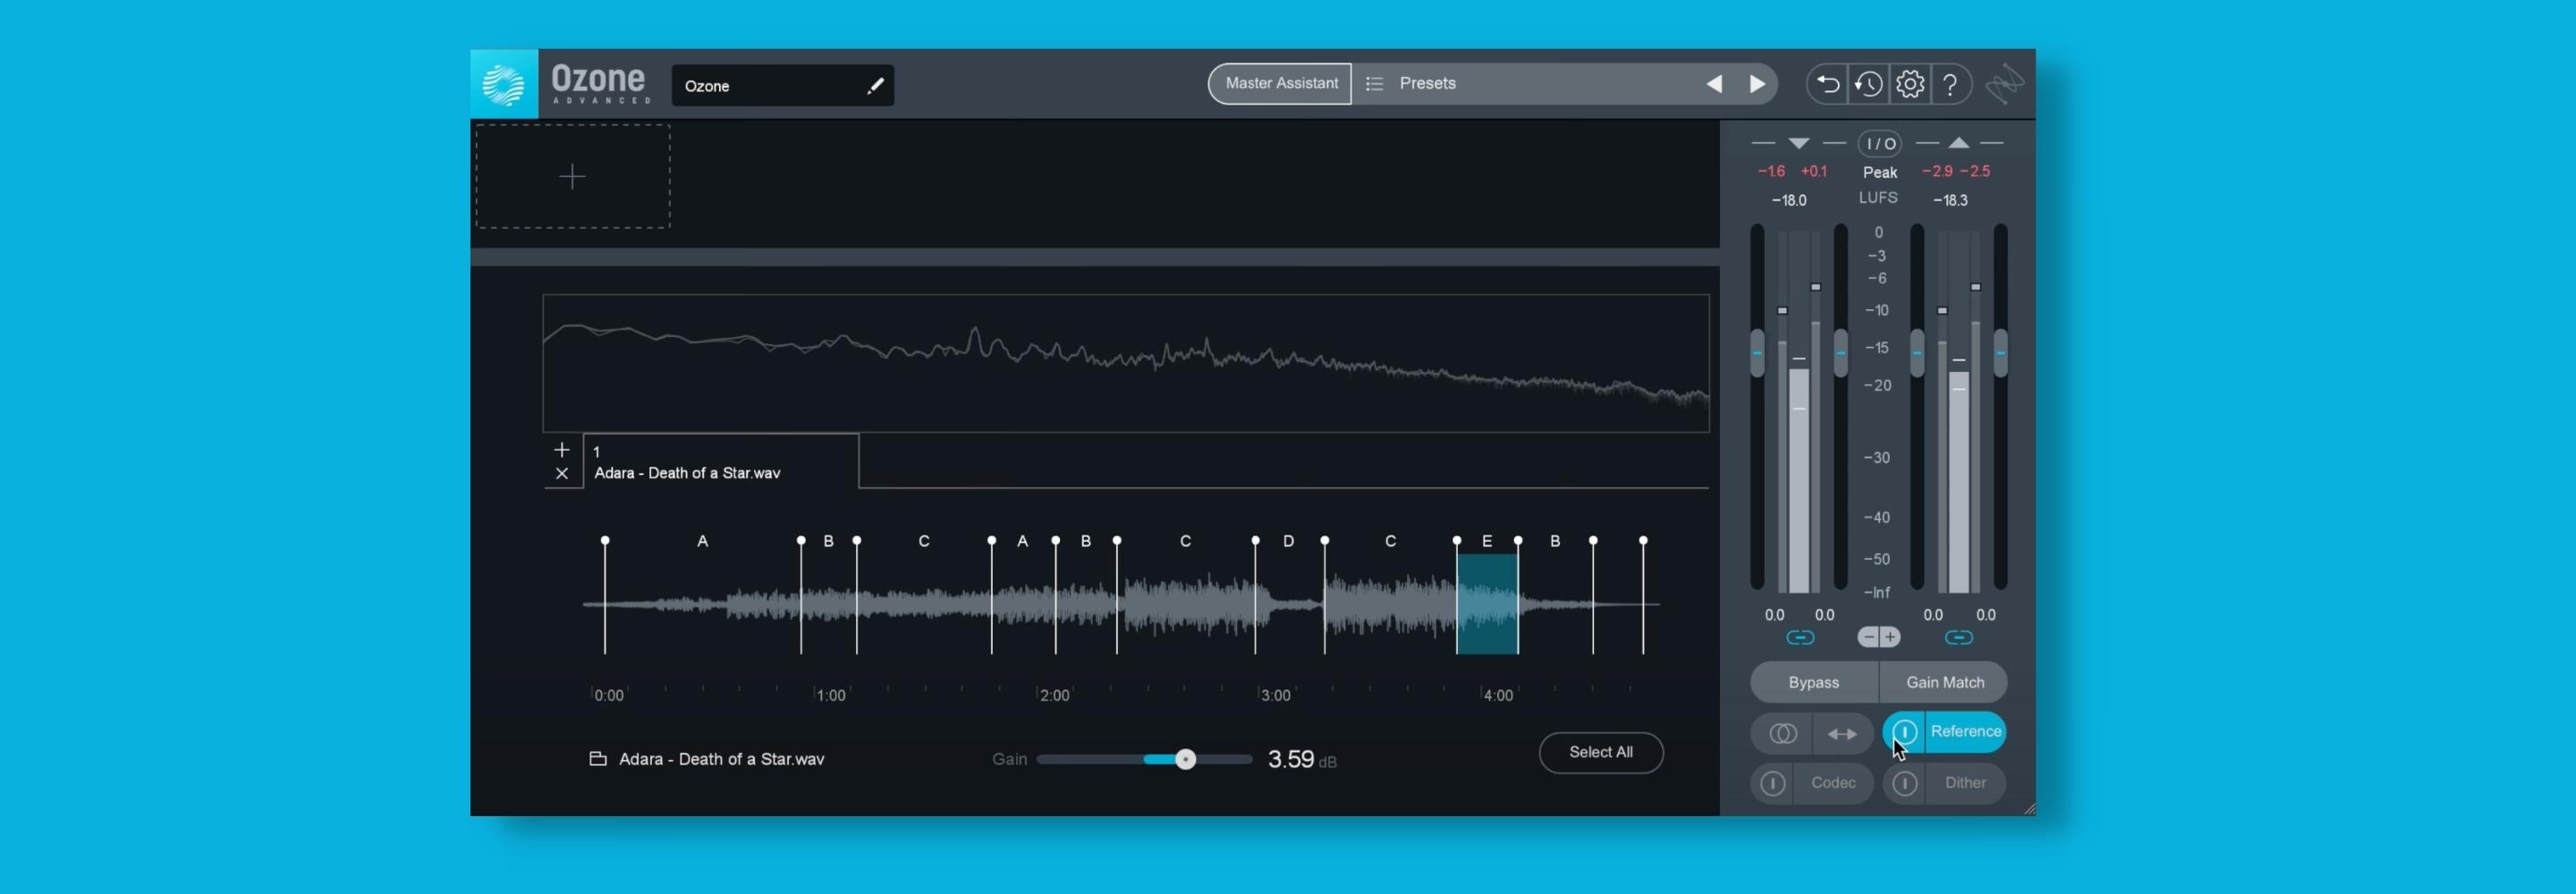
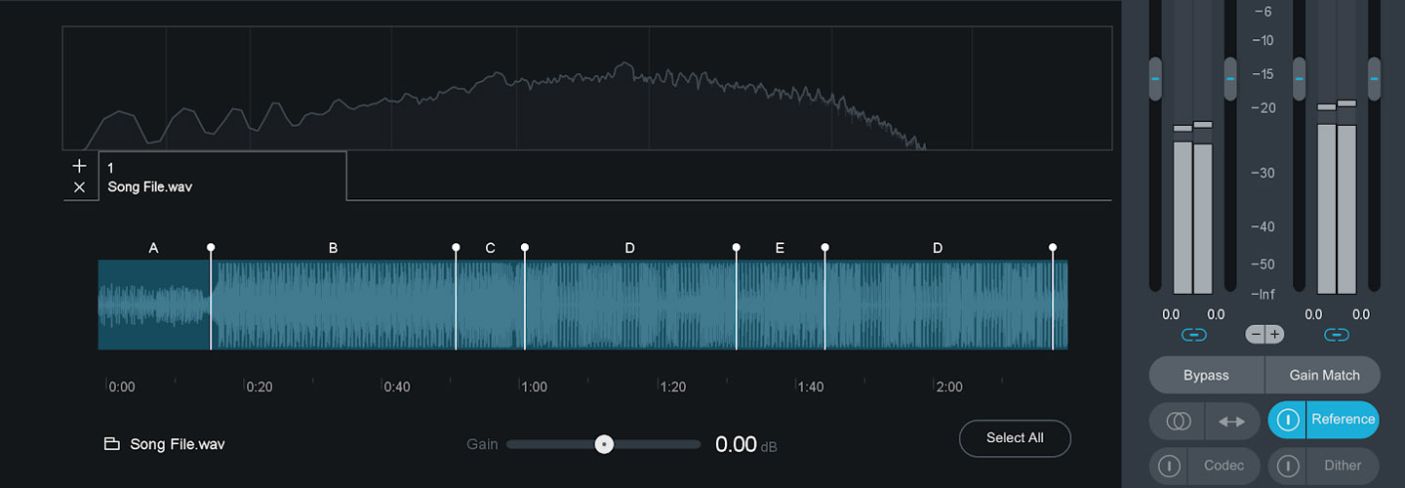
Ozone 9 with a loaded reference file
When you first load a reference track into Ozone, it runs a segmentation algorithm to detect segments of material to give you suggested loop points (verses, choruses, etc.) for fast access to song sections. This allows you to find the most relevant section of your reference even faster.
Each loop point is automatically given a letter of the alphabet as a default name corresponding to sections we detected in your track; similar-sounding sections will all be assigned the same letter so you can get going quickly. You can adjust loop points or section names from there. Settling loop points is very useful if you just want to compare a reference’s chorus to your own chorus, or even something as simple as the kick drum in a reference you love with the kick drum you’re working on.
How to reference tracks in Ozone
Access the Referencing panel by clicking on the Reference button below the I/O meters.
Click on the + button next to the empty Reference track tab to select a reference track from your file directory to load into Ozone 9. You can use this method to reorder or remove tracks.
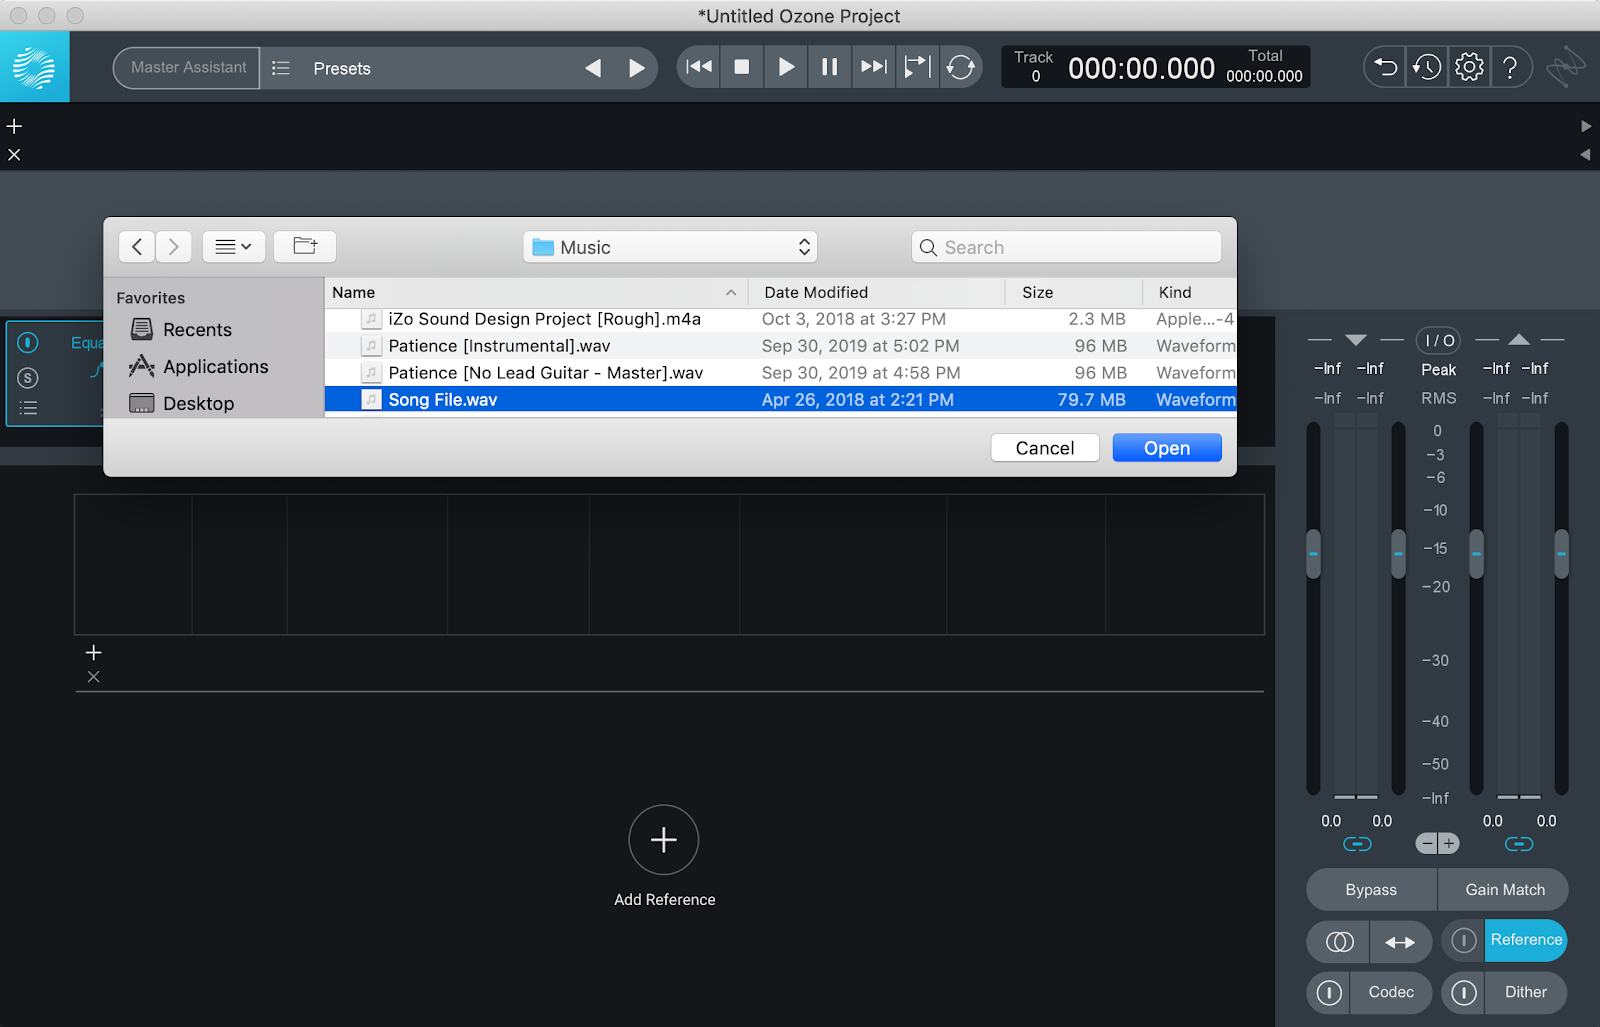
Loading a reference in Ozone 9 Track referencing panel
From within the Reference panel, click a tab to audition one of your loaded reference tracks and set its gain. From there, you can press the Reference A/B button anywhere else in Ozone to monitor your reference track.
When you start playback with a reference track loaded, you will see two spectra overlain in the spectrum meters. Personally, I like to change Ozone's spectrum meter settings to use three-second averaging. I find third Octave mode very useful when comparing the spectrum of my master with my reference.
You can also use the meters in Ozone's I/O section to compare the level of your master with the reference track. By opening the I/O options pop-up, you can select Replace input with reference and view the reference tracks level in the left meter in the I/O section. This works in any meter mode.
Reference mode in Ozone’s Master Assistant
Any of your loaded reference tracks can be used as a target for Master Assistant so you can get to a great starting master in 60 seconds or less.
At the top of the plug-in you’ll see the Master Assistant feature. Master Assistant is designed to give you a starting point that is intelligently tailored to your music to help you create a professional-sounding master, regardless of your experience level. First, choose a vibe you’d like. Choosing Modern applies the non-vintage Ozone modules to your track, giving it a cleaner, more contemporary tone. Choosing Vintage applies the Vintage modules, imparting a warm, analog vibe to your music.
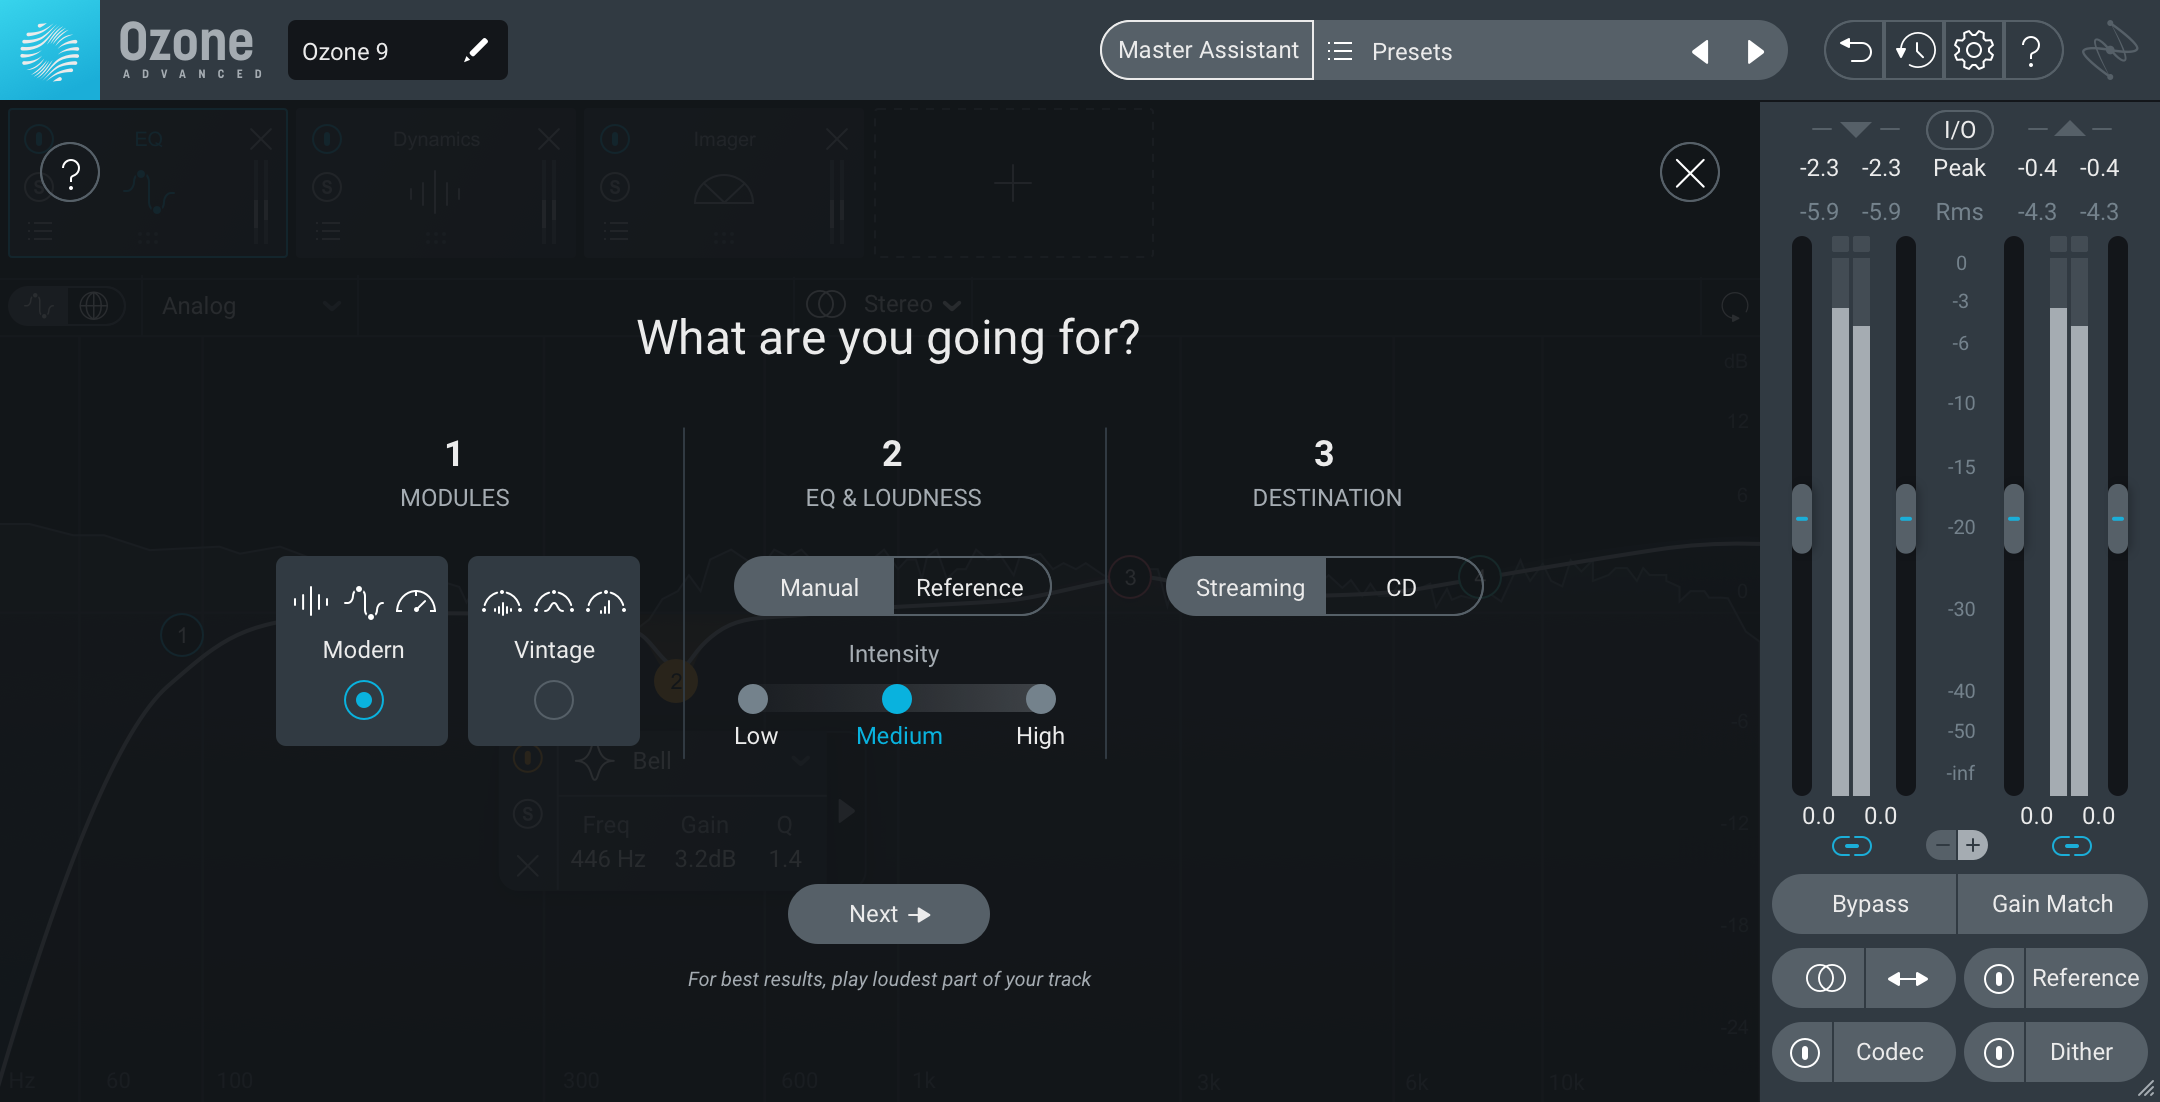
Ozone 9 Master Assistant
Next, choose Reference, then select the song you’d like to make the track you’re working on sound like. Once you’ve identified your reference track and destination, press Next, and make sure you’re playing the loudest portion of the track you’re working on.
Master Assistant will go to work, making your track sound like the reference by calculating its EQ curve and loudness and imposing those characteristics over your track.
Match EQ
The Match EQ module is a digital linear-phase EQ with the ability to use over 8,000 bands of frequencies for very precise reference matching. If there’s an EQ profile out there that you love, Ozone will learn it and let you transfer it onto the track you’re mastering.
If you’re an Ozone Advanced user, you can load Match EQ as a standalone component plug-in. To capture a reference snapshot from a song loaded into the Referencing panel, follow these steps:
Step 1: Open the Referencing panel by clicking Reference (below the I/O meters), load the song whose snapshot you want to capture and enable reference playback with the power button. Optionally, select the portion of the song you want to capture the snapshot from.
Step 2: Switch back to the Match EQ module, press play in your DAW, and click the Capture button. You should hear your reference track playback, and see a spectrum snapshot start to build. Once the spectrum settles, click Stop in the reference capture panel, stop your DAW, and turn off the reference panel.
Now we need to capture a spectrum of what we’re working on. Make sure you have playback from your DAW and press Capture. The captured curve will be shown in blue in the view display, the reference in yellow. You’ll also see a new line emerge in white. This is your matched curve. You can adjust the matched curve settings to designate the Amount and Smoothing of the matched (white) curve.
You can also adjust the Action Region. The Action Region allows you to match parts of your spectrum within the Spectrum view by adjusting the affected area. You can configure the Action Region by clicking on a Range Selector and dragging it left or right across the display. So if you really love the low end of your reference and you only want to bring its magic to the low end of your track, narrow the bands to apply the magic there, and only there. The same is true of the mid and high areas in the spectrum.
Pro Tip: When you’re done, you can save the reference that you captured as a preset and call it up as needed for future referencing. Once you’ve captured a bunch of references and saved them as presets, you can then capture a snapshot of your song and scan through your reference presets to find the one that works best to bring out the character and vibe you’re after.
Tonal Balance Control for referencing
The updated Tonal Balance Control is a referencing powerhouse. It’s designed to help you locate and fix frequencies in your mix that may be out of balance so your audio can sound great in any listening environment. View high, mid, and low-frequency areas against genre-based targets or your own uploaded reference tracks.
iZotope analyzed thousands of incredible masters to create genre-specific targets, which you can call up to reference against. However, you can always upload your own individual references—or a whole folder of them.
You can see the tonal balance profile of the track you’re working on against the reference in either broad Broad or Fine view. The white line represents the file that you’re working on, and the larger outline represents the target. This way you can see how your track stacks up to the reference, allowing you to identify problems both large and small, or solo frequencies to hear what instruments are contributing the most to your overall balance.
Let’s say you notice an abundance or deficit of energy in a particular region. Thanks to a protocol we developed called inter-plugin communication, you can adjust the gain or EQ on other iZotope plug-ins directly inside the Tonal Balance Control window while viewing the changes against your reference target, so you know when your music is ready for release.
Conclusion
Track referencing is an invaluable tool and a great addition to any mixing or mastering workflow. It allows you an objective opportunity to check whether your track is closing in on the ideal dynamics and vibe you’re going for. Whether you’re using reference tracks in Ozone or elsewhere, you’re sure to improve your workflow with reference tracks.

