
Types of Studio Monitors and Which to Choose for Home Studios
Studio monitors are some of the most important pieces of a home studio. In this guide, we cover types of monitors and the best options for a DIY home recording setting.
An important decision when designing a home studio for music production, mixing, and mastering is the set of monitors to purchase. Apart from the acoustics of your room, this will have the biggest impact on the listening experience in your studio. Choosing the “wrong” monitor (especially for the room you’ll be using) could hinder your ability to create recordings that translate when played in other environments.
Keep in mind that the easiest way to take room acoustics out of the picture is a good pair of headphones. There will be zero reflected sound hitting your ears, with the left channel played directly to the left ear and the right channel to the right ear.
Monitors will introduce room acoustics into the equation and both ears will be hearing both channels. This is a different listening experience.
With that in mind, monitors remain important because a lot of music is consumed through some sort of speaker. Having the ability to work in the environment of an average listener is invaluable.
Today, we’ll go into the different types of studio monitors, which are most useful and compatible with home studios, and some potential options to check out if you’re in the market.
What is a studio monitor
Before we get any further, let’s go over some of the parts of a studio monitor.

Anatomy of a studio monitor
The electronics of a monitor are encased by the cabinet. This can be made out of various materials, like metal, wood, or plastic.
Most studio monitors consist to two separate drivers or speakers.
The higher one vertically is called a tweeter. Tweeters are often cone- or dome-shaped, again constructed from a wide range of materials. They are responsible for producing high frequencies, usually starting at around 2 kHz.
The other speaker, placed below the tweeter vertically, is called a woofer. These are generally cone-shaped and responsible for producing low and mid-range frequencies in monitors with two drivers (called two-way).
Some monitors have a third driver, a mid-range speaker. In this three-way system, the tweeter will produce high frequencies, the mid-range speaker will produce mid frequencies, and the woofer will produce low frequencies.
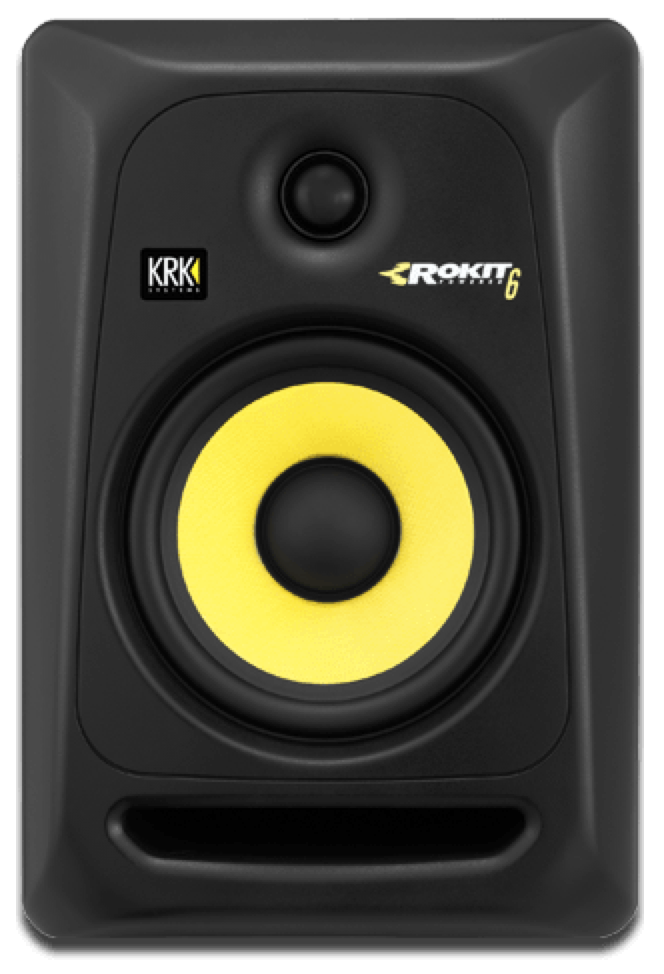
KRK studio monitor
Behind each driver is an electromagnet. This magnet is pulsed on and off rapidly, causing the driver to move back and forth fast enough to reproduce the complex audio signal. The driver’s vibration vibrates air molecules around the driver, creating sound waves to recreate the audio.
Passive vs. active monitors
Signals entering a monitor must be amplified before playing through the drivers. This can be done with two different systems: passive and active. Monitors that run in a passive or active system are called passive and active monitors respectively. Here’s a great diagram that shows the differences between passive and active monitors.
A passive monitor requires an external amplifier to amplify the input signal before entering the monitor. This amplified signal is then sent through a series of electronic components within the monitor called the crossover network.
The crossover network essentially acts as a filter, separating the input signal into multiple signals based on frequency. In studio monitors with one tweeter and one woofer, the crossover network will create two signals—one with higher frequencies and one with lower frequencies. The higher frequencies are sent to the tweeter and the lower ones are sent to the woofer.
This example would be called a “single-amp” system. The output of one amplifier is split by the crossover network and sent to the relevant drivers.
An active monitor does not require external amplification, as amplifiers are housed within the cabinet. The input signal entering the monitor passes through the crossover network first, after which each band is separately amplified before being sent to the relevant drivers.
In a studio monitor with one tweeter and one woofer, signal would be split into two bands and each band would have its own dedicated amplifier. This would be called a “bi-amp” system.
Some systems introduce a third speaker, splitting the signal into low, mid, and high frequencies. Each of these bands can be amplified, which would result in a “tri-amp” system.
Drivers generally sound more precise and defined when they are powered individually, so bi-amp and tri-amp configurations will usually sound better than single-amp ones at a similar price point.
Check out this passive vs. active monitor diagram (from Medium) for a great graphic representation of the differences.
Which to get: passive vs. active?
In a home studio setting, active speakers are much more convenient. It won’t be necessary to purchase an external amplifier or worry about calibrating the crossover network. This will help when space and budget are factors in designing your home studio.
Additionally, a passive system would require calibrating your amplifier to your monitors’ drivers. Active monitors are designed so the built-in amplifiers match the drivers well.
Neither type of system is necessarily superior in principal, as there can be a wide range in the quality of both active and passive systems. Most modern monitors are active and plenty of professional studios use active monitors, so you can’t go wrong with a good pair of active monitors.
Near field vs. far field monitors
Monitors will sound different depending on your listening distance. Because of this, most monitors are designed to be used as either near-field or far-field monitors. There are certain benefits to using each in your home studio.

Near-field vs. far-field monitors
Near field monitors generally have smaller drivers and are placed closer to the listener (around 2-3 feet away). Their proximity means that more direct sound from the monitor will hit the listener’s ears, rather than reflected sound from surfaces in the room. Near fields will seem to increase the ratio of direct to reflected sound.
This will reduce the impact of room acoustics, allowing for more detailed work, such as identifying small problems in the mix like pops and clicks. Additionally, near fields are beneficial because they tend to have a slightly narrower frequency response—a measurement of the range of frequencies the monitor can produce.
Near fields, therefore, will sound more similar to consumer monitors than large, expensive far field monitors will. Hearing a mix in this environment can then be an accurate representation of the average listener’s experience.
Near field monitors can be positioned on stands or simply on the top of a desk. Simply placing monitors on the top of a desk can cause the desk itself to resonate. This can add resonances that doesn’t exist in the mix, causing the listening experience to be less accurate.
Isolation pads can be placed underneath desk-mounted monitors to reduce the effect of the desk resonating. However, sound waves can still bounce off of the desk, causing additional resonances. For this reason, stands are the best bet for your near field monitors.
Far field monitors, on the other hand, generally have larger drivers and are placed along the perimeter of the room further away from the listener (around 10 feet away). They’re often mounted on or in the wall behind a mixing desk.
Far fields allow audio to be heard in the room, taking advantage of room acoustics to impact the sound. Using the entire space in the room allows for the development of lower frequencies, which have a longer wavelength. With the added low end, far fields lend to more holistic listening and checking overall mix balance.
However, the introduction of more reflected sound has the potential to create room modes, resonances in the room. For this reason, far field rooms often have diffusers to disperse these resonances.
Which to get: near field vs. far field?
When designing a home studio, space can be limited to the point that far field monitors don’t make much sense. Additionally, far field monitors are much more dependant on the acoustics of the room, so you would likely have to invest some money into treating a room with these monitors.
Because of these factors, near field monitors are a safe option. Professionals have used them for years (e.g. the Yamaha NS-10, an industry standard since its success in the 80s and 90s). Near fields will allow you to take advantage of a smaller room and will be less affected by a non-treated room.
Ported vs. unported monitors
You may notice that some studio monitors have a hole / holes in the cabinet. These are called ports.
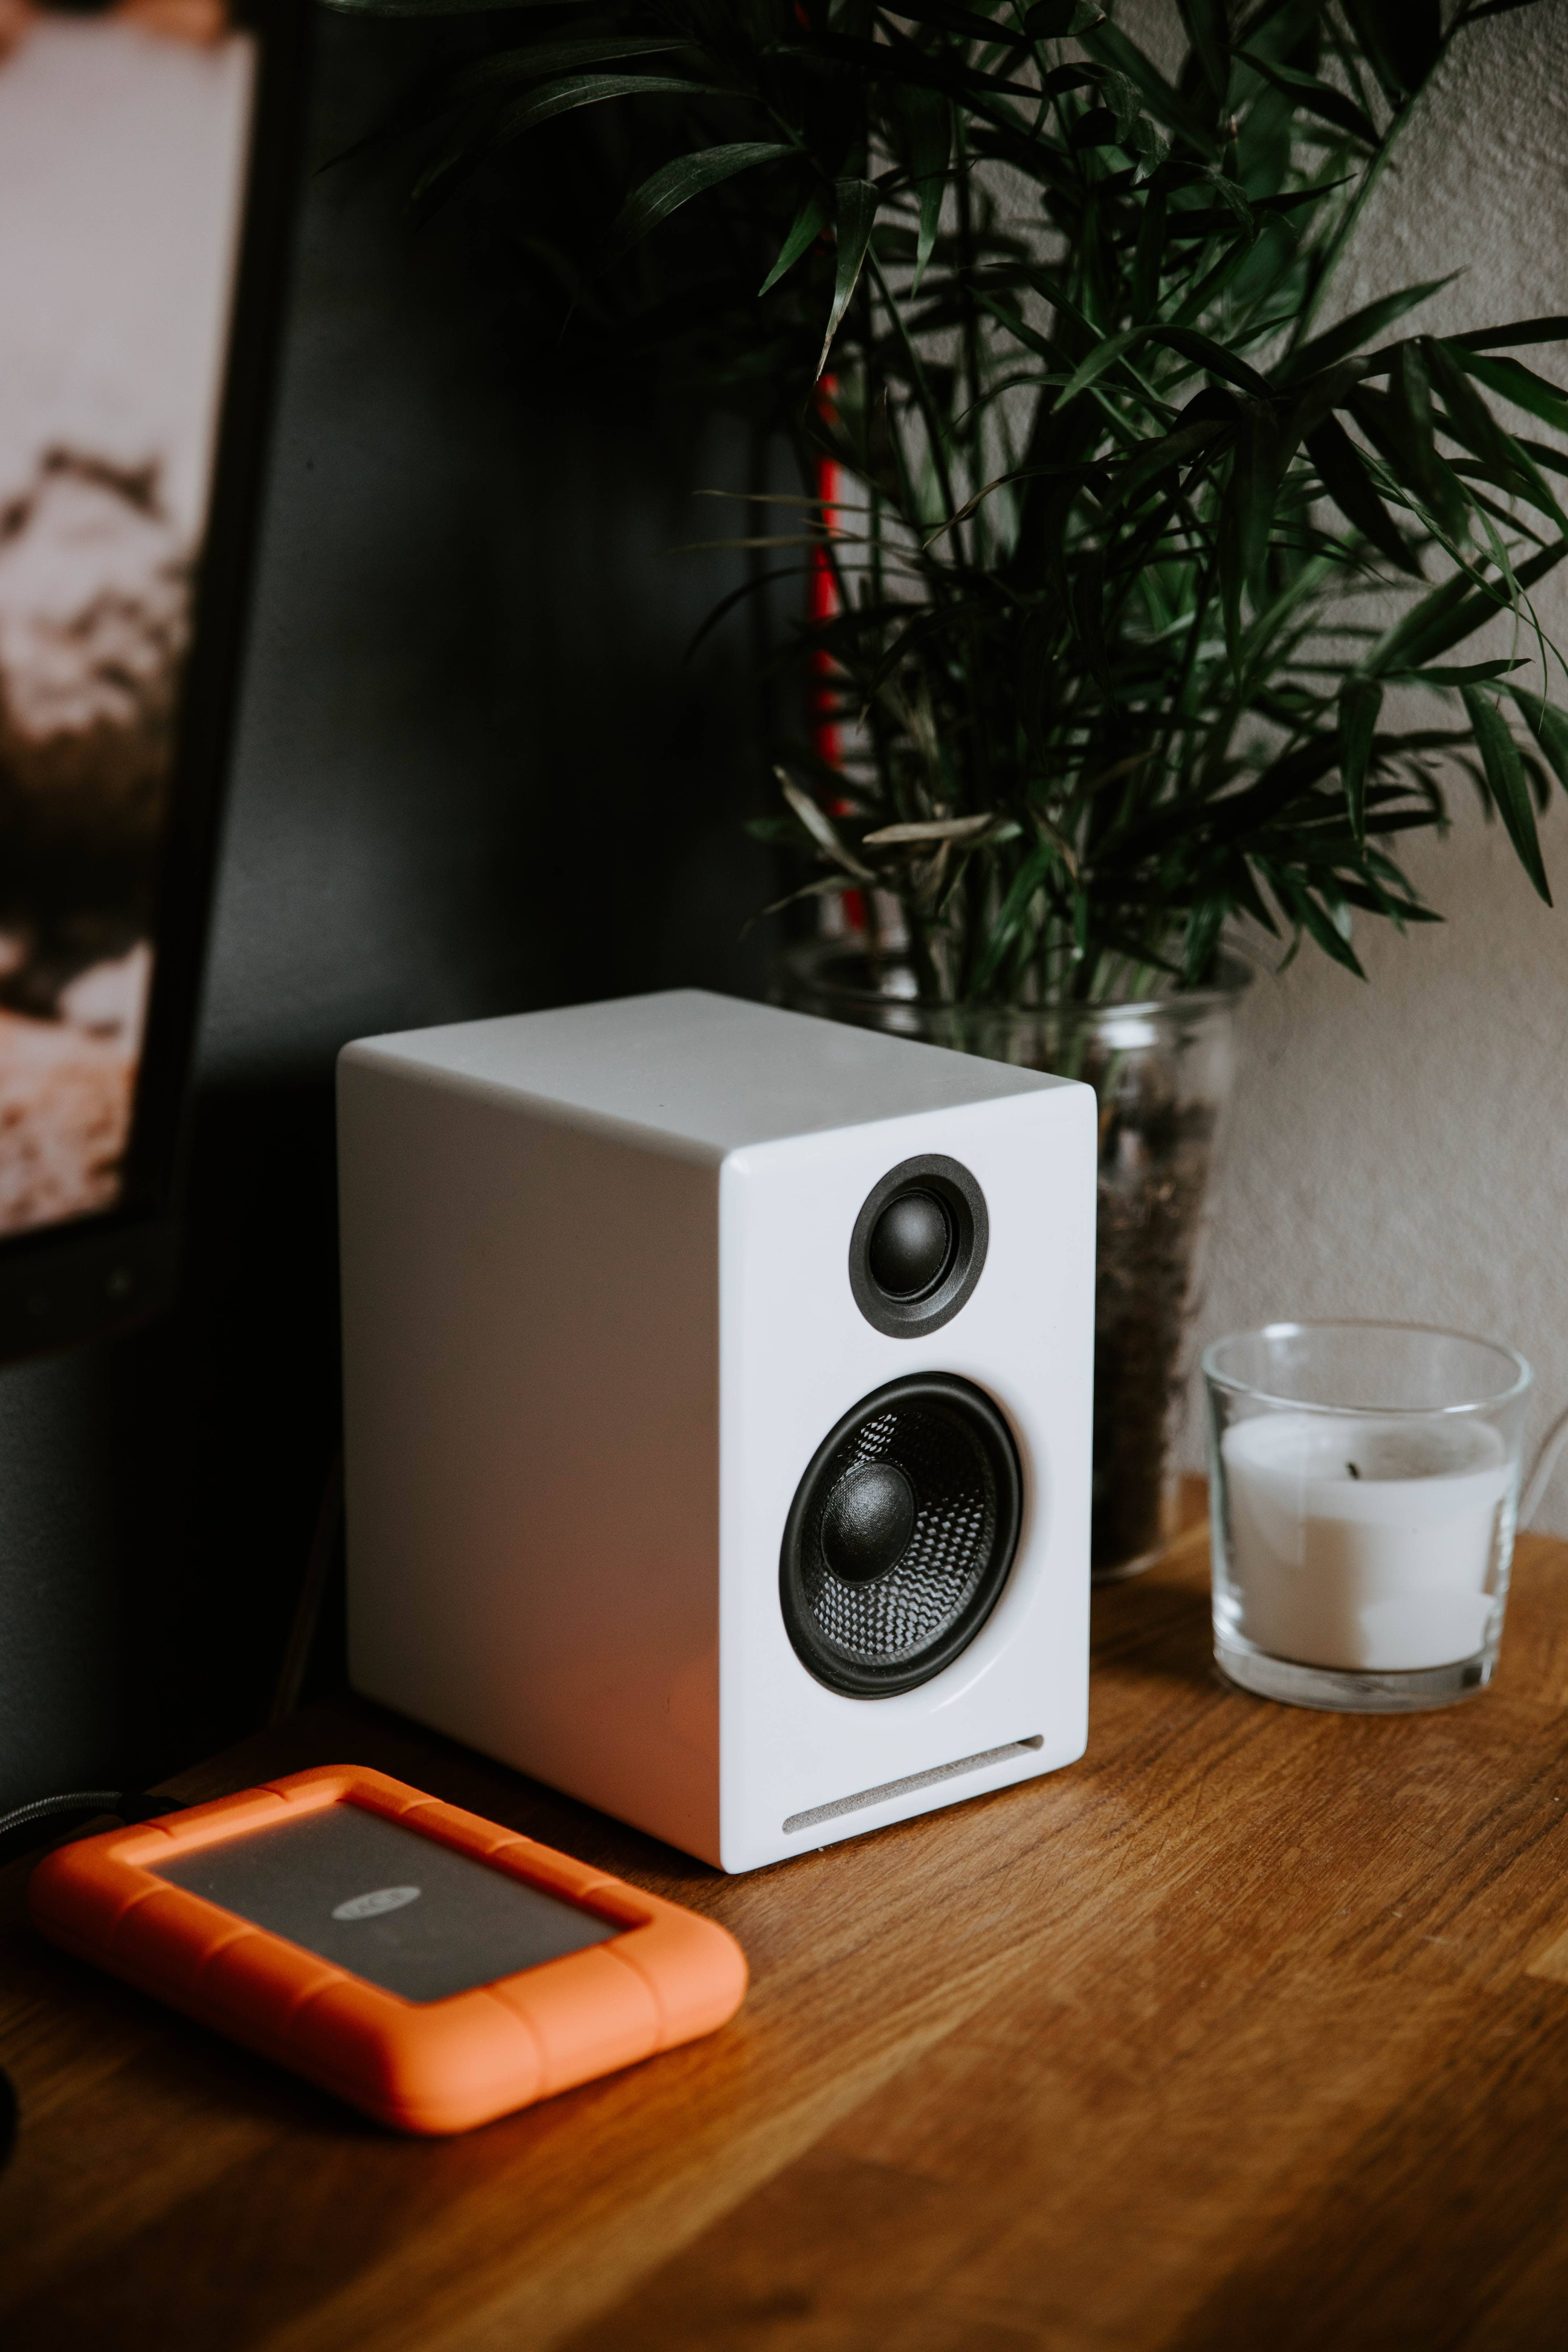
Ported monitor
Monitors with these holes are called ported monitors, while those without are called unported. When a driver is vibrating, the backward movement will create internal air pressure within the cabinet.
The ports redirect this pressure outside the cabinet. The structure of these ports causes air to resonate close to the monitor’s cutoff frequency. This resonance helps to extend the frequency response of the monitor, allowing for more low frequencies to be played than a similar closed monitor.
However, closed designs that are well calibrated to the driver design can have a “tighter” bass response. And cheap ported units may have too much resonance at the port. The decision is yours to make.
Which to get: ported vs. unported?
The choice between ported and unported speakers depends mostly on the shape of the room. The drop in accuracy for ported speakers can be more noticeable when the ports are located on the back of the cabinet.
This is compounded when the monitors are placed close to a wall, as signal exiting the port will reflect off the wall and introduce new resonances. In a small home studio, there’s a good chance you’ll have to place the monitors near a wall, so this can be a problem.
There are a few solutions for this dilemma. First, acoustic paneling should be placed behind the monitors—this can help reduce some of the resonances. Alternatively, there are ported speakers that have front-facing ports, which will prevent reflection from the walls. And lastly, you can simply go with a pair of unported monitors for higher accuracy.
Monitor placement
How your monitors are positioned has a huge impact on the accuracy of your listening experience. Luckily, there’s a pretty easy way to make sure the monitors are placed optimally.
The monitors, first and foremost, should be at ear-height when working. Most monitor stands have adjustable height, so this should be relatively easy to set up.
Your monitors should also be as far away from each other as they are from the listening position. Your head and the two monitors should make an equilateral triangle, with each monitor facing directly toward your head.
The diagram below from EQ Acoustics shows best practices for monitor placement.
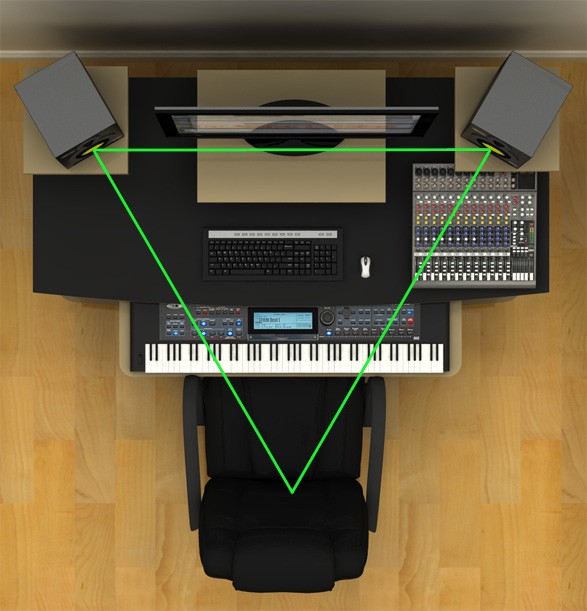
Monitor placement best practices
Monitors should also be lined up with the wall behind your studio desk, rather than placed in a corner. Sound will reflect off of surfaces, so this provides the most uniform setup to minimize additional resonances. Ideally, you should be lined up with the room’s short wall.
The listening position should be centered in the room, often approximately one third the length of the long wall. If the monitors are too close to a boundary (wall) or corner, there will be an increase in bass response.
This configuration will produce the proper frequency response and stereo image for the monitors you’re using.
For more considerations involving room acoustics and monitor placement (specifically in a mastering mindset, but applicable to all home studio environments), check out this video.
Potential options
For a home studio, your best bet is likely a pair of active, near field monitors. These can be ported or unported. Below are several options in this group. Naturally, more expensive monitors tend to have a better frequency response, are more sonically accurate, sound more defined, etc.
However, any set of monitors is more effective the more familiar you are with them. This can be done by listening to music you know well through the monitors. By hearing how these monitors reproduce familiar music, you’ll be able to get a good handle on how the monitors themselves “sound.”
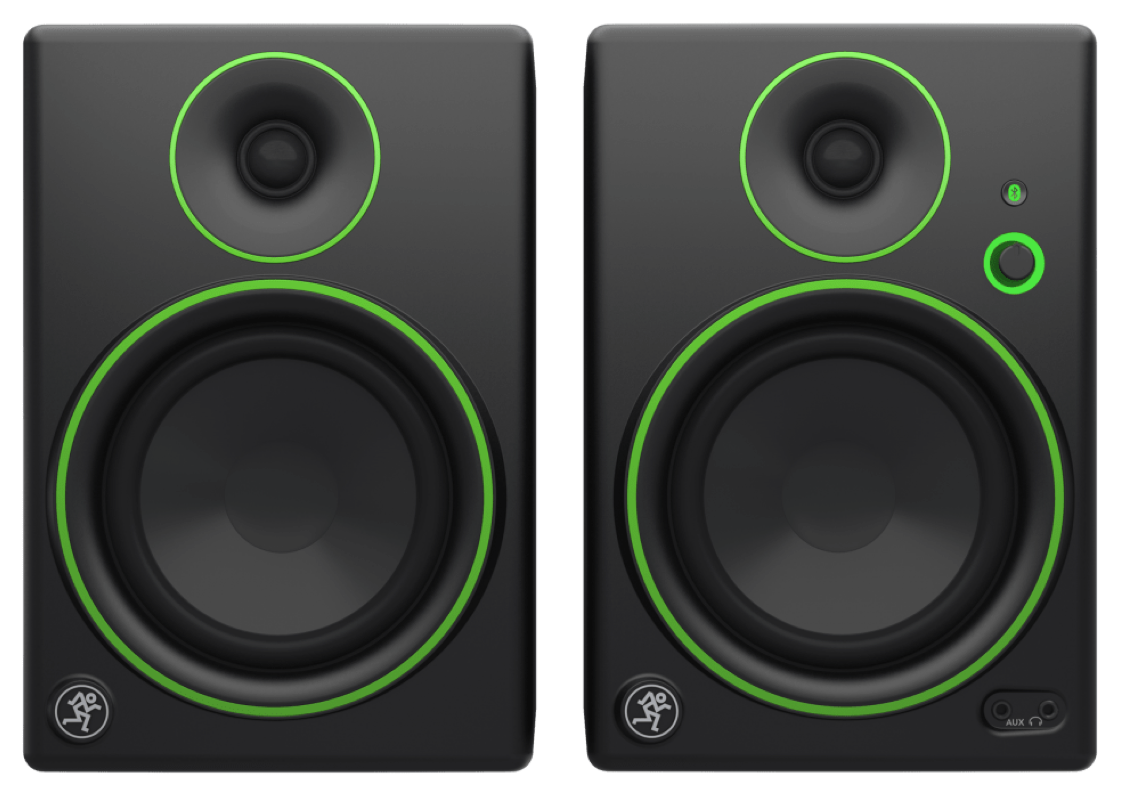
Mackie CR3-X | Price: ~ $100

M-Audio AV42 | Price: ~ $125

JBL 305P MKII | Price: ~ $150

Yamaha HS5 | Price: ~ $200

KRK Rockit 6 G3 | Price: ~ $200
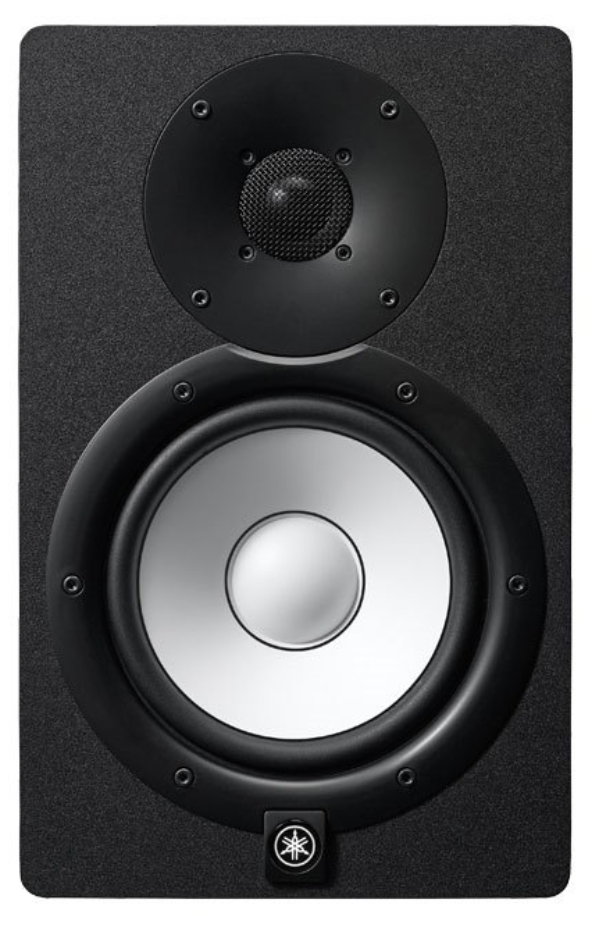
Yamaha HS7 | Price: ~ $300
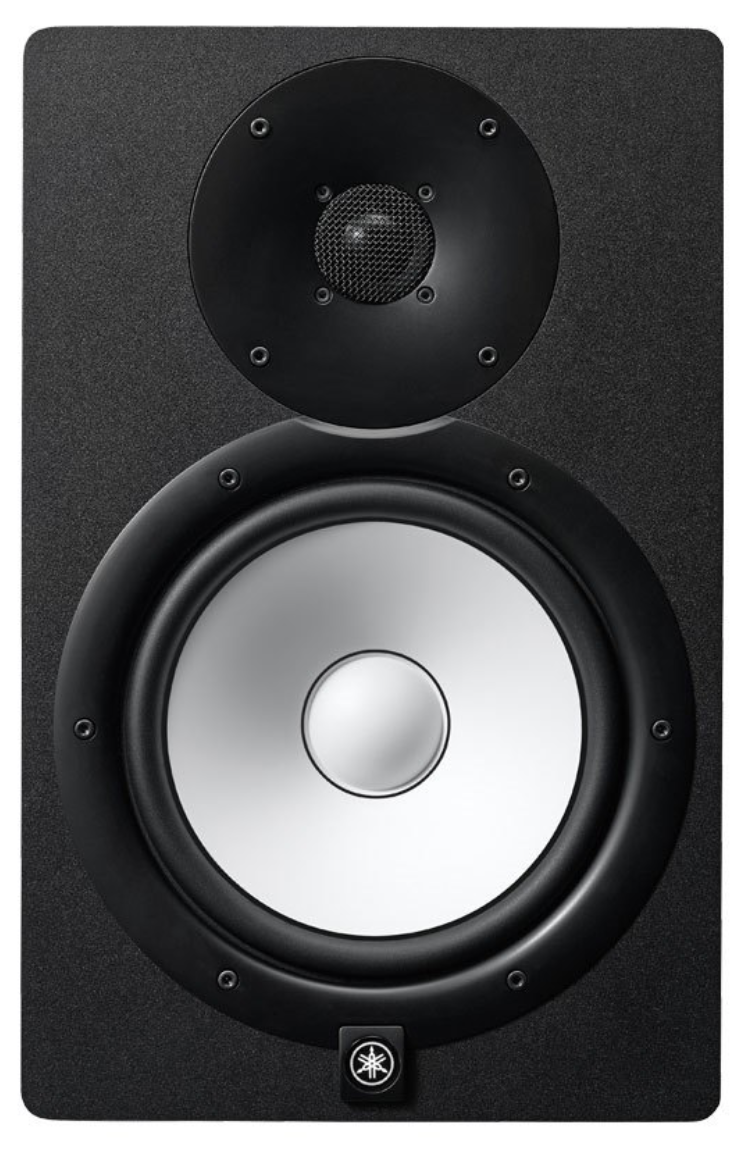
Yamaha HS8 | Price: ~ $350
Conclusion
Studio monitors come in all shapes, sizes, and specifications, each of which have their own functions and applications. Whether they’re internally powered or not, near or far field, ported or unported, any monitor could potentially be the ideal choice for your setup.
Keep in mind that it’s not so necessary to simply get “the best monitor” for your studio. Using the tips we’ve gone over, take into account what your studio needs and make your decision from there.


