8 Tips for Editing Dialogue with RX 7
Beyond de-noising, here are eight common real-world scenarios for editing dialogue with RX 7.
RX 7 provides exceedingly useful tools for post production, and many are easy to implement. But we all have to start somewhere, and for those diving into the post game for the first time, any audio-repairing software can be intimidating. Even for experienced hands, it can be hard to know when to edit dialogue anyway—and how to do it.
What follows are some examples of how I use RX 7 everyday. Read on if you want to see some real-world implementations of this powerful processor.
1. Dialogue Contour for finishing a sentence
While working on a podcast, I was given a transcript of the relevant audio, and a bunch of raw interviews from which to pull quotes. Many of the quotes were finished sentences—statements where the person had clearly finished their thought with a period, full stop, end-of-story cadence.
Or so it appeared in the written transcript. The audio, however, told a different story: the person had more to say, hastily jumping into their next thought. This “next thought” wasn’t germane to the original point at all—hence the cut in the script—but human beings aren’t tidy machines. They don’t speak in the same way as writers write. Run-on-sentences are par for the course.
This can sometimes be frustrating for audio editors, for if a person jumps too quickly between one thought and another, you’re left with a most unnatural edit point. That’s what happened on this podcast. I found myself with sentences that just didn’t end clearly.
The solution
Dialogue Contour came to the rescue many times in this project. Using the module, I was able to close the sentence in a natural way. The operation was simple—I isolated the phrase, clicked in a node at the end of the phrase, and subtly brought the pitch down.
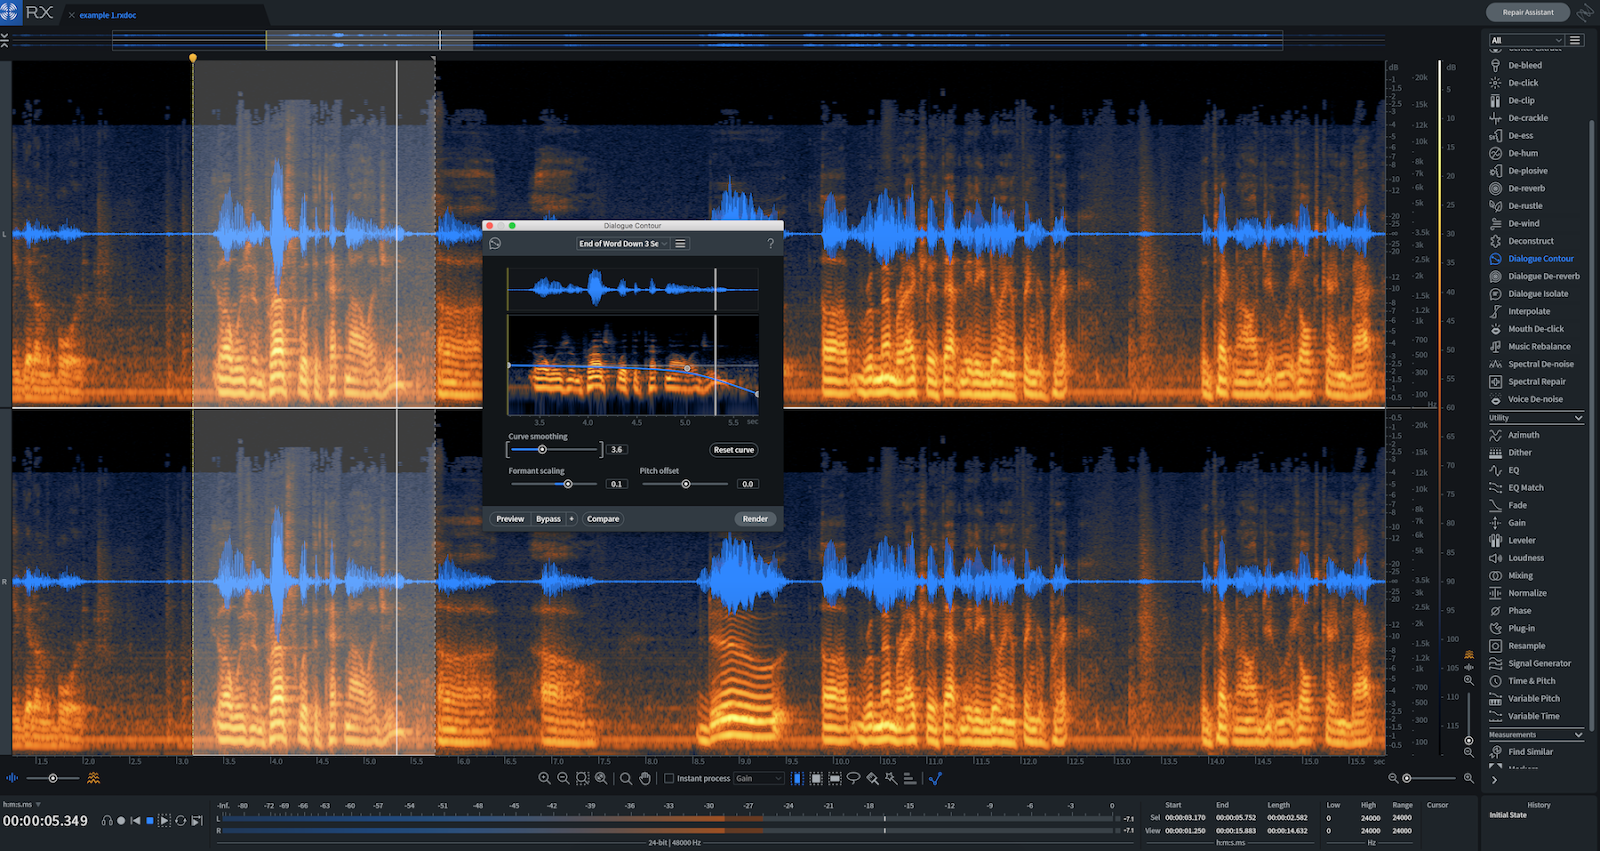
The result? A completed thought. This, combined with fading a bit of room tone underneath the subject as they ended their sentence, solved the problem.
2. De-rustling a lav mic
I wish I had this tool years ago. I can point to one instance in particular: in the show Hey Yun, the episode Mercy—a piece of tragi-comedy with which I am quite happy to be associated—an actress tapped on her chest in delivering a monologue. Unfortunately, that’s where her lav mic had been pinned.
The show had a mockumentary feel, so we made a decision to minimize the sound of the actress tapping her lav—to make it less bad, instead of eliminating it with overdubs. Had I the De-rustle module at the time, I would have been able to eliminate it entirely.
It’s clear that De-rustle makes it much easier to clean dialogue that, before now, would almost be impossible to fix. De-rustle is also super easy to use; I can instruct someone in how to use it over email. How do I know this? It just happened.
Someone in the radio world posted a question on how to clean up a scratchy-sound with iZotope products, and, after listening to the audio, we talked about implementing De-rustle. We corresponded very briefly, because the person was able to deal with the issue almost immediately.
3. Dialogue De-reverb to place actors in different locations
Removing unwanted ambiance from a dialogue track—it happens all the time. I’m not talking about unwanted noise, such as a noisy hard drive. I’m talking about room reflections, which often tend to marry themselves to the sonic signature of the vocal.
De-noisers have a harder time removing these reflections because they are not, strictly speaking, “noisy.” They are a sonic imprint rather than a noisy overlay. Yet sometimes it’s imperative to remove these reflections.
For a visual medium, like a news broadcast or a low-budget film, one can make a case for leaving them in: you see the subject in a room; why shouldn’t you hear the sound of the room? The same might apply for a nonfiction podcast, where we expect to orient ourselves in a location.
But for audio fiction, drama, or any visual piece put in front of a green screen, this is a problem. It sounds incongruent.
The problem
On a pilot for an audio-drama now in production, I was presented with a dialogue track that needed to be “placed” in various locales. A car interior, a factory, a snowy winter exterior, an old woman’s knickknack-laden house—she had to aurally visit each of these places. Unfortunately, you could really hear the room in her recordings.
My old go-to of using multiband transient shaping to minimize the gate wasn’t doing much, and neither were de-reverb tools from a variety of manufacturers. This, it seems, was a good candidate for Dialogue De-reverb.
The solution
The setting that worked for me was quite subtle—it involved playing with the three sliders until the ambiance was not eliminated, but tamped down quite a bit. Anything more would yield artifacts, but that was okay. With the vocal enhanced, I could now use a bit of vocal-denoise to get out the room elements that weren’t reflection-oriented. Next, a bit of multi-band transient shaping in Neutron 2 (bringing the sustain sliders down), followed by the introduction of appropriate ambiance/sound design. Eventually, I was able to get the vocal in line with the right space.
Here’s my takeaway: when working with something like Voice De-reverb, I work in small steps. Incremental improvements will serve the larger goal—but that makes each incremental improvement no less important to the process.
Ambience Match in RX
4. Ambience Match and EQ Match to smooth over ADR
A lot of times lines will be looped after the fact—dubbed in because something happened on set. We call this ADR, and ADR always seems to stick out like a sore thumb. You need to massage in the right context with the original dialogue.
The problem
On the show BKPI, we had some ADR that needed this kind of massaging. We recorded the dialogue with a different mic, through a different chain, and in my studio. The difference was obvious.
The solution
First, we needed to match EQ signatures between the original and the ADR. This was relatively simple to do—I bounced a file comprising a usable bit of the original, and the ADR a few seconds after. With match EQ, I highlighted the original and clicked learn. Then I highlighted the ADR, and rendered it.
Usually, the match is good, but you’ll still want to process it by ear with EQ. The equalizer within RX 7 is great for this, as it’s very transparent. In this instance, I boosted some low mids to match the original’s timbre and cut some high-mid harshness as well.
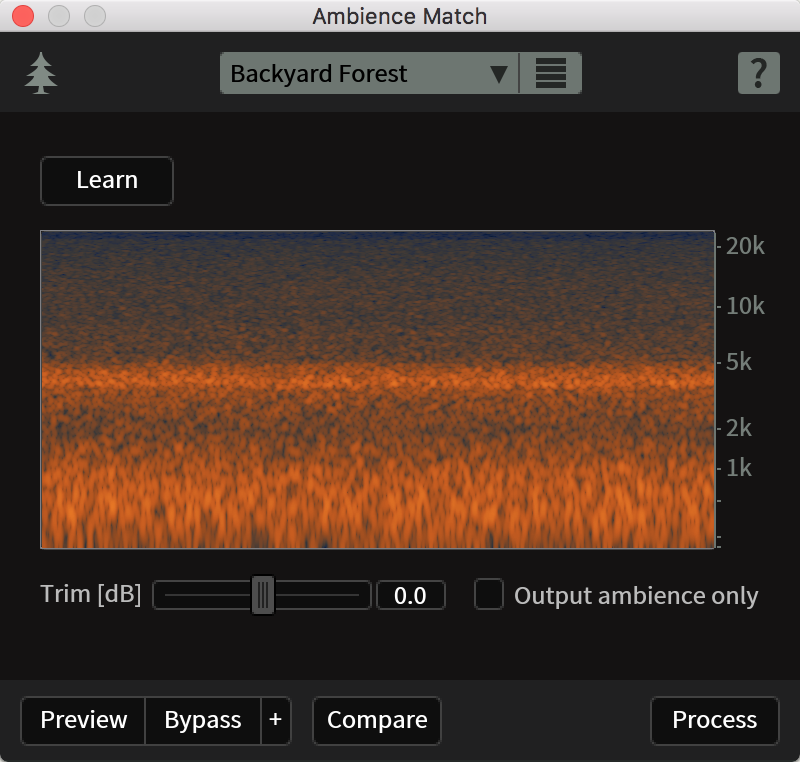
Next came Ambiance Match, and this was even simpler: I highlighted some silence around the original track—silence containing room tone. Then, I clicked learn, highlighted the ADR track, and processed it. I rarely find I have to do additional processing on the ambiance side.
One last bit of advice: try to do this process early, before any mixing of the original vocal. That way, it’s easier to process all at once, in one track, when you’ve combined them.
The De-bleed module in RX
5. De-bleed to mute and more
De-bleed handles a lot of musical issues. But it also has its uses in post, and for some pretty quirky problems to boot.
The problem
On a podcast, I recently had a phone interview come my way. Track one was the interviewer—track two was a phone call and the interviewer printed to one track. Sometimes the interviewer interrupted the subject, and this would not do.
The solution
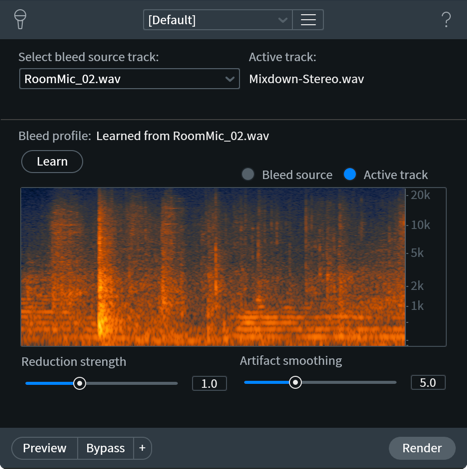
So I used De-bleed, and to my surprise, it worked—it took the audio picked up from a studio microphone, and was able to recognize its phone call counterpart to bring it down. It wasn’t perfect—further editing was required to make it feel more natural—but it was an integral part of editing it out.
Other benefits of De-bleed
De-bleed also has its benefits when editing two tracks of dialogue together for a film or audio-fiction project. If a lav on character A is picking up audio from character B, you can use De-bleed to effectively suppress one character from the other’s recording. Again, results might not be perfect—and if you drive the algorithm too hard, you’d definitely hear artifacts—but it provides a suitable place to work from. Now, you can better mask the issue within the mix with sound design.
Recently I had to use De-bleed to clean up a bit of dialogue—“clean” here meaning “take the curses out”. Two characters were talking at nearly the same time, such that inserting the 1 kHz bleep was too jarring—it affected too much of the scene, in other words. I had to De-bleed the curse out from the interrupted person’s mic in order to render the bleep less intrusive. This is another use for the module.
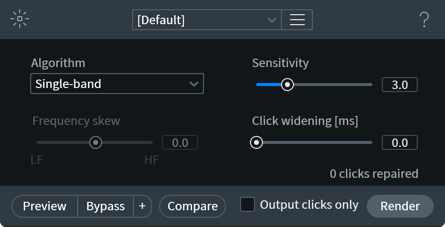
RX De-click module
6. Mouth de-clicking for a commercial
Sometimes a shoot involves one person addressing the camera. Sometimes this person forgets to drink water—or drinks too much of it. The result is the same: horrible mouth noise (or, if you’re into ASMR, wonderful mouth noise).
Folks, it has never been easier to take out mouth noise than with Mouth De-click, and I do it regularly.
The problem
I had a commercial come my way for a diabetes testing device. It involved a woman talking to the camera directly, about various complicated scenarios involving diabetes. There were eight commercials in total. Every single one of them was beset by mouth noises.
The solution
What would’ve been murder before was the easiest gig I ever had: I slapped Mouth De-click as the first plug-in the chain and it solved my woes. Any artifact trade-off was worth it; as there was a consistent musical bed, any negligible artifacts were hidden.
If I wanted to be extra thorough, I could go into the standalone RX application, highlight each instance of mouth noise, and tailor the algorithm for each one. And, in a podcast that craves the best sound design possible, I might well do that. But here it was easy enough to run the process in-line.
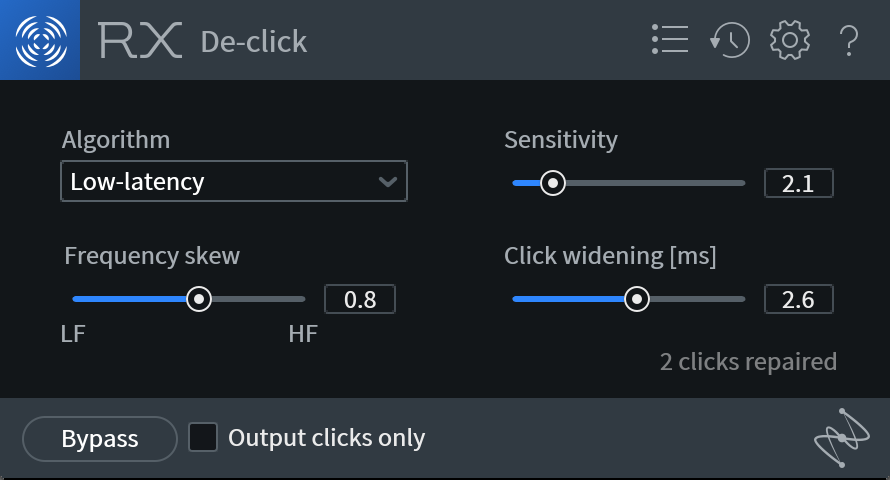
RX 7 Elements De-Click
7. Adding mouth clicks back in with Mouth De-click
On an audio drama, the director asked me to make a character even more creepy than he was. Here the solution was to emphasize the mouth noises already present in his voice, which was easy to do with Mouth De-click. I bussed the vocal to a new aux track, put on an instance of Mouth De-click, then soloed this option right here.
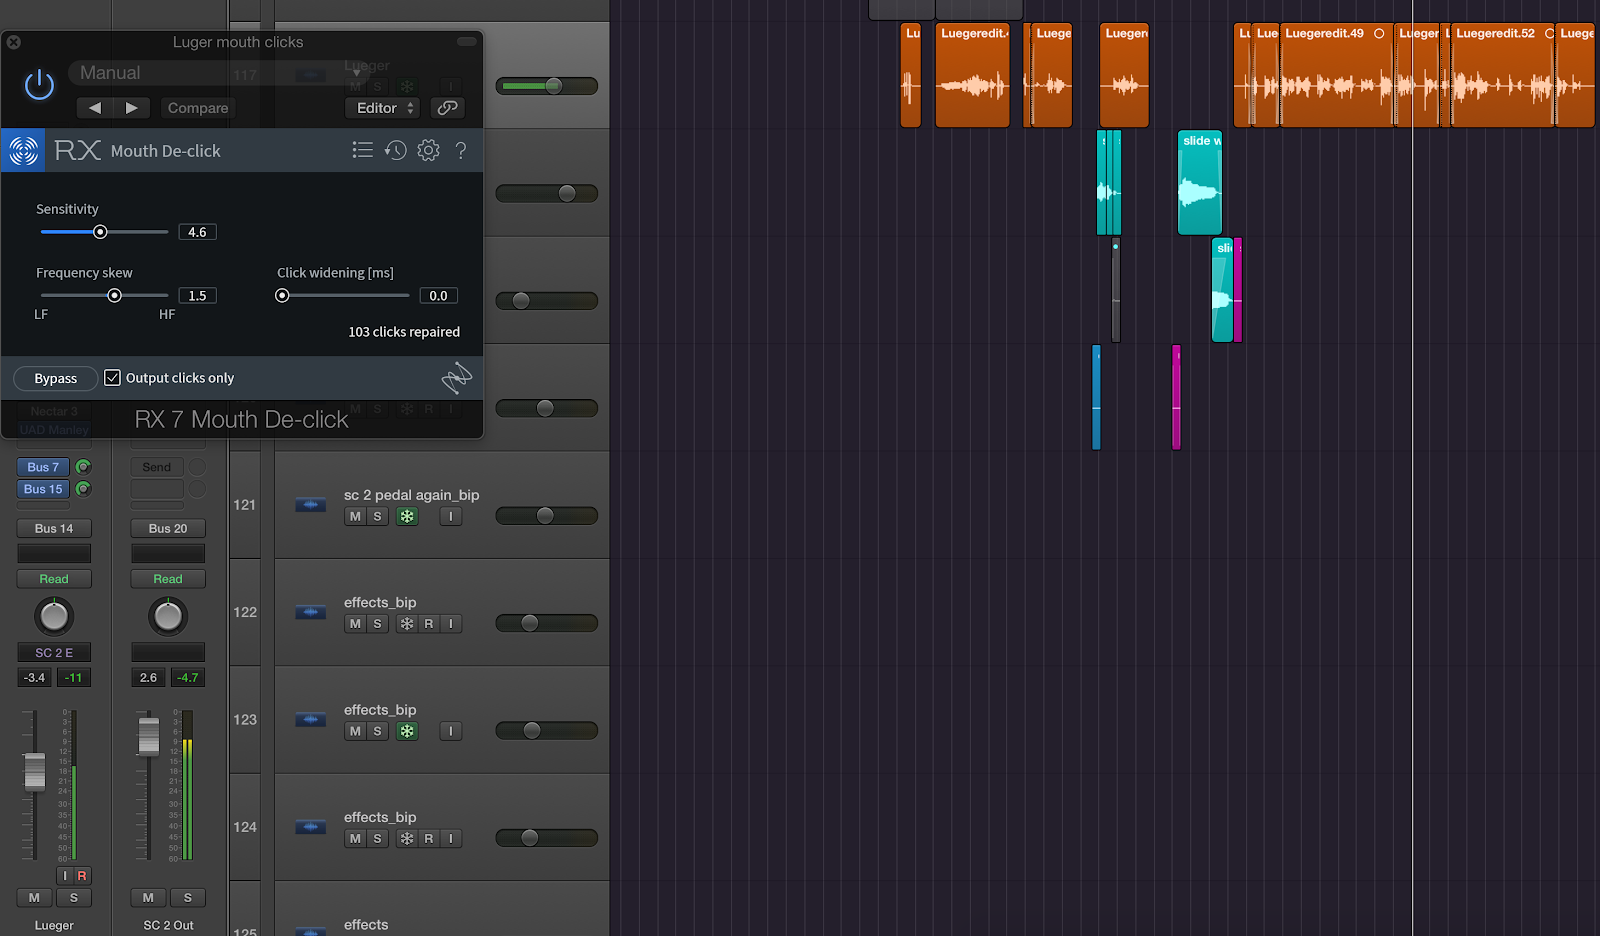
What was left were the horrible mouth clicks. When I edged them into the mix, the character sounded even more creepy.
Heads up ASMR people: I imagine this could work for your endeavors too.
8. Spectral Editing for random, complex noise
I record lots of voice-over work in my NYC apartment, and yeah, sirens, horns, and outside noise come by and ruin the best takes sometimes. So I’ve gotten intimate with the Spectral Editor.
How do you remove such noise with the spectral editor?
Start by zooming in on a waveform to see it.
Then, use the brush tool to highlight the segment of audio.
Then attenuate, basing your selection on the vertical or horizontal option.
You’ll notice I’m not grabbing all the audio at once here. Instead, I’m using tools like the brush or the lasso to isolate what I need to process.
This is a vital tip for cleaning dialogue in RX 7: all processes can be implemented in frequency-specific ways. If you select parts of the audio, rather than the whole thing, you can be much more surgical and transparent.
Conclusion
That’s eight tips for using RX 7 in the real world, but verily there’s more! Whether it’s handling plosives, taming sibilance, leveling audio and noise-reducing the louder sections, there’s a lot to cover. Some tips are quite creative too—I’ve fashioned room tone out of spectral-denoised audio in reverse; I’ve created the sound of monsters by adding artifacts with RX 7.
The point is, we could keep this going in another article. So let us know on Twitter and such.


