Parametric EQ: What it is and how to use one
Learn what parametric EQ is, a powerful tool in mixing and mastering. Understand EQ settings like slope and frequency to clean up your mix, enhance clarity, and get pro-sounding audio.
Aside from the volume fader and stereo pan-pot/slider, the equalizer (EQ), is arguably the most powerful tool we have for mixing music.
We can use EQ to clean up muddy low-end, remove unwanted or distracting resonances, create clarity and separation between instruments, or add presence and sparkle to an otherwise dull recording. In mastering we can use EQ to make tiny adjustments to the overall tone of a final mix or create sonic continuity between tracks on an album. We can even use EQ when setting up a studio to compensate for any acoustic anomalies that may exist in our physical listening environment.
Although there are a few different types of EQ, in this article we will focus primarily on what a parametric EQ is, how it differs from other types of EQ, and how we can use it to improve our productions.
Follow along with this tutorial using Neutron.
EQ parameters
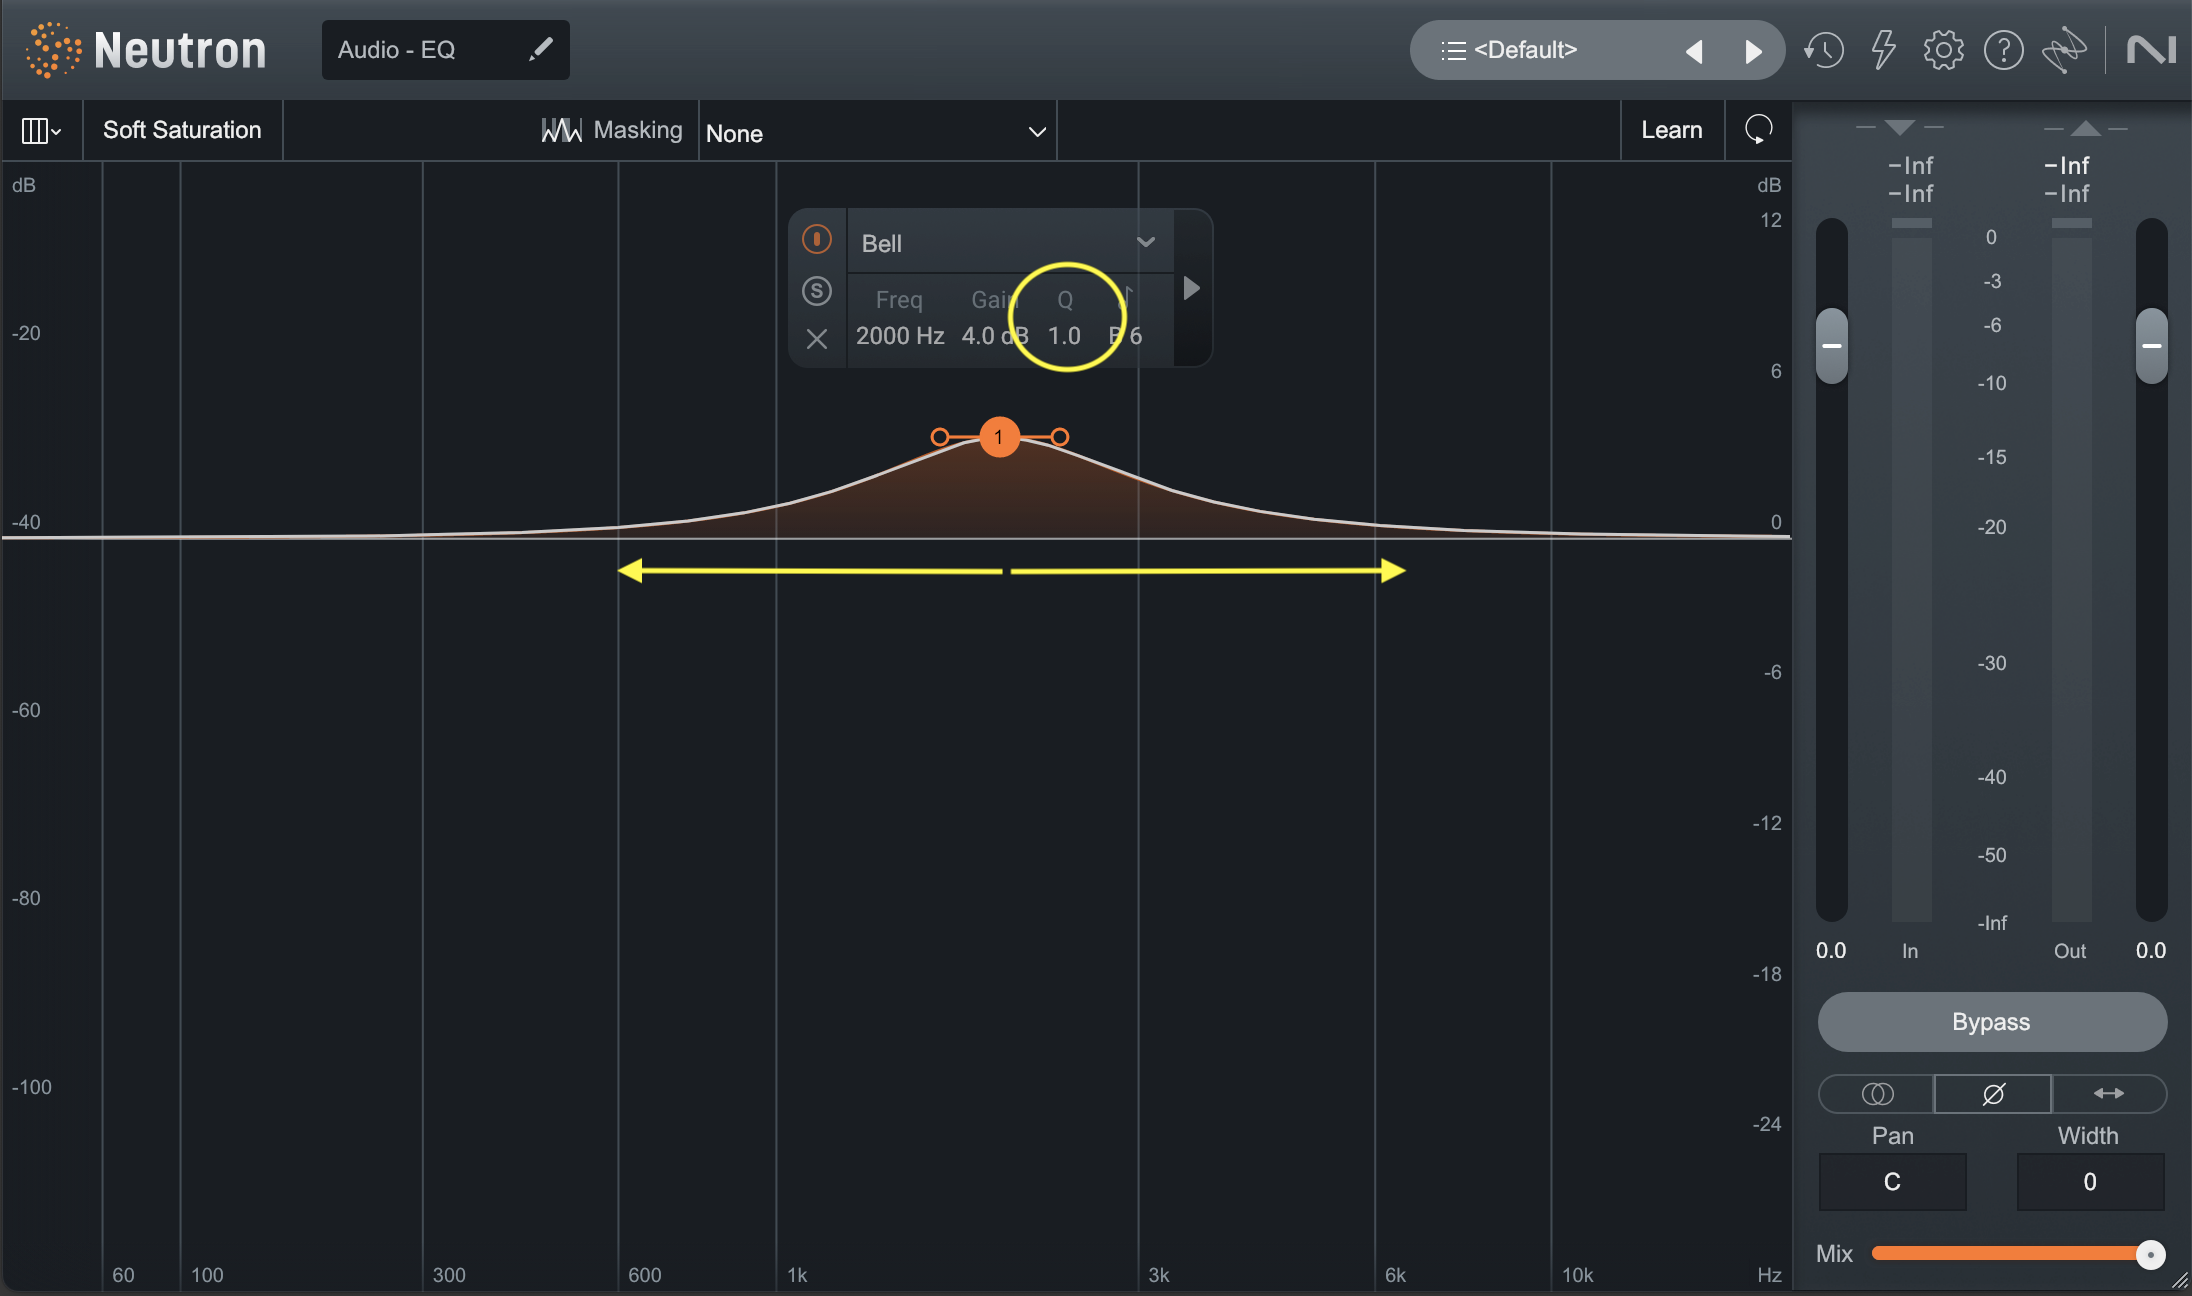
There are 3 principal parameters of any EQ (regardless of the type). They are gain, frequency, and bandwidth (Q).
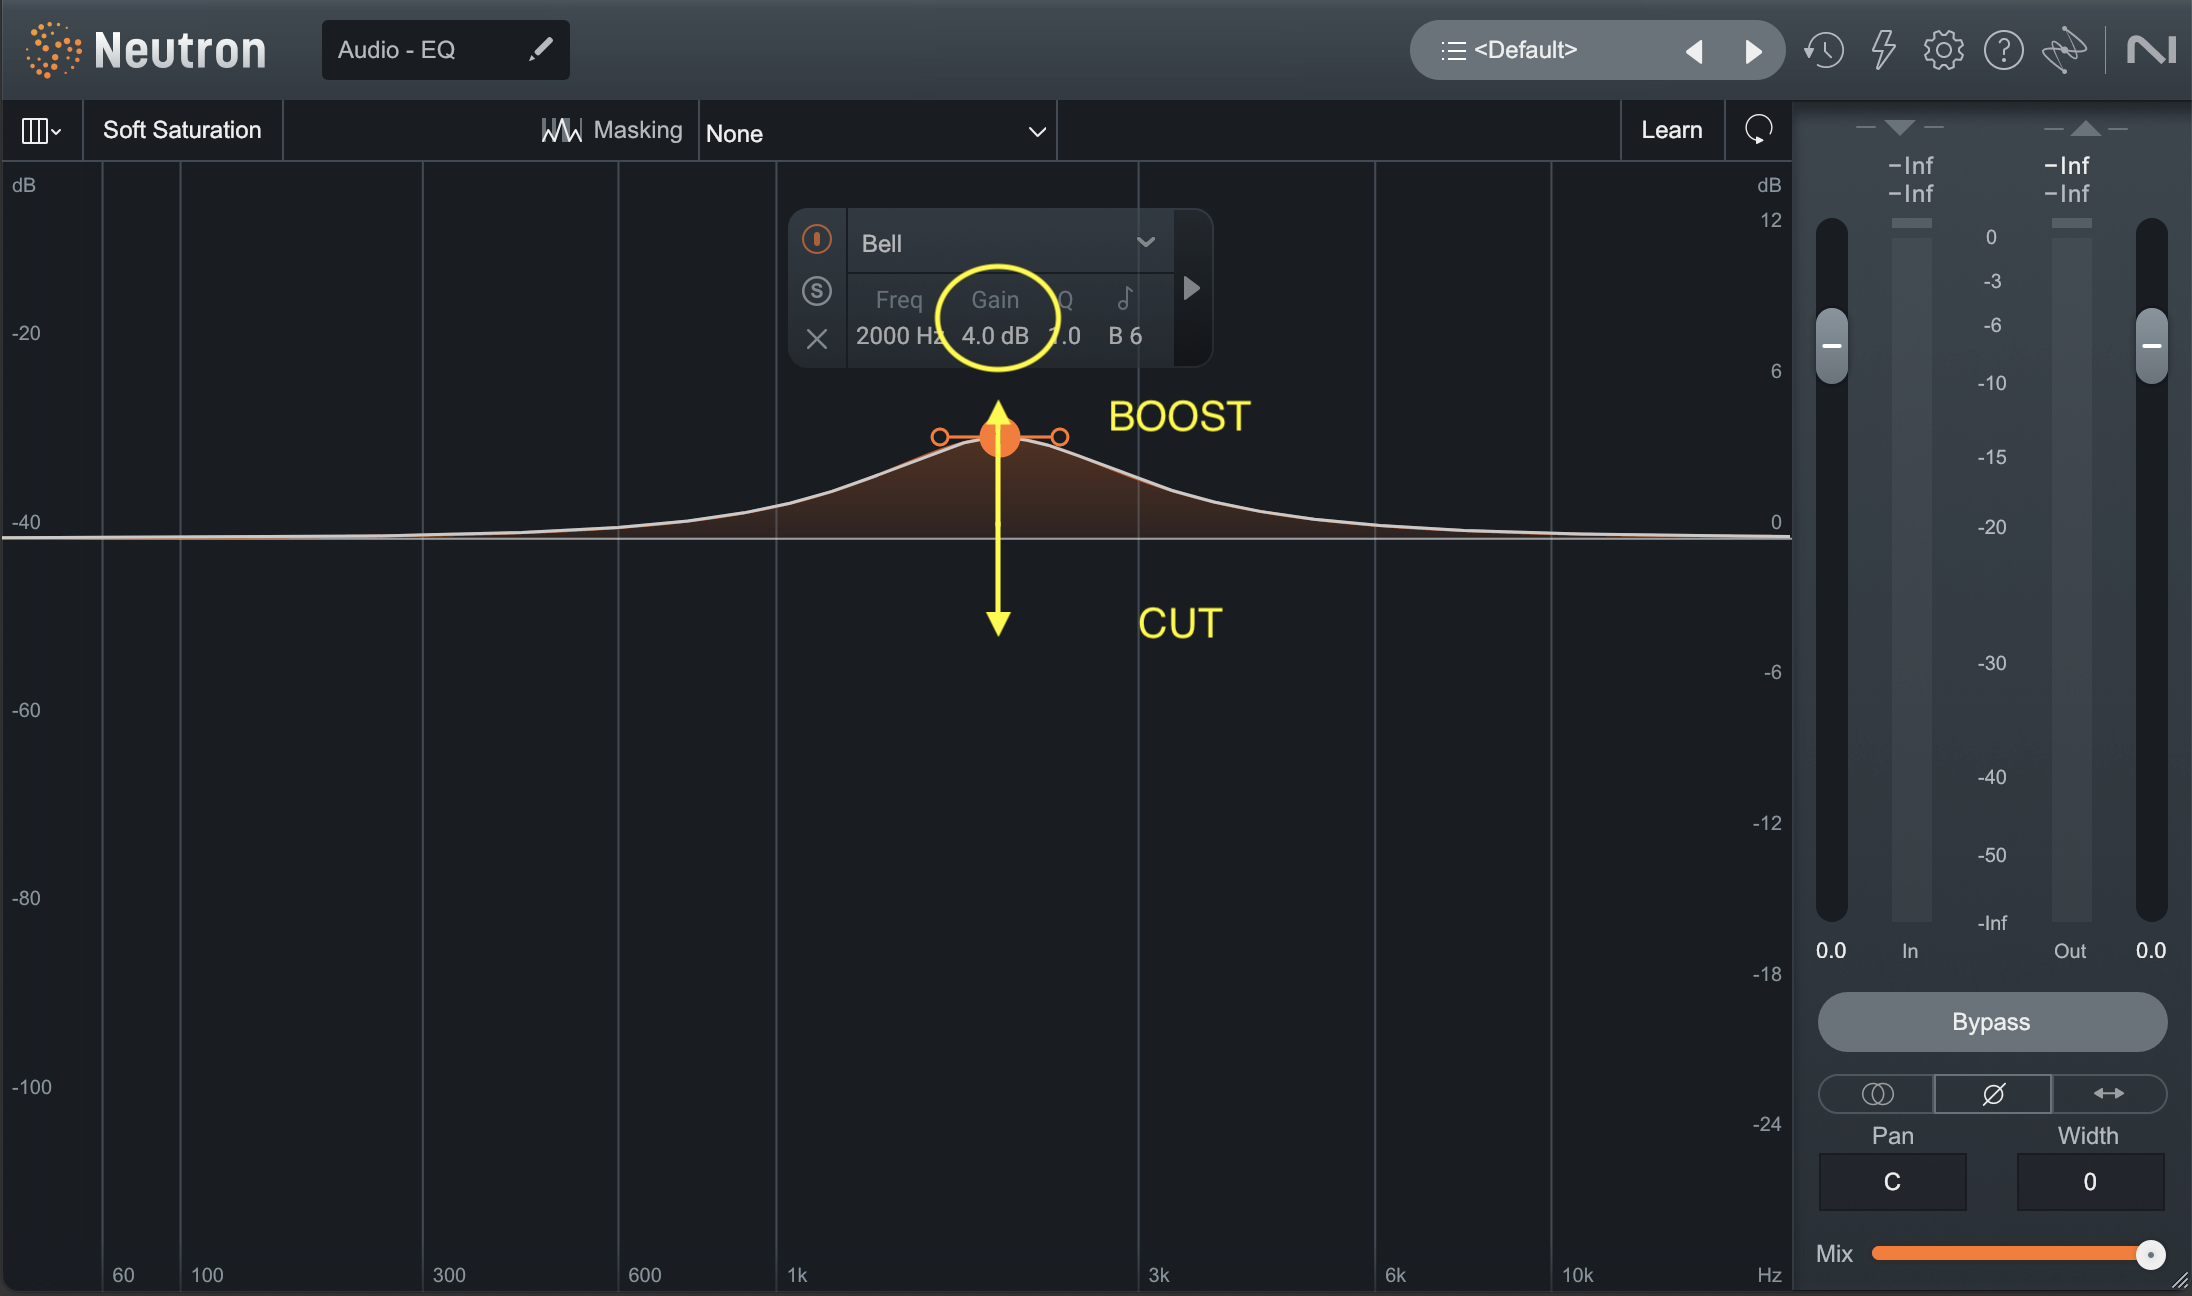
Gain
The gain control allows us to increase (boost) or decrease (cut) the level of selected frequencies
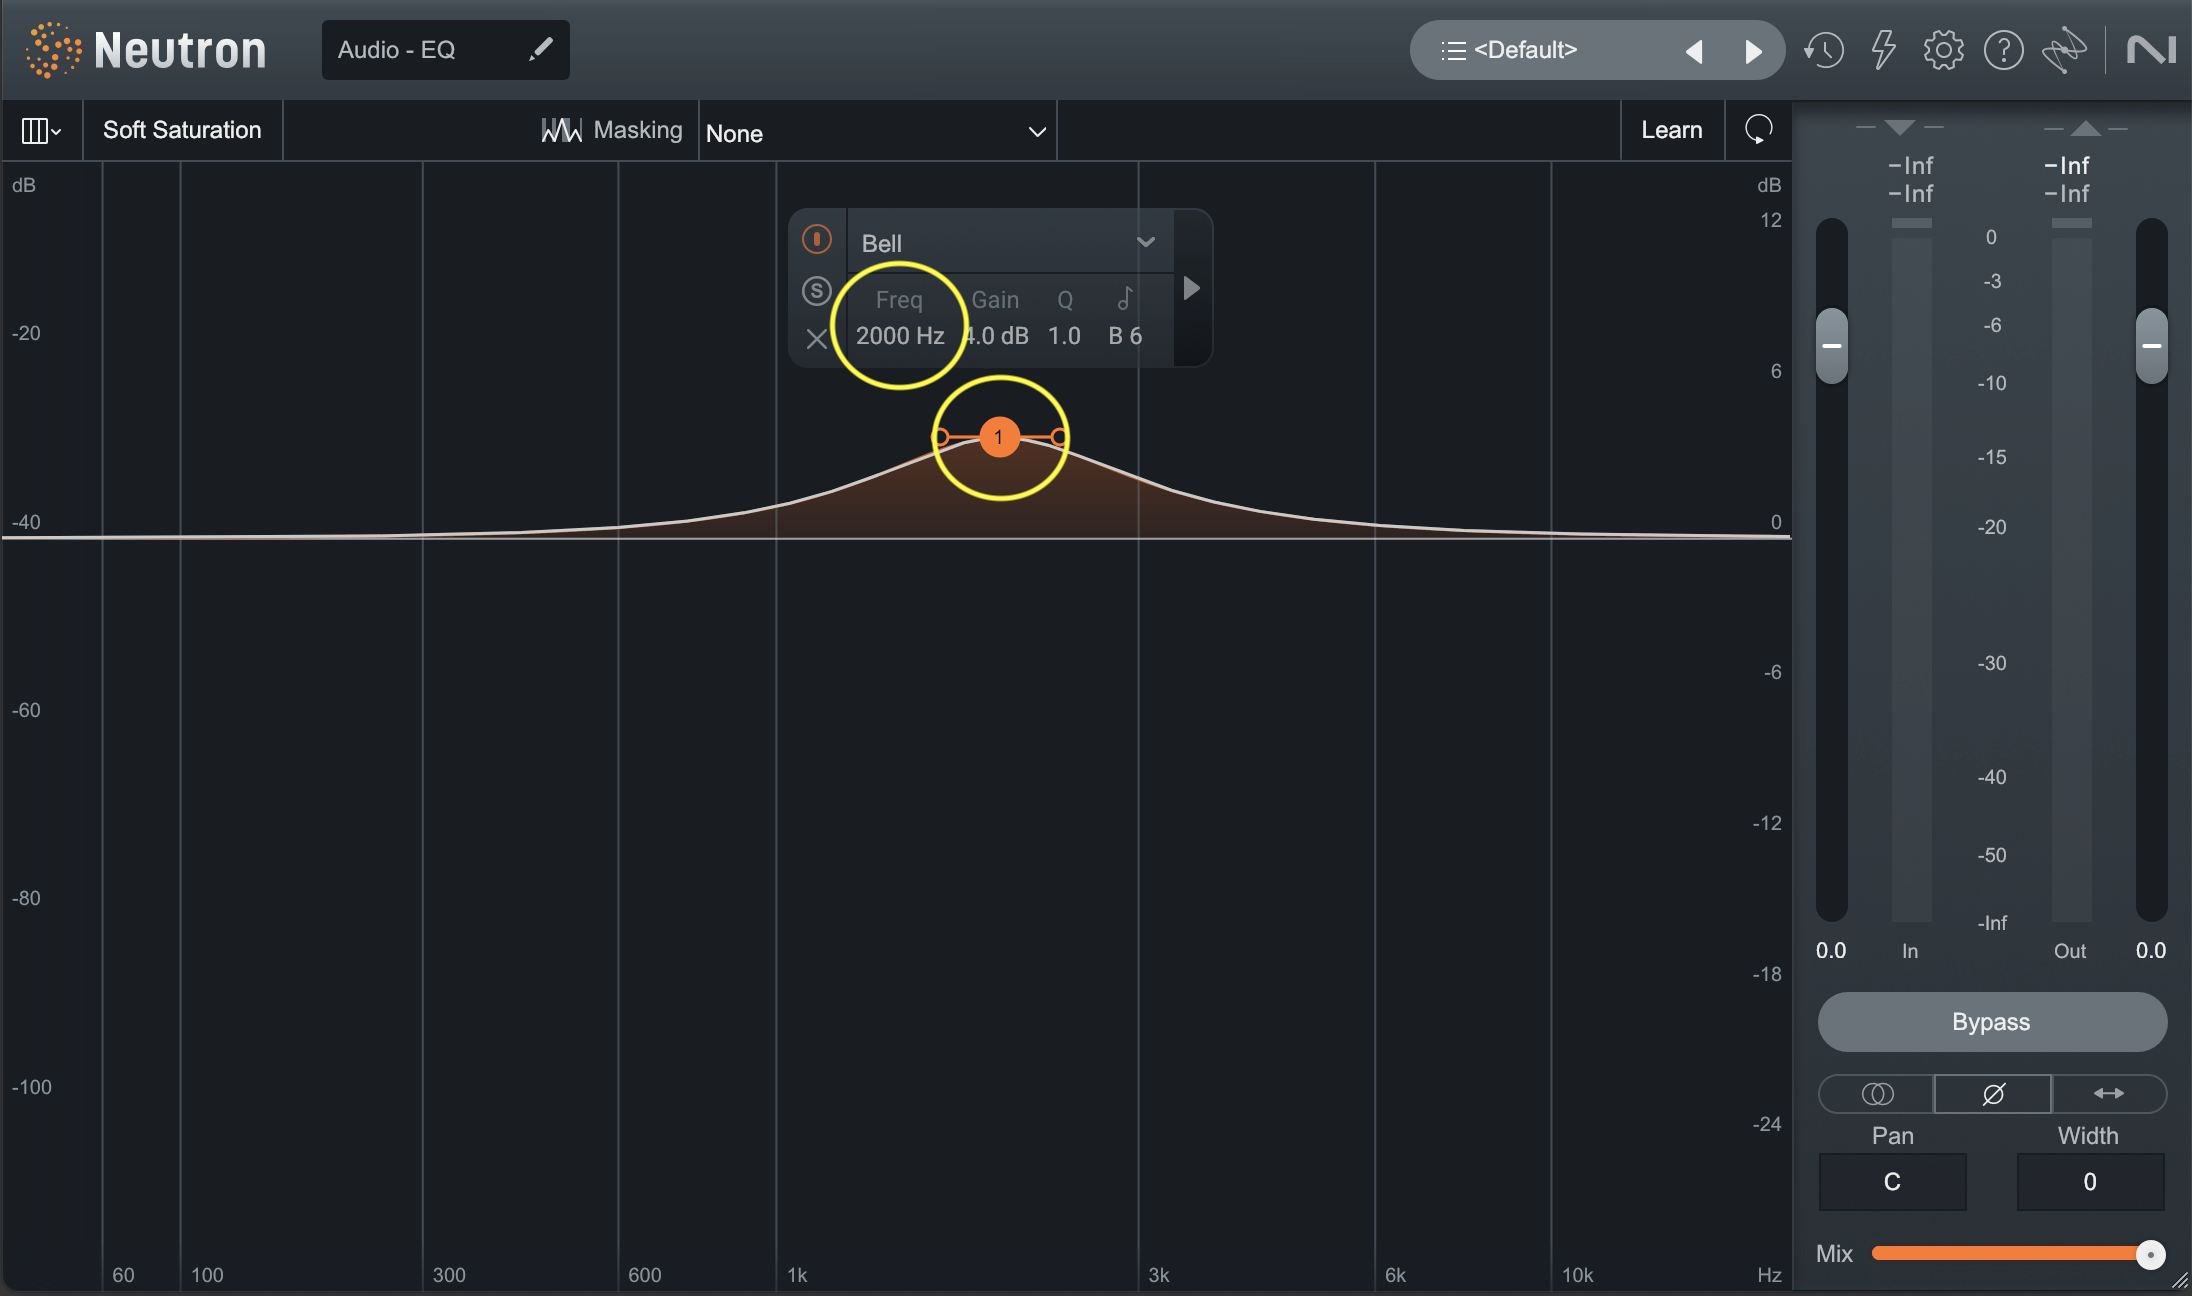
Frequency
Frequency refers to the “center” frequency that we want to boost or cut.
Bandwidth (Q)
Allows us to adjust the width of the frequency band (the amount of frequencies) that we are boosting or cutting, above and below the center frequency.
Parametric EQ vs. graphic EQ
As we just discussed, the three principal parameters of any equalizer are frequency, gain, and bandwidth (Q), however, what separates a graphic EQ from a parametric EQ boils down to how adjustable (or non-adjustable) each of these parameters are.
Let’s take a look!
Graphic EQ
A Graphic EQ divides the audible frequency range (or part of it) from 20 Hz to 20,000 Hz into a fixed number of frequency bands, each with a fixed bandwidth (Q). Only the gain of each frequency is adjustable.
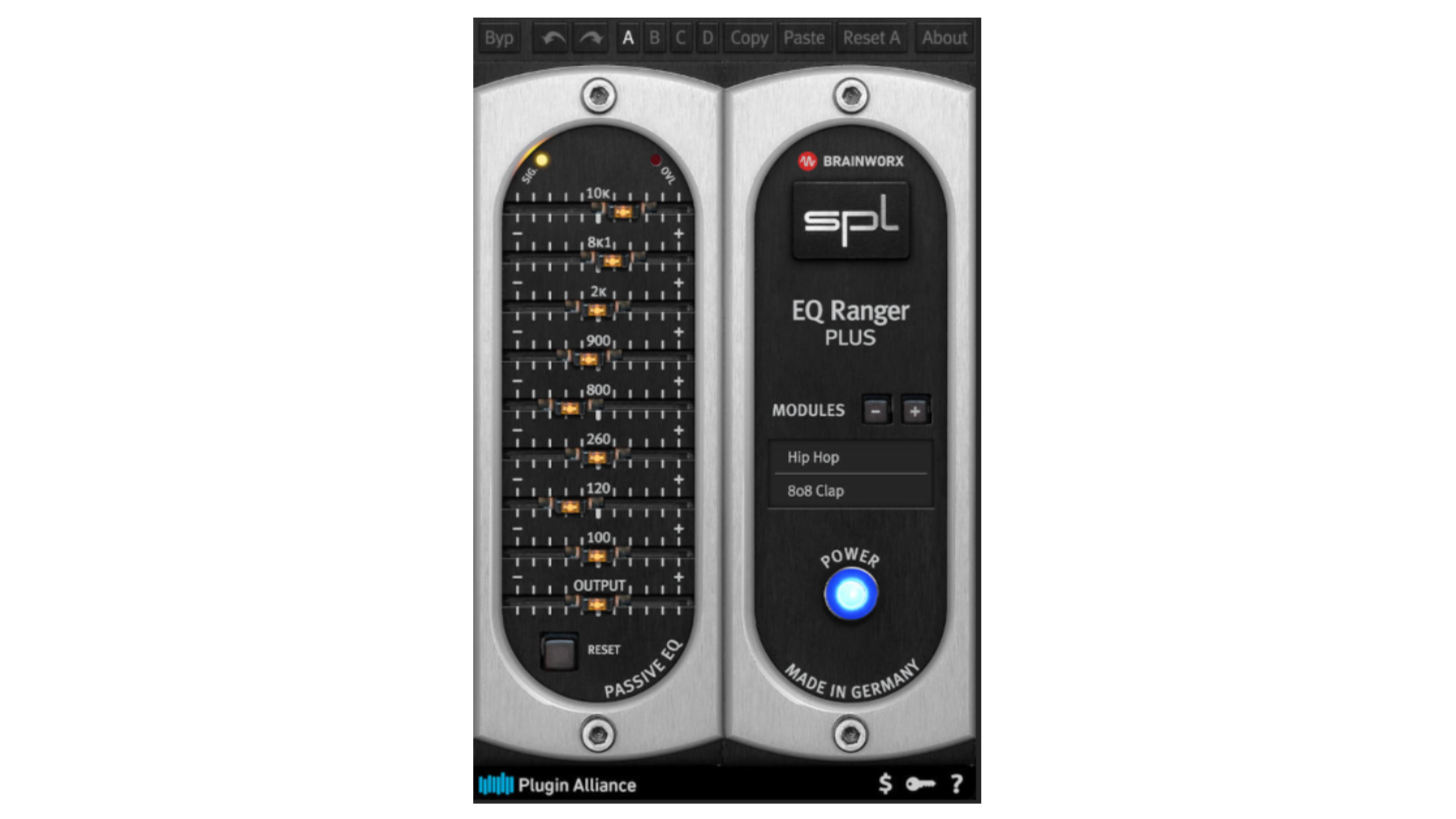
Graphic EQs that have 8 or fewer bands tend to be musical in their frequency selections and often sought after, not only for their ease of use, but for their sound.
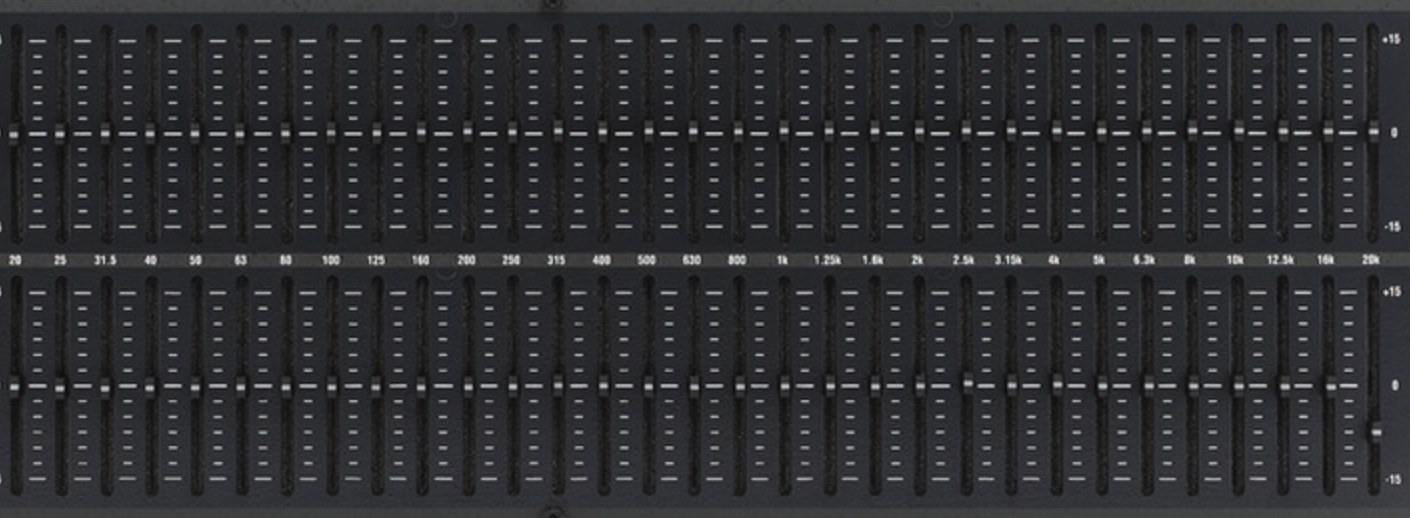
Due to the high number of frequency bands, overlapping bandwidth of adjacent frequencies, and how quickly and easily they can be adjusted, graphic EQs that have as many as 31 bands are great for hunting down and notching out stage feedback (ringing out the system) or tone shaping/tuning entire playback systems making them ideal for live sound applications.
Parametric EQ
A Parametric EQ has anywhere from 2 to 8 (sometimes more) adjustable frequency bands.
Unlike a graphic EQ which only allows us to boost or cut fixed frequencies, a fully parametric EQ allows us to adjust gain, frequency and bandwidth (Q).
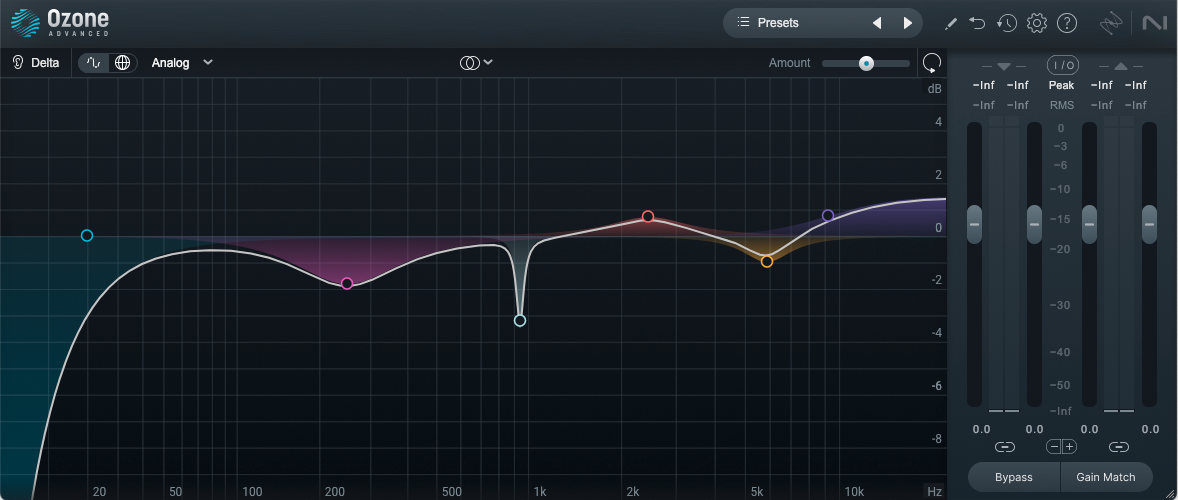

Due to their incredible flexibility, parametric EQs are an excellent option for just about anything, from broad tonal changes to small surgical corrections, and everything in between!

Filter types
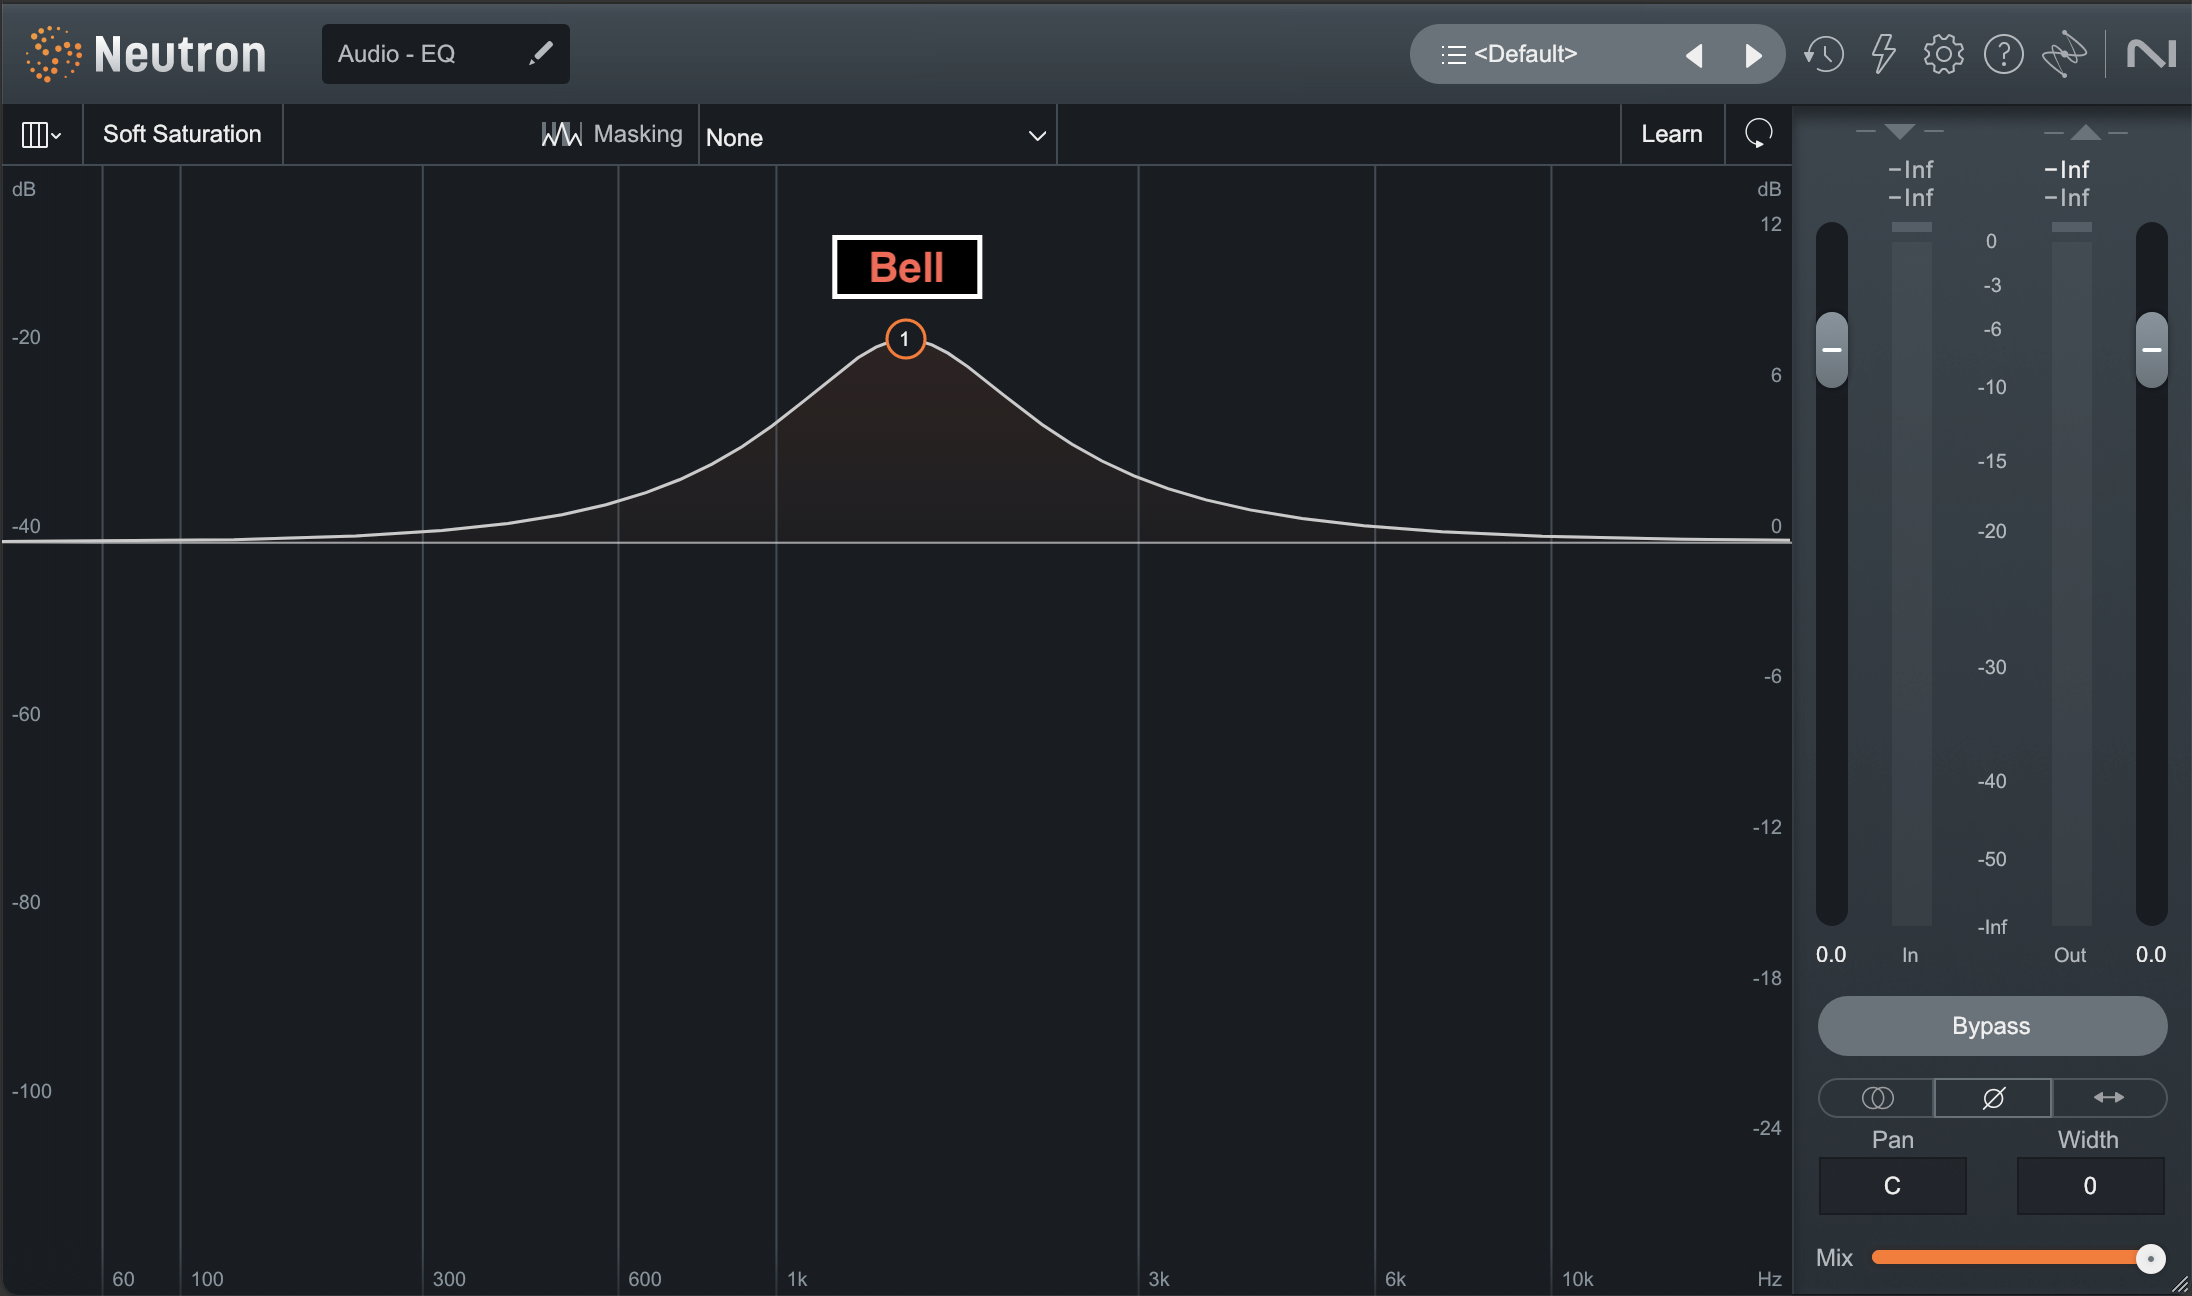
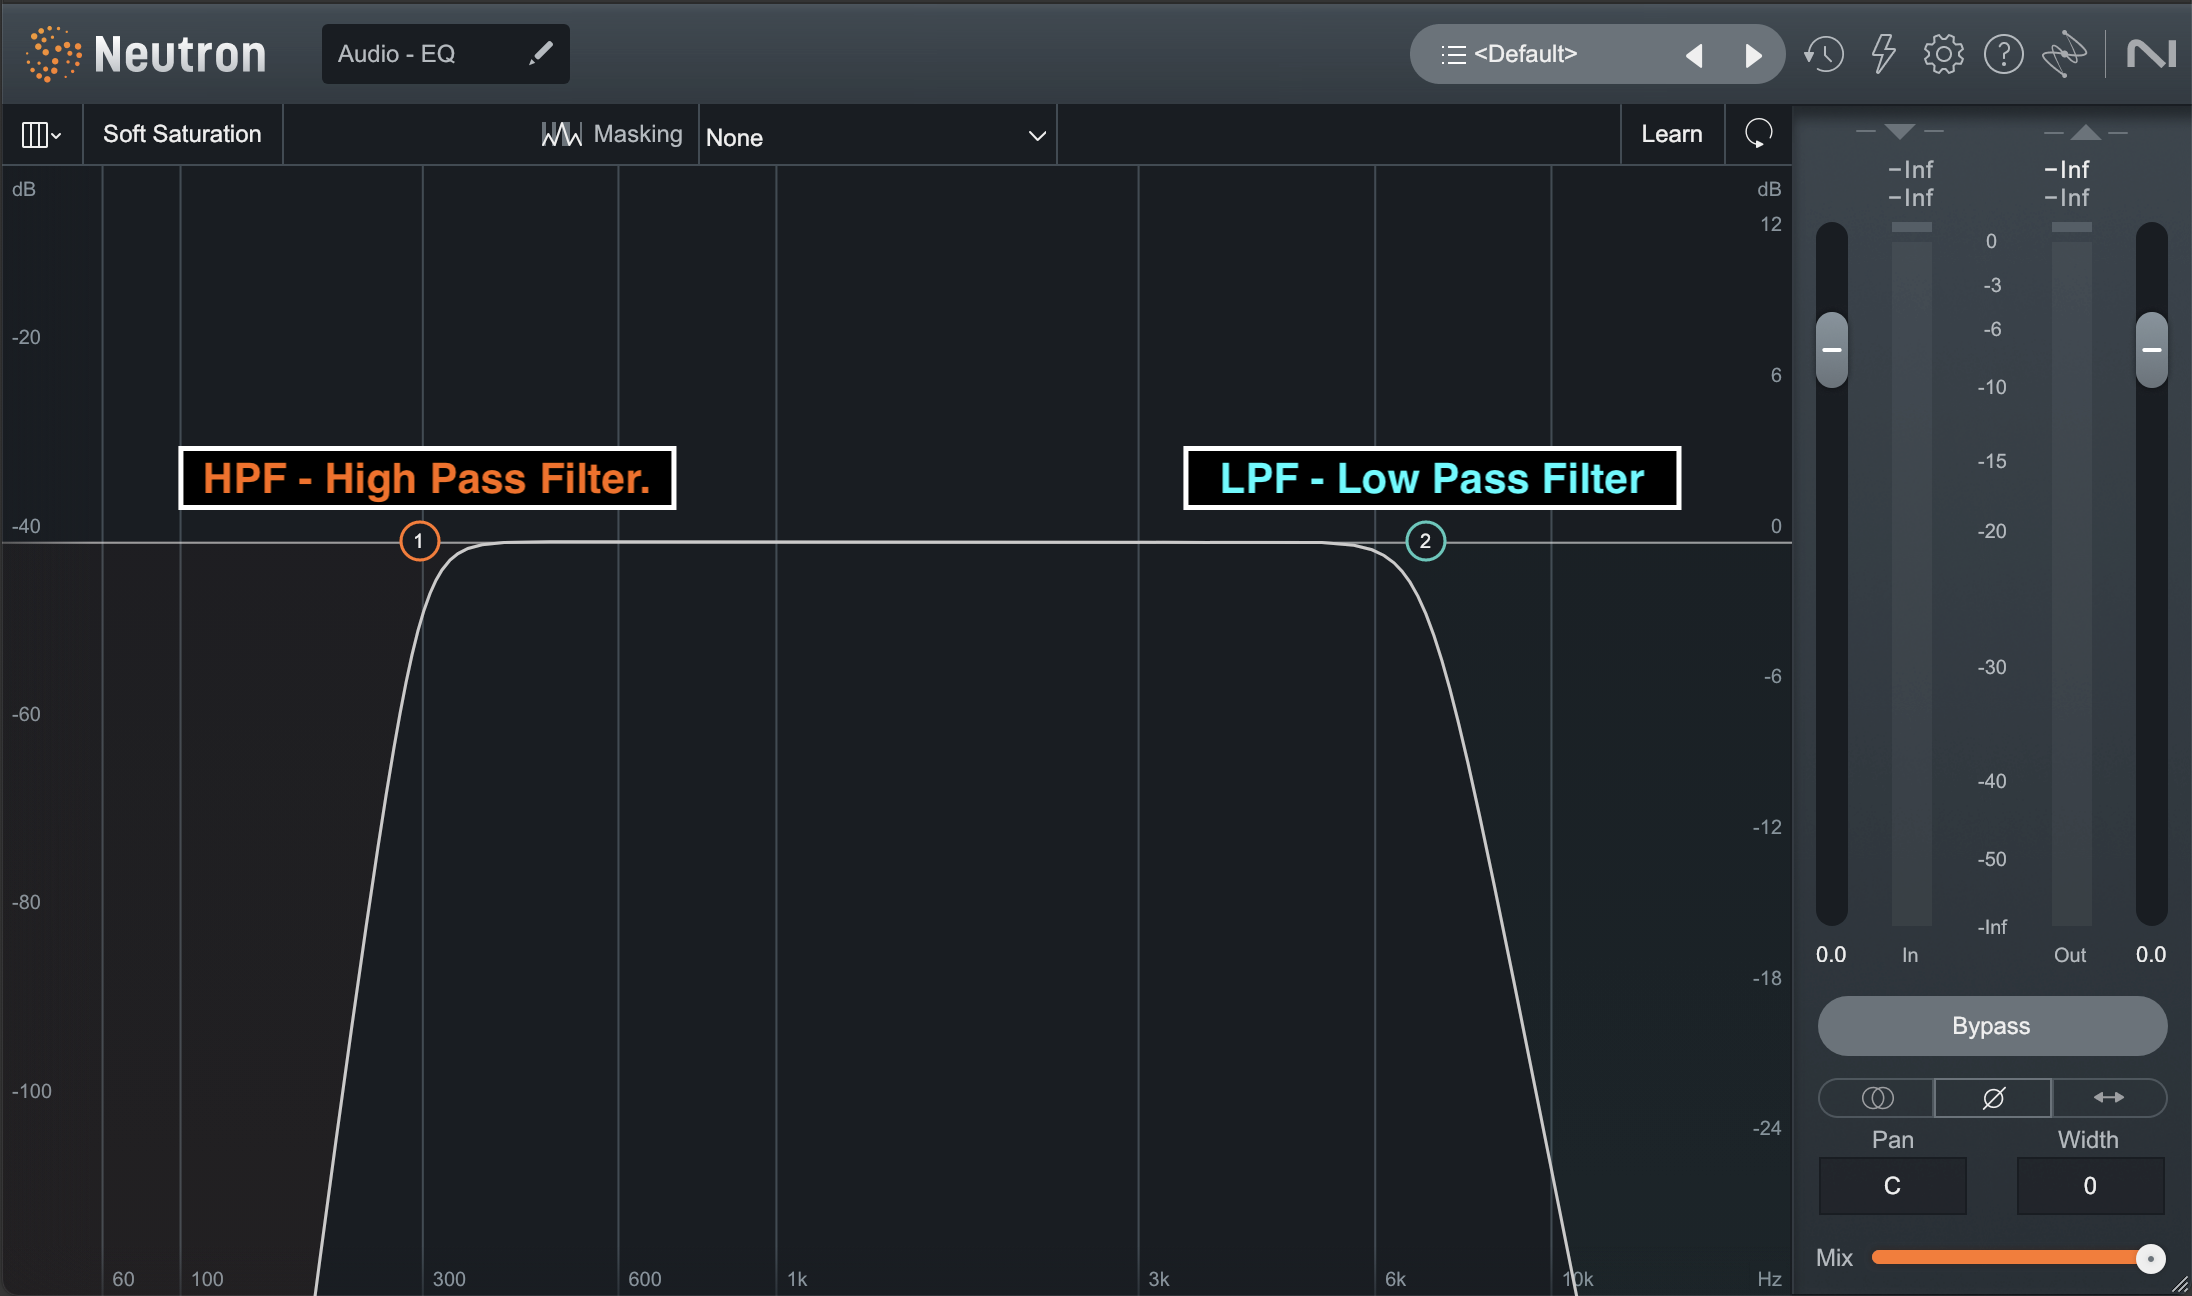
In this context, filters refer to the different shapes that we can employ when boosting or cutting selected frequency ranges. The most common filter types are high and low pass filters, high and low shelves, bell (peak/dip), and notch filters.
High and low shelf

Bell (peak/dip)
Notch filter

High pass and low pass filters
Filter slope
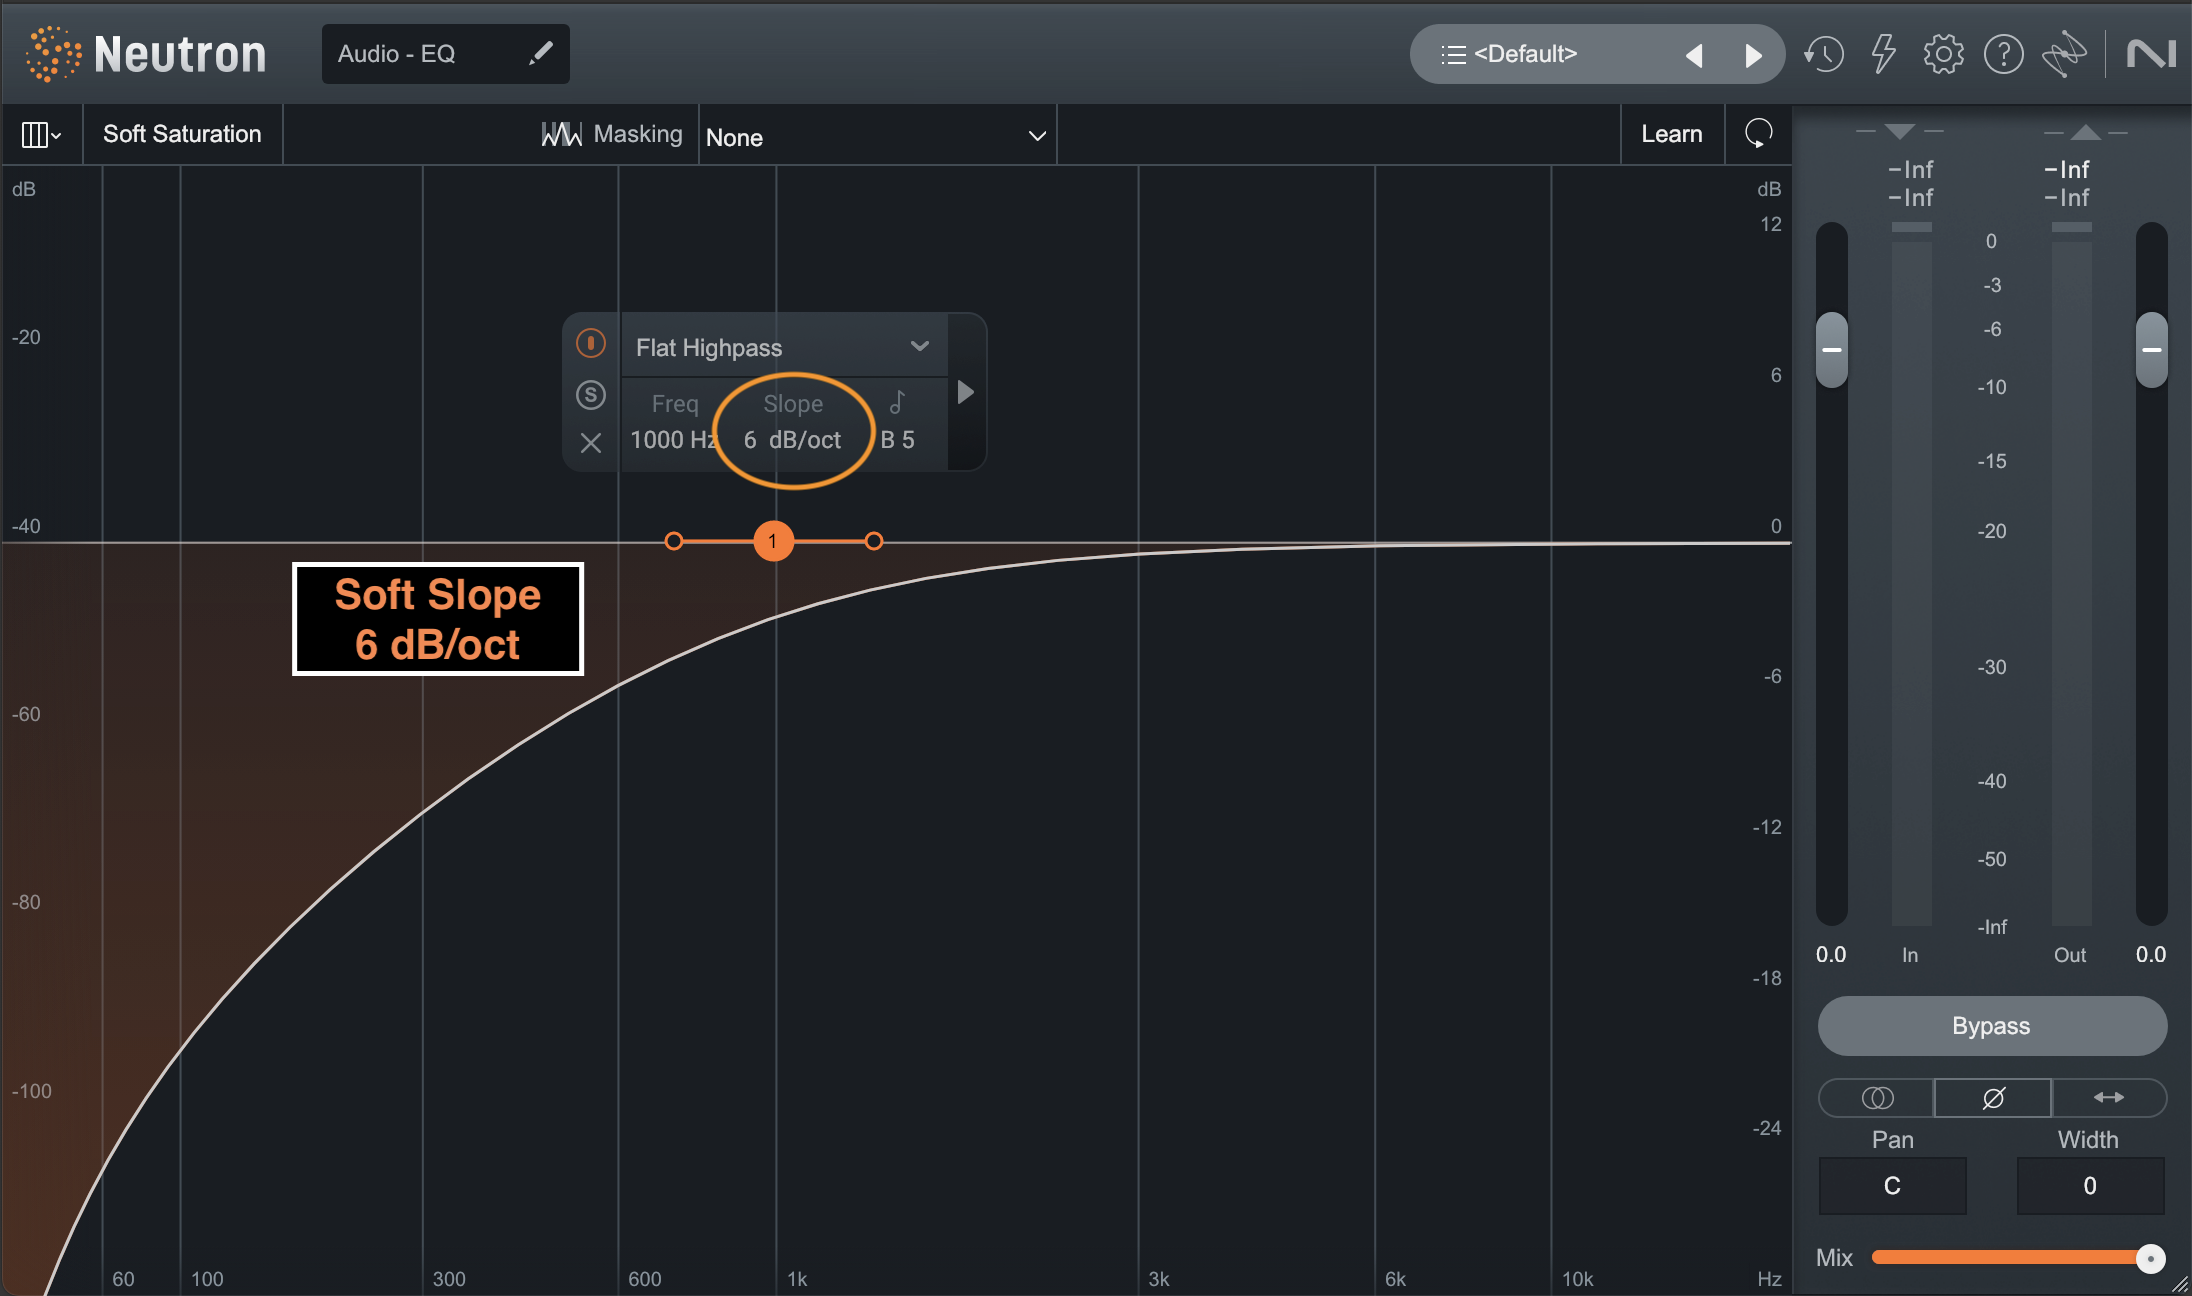
High and low pass filters roll-off all frequencies below or above a selected center frequency respectively. Slope determines how smoothly or abruptly the roll-off occurs and is measured in decibels per octave.

Using parametric EQ
Let’s take a look at a few things we can do with a parametric EQ.
Removing unwanted resonances
Notch filters are frequency cuts with a very narrow bandwidth (Q). They are excellent for attacking very specific frequencies or small frequency ranges. They are especially helpful when dealing with annoying resonances.
Below is an example of an acoustic guitar recording without any processing on it.
You should notice a very strong ringing in the mid range. By using the “boost and sweep” method, I found that it was at 725 Hz.

By using a notch filter, I am able to remove the ring without any noticeable damage to the rest of the guitar sound.
Before Audio Sample -
After Audio Sample -
Low-end management
With the resonance at 725 Hz removed, the acoustic guitar sounds much more natural. However, you may now notice that the guitar is quite boomy. There is too much low-end. If this is already the case with the guitar in solo, it’s guaranteed that once we add other instruments like kick, bass, and synth pads, the low-end of our mix will quickly become a thick, distorted, muddy mess.
For this job I’ll use a high-pass filter. I have filtered out the low-end of the guitar up to about 168 Hz. with a gentle slow of only 6 dB/octave. There is no exact science to this. I simply use my ears to dial in both the frequency and slope until it sounds right in the context of the overall mix.

Let's listen...
Before Audio Sample -
After Audio Sample -

To demonstrate just how great a difference filter slope can make, I have added an additional example. Here, the frequency of the HPF filter is the same, however I have changed the slope from 6 dB/oct. to 48 dB/oct.
Let’s listen…
Before Audio Sample -
After Audio Sample -
You will notice straight away that the low-end is completely gone. I am going to set the HPF slope back to 6 dB/oct, but I wanted to demonstrate what the difference sounds like in order to emphasize how important it is to take slope into account when working with high and low pass filters.
At this point, I notice a slight resonance at around 200 Hz. If we attack this frequency with a HPF we will remove too much low end. Let’s instead add a dip at 200 Hz with a bell filter.

Before Audio Sample -
After Audio Sample -
As you can see, by manipulating the available filter types, their bandwidth and slope settings, we can greatly manipulate the frequency balance of an instrument in unique ways. This is something that a graphic EQ would not work as well for.
Top-end sparkle
Finally let’s add a touch of sparkle.
In this next example I have added a 1 dB high shelf starting at 8 kHz just to add a touch more brightness. I also made a small cut at 3 kHz to make a bit of room for where a vocal may eventually sit.

Let's listen...
Before Audio Sample -
After Audio Sample -
Let’s listen now to the before and after of all the processing that we have done.
Before Audio Sample -
After Audio Sample -
Let’s listen now to the before and after of all the processing that we have done, but in the context of other instruments.
Before Audio Sample -
After Audio Sample -
With the kick drum and the synth pad in, you can easily hear how all of the low-end in the acoustic guitar was taking up too much room, masking the other instruments and making everything sound muddy.
With the EQ processing on the acoustic guitar, everything is much more clear and present in the mix and we now have room to add a bass guitar and vocals.
Mastering
It is important to remember that when we process an entire mix a little goes a long way. For this reason, when I am making EQ decisions during mastering, I rarely boost or cut frequencies more than 1 or 2 dB. Often I am dealing in fractions of a dB.

Here is an example of a song by Mogul Da Savant called, “Slip Away from Me.”
When I first heard it, I mostly found that the vocal was a bit cloudy and overall the track felt a bit harsh.
I added a small boost at 60 Hz and a small cut at about 160 Hz to adjust the low-end focus. I removed some resonance in the mid range to uncloud the vocal. I cut a bit of harshness around 4.5 kHz. And finally I added a small boost at about 9 kHz to add a touch of air. Nothing that I boosted or cut was more than 1.5 dB.
Before Audio Sample -
After Audio Sample -
The result may be subtle but you should notice that the low-end feels a bit tighter and the vocal is a touch less harsh and less cloudy.
Conclusion
As you use parametric eq more and more, you will quickly discover just how versatile it is, and for that reason, why it is the right choice for the majority of the work that we do. Start using it today and you’ll be on your way to creating better sounding and more cohesive mixes!
