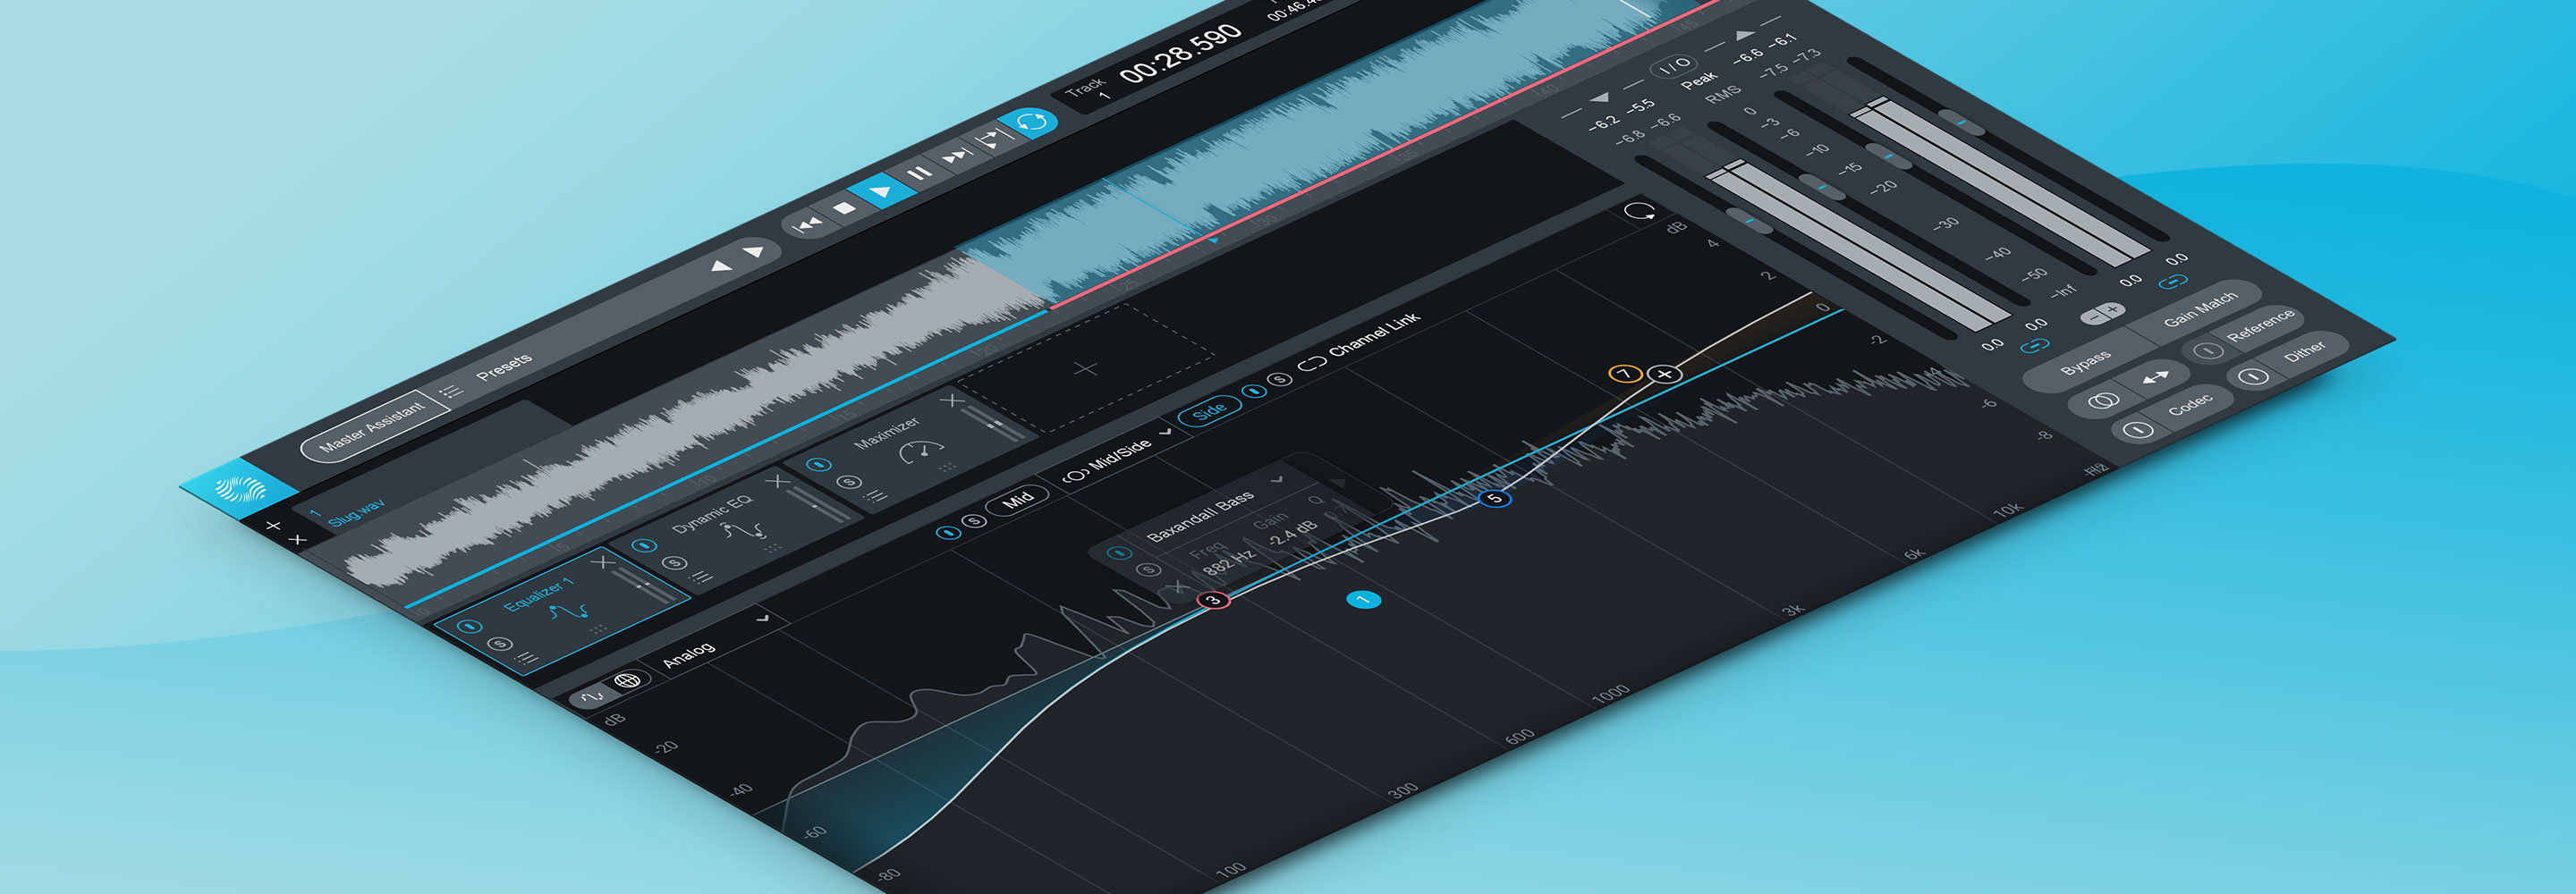
De-essing a Master: Tools, Tips, and Tricks
De-essing at the mastering stage is tricky. Here are a few tricks to help you pinpoint exactly what you want to de-ess, without impacting the content you wish to preserve.
It’s never ideal to de-ess a track at the mastering stage, but it’s needed more often than you might think. Simply adding a de-esser can take care of the sibilance, but it can also attenuate other instruments, like percussion. Here are a few tricks to help you pinpoint exactly what you want to de-ess, without impacting the content you wish to preserve.
De-ess your master with tools in RX
RX has numerous tools that can address de-essing, including, of course, the De-ess module. This module really shines in its ability to detect and attenuate specific frequencies with ease. Simply highlight the problematic frequency section and attenuate it using Gain or Spectral Repair. In doing so, you can take the edge off your audio file and still avoid affecting other instruments.
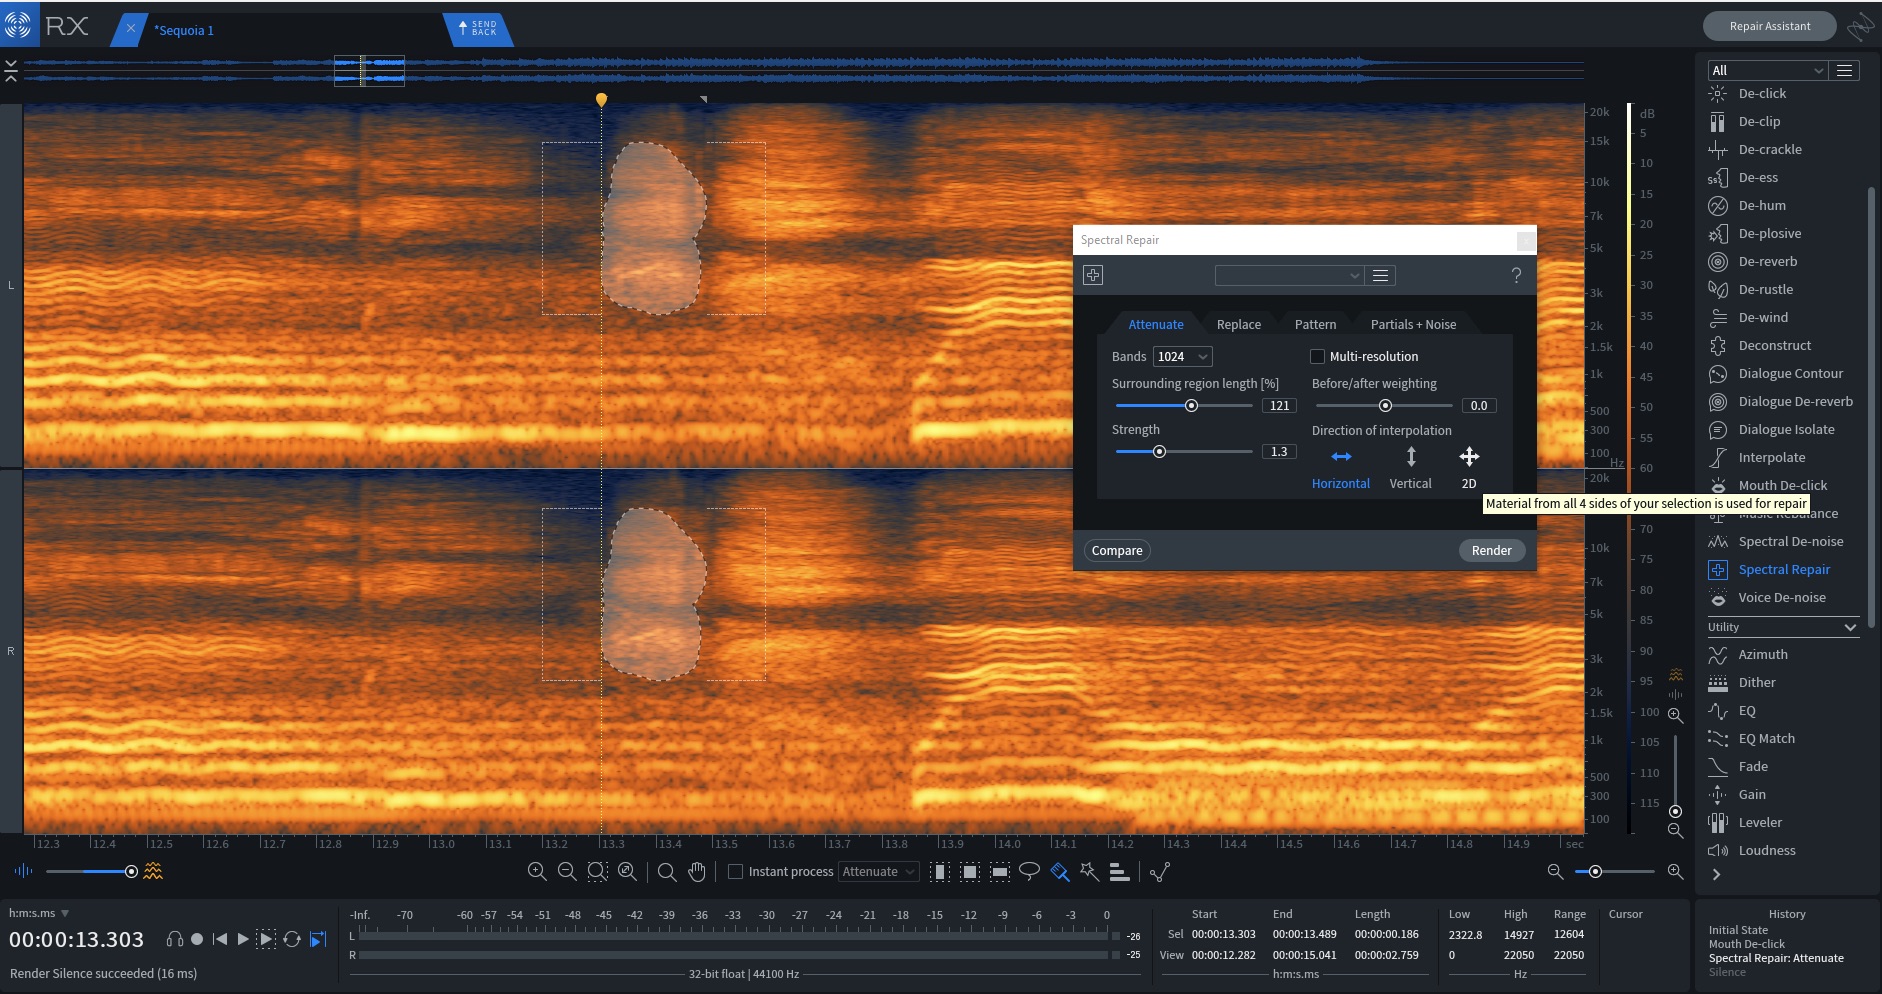
The Spectral Repair module in RX is great for isolating problematic frequencies.
Try attenuating a little bit at a time—remember, you are making changes to the entire track. It might be a little time-consuming, but the results speak for themselves.
Using the mid/side and Dynamic EQ modules in Ozone to de-ess
If the instruments with the frequencies you’re trying to tame are panned to the sides, you can use mid/side processing in Ozone to address the problem. It is common to have shakers and hi-hats—usually the culprits that trigger a de-esser when not needed—panned to the side, leaving the vocals in the center. The Dynamic EQ module in Ozone in mid/side mode can be a lifesaver in this case. Find the frequency you want to attenuate, and voila!
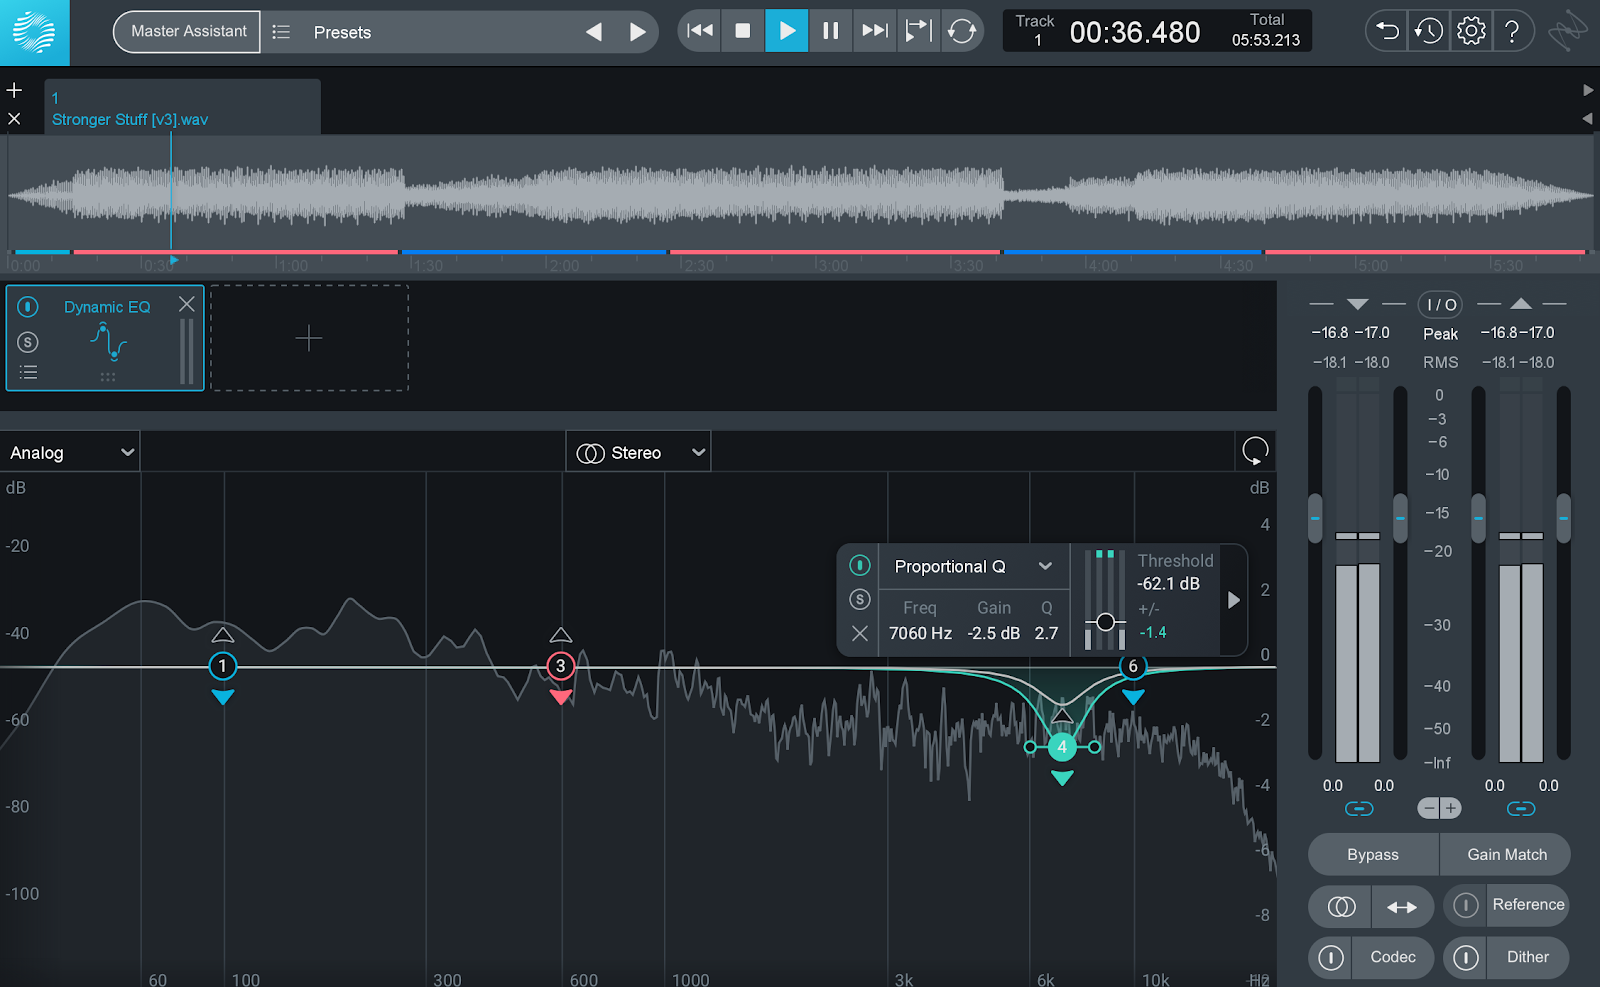
Using the mid/side and Dynamic EQ modules in Ozone to de-ess
This same technique can be used with the Dynamics module. Try them both and see what works best for the song.
De-ess your master with creative sidechaining
This is by far my favorite way to de-ess vocals when mastering. There are numerous de-essers available and most of them have the option of choosing what is feeding the sidechain. The sidechain is the signal that will trigger the compressor or dynamic EQ band node when it crosses the threshold. This is also referred to as the key.

By Iainf - Own work, CC BY-SA 3.0, https://commons.wikimedia.org/w/index.php?curid=5921296
Most of the time when mastering, you only have access to the final stereo mix, making it difficult to trigger a de-esser with the ideal sidechain signal—enter Music Rebalance in RX. Music Rebalance allows you to isolate the voice extremely fast. It’s not completely isolated, but it’s perfect for sidechaining. Let's go step by step:

Devil in the Details album art
Artist: Giselle
Title: Devil in the Details
Mastered: Oscar Zambrano at Zampol Productions
Launch RX and import the audio file, open the Music Rebalance module, and isolate the vocal using the faders as shown below.
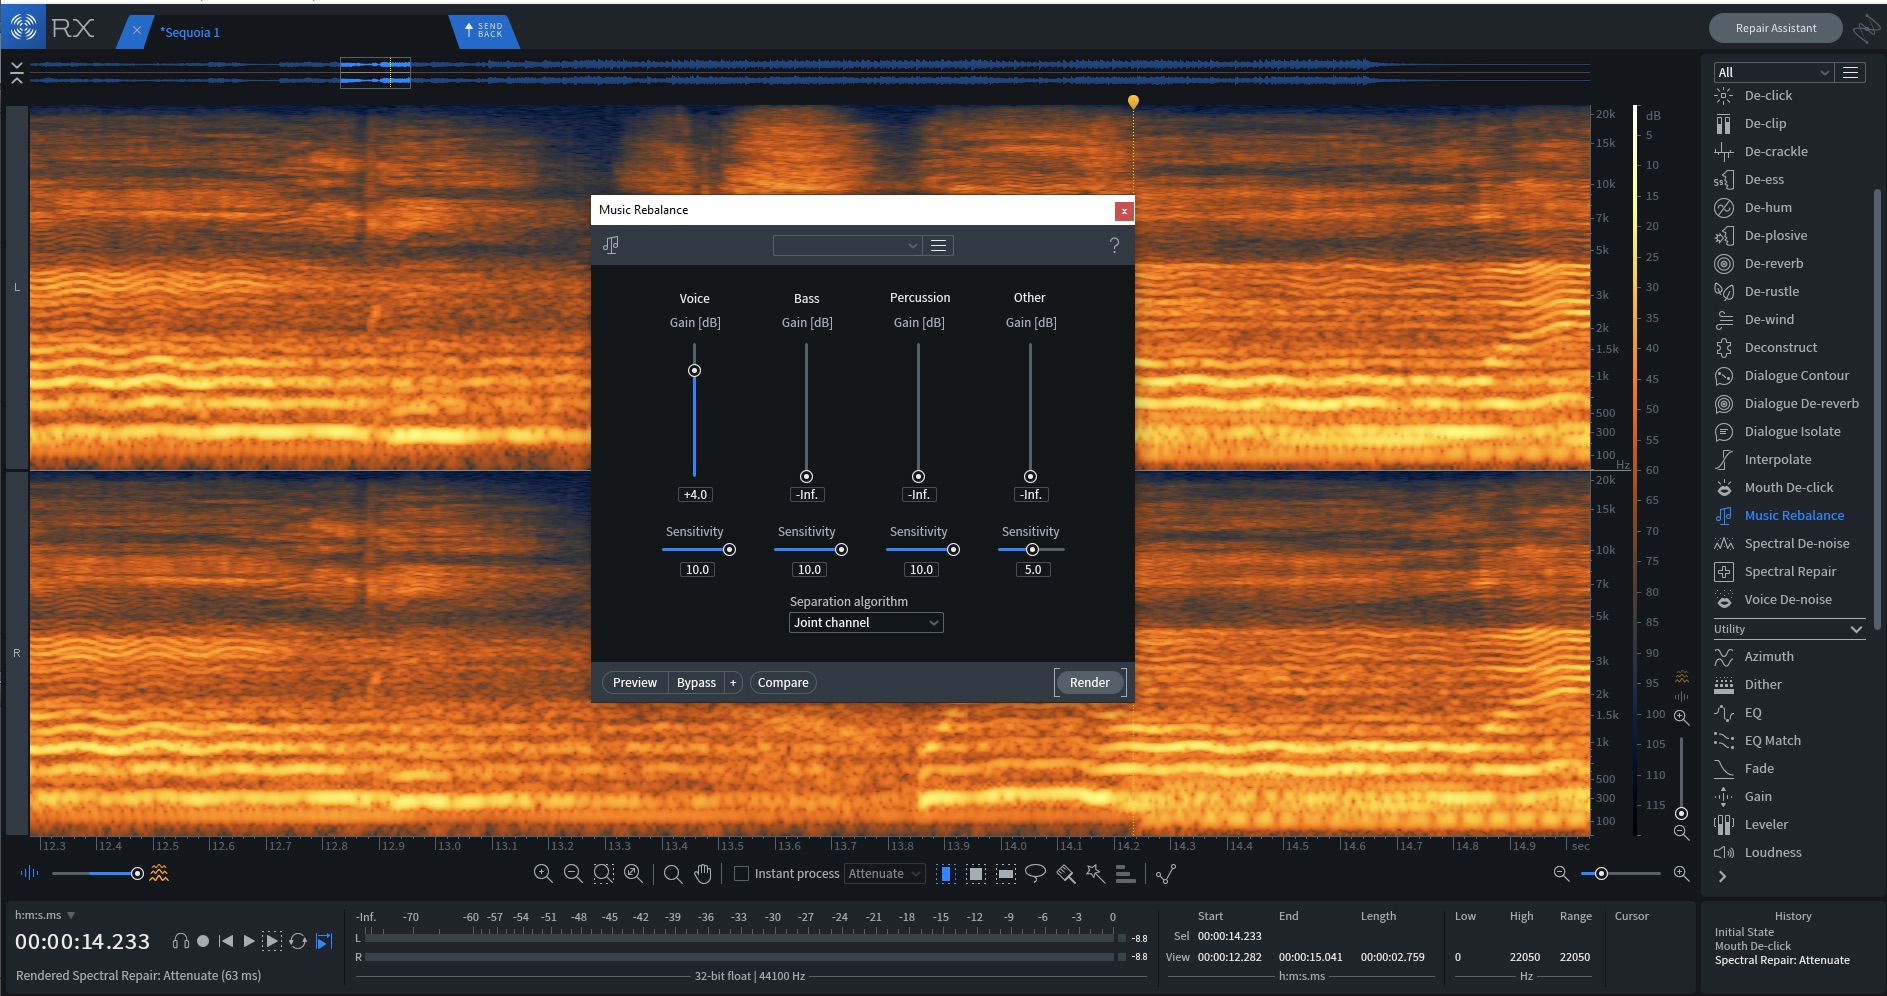
Music Rebalance can help you isolate the vocals in a full stereo mix.
Export the isolated vocal and bring it into your DAW session. Remember, this audio will only be used as a key for your processor which means that it won’t be audible in your final mix. You can even go one step further and add an EQ to really accentuate the harsh frequencies.
Now you can send the isolated vocal signal to the sidechain input on your de-esser. The most common way to send a signal is via a bus. Set the output of your isolated vocal to a bus in your DAW session. The plug-in you’re using should have a key input option where you can select the bus to which the isolated vocal signal has been routed.
If the problematic vocal is in the center, you can use the de-esser in mid/side mode and solo the mid module. Now you have complete control over what gets de-essed!
Conclusion
Working only with a stereo file can be a challenge when you need to address specific things, thinking out of the box and combining the tools you have on hand can go a long way to address this. Remember, these tricks can be applied in many different ways besides de-essing. Make sure to experiment and have fun!
