Getting to know brickwall limiters: a sound engineer's essential tool
Discover how brickwall limiters can improve your audio mastering process by learning about their history and how they provide transparent peak limiting.
At its most basic definition, a limiter is a compressor with a high ratio. While audio compression and limiting both involve dynamic range control and processing, limiting takes compression a step further and not just “compresses'' the signal, but limits it entirely above a certain threshold – ostensibly, “you cannot pass!” – to quote a famous wizard. Limiters are used most commonly at the end of a mastering chain to maximize loudness but prevent peaks from clipping.
“Brickwall limiters” – a phrase which in the modern world is often used interchangeably with the term “limiting,” hold a special place in the history of audio processing beginning as hardware units in radio, continuing today through the iteration of plugins used in DAWs by engineers around the world.
In this tutorial, learn more about brickwall limiting, its applications in audio mastering, and how to use a brickwall limiter plugin effectively in a mastering chain.
Follow along with this tutorial iZotope


Ozone Advanced
What is a brickwall limiter?
A brickwall limiter is a type of audio processing tool used to prevent signal peaks from exceeding a certain level, thereby imposing a hard limit on the amplitude of the audio signal. It effectively "clips" any peaks that surpass the specified threshold, resulting in a flattened waveform where the peaks cannot exceed the set limit. Unlike compressors which attenuate signal peaks gradually, brickwall limiters provide an absolute ceiling, ensuring that no part of the signal exceeds the designated threshold.
To understand brickwall limiters better and learn how to use them in your productions, let's take some brief time to explore the history of limiters in audio.
A (brief) history of limiting
So much of the audio equipment we use today has its roots in broadcast, and the limiter is no exception. A brickwall limiter is a dynamic range control process with a high compression ratio where the signal is completely “limited” above a certain threshold. To understand how brickwall limiters came to be, it’s helpful to understand a little bit of history.
In the early days of broadcast, all audio processing was manual – a technician would adjust the levels to keep them even and prevent distortion. In the 1930s, hardware Peak limiters came into being as a way to automatically prevent an AM (amplitude modulated) signal from going beyond 100% modulation, at which time the transmitter will distort and clip. These first limiters were not very elegant, more functional than “artistic.” Some early models were the Western Electric 110A, and the RCA 96-A.
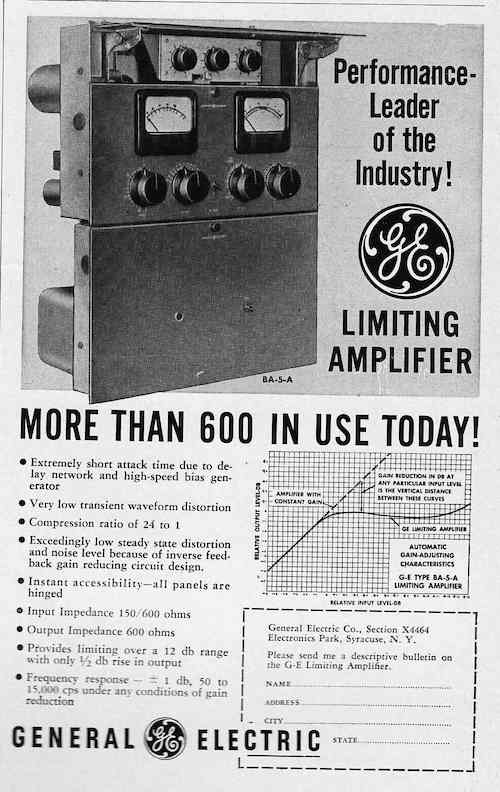
General Electric BA-5 peak limiter, courtesy of Preservation Sound
In 1947, the General Electric BA-5 peak limiter – was released. It was more refined and offered more control over gain reduction – for example, the ability to adjust the slope of the reduction curve. As technology advanced, we moved toward the limiter hardware (and plugins) we use today.
A big step forward in the development of limiters is when “look ahead” limiters came into being. Using a delay/filtering process they are able to “look ahead” into the audio signal and adjust the attack and release so overs are prevented and the processed audio is smoothed, making for a more natural sound.
In the vernacular, “true peak limiting” gets used interchangeably with “brickwall limiting” – they are similar, but true peak limiting adds an additional step of oversampling, and estimates the peak analog level that may come out of DAC to compensate for intersample peaks. Learn more about peak limiting in this tutorial.
Limiters are part of a set of dynamics tools that you can use to shape your mix and master.
Using a brickwall limiter in mastering
Like anything, limiting is a tool. It can be used appropriately to bring up the overall loudness of a track and help give some “oomf” that provides more intensity and impact. It can also add unwanted distortion and lessen the impact of transients in a mix – if used incorrectly.
Let’s go back to the original purpose of a limiter – to prevent overmodulation of an AM signal, which leads to distortion and unwelcome clipping. In the simplest sense, this is what we are still trying to achieve with a limiter. We aren’t always preparing audio strictly for broadcast, but we want to help prevent digital overs that may distort on playback.
We can also use limiters in a more creative way, where the attack and release helps craft the sound we’re trying to achieve.
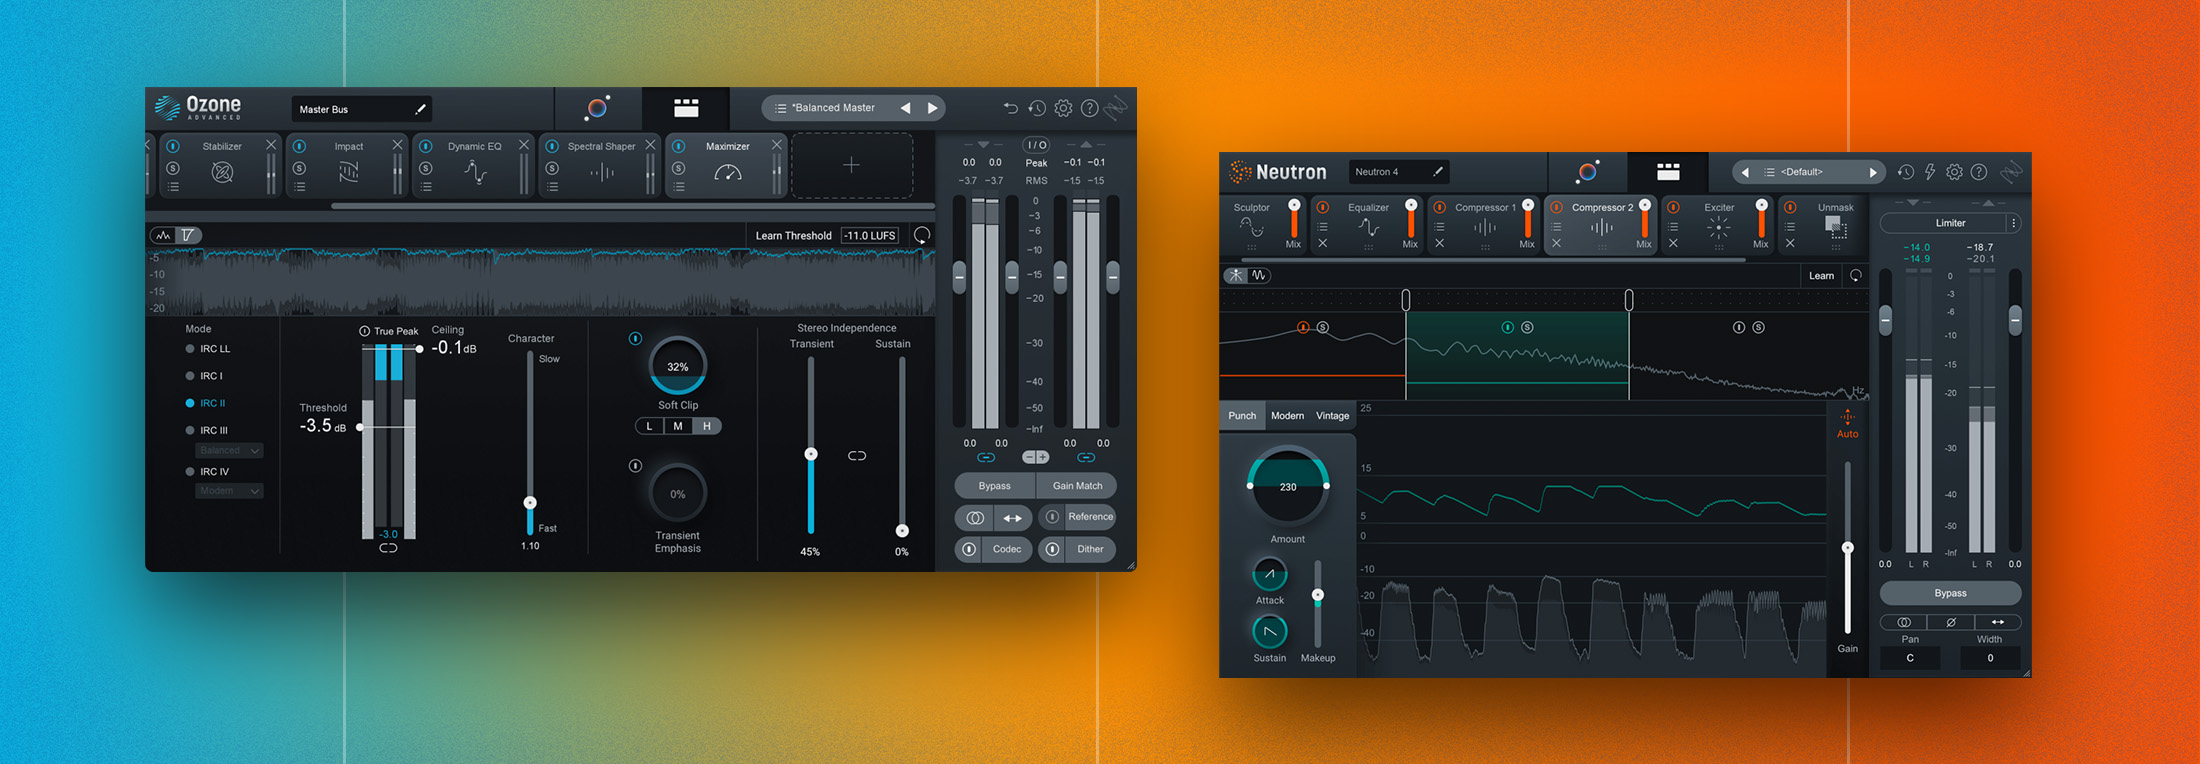
Ozone offers two limiter modules that can help you reach either or both goals. The Maximizer, and the Vintage Limiter.
Using the Maximizer and Vintage Limiter modules
Ozone’s Maximizer module allows for tonal shaping as well as peak management.
In this example, we have a dreamy pop track with a groove that feels lush and enveloping. I wanted to keep that same feeling through the mastering process, while getting the mix loud without crushing transients. The perfect balance! (Thank you to Plunki for letting me use her track “Better Days” for this demo!)
Here is what we are starting with.
I started by putting a limiter at the end of my processing chain.
Beginning with the default settings, I set my true peak ceiling to -.03 dB. There’s no hard and fast “rule” to what you need to set your ceiling to – keeping things a bit below 0 helps with preventing intersample peaks.
Figuring out what input level to set the limiter to depends on a few things – how hard you’d like to hit the limiter, the genre of music, etc. These things are to taste and genre appropriateness. (And of course, technically you don’t want things distorted or crushed!)
I set my input to +3.9 dB, and activated the transient emphasis to help keep the transients as sharp as possible, as there are some stick hits in this mix that add drama and feeling to the song.
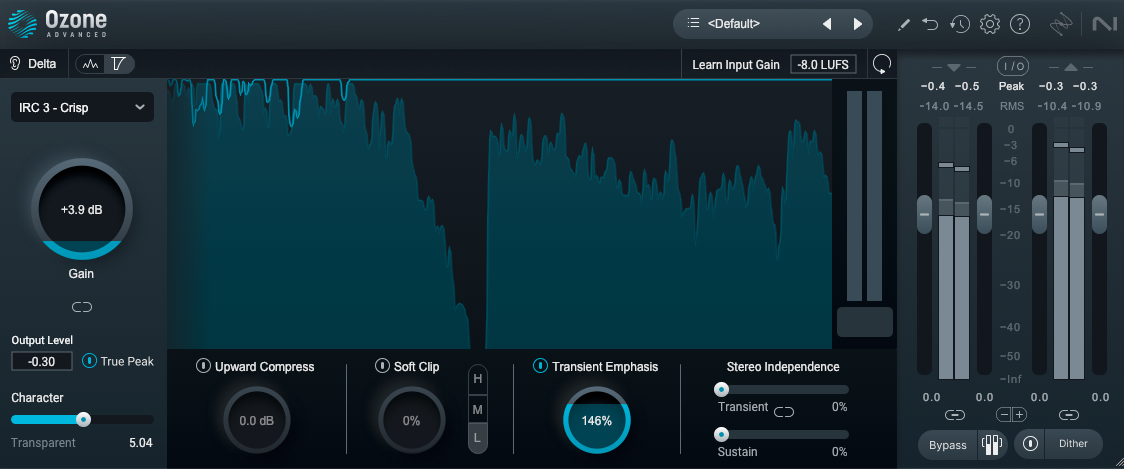
Ozone Maximizer
Before and after brickwall limiting
A nice feature of the Maximizer is that you can audition the delta (the difference) between the limited signal and the input – you can hear what the limiter is doing to the waveform.
For this track, I found the IRC 3-Crisp to be the best setting for me (To see a full rundown of how each mode handles the audio, see this help section) and I auditioned the soft clipping setting to see if it flattered the mix. In the end I didn’t feel the mix needed it.
Limiter vs. soft clipping
What’s important when listening is to see if making something louder actually makes it sound better. One good way to do this is by using the gain/output level link – adjusting gain or output affects the other inversely – and you’re able to audition your limiter minus the bias of loudness.

Gain Output Level link
The Ozone vintage limiter is modeled after the Fairchild 670 – it also has different modes of analog, tube, or modern. It also has a true peak setting just as the Maximizer does. However, for the purposes of “last in the chain” limiting, I prefer to use the Maximizer. But if you were trying to emulate a more analog sound before printing a mix, this might be the tool for you.
Here's what the Maximizer vs. the Vintage Limiter sounds like.
Maximizer vs. Vintage Limiter
Understand brickwall limiting in mastering
Limiters were developed to control peaks, distortion and modulation in broadcast. Since their creation, limiting has taken on a more creative role, crafting the final loudness of a track.
Brickwall limiters serve a purpose as they did in the old days – preventing digital overs. The true peak setting on many limiters helps ensure the digital to analog conversion doesn’t result in distortion or artifacts. Broadcast and film audio have specific standards for loudness where limiting is very necessary. In the creative use of limiting, taste rules all – and louder isn’t necessarily better. However, the technology gives the engineer freedom to explore dynamic range in its fullest and most controlled capacity.
Experiment with limiting in your mastering chain using Ozone for free.
