
7 ways to use RX Music Rebalance in production and mixing
Discover ways to use Music Rebalance to separate stems, isolate vocals, remove bleed from a recording and so much more.
I'm often asked if vocals can be removed from a recording, or if it’s possible to split a song into different tracks for remixing. I used to tell people that in some cases, we're trying to take the frosting off of a cake; it's totally possible and the cake will still be mostly intact afterward. Other times we're trying to take the eggs out of a cake after we've already made it; an impossible task.
These days, what was impossible is becoming more and more possible. One of my new favorite tools that solves both of these initial questions of stem separation and vocal isolation is Music Rebalance.
Try RX free and follow along with this tutorial using Music Rebalance.
What is Music Rebalance?
Music Rebalance is a tool in RX that analyzes and categorizes audio by vocals, bass, percussion, and other instruments. Then you can "rebalance" these elements by adjusting the faders, resulting in a new mix. As with any tool, there are intended uses and there are creative uses. Let’s go through seven of my favorite ways to use Music Rebalance in mixing and production.
1. Stem separator
One of the handiest functions of Music Rebalance in RX 11 is the stem separator. This tool splits audio into four individual files for vocals, bass, percussion, and other instruments. In this example, I was editing a radio ad. My client wanted to use this backing track, but felt the vocal clashed too much with the voiceover. To solve this I used Music Rebalance to give me stems of the backing track and muted the vocal.
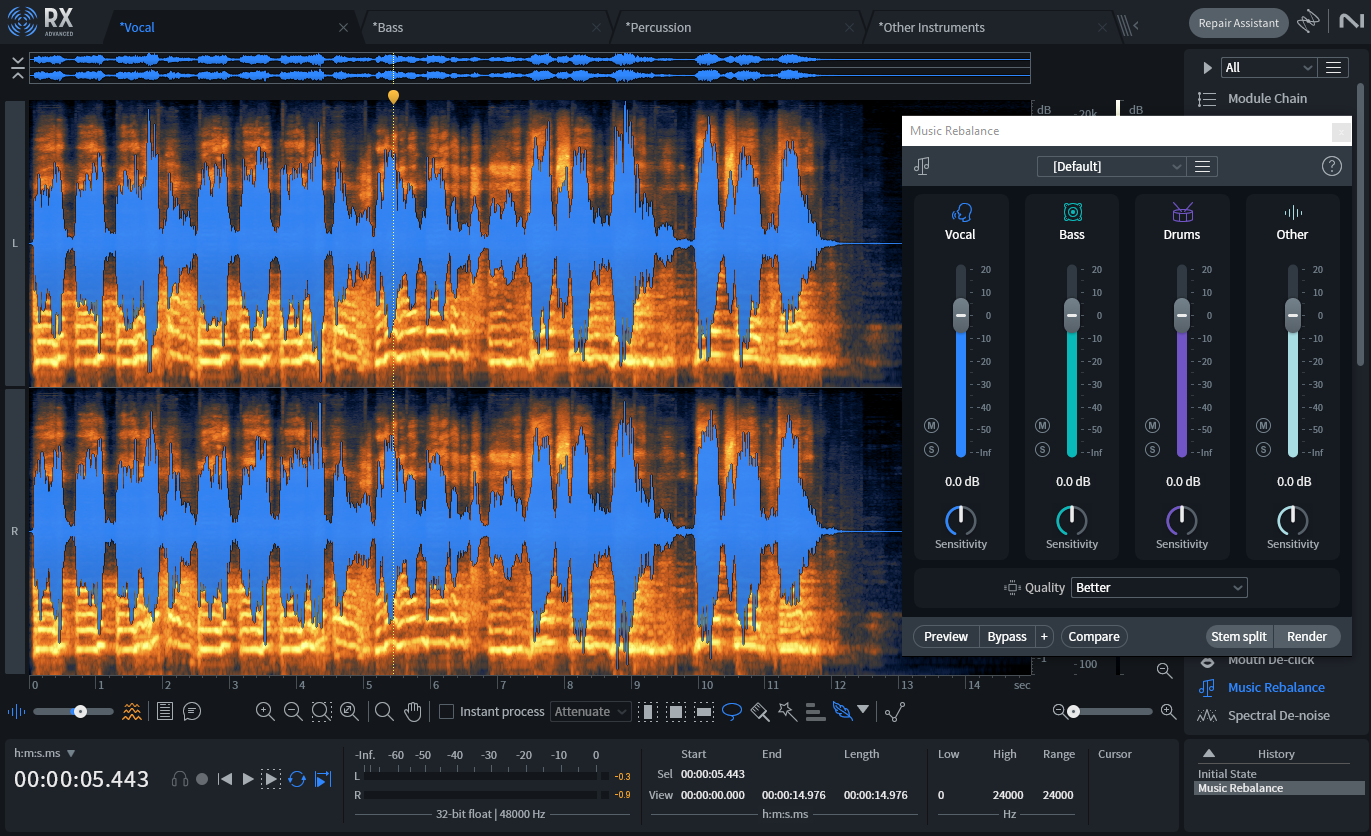
Using Music Rebalance and iZotope RX11, we can separate a mix into stems for remixes
I wanted to see how closely the exported stems matched up to the original when summed back together. Here is the original recording, back to back with the summed stems. Not much difference between them at all!
Let's check out the separated stems
From these separated stems, I was easily able to create a version of the mix without the vocals for my radio ad. First, let's listen to the isolated stems:
Finally, here is the version with no vocals. You can also use Music Rebalance to separate stems and create remixes of songs, karaoke tracks, or rehearsal tracks quickly and easily. For our purposes, here’s the music I ended up using for the radio ad with the vocals removed.
2. Create a quick “vocal up” or “vocal down” mix
While making mix changes in your multitrack session is typically best practice, it’s not always possible. For those cases, a tool like Music Rebalance is extra handy.
In this example, we had to give the lead vocal a slight volume boost. The vocals felt just a tad quiet, and we wanted to give them more urgency to push to the end of the song. We put the mix through Music Rebalance and used the faders to bring the vocal up by 2 dB, just enough to give them some extra power.
3. Dampen bleed from a recording
In this live recording, the fiddle microphone was picking up a lot of vocals from the stage monitor near the player's feet. Every time I brought the fiddle to a good volume in the mix, the monitor bleed would cloud the lead vocal. Using Music Rebalance, I turned down the vocal fader all the way to remove the monitor bleed from the fiddle, making it way more workable in the mix.
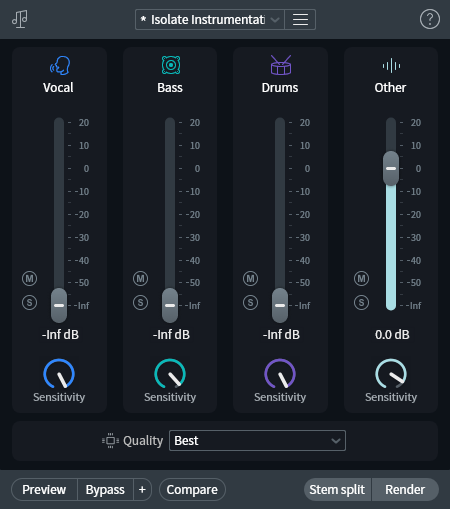
Music Rebalance helps minimize bleed from a live recording
4. Isolate instruments that share a mic
With this same live performance, the fiddle player was also using her fiddle mic for vocals. I wanted to separate her fiddle and vocal to have some more flexibility balancing the two in the mix.
I duplicated the track and used Music Rebalance to remove her vocal from the original fiddle track. On the duplicate track, I used Music Rebalance to remove the fiddle by turning down the "other instruments" fader, creating a new vocal track that I could mix as I wanted.
5. Salvage a two-mix recording
I just did an archival recording of a friend's birthday show. The recording included a drum circle with a few other instruments, plus vocals. I ran front-of-house and captured a two-mix live recording. I wasn't amplifying the drums much, which meant that in the two-mix they ended up being super quiet compared to the vocals, which I had been amplifying. Adding some compression helped bring out the drums a little bit, but it wasn't enough. I ran the mix through Music Rebalance to bring the drums and other instruments to a more equal level.
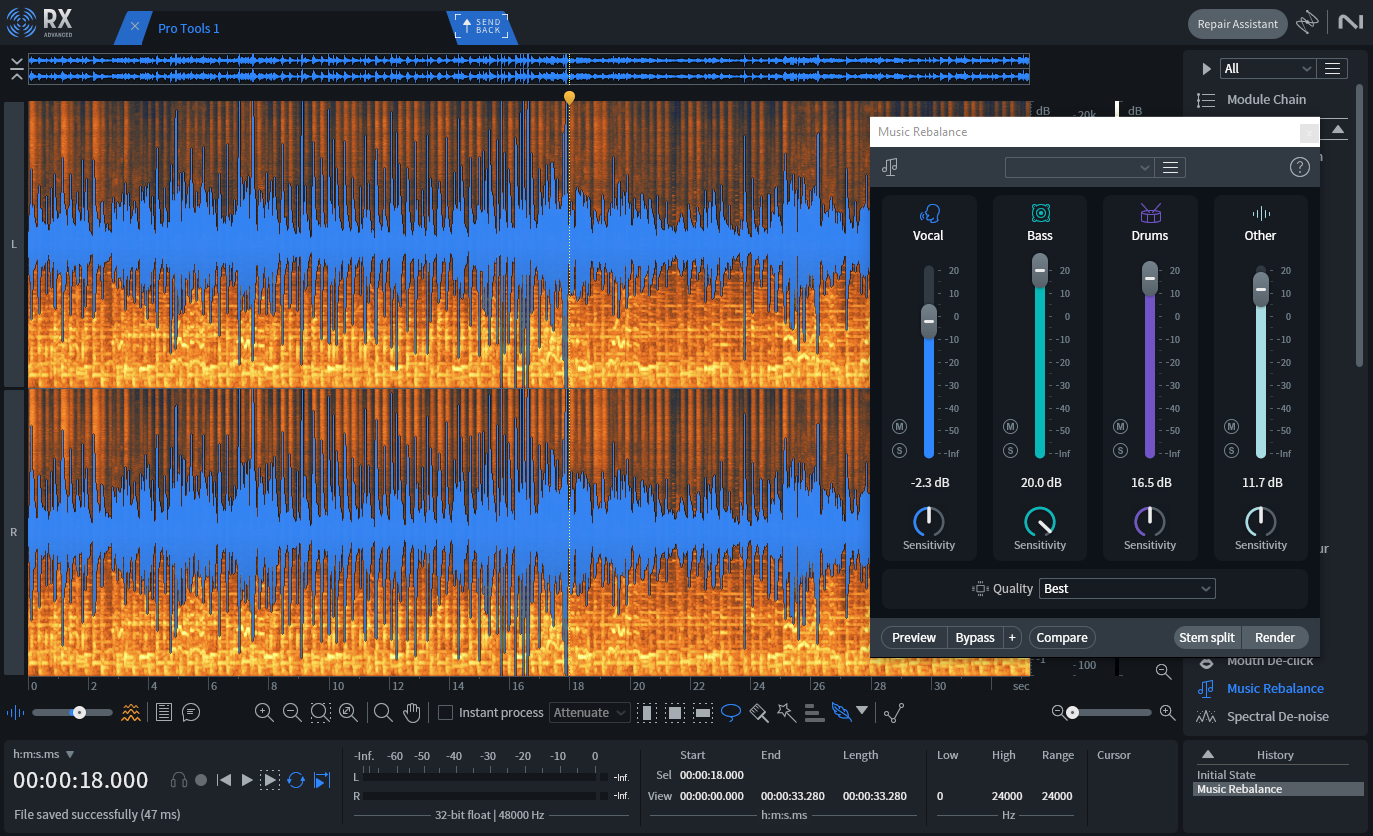
Music Rebalance can be used to even out a live two-mix
6. Tune a vocal from a multi-microphone recording
Time for one of my favorite tips! I do a lot of acoustic music recording and that will often mean that I'm recording a person that is playing an instrument and singing at the same time. It used to be impossible to tune a vocal with a recording like this because you'd still hear a bit of bleed in the acoustic guitar mic, or you'd hear some out-of-tune guitar notes when the guitar bleed in the vocal mic moves to a different pitch along with the vocal. With Music Rebalance, you can isolate the vocal and tune it without affecting the guitar, piano, or whatever instrument in the mix.
7. Create custom sounds from samples
Let’s get a little weird now. What happens if we put non-music audio into Music Rebalance and play around with the mix?
I decided to try this with a robotic servo sound that has some low pitch and some clicky rhythmic elements.
Here it is after applying Music Rebalance.
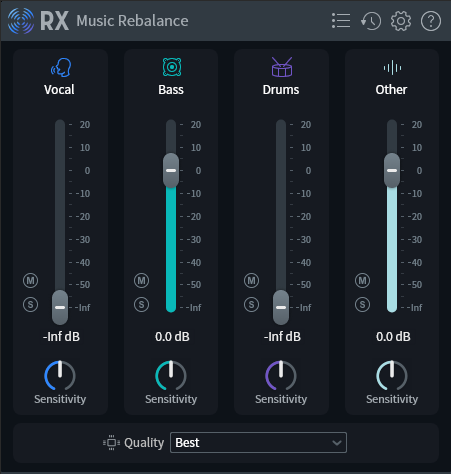
Music Rebalance can be used to manipulate sound effects
We're hearing a lot more of the whooping sound that I like, and I think we can make it sound even cooler by using Nectar to add a phaser effect and some reverb. Here’s the finished sound effect.
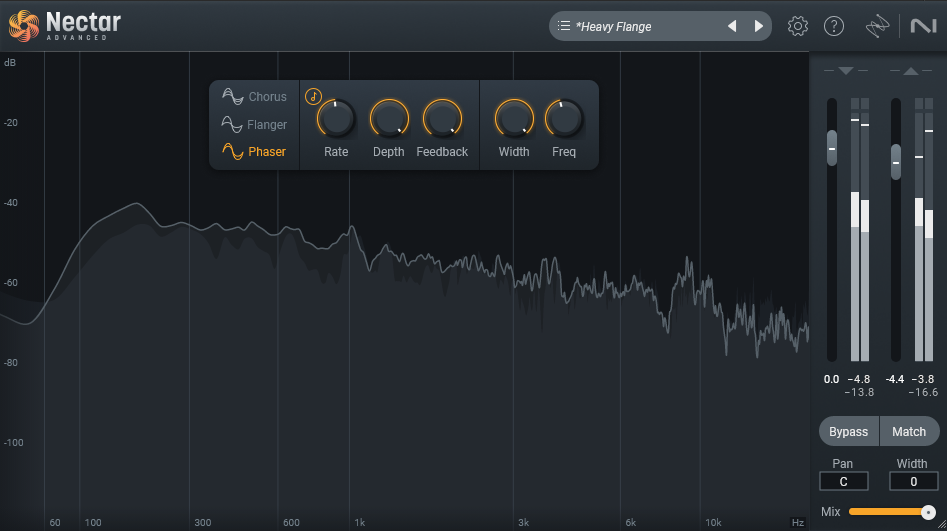
Nectar 4 adds a phaser effect to an audio sample
Start using Music Rebalance today
Music Rebalance in RX 11 can be used in so many practical and creative ways from stem separation to tweaking sound effects. While there can be some artifacts whenever you're using algorithms to do a job, this process sounds a lot cleaner than even just a couple of years ago and is sure to keep improving. Depending on what you're doing, some artifacts might not be a big deal. Just don't let the solution be a bigger annoyance than the problem you're trying to fix with any tool.


