10 Tips for Editing Interview-Based Podcasts
A new job is increasingly available to audio engineers: editing podcasts. This can be a gargantuan task, so follow these ten tips for success!
As traditional radio reporting is shifting more and more to podcasts, we’ve seen a proliferation of startup companies and broadcast organization spreading into the field. With them has come a growing opportunity for new work: suddenly, the niche job of organizing audio for podcasts is not so niche.
But what do I mean by organization? Well, think of This American Life, Serial, or something on Gimlet: these programs flow in time, with voiceovers leading to interviews, sometimes taking us into courtrooms, placing us in the middle of phone calls, etc. It’s someone’s job to lay this audio out in a linear fashion—to cull it from source files and put it up in DAW. The someone referred to here is now a wide cross-section of individuals: story producers now sit down with Pro Tools on the regular; audio engineers who worked in film now may find themselves called by a television network looking to expand out into podcasts and hoping to farm this production work to knowledgeable people (such was the case recently for me, when one of the four broadcast networks came to me for a podcasting job).
This article offers concrete tips for organizing audio in these podcasting circumstances. It’s geared to an interesting segment of people: story producers, audio engineers, post-production mixers, and anyone else interested in forging a career within this Wild West of an industry.
1. Find all the audio first
I learned this the hard way, but boy did I learn it fast: if I am handed a script with corresponding timecode, I will not do all the podcast editing work at once. That will eat up hours and cause problems down the line. Instead, I’ll devote my time to tracking down all the relevant audio, making sure it was provided to me, and demarcating it within the session itself.
Here’s a hypothetical:
Say we have an interview with “Jim.” Say Jim is appearing multiple times throughout the episode. Let’s postulate that the third time he comes in, it looks like this in the script:
“JIM: (File: Jim Interview 2, 00:34:12:05) When she came into the apartment, I knew immediately something was wrong.”
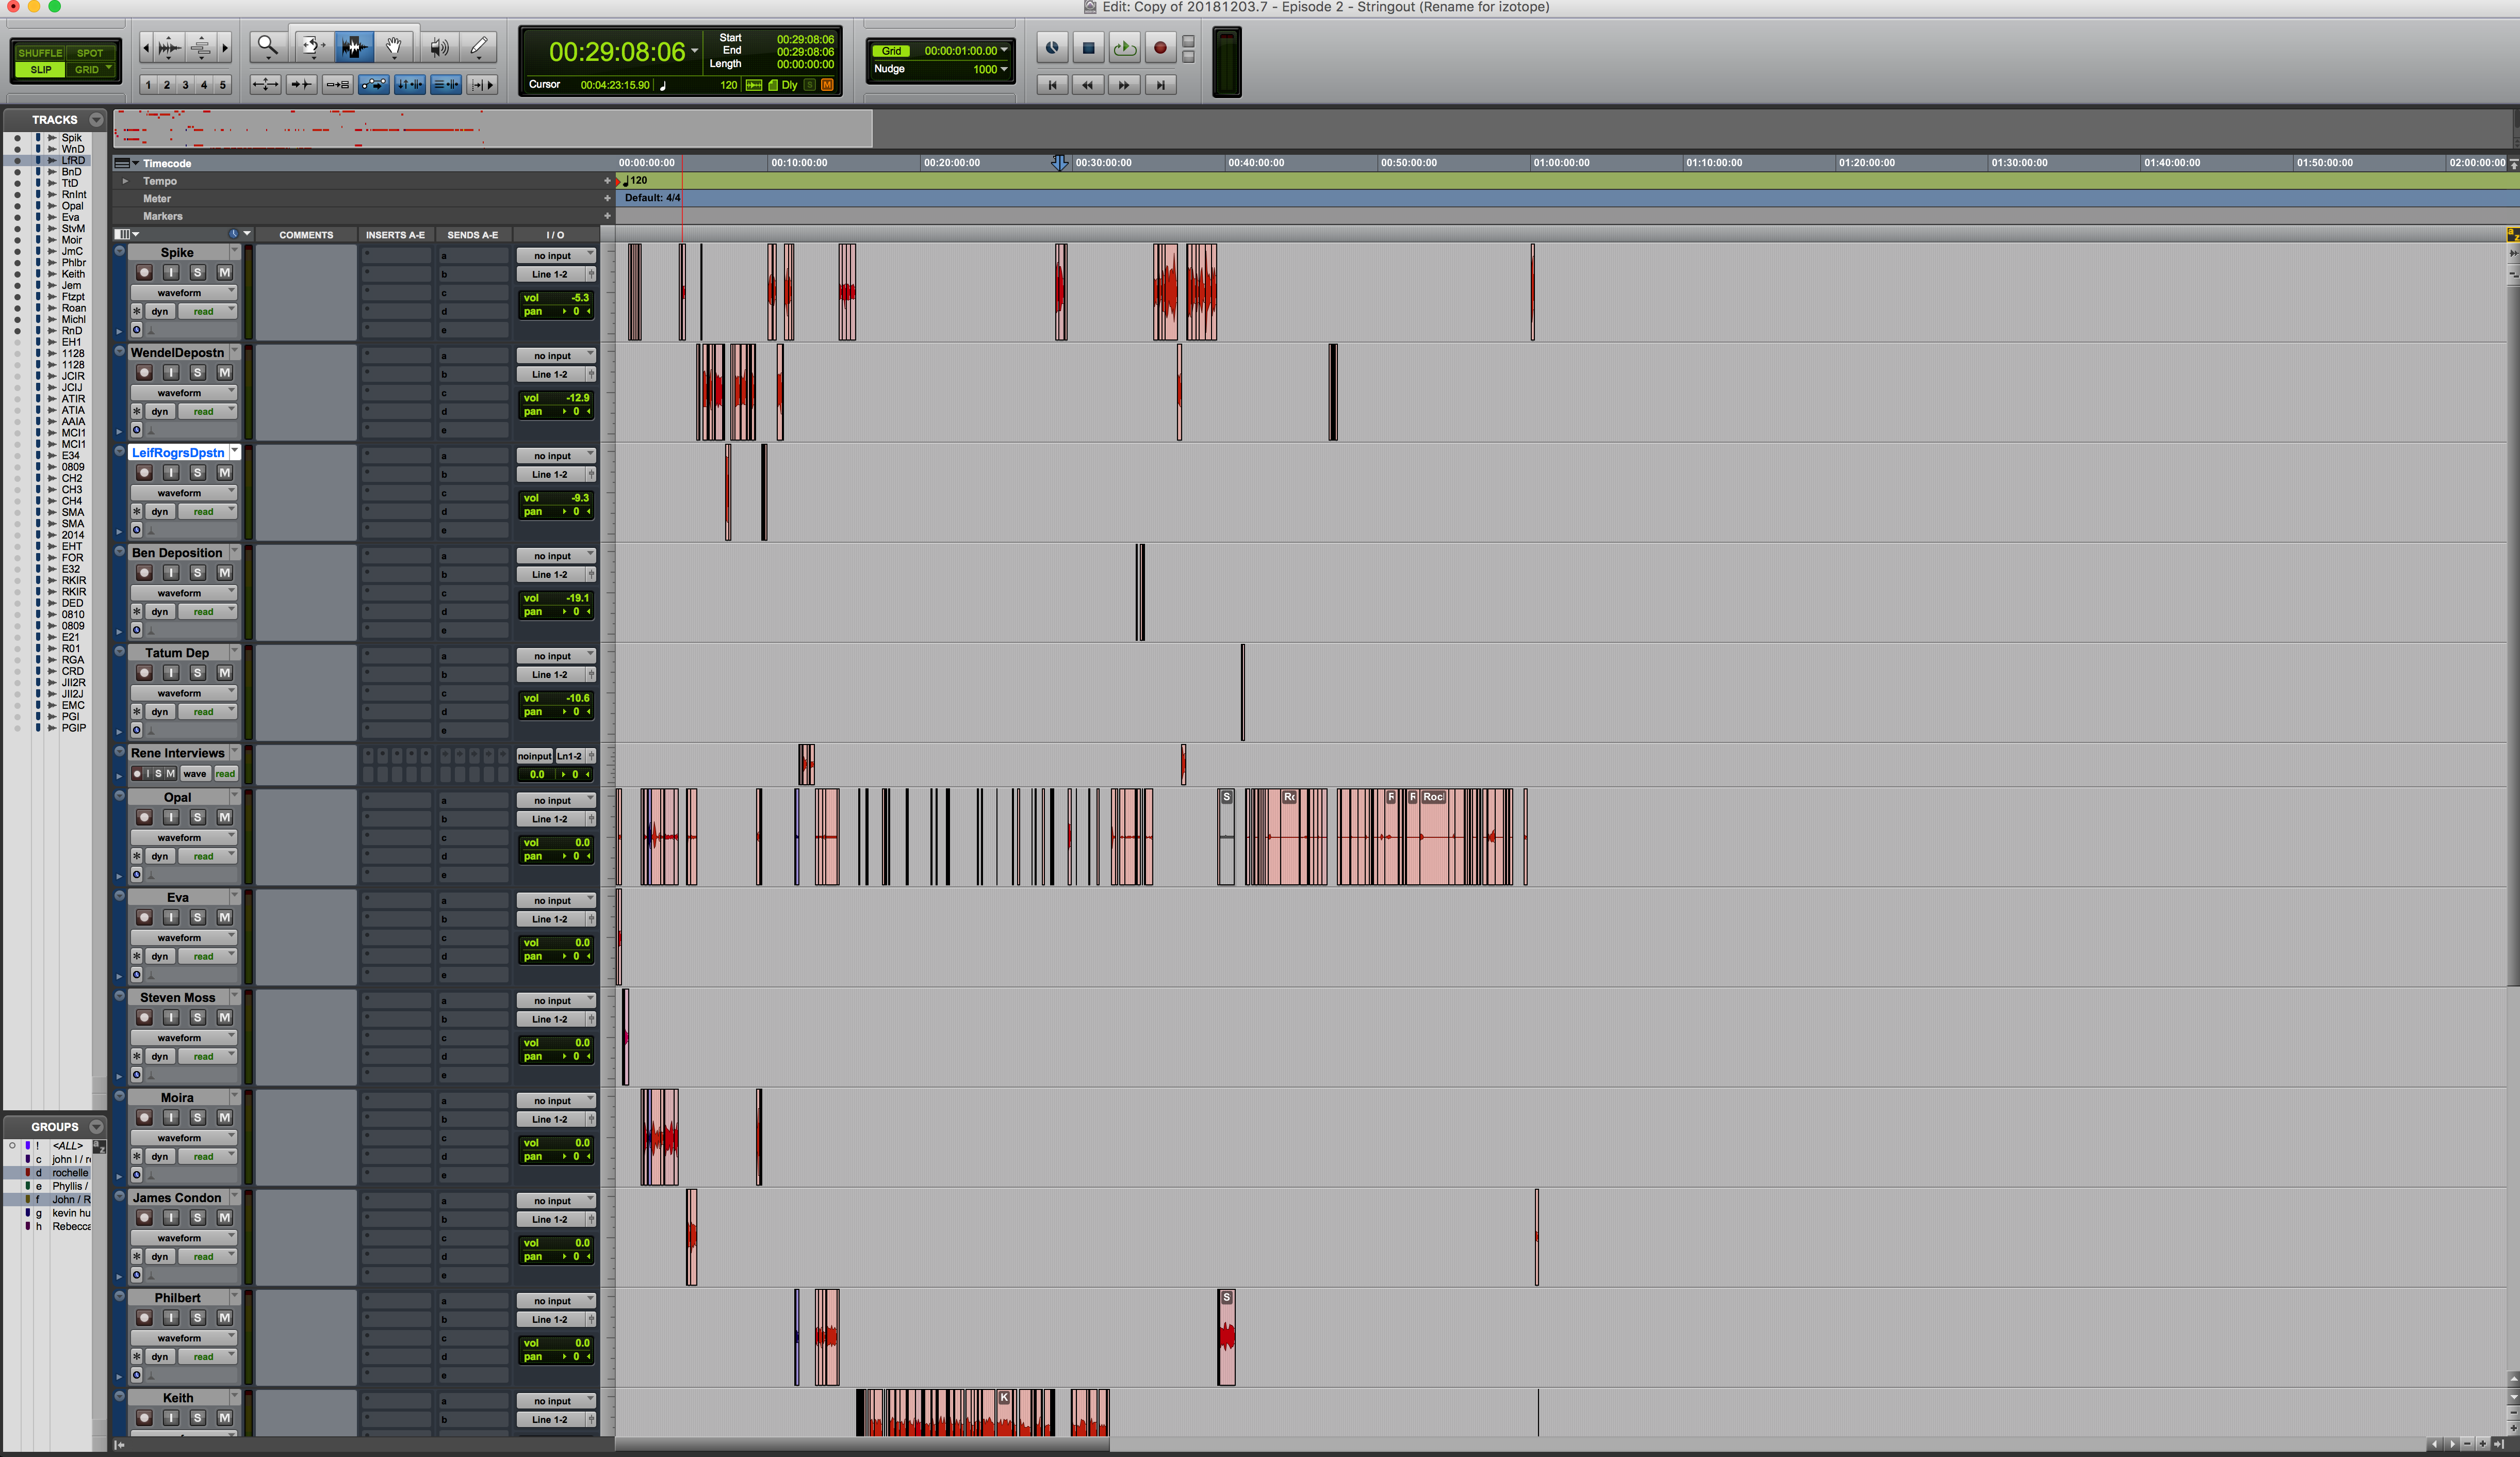
Here, I’ll pull the source audio into its own track, find the clip by its timecode, separate the audio into its own region, color it red to distinguish it from the rest of the track, and rename the region as follows:
“Jim interview 2 - 3rd clip.SOMETHING WRONG”
I have my own renaming conventions—and you should develop yours too. Mine is meant to maintain organization in the face of ongoing script edits (hence the keywords). You might go a different way.
However you operate, start with locating all the audio first. Why? So you can contact the production team ASAP if there’s a missing audio file.
These projects often involve tight deadline constraints. You don’t want to be nearing the end only to realize you’re missing vital audio.
2. Develop a system for working quickly
You may have your own order of operations. It may evolve over time. It may also change depending on the guidelines of the project. In any case, identifying your way forward and sticking to it is vital, as this ensures efficiency. Right now, here’s my modus operandi:
- Find and rename ALL clips
- Place all clips in order on new tracks
- Fades, muting, and color coding
- Track organization
- Listening to the episode as I read the script (quality control)
- Making backups in case of relinking issues
Having an order of operations is extremely important to one’s workflow. It keeps you moving quickly. Focusing on one task at a time is especially efficient, and furthermore, allows breathing room in case things change in the script. The last thing you want to do is spend ten minutes on one clip only to find out its been cut from the production entirely.
A last overall note: I like to drag all source audio onto their own, individual tracks. Then, after finding and renaming applicable clips, I like to drag these from the clip list to new tracks. When I’m done with a source track, I mute it, then hide it. This allows me—or the downstream engineer—to quickly access the source audio if need be later down the line.

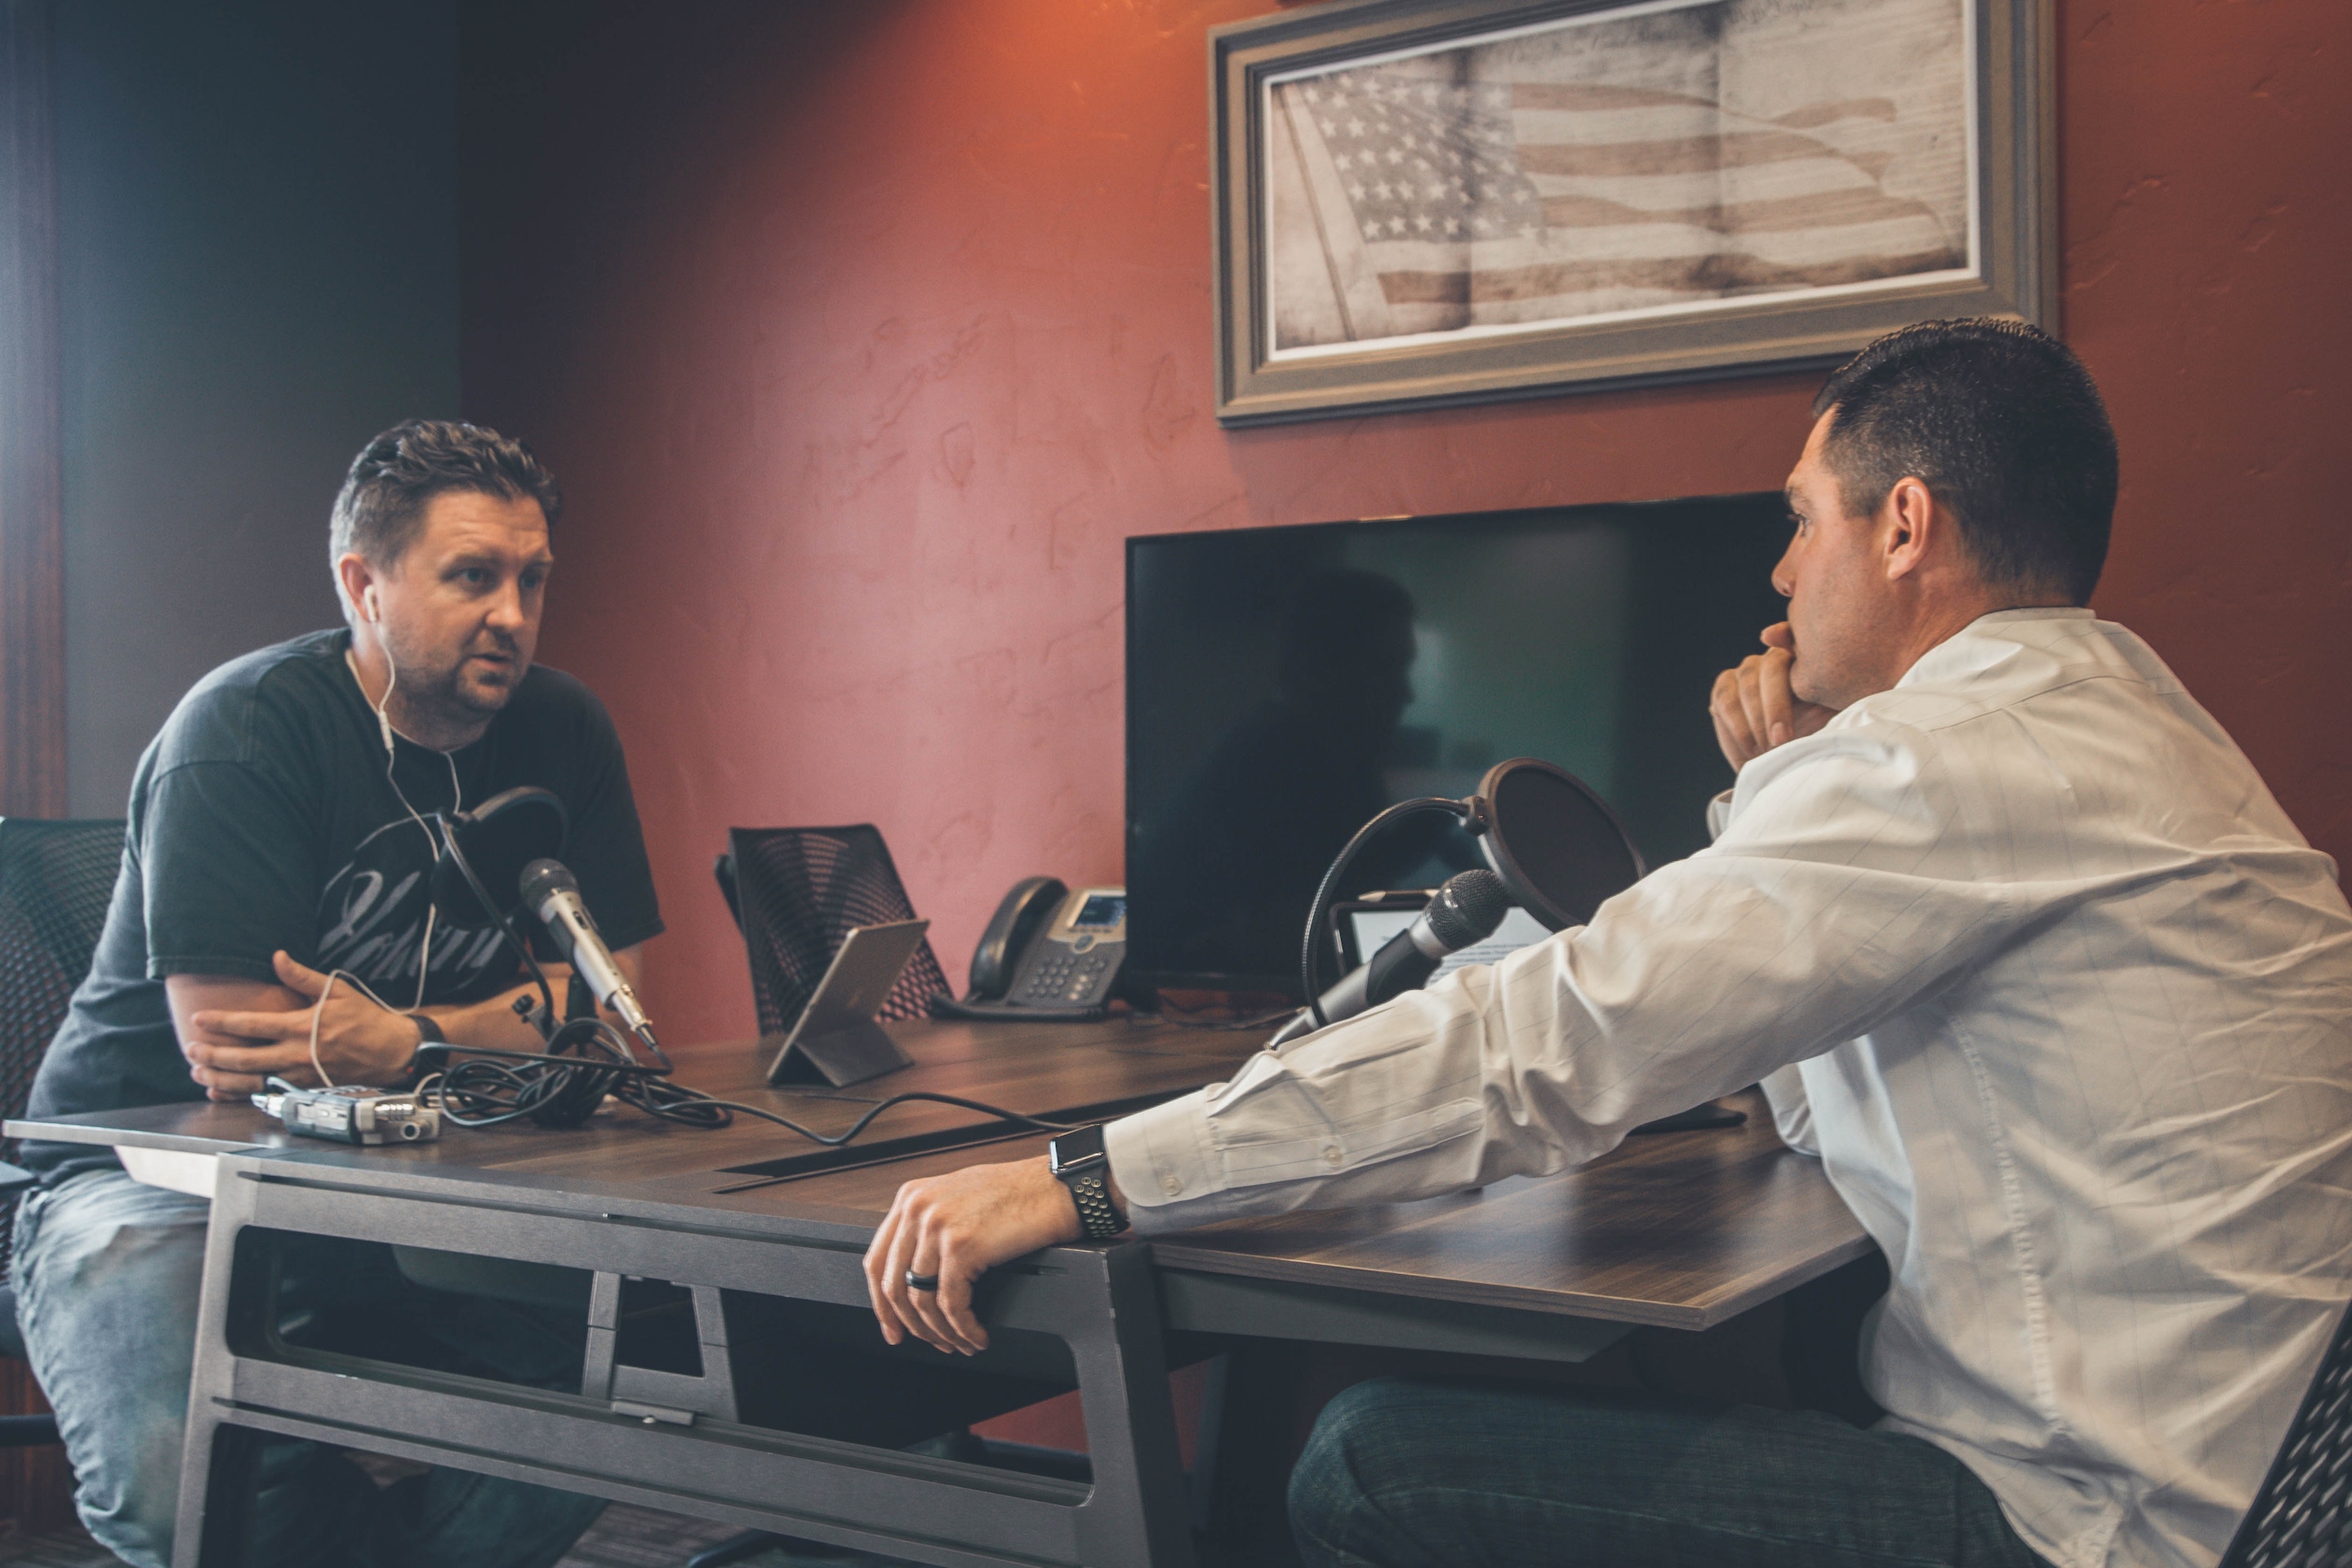
Recording a podcast
3. Develop systems for incorrect timecode
In every project I’ve worked on, there has been (at least) one case of incorrect timecode given. I’ve seen all sorts of issues: the timecode may be correct, but the file name supplied is wrong; the timecode is off by an hour exactly (a typo); the timecode has been flipped—minutes are actually seconds and vice versa; or, it’s just off.
Ideally, you should be able to email the team about these issues and get a fast answer. But this isn’t always the case. They might be too busy, or they might continue to supply you with inaccurate timecode.
Sometimes, you just have to hunt and peck. So what do you do? Use the script, the project, and the waveform as best you can.
Here’s an example: I was once given an interview conducted in front of a live audience. There was no timecode supplied. There was no answer from the team. The script indicated laughter from the audience. Thankfully, this laughter had a particular shape in the waveform. I kept looking for the shape until I found my clip—it took minutes, not hours.
Perhaps the script shows a conversation between an interviewer and an interviewee. In these cases, the interviewer often speaks in short bursts. If you’re given two tracks of audio, you can easily spot where the interviewer interjects, and use these interjections as reference points till you find the right clip.
You’ll notice that a curious thing starts to happen: you’ll begin to get a feel for the interview’s flow. You’ll start to sense when you’ve steered into the subject of the relevant quote. You’ll begin to know, intuitively, that you’re getting close. If you’re a puzzle person, it’s almost gratifying.
Almost.
If these tricks don’t work, here are some more: pay special attention to the audio and keep notes; perhaps, by accident, you’ll find a clip that refers to something later in the script. Note its timecode, and note the timecode you’re given: what’s the relationship? See if a pattern holds. In cases where producers can’t give you correct timecode, these patterns may help you a great deal.
Sometimes, people make the same mistakes over and over again. I’ve seen minutes and seconds flipped, or even digits swapped. I’ve been given “00:15:43” only to find out its actually “00:51:43.” That person made this typo consistently; identifying it saved me time.
Everything you can grab in this process, use it! Sometimes you have no other option.
4. Use all the features of your DAW to your benefit
Often you’re given a day or two to marshal an hour-long script into existence. So you’ll need everything you can get at your disposal. Knowledge of key commands is essential (“select all following”, “split region”, “rename clip”/“rename region” for example).
This includes focus keys when working in Pro Tools. Drill focus keys until you know them in your sleep. They make editing a breeze. Often, interviews come in pairs of tracks, and should be grouped. This keeps the interview organized, and prevents you from accidentally nudging one region over, which is a big pain in the butt.
If you’re working in an unfamiliar DAW, you can speed up the learning process by coming up with mnemonic devices and writing them down in a separate note. Say you’re new to Pro Tools, and are confused by track zooming. With focus keys, it’s R and T. My mnemonic device for learning it? R for “reel it in,” T for “tug it out.”
5. If there’s a group script online, check it every day
Sometimes the script is a shared document, like a Google doc, so that everyone on the team has access. If that’s the case, check it every day. Hell, check it every hour.
Do not trust anyone when they say the script is “locked.” It never is. Changes are par for the course. Many times I’ve already placed the audio, only to find sentences cut and rearranged throughout the script. Monitor the shared document in real-time to make sure you’re all on the same page.
6. Organize the track
Once you find all the applicable quotes, you must put the clips in a linear order. That is the crux of this particular job.

However, that’s not where your job stops. You also need to keep it organized. An organized session will ensure a most grateful producer/engineer. One way to get rehired is to make sure the person receiving your work has the easiest time possible.
Even if you’re the engineer, you’ll be doing yourself a favor, eliminating this grunt work, so that you can work as elegantly as possible.
What does good organization look like?
First, ask the production team if they have a template they want you to follow. Some have specific guidelines, from the DAW you use to how you name the session. If they don’t have a template, here are some good rules of thumb:
Give each person their own dedicated track. I like to list people in order of appearance. If there’s a host interviewing multiple people, I’ll probably place the host track above all of the people interviewed, so the engineer can later pair/group everything as need be.
If an interviewer and an interviewee engage in conversation throughout the clip, mute and fade the dialogue to a basic degree. Mute the regions where one person is silent, and apply fades to the beginning and ending of each region. Use crossfades for applicable, conjoined regions.
Consider color-coding your regions with a system that helps you identify troublesome issues down the line. When the project doesn’t have a specific template, this is my system:
All usable, arranged audio is colored in red. Problematic audio is purple. “Problematic” means a few different things here—it could refer to audio that demands processing (clicks and pops that need to be run through RX, for example), or passages that are currently undergoing edits on the shared script (this is not uncommon).
Every once in a while, you’ll encounter audio whose timbre doesn’t necessary match the script’s intention. The script, for example, may show a person giving a simple declarative statement, but the tape sounds more like a question; another common issue: the script shows the quote as ending emphatically, but the audio depicts a different story: this is actually the midpoint of a larger phrase, and the next word enters abruptly. I give these sorts of clips a yellow color, and keep notes about it as I go along.
Which brings us to our next point:
7. Keep notes as you work
Pulling quotes for a podcast is akin to piecing together a puzzle, one that’s rather complicated: timecode can be off by seconds, minutes, or entire hours; often you’re working with more than a dozen discrete audio files, all lengthy; audio can be problematic and require extensive scrubbing. These are things you need to note down, because without notes, the work will take longer.
I don’t make notes on the script file itself. Often, it’s a shared document and it’s evolving. I don’t copy over the script and work off that either, as then I’m less likely to see the changes made.
I keep a text document open and make notes as I go along. The notes could include questions I need to email the production team. Or they could just be for myself. The important thing is that these notes exist, as they make my life easier. Here’s a short sample of a few notes I took:
- 3 second handles at beginning and end; script differs from audio a bit
- It’s a phone call, and Keith appears both on his own track and Rachel’s
- 3 second handles at beginning and end
- 2 second handles at end
- Complete commercial for use as natural audio bed
They also make life easier for any downstream production team-members, so long as you do this next part.
8. Compile your notes into an easy-to-understand read-me file.
I do this whether or not I’m the engineer mixing the final product, as it helps me to work efficiently on the technical problems and get to the fun faster. If I’m not the final engineer, the read-me document is essential, and here’s why:
Often a script exists despite the audio involved, not around it. So I like to make issues clear to the next engineer, to make their lives easier. If I’m friendly with the engineer, I may even include a suggestion for how to proceed (be political here, however; you don’t want to overstep your bounds, so it’s good to develop a rapport with the engineer first).
A note could look like either of these:
“00:10:43:03 - This phrase begins with the word ‘because’, but ‘because’ is not in the script. Editing the word out sounds unnatural to my ears. So I’ve left it in. I’ve colored the region yellow so you can identify the issue in the session.”
“01:01:43:02 - This phrase is written in the script as a demonstrative sentence, but the way he speaks makes it sound like a question. I’ve shaded it yellow, in case you want to run it through RX Dialogue Contour.”
9. Leave space for sound design
A finished podcast is going to use ear candy—music, sound design, and more. But in phase of the job, sound design is not your concern.
You should still leave space for it, though. Give the downstream engineer some room to move things around.

I like to leave approximately five seconds of silence between discrete sections of the script. If there’s a bunch of interview audio, followed by some voice-over, I’ll leave five seconds of space between the two, for underscoring or transitional sound effects. The engineer can always move everything around easily if they don’t need the space, but it’s good to give them room to play around.
10. Back up the audio
When everything is finished, I like to create backups. If the team has given me a hard drive, I’ll place on backup on the drive itself. This backup is either a “save copy in” file (if it’s Pro Tools) or a whole consolidated project (if Logic Pro, etc).
I do this to ward off the dreaded problem of audio not linking to the project. This, as any engineer could tell you, is the bane of anyone’s existence. In addition to ensuring there’s a secondary copy of the project in case of file corruption, this copy is useful in warding off the dreaded specter of relinking.
The second backup goes on my own hard drives, the ones dedicated to backups of audio projects. This is also its own, consolidated version. It’s meant entirely to be insurance in case something happens to the original file, or the original hard drive. It’s always better to be safe than sorry.
The takeaways
The podcast world is in many ways a Wild West, with many companies doing things their own way, and many operations figuring out their own methodologies for the first time. Do not be ashamed if you’re a bit lost in dealing with a client—if something that works for one doesn’t work for the other. Have the humility to ask what you don’t know, and be adaptable to last minute changes. A willingness to go with the flow will help you enormously in laying out audio for investigative podcasts, because things always seem to change in this medium. Still, having a modus operandi is of the utmost importance to keeping your organized, to giving you the freedom to go with the flow. It’s our hope that we’ve provided you with just that!