5 Ways to Use Visual Mixer in Your DAW Sessions
Get tips for using Visual Mixer (included for free in the latest Neutron release!) to achieve even, balanced mixes in record time.
Did you know iZotope has free plug-ins?


Visual Mixer


Neutron 5
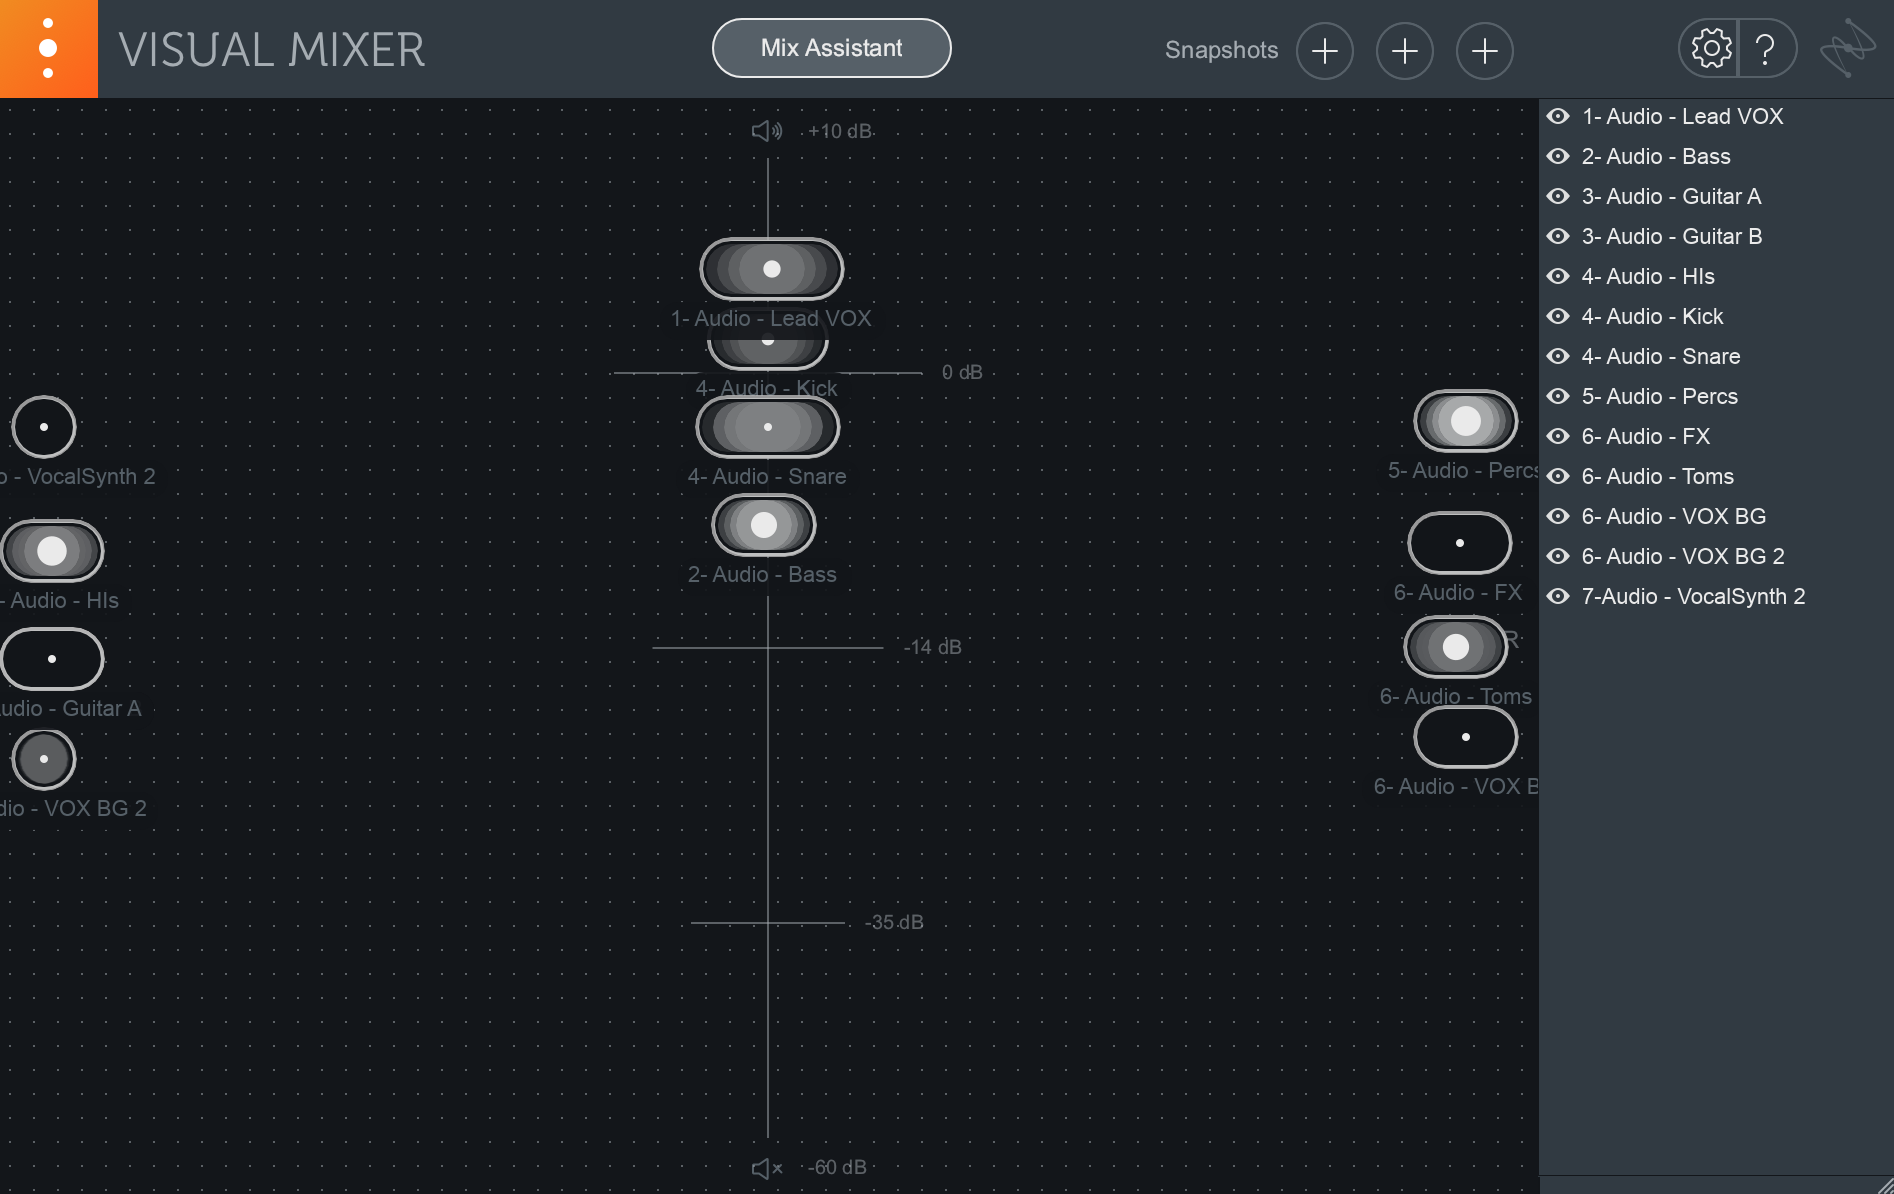
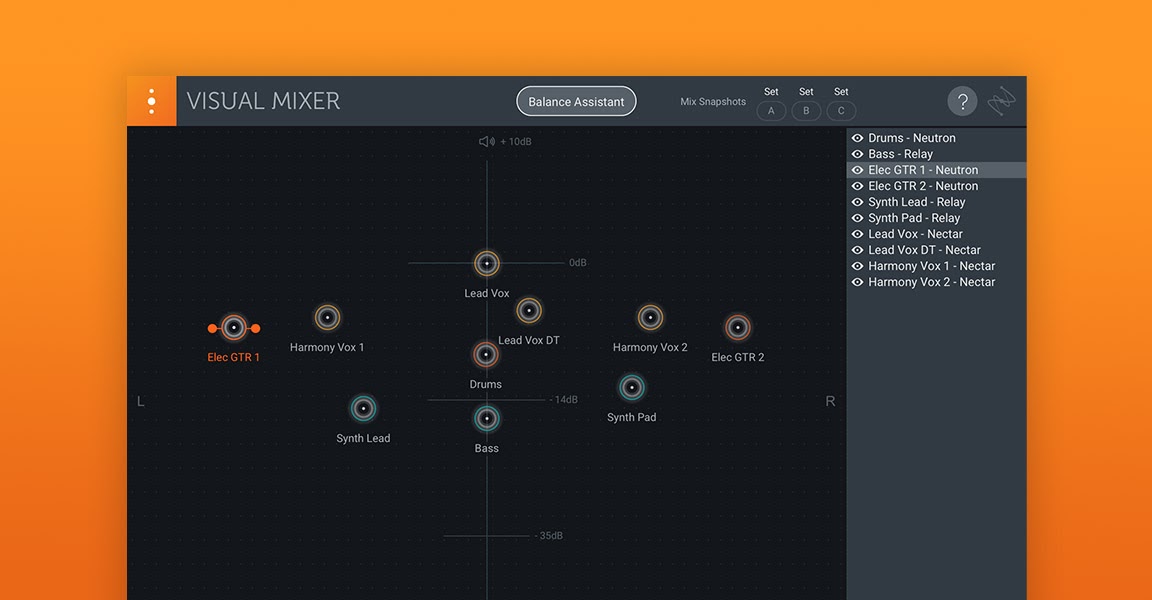
Visual Mixer is a workspace that allows you to adjust the pan, gain, and stereo width of the tracks in your mix from a single window. In this article, I’ll show you five ways to use Visual Mixer to achieve a balanced, but exciting mix in record time.
This article references a previous version of Neutron. Learn about 

Neutron 5
1. The basics of Visual Mixer
Visual Mixer reads your DAW for instances of


Relay
For those unfamiliar with Relay, it is our CPU-light utility that allows for communication between iZotope and non-iZotope plug-ins. Instantiate it on a track and this track will show up in Visual Mixer without altering the signal tone. Just be sure to place Relay as the last plug-in in an effects chain so moves made in Visual Mixer apply to the entire track.
From here, get creative and drag individual tracks (represented by a node) across the x-axis to alter the pan position or across the y-axis to adjust the gain. Let’s go a little deeper:
2. LCR panning vs. LCR-ish panning
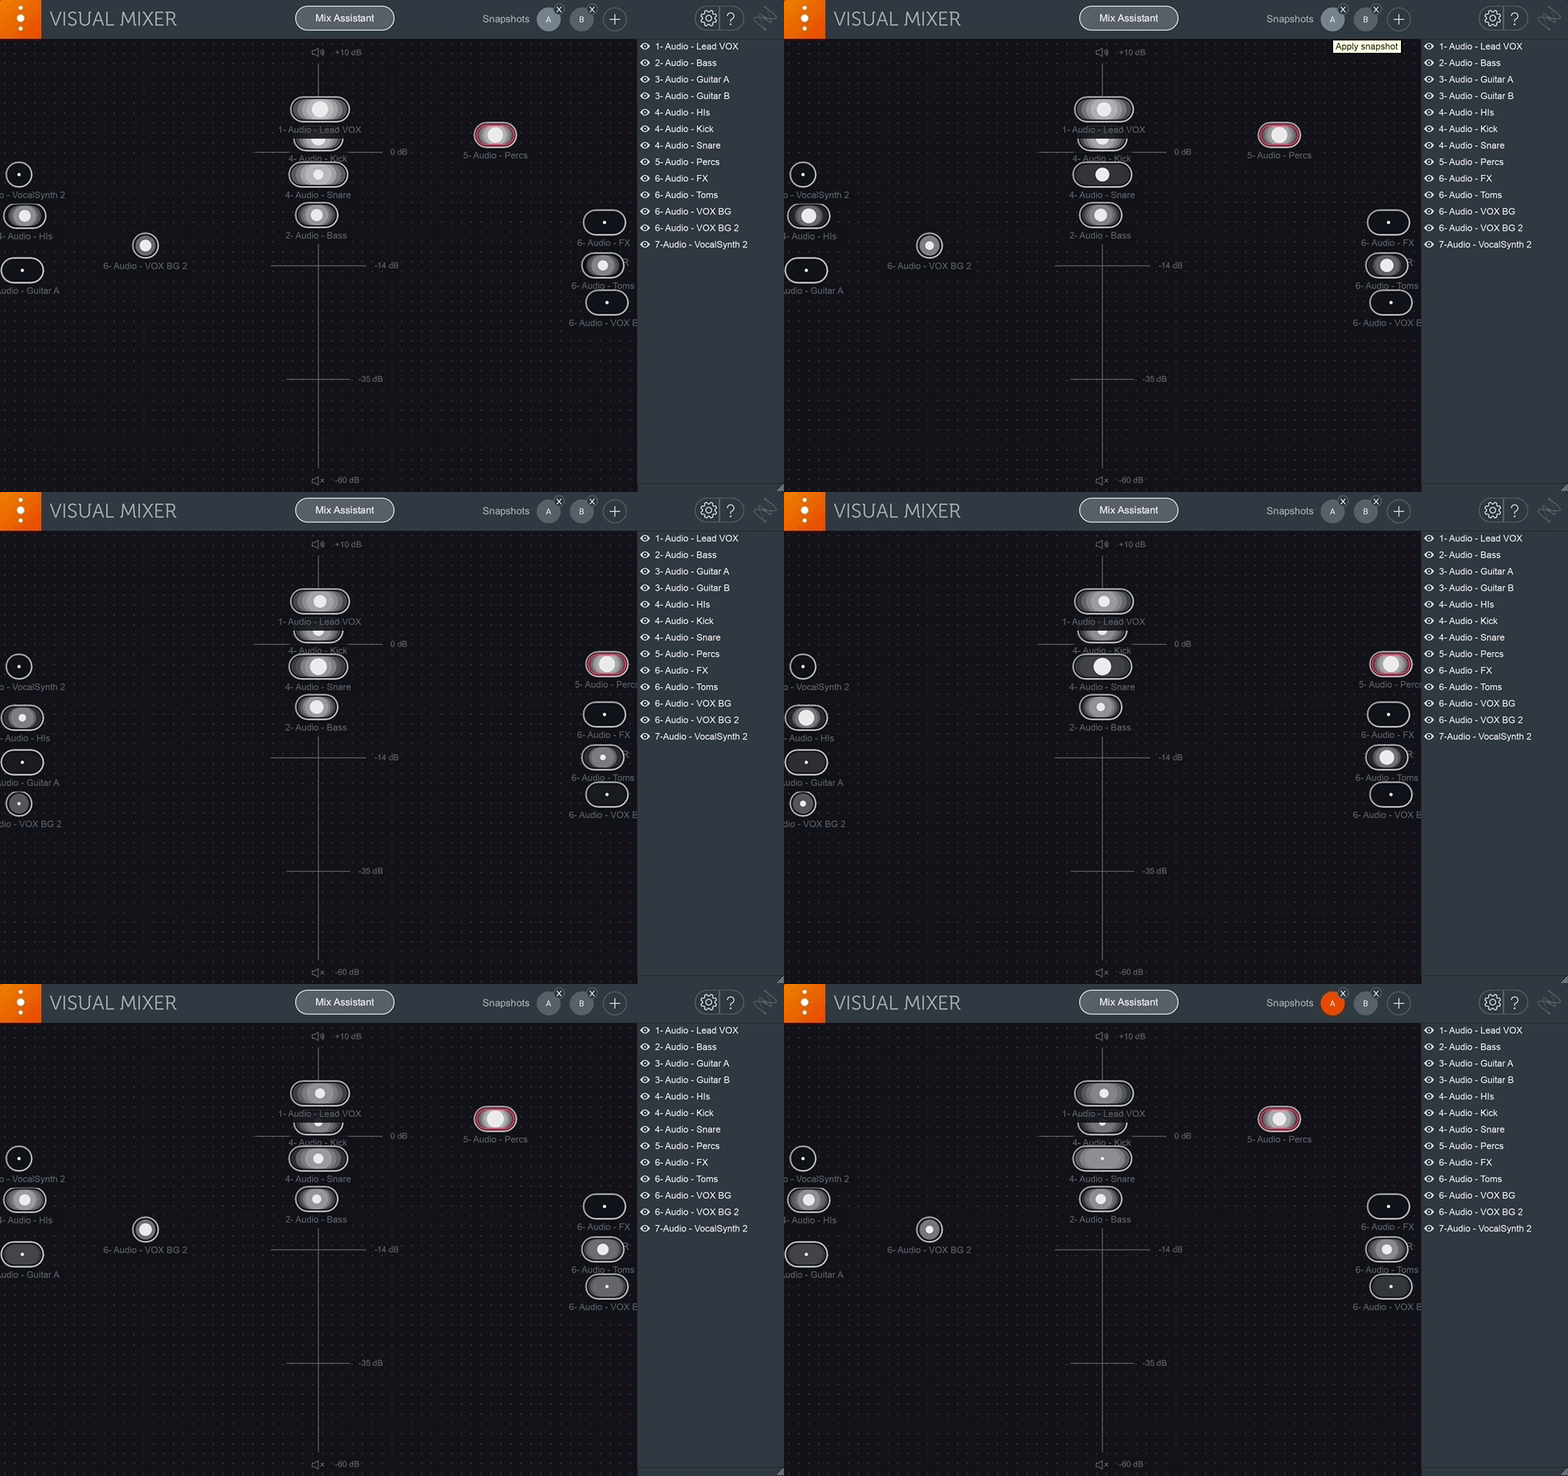
One of the best parts about Visual Mixer is the Snapshots feature, which allows you to save and preview up to three different pan scenarios. This is helpful when you want to compare traditional approaches, like LCR, against more modern ones.
The concept of LCR panning is simple. Every track in your mix is panned in one of three directions: hard left, center, or hard right. Most engineers keep the kick, snare, lead vocals, and bass in the middle for maximum impact and balance. All other instruments are panned to the sides. If there is too much going on at either end, go ahead and fold some tracks down to mono.
Those of you raised on DAWs—and used to the flexible pan options offered by them—may find the LCR technique limiting. But I wager you’ll find the results refreshing. Even dense mixes manage to sound clear and wide, benefiting the arrangement. Here’s what an LCR mix looks like:

An LCR pan scheme
3. Snapshots vs. LCR
If you try an LCR approach and are happy with it, great. Though if you’re anything like me, it’s reassuring to try a few different options before making a final decision. This is where Snapshots come in handy.
To preview a looser approach, for example, save your settings (hit the + sign), move some tracks around, hit the (+) again, then toggle between the different versions. This way, you get a varied showcase without the trouble of undoing and redoing your work.
For starters, try sneaking in a background vocal or a percussion track somewhere between the extremes. Does the mix sound better this way? In some songs, LCR might be too aggressive and a hybrid approach (let’s call it LCR-ish) will feel more balanced. You don’t want the outliers to stick out awkwardly though, so be sure to choose the more active sounds in your mix or use creative automation to alter them over time.

3. Create the right vocal landscape
When you’re dealing with lots of vocal tracks, it can get overwhelming. Scrolling through blocks of audio in your DAW and endlessly adjusting pan dials to find the ideal location for leads, harmonies, and doubles does not make the process much easier or fun.
Visual Mixer offers a more intuitive experience. When you can simply drag tracks to their pan position and audition an array of setups within seconds, questions like “Should the high pitch harmonies be narrow or wide?” or “Do the doubles sound better hard panned or closer to the center?” are a lot less irritating. For the sake of organization, I recommend placing Visual Mixer on the related vocal bus when panning vocals (for example, backgrounds or harmonies).
Watch this technique in the video below:
To keep listeners compelled throughout a song, you might want to change up the vocal landscape from section to section. Though you can’t automate in Visual Mixer, you can record the master audio for one Snapshot, do the same thing with another Snapshot, then place the different parts across your DAW’s timeline.
4. Try different vibes
You might notice in some old Motown and rock songs that the snare and rhythm section are all the way to one side, and bass and guitars are on the other. It’s certainly odd by today's standards, but these were the limits of the technology at the time, and there were few “rules” around where instruments should exist in the stereo field.
If you want to capture a nostalgic vibe in your music, borrow from some of the off-kilter pan techniques from this era, if only for brief moments to create a jumbled effect. Going between balanced and unbalanced pan schemes can take listeners on a journey and give those really paying attention something to marvel at.
Again, Snapshots allow you to quickly find the right location for the sounds in your mix. So arrange a few unconventional pan schemes and put them to the test. Does this give you the desired nostalgic effect?
5. Try this widening trick
An LCR setup (or some variation of it) can help provide a feeling of width in your mix, but this isn’t the only way. Sometimes, strategically widening just two or three tracks is the ticket.
This recent Young Thug song is a good example of this hip-hop and pop mixing. During the intro, the hook is muffled and thin, then the chorus hits and Travis Scott (who is featured) delivers a super wide vocal that reaches the far end of the speakers. It's only at this point that you realize the hook was narrow to start with. This back-and-forth builds just the right amount of expectation before choruses without sounding gimmicky.
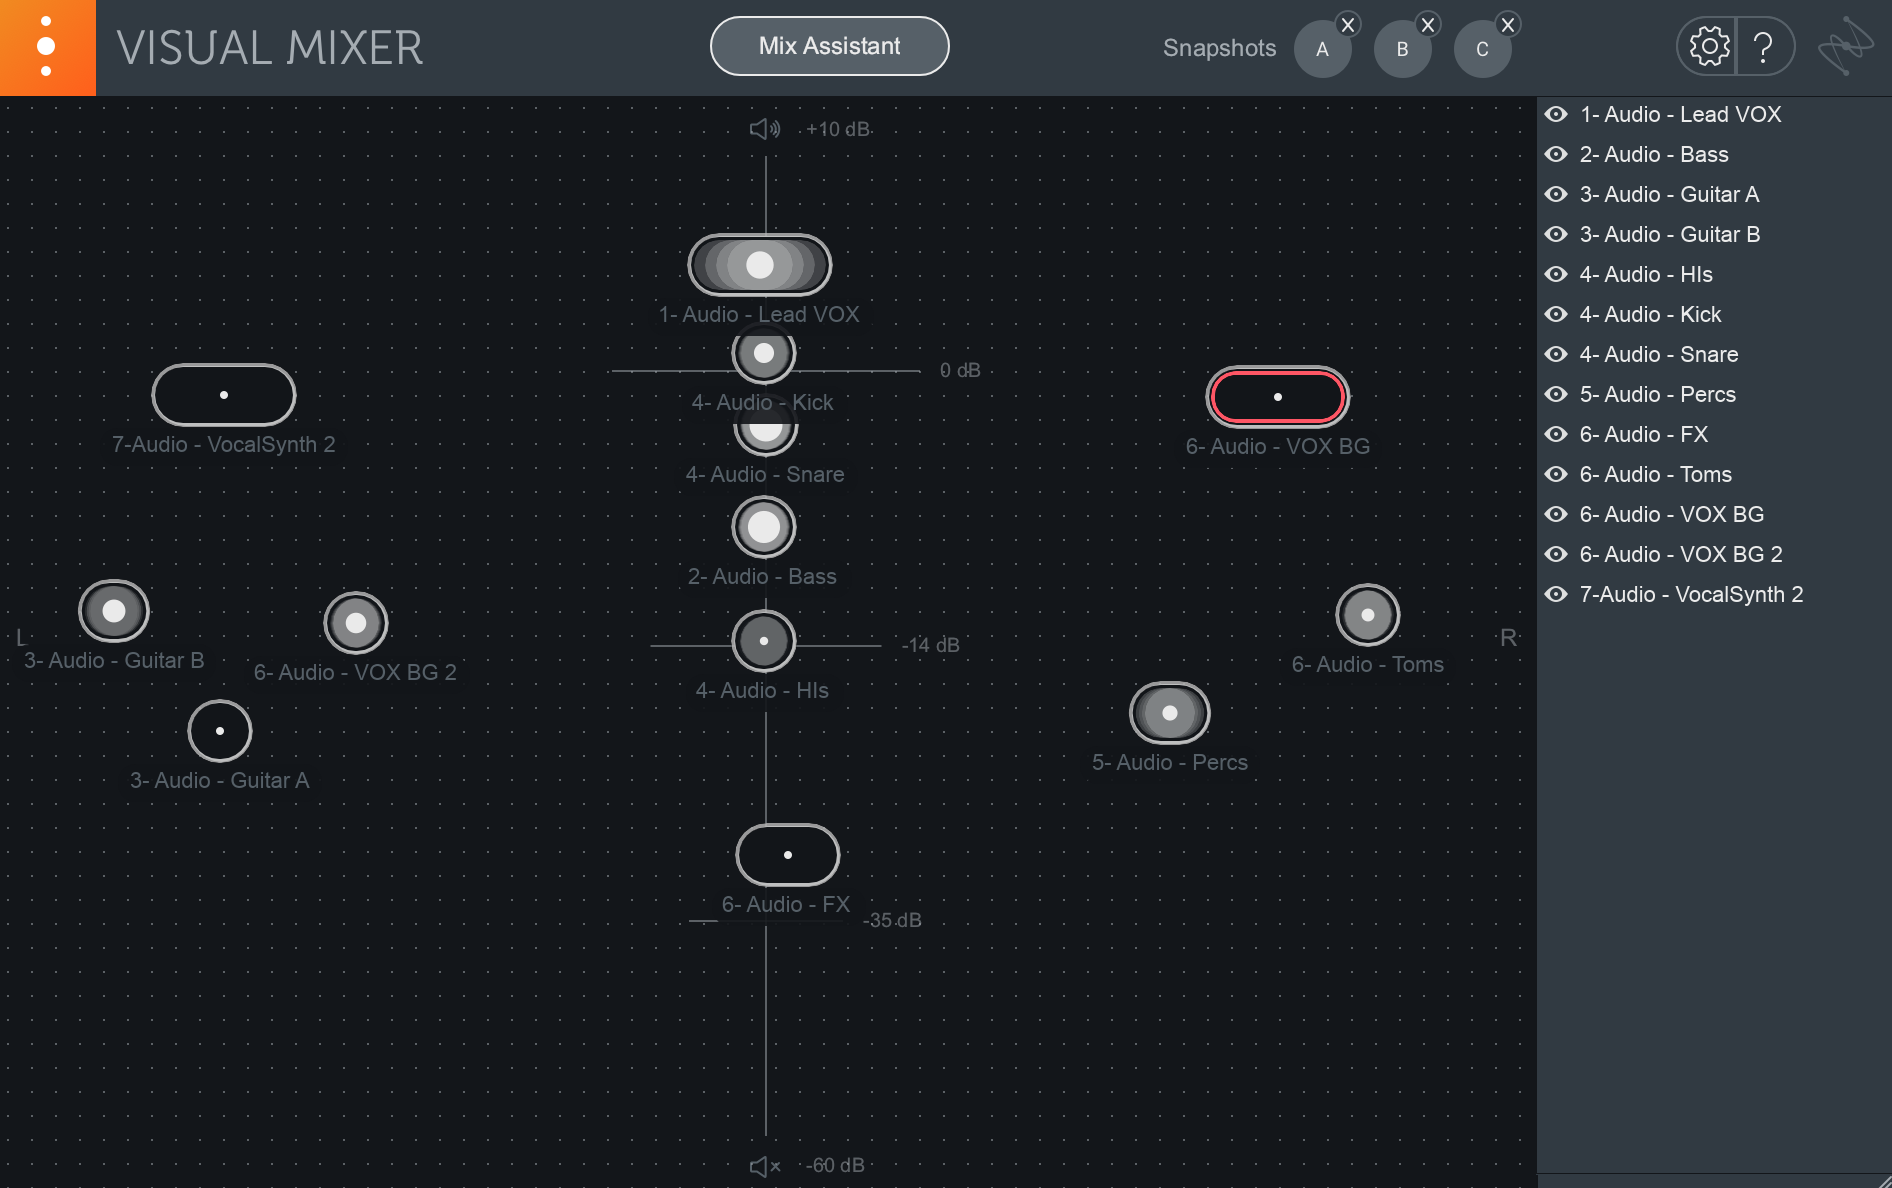
You can achieve this same contrast—and create more dynamic mixes—within Visual Mixer. Every node in the plug-in has a widening feature, which is triggered by pulling at the arrows at either end. In the screenshot below, the lead vocal, background vocal, and VocalSynth 2 track are stretched out and everything else is left narrow.

Widening vocal tracks in Visual Mixer
If you introduce wide elements at the right moment—for example, during the chorus or another emotional peak—then return to tighter settings for the verse, your mix will feel more lively.
Just be sure not to go overboard with this trick. If every instrument in your mix is beefed up, no single channel will sound particularly wide in comparison. In fact, you can get an unnatural and hollow sound that isn’t exactly flattering. Remember to keep the bigger picture in mind.
Conclusion
The four Visual Mixer techniques listed here should get you started with the plug-in. But there are certainly more ways to use it. In any scenario where you want to experiment with pan schemes without the cumbersome tweaking of pan dials, it’s worth a shot.
